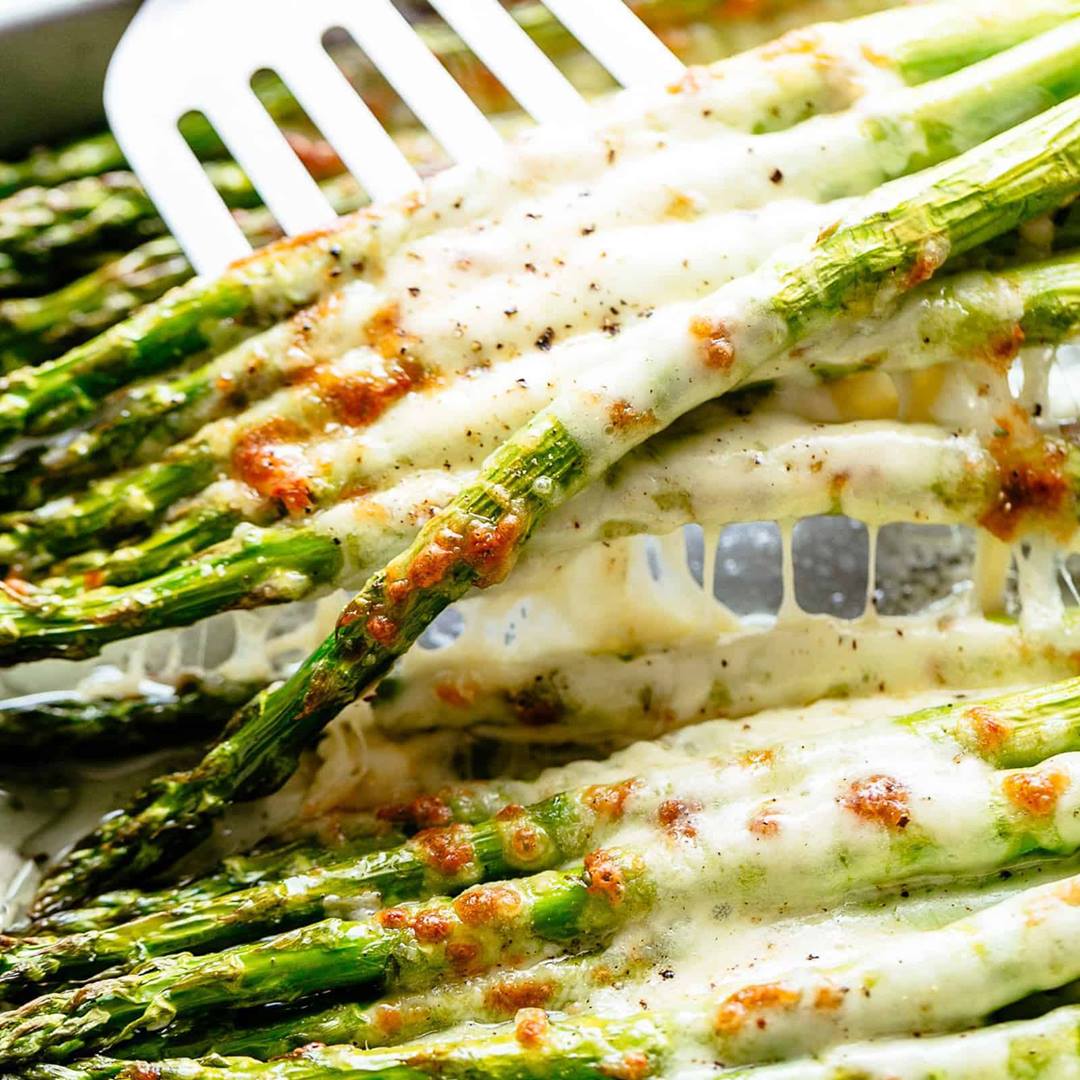
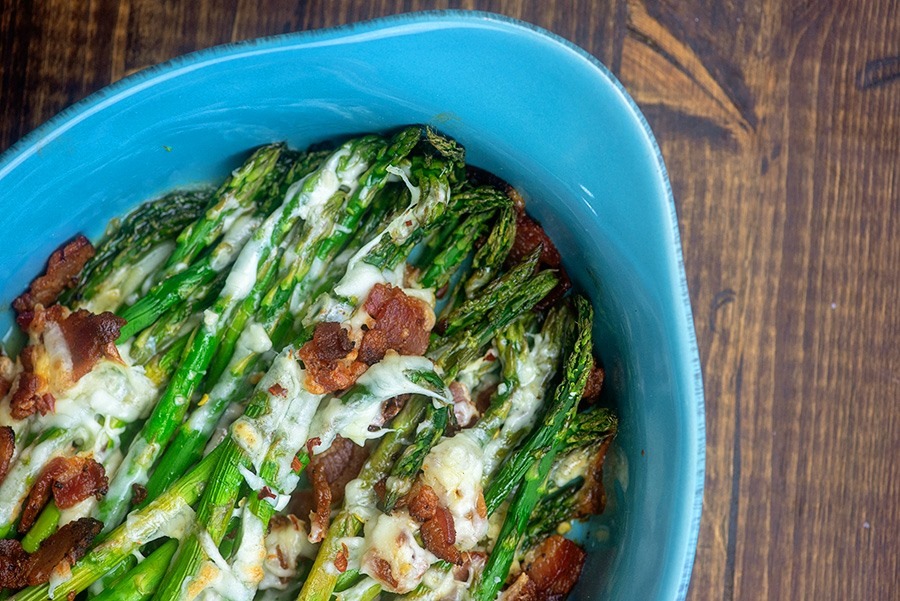
Cheesy Baked Asparagus
Cheesy Baked Asparagus
Baked asparagus topped off with melty cheese and crispy bacon!
Author: The Chef
Cuisine: American
Recipe type: Main dish
Ingredients
- 1 pound asparagus, trimmed
- 1 teaspoon olive oil
- 1 teaspoon salt
- 6 slices bacon, fried and diced
- 1 clove garlic, minced
- 1 cup shredded Gruyere cheese
- ¼ teaspoon red pepper flakes
Instructions
- eheat oven to 400 degrees.
- Toss the asparagus with oil and salt.
- Place half of the asparagus in an 8x8 baking dish. Top with half of the cheese, bacon, and garlic. Repeat the layers.
- Bake for 25 minutes or until asparagus is as tender as you'd like.
- Sprinkle with red pepper flakes just before serving.
Watch the recipe video here:
Know anyone on KETO? Cheesy Baked Asparagus with Bacon!!RECIPE: https://thatlowcarblife.com/cheesy-baked-asparagus/
Posted by Kitchen Fun With My 3 Sons on Monday, June 3, 2019