Showing 17 Result(s)
Dessert

INSTANT POT CHEESECAKE
INSTANT POT CHEESECAKE
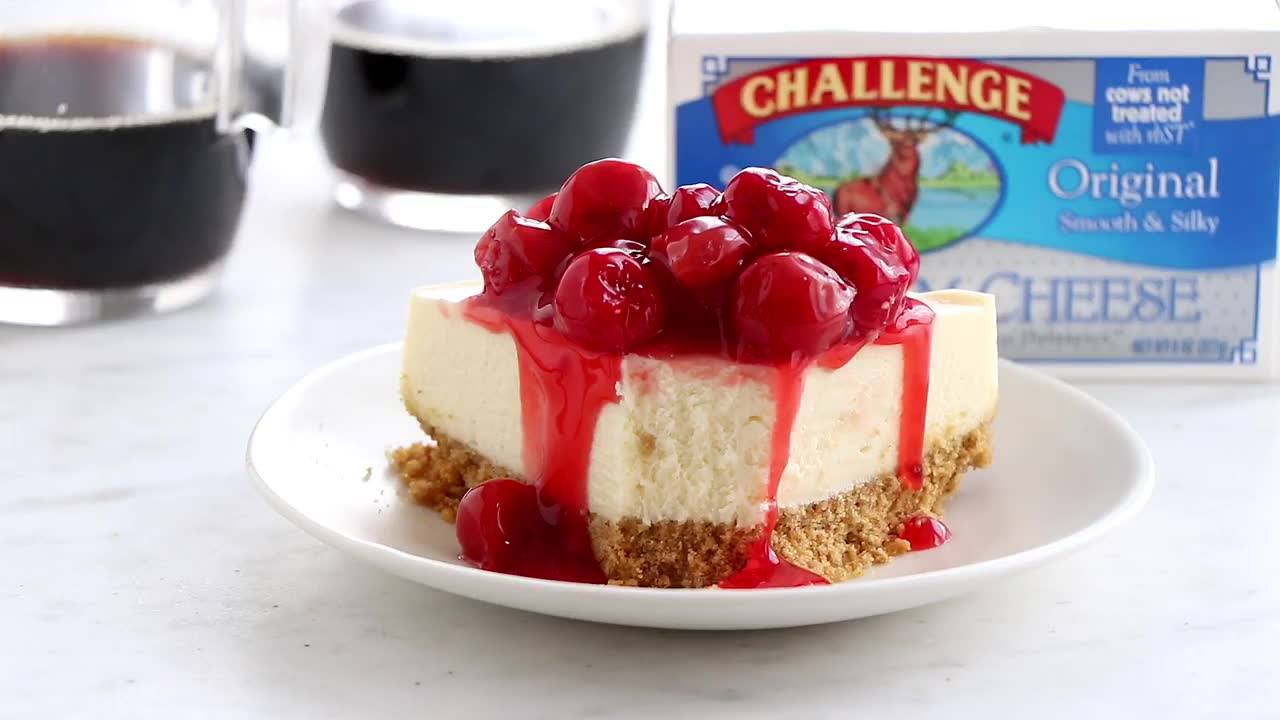
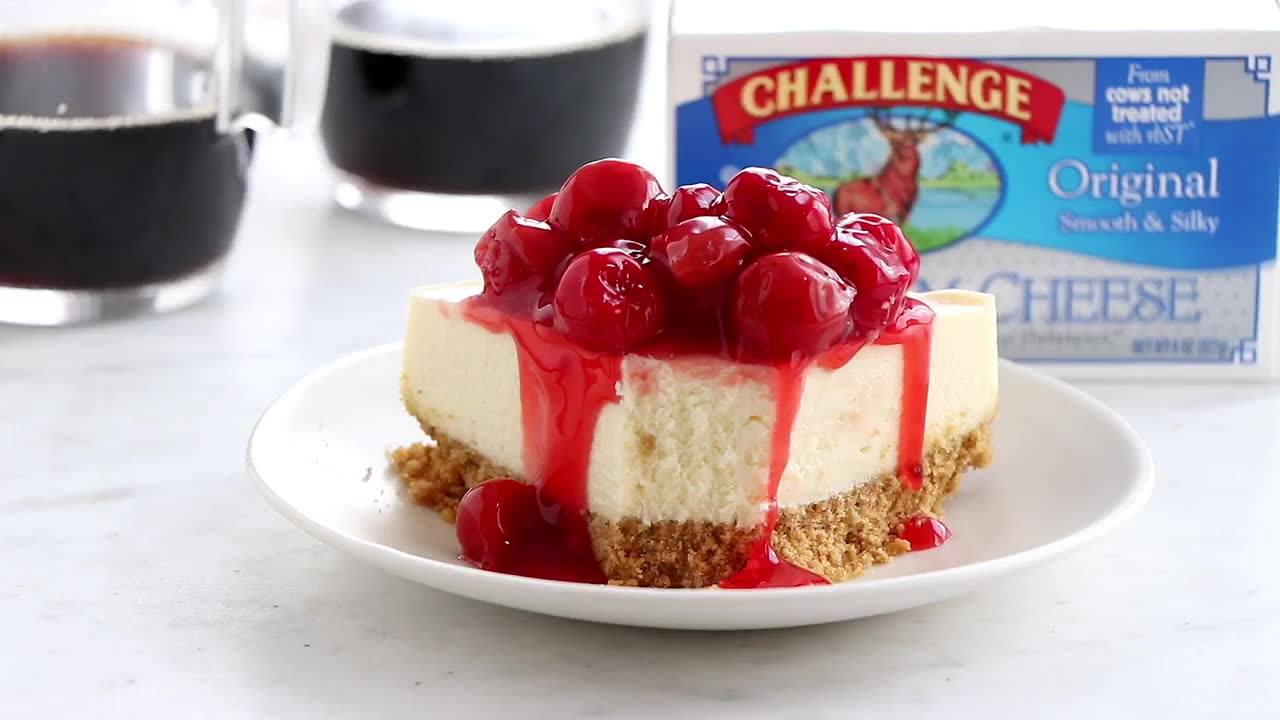
Instant Pot Cheesecake couldn’t be easier or more delicious. Serve it up with pie filling, fresh fruit, or chocolate ganache for the perfect dessert.
Author:
Cuisine: American
Recipe type: Dessert
Ingredients
  • 1 cup graham cracker crumbs
  • 2 tablespoons granulated sugar
  • 3 tablespoons Challenge Dairy Unsalted Butter, melted
  • 16 ounces Challenge Dairy Cream Cheese, room temperature
  • ½ cup granulated sugar
  • 2 large eggs, room temperature
  • 1 tablespoon all-purpose flour
  • ¼ cup heavy cream
  • 2 teaspoons pure vanilla extract
  • cherry pie filling, optional
Instructions
  1. Tightly wrap the bottom of 7-inch springform pan in foil and spray the inside of the pan with non-stick cooking spray.
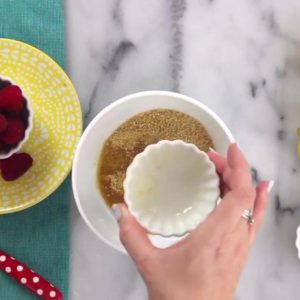
  2. In a small mixing bowl, stir together the graham cracker crumbs, sugar, and melted butter. Press the crumbs into the bottom of the prepared pan.
  3. Place pan in freezer for 10-15 minutes.
  4. In the bowl of your stand mixer fitted with the paddle attachment, or in a large bowl with an electric mixer, beat the cream cheese until smooth. Add sugar and mix until combined. Add eggs, one at a time, fully incorporating each before adding the next. Making sure to scrape down the bowl in between each egg. Add in the flour, heavy cream, and vanilla and mix until smooth. Pour batter into prepared pan.
  5. Cover the top of the pan with a piece of foil.
  6. Pour 1½ cups of water into the Instant Pot and place the trivet in the bottom of the pot.
  7. Create a “foil sling” by folding a 20-inch long piece of foil in half lengthwise two times. This “sling” will allow you place and remove the springform pan with ease.
  8. Place the cheesecake pan in the center of the sling and carefully lower the pan into the Instant Pot. Fold down the excess foil from the sling to ensure the pot closes properly.
  9. Lock the lid into place and make sure the vent is closed “sealing”. Press the “Manual” button and cook on high pressure for 35 minutes.
  10. When the Instant Pot beeps, hit the “Keep Warm/Cancel” button to turn off the pressure cooker. Allow the pressure to release naturally for 10 minutes and then do a quick release to release any pressure remaining in the pot.
  11. Carefully unfold the foil sling and remove the cheesecake from the pot to a cooling rack using the foil sling “handles”.
  12. Uncover the cheesecake and allow it to cool to room temperature.
  13. Once the cheesecake has cooled, refrigerate it for at least 8 hours, or overnight.
  14. Before serving, top with pie filling and whipped cream if desired.

Watch the recipe video here:

INSTANT POT CHEESECAKE ✨ couldn’t be easier or more delicious!RECIPE HERE >> https://www.mybakingaddiction.com/instant-pot-cheesecake/

Posted by My Baking Addiction on Thursday, April 18, 2019
Dessert

LEMON CHEESECAKE IN A JAR

LEMON CHEESECAKE IN A JAR
I’m officially done with work for the school year and I must admit, I’m pretty stoked about doing my own thing for the next few months. No alarm clock buzzing in my ear at 5:45, no last minute wardrobe changes because I’m a clutz with my morning coffee and certainly no more fitting in baking time between chores and dinner. The summer gives me the opportunity to experience what it would be like to blog full time and I must say, I’m kind of digging it.
Author:
Cuisine: American
Recipe type: Dessert
Ingredients
For the Crust
  • 12 Newtons Lemon Fruit Thins (see notes section for substitution)
  • 3 tablespoons unsalted butter, melted
For the Cheesecake
  • ½ cup plus granulated sugar
  • zest of one lemon
  • 2 packages cream cheese, 8 oz each; room temperature
  • 2 large eggs; room temperature
  • ¼ cup heavy cream
  • 1 teaspoon pure vanilla extract
For the Garnish
  • ½ cup homemade lemon curd
  • fresh whipped cream
  • fresh berries
Instructions
  1. Preheat the oven to 350°F.
  2. Place the Newtons Lemon Fruit Thins into the bowl of a food processor, attach the lid and pulse the machine until you have fine cookie crumbs.
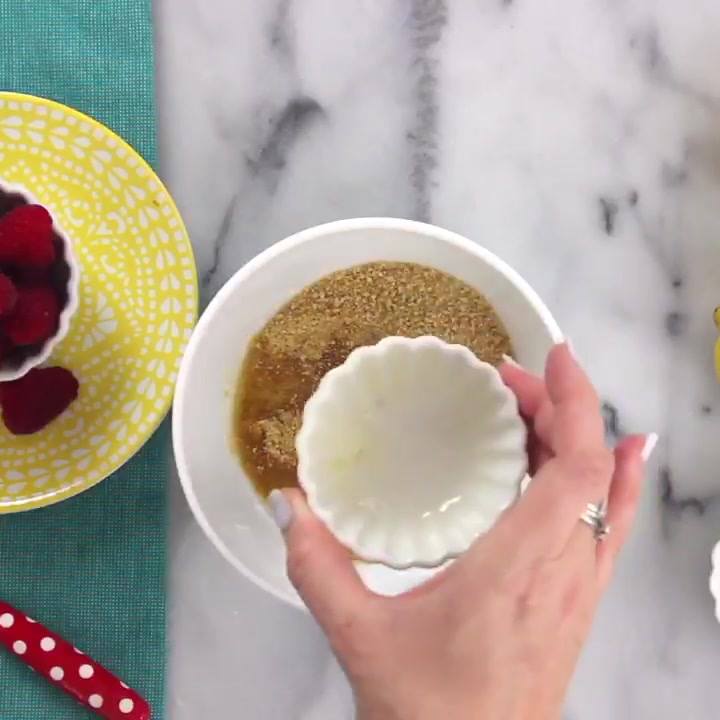
  3. In a medium bowl, stir together cookie crumbs and melted butter. Evenly divide the crumbs between your individual serving, oven-safe dishes and lightly press the crumbs into the bottoms of each dish to form a crust layer. Place the prepared cheesecake crusts on a baking sheet and bake the crusts in preheated oven for 6 minutes, carefully remove them to a wire rack to cool.
  4. Begin to boil a large pot of water for the water bath.
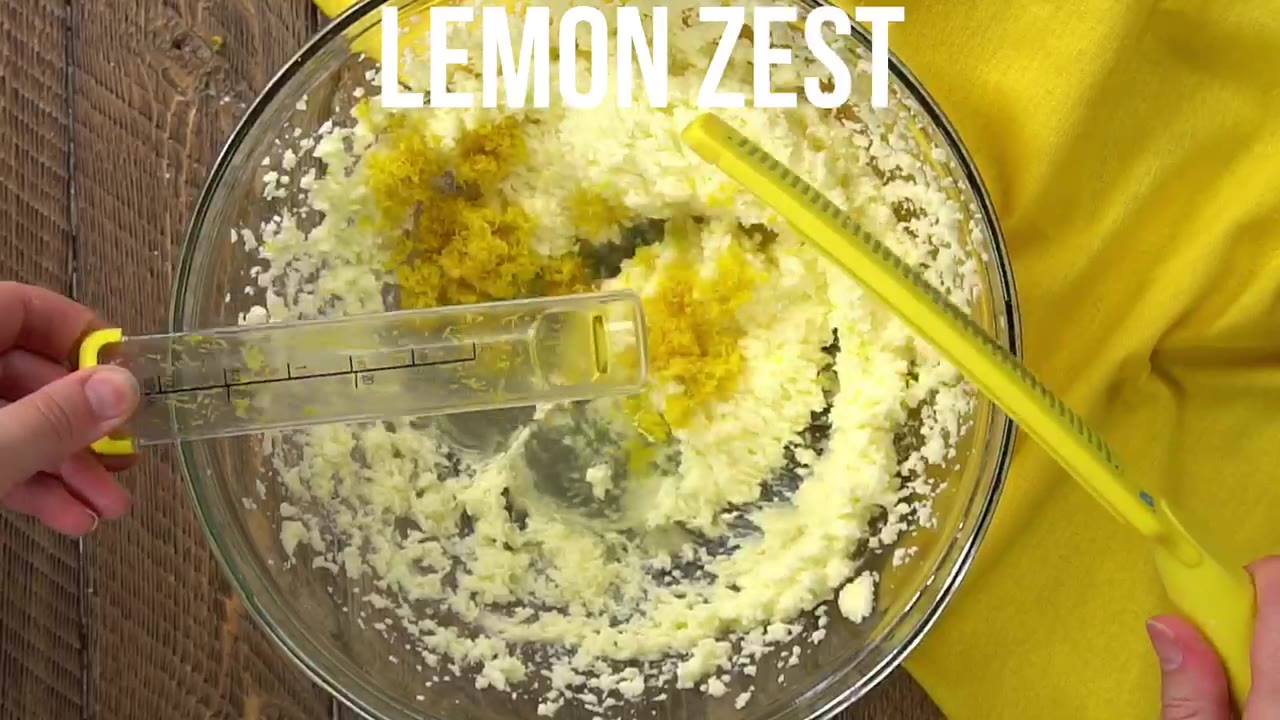
  5. In the bowl of your stand mixer fitted with your paddle attachment, combine the sugar and lemon zest and mix until the sugar is moistened and fragrant. Add in the cream cheese and cream together until smooth. Add eggs, one at a time, fully incorporating each before adding the next. Make sure to scrape down the bowl in between each egg. Add heavy cream and vanilla and mix until smooth.
  6. Pour batter into serving dishes , directly onto the prebaked crusts, until about ¾ of the way full. Place jars into a larger pan with high sides and pour boiling water into the larger pan until halfway up the sides of the jars.
  7. Bake 25 to 30 minutes, the edges will appear to be set, but the center will still have a little jiggle to it.
  8. Carefully remove the cheesecake jars from the water bath and place on a cooling rack to cool completely. Once the cheesecakes are completely cooled, place them into the refrigerator for at least 5 hours. Before serving, top each cheesecake with lemon curd, fresh whipped cream and berries.

Watch the recipe video here:

Lemon Cheesecake in a Jar is the perfect summertime dessert! ?RECIPE HERE –> https://www.mybakingaddiction.com/lemon-cheesecake-in-a-jar/

Posted by My Baking Addiction on Tuesday, April 9, 2019

Main dish

INSTANT POT CHEESECAKE

INSTANT POT CHEESECAKE
Instant Pot Cheesecake couldn’t be easier or more delicious. Serve it up with pie filling, fresh fruit, or chocolate ganache for the perfect dessert.
Author:
Cuisine: American
Recipe type: Main dish
Ingredients
  • 1 cup graham cracker crumbs
  • 2 tablespoons granulated sugar
  • 3 tablespoons Challenge Dairy Unsalted Butter, melted
  • 16 ounces Challenge Dairy Cream Cheese, room temperature
  • ½ cup granulated sugar
  • 2 large eggs, room temperature
  • 1 tablespoon all-purpose flour
  • ¼ cup heavy cream
  • 2 teaspoons pure vanilla extract
  • cherry pie filling, optional
Instructions
  1. Tightly wrap the bottom of 7-inch springform pan in foil and spray the inside of the pan with non-stick cooking spray.
  2. In a small mixing bowl, stir together the graham cracker crumbs, sugar, and melted butter. Press the crumbs into the bottom of the prepared pan.
  3. Place pan in freezer for 10-15 minutes.
  4. In the bowl of your stand mixer fitted with the paddle attachment, or in a large bowl with an electric mixer, beat the cream cheese until smooth. Add sugar and mix until combined. Add eggs, one at a time, fully incorporating each before adding the next. Making sure to scrape down the bowl in between each egg. Add in the flour, heavy cream, and vanilla and mix until smooth. Pour batter into prepared pan.
  5. Cover the top of the pan with a piece of foil.
  6. Pour 1½ cups of water into the Instant Pot and place the trivet in the bottom of the pot.
  7. Create a “foil sling” by folding a 20-inch long piece of foil in half lengthwise two times. This “sling” will allow you place and remove the springform pan with ease.
  8. Place the cheesecake pan in the center of the sling and carefully lower the pan into the Instant Pot. Fold down the excess foil from the sling to ensure the pot closes properly.
  9. Lock the lid into place and make sure the vent is closed “sealing”. Press the “Manual” button and cook on high pressure for 35 minutes.
  10. When the Instant Pot beeps, hit the “Keep Warm/Cancel” button to turn off the pressure cooker. Allow the pressure to release naturally for 10 minutes and then do a quick release to release any pressure remaining in the pot.
  11. Carefully unfold the foil sling and remove the cheesecake from the pot to a cooling rack using the foil sling “handles”.
  12. Uncover the cheesecake and allow it to cool to room temperature.
  13. Once the cheesecake has cooled, refrigerate it for at least 8 hours, or overnight.
  14. Before serving, top with pie filling and whipped cream if desired.

Watch the recipe video here:

INSTANT POT CHEESECAKE ✨ couldn’t be easier or more delicious!RECIPE HERE >> https://www.mybakingaddiction.com/instant-pot-cheesecake/

Posted by My Baking Addiction on Sunday, May 26, 2019

Dessert

BLUEBERRY DOUGHNUT MUFFINS

BLUEBERRY DOUGHNUT MUFFINS
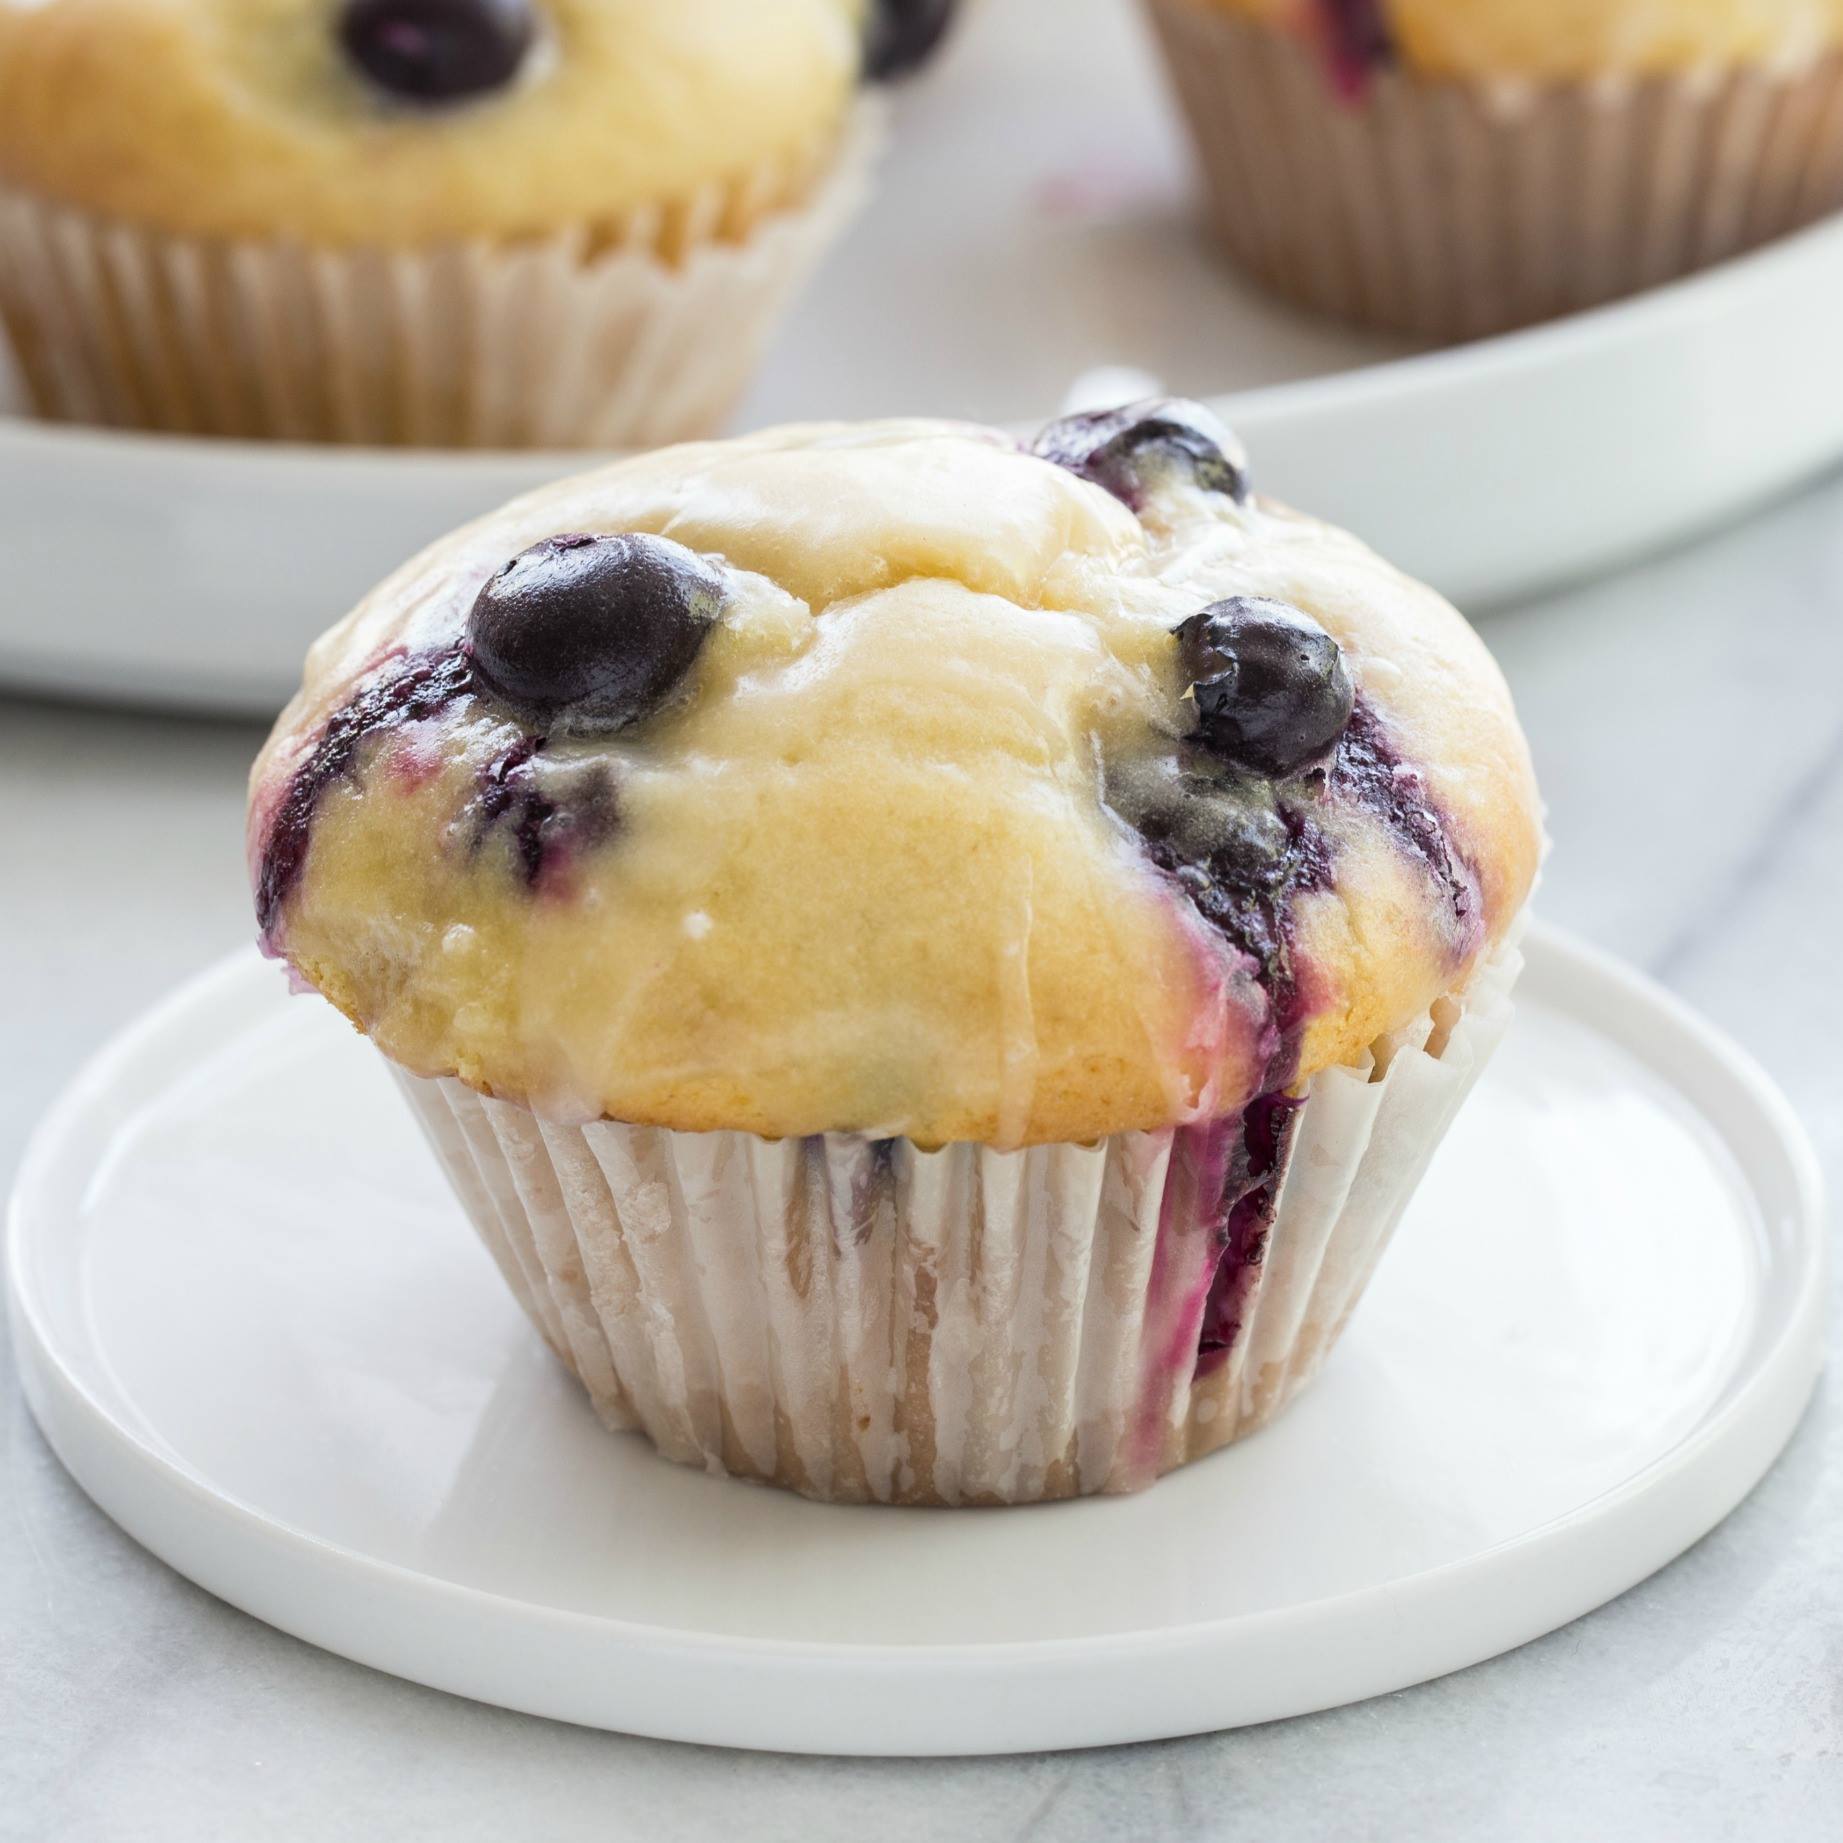
Blueberry Doughnut Muffins bake up high and mighty and are topped with a sweet and tangy lemon glaze. They’re perfect for breakfast or an afternoon snack.
Author:
Cuisine: American
Recipe type: Dessert
Ingredients
For the Muffins
  • zest of 2 lemons
  • ½ cup granulated sugar
  • ⅓ cup brown sugar
  • ¼ cup unsalted butter, softened
  • ¼ cup vegetable oil
  • 2 large eggs
  • 1 teaspoon pure vanilla extract
  • 2⅔ cups all-purpose flour
  • 1½ teaspoons baking powder
  • ¼ teaspoon baking soda
  • ¾ teaspoon salt
  • 1 cup milk
  • 1⅓ cup fresh blueberries
For the Glaze
  • 3 tablespoons unsalted butter; melted
  • 1 cup confectioners’ sugar; sifted
  • ½ teaspoon pure vanilla extract
  • 1 tablespoon freshly squeezed lemon juice
  • 1 tablespoon warm water
Instructions
  1. Preheat the oven to 425°F. Lightly grease a standard muffin tin, or line with 12 paper muffin cups.
  2. In a medium bowl, combine the lemon zest and sugars. Use your fingertips to incorporate the zest into the sugars until it is moist and fragrant.
  3. In the bowl of a stand mixer fitted with a paddle attachment or in a large mixing bowl with an electric mixer, cream together the butter, vegetable oil, and sugars until smooth. Add the eggs and vanilla, beating to combine.
  4. In a medium bowl, combine the flour, baking powder, baking soda and salt. Stir the flour mixture into the butter mixture alternately with the milk, beginning and ending with the flour and making sure everything is thoroughly combined. Fold in the blueberries.
  5. Spoon the batter evenly into the prepared pan, filling the cups nearly full.
  6. Bake the muffins for 15 to 17 minutes, or until they’re a pale golden brown and a cake tester inserted into the middle of one of the center muffins comes out clean.
  7. In a medium bowl, prepare the glaze by mixing together the melted butter, confectioners’ sugar, vanilla, lemon juice and water. Whisk until smooth.
  8. When muffins have cooled slightly, dip the muffin crown into the glaze and allow the glaze to harden. At this point, you can leave them as is or go for the double dip. I glazed my muffins twice.
  9. Serve warm, or cool on a rack and wrap airtight. Muffins will keep at room temperature for about a day.

Watch the recipe video here:

These Glazed Blueberry Doughnut Muffins are always a huge hit!PRINTABLE RECIPE: https://www.mybakingaddiction.com/blueberry-doughnut-muffins/

Posted by My Baking Addiction on Saturday, July 6, 2019

Dessert

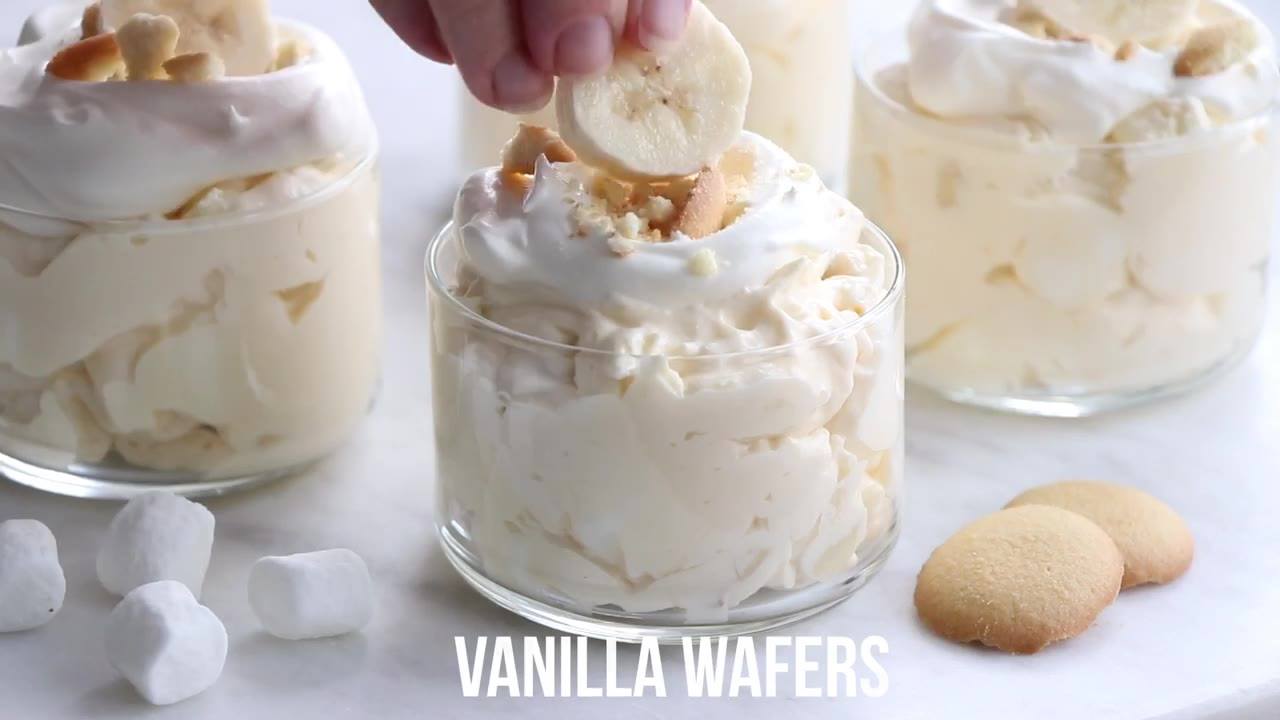
BANANA CREAM PIE FLUFF

BANANA CREAM PIE FLUFF
Banana Cream Pie Fluff is a new twist on a Southern classic. It’s wonderful for potlucks and picnics, and way easier than pie!
Author:
Cuisine: American
Recipe type: Dessert
Ingredients
  • 2 8-ounce packages cream cheese, room temperature
  • 1 cup powdered sugar
  • 2 teaspoons vanilla extract
  • 2 3.4-ounce packages Banana Cream Pudding Mix
  • 1½ cups 2% or whole milk
  • 1 12-ounce container frozen whipped topping, thawed
  • 1½ cups Campfire® Mini White Marshmallows
  • 3 large bananas, peeled and sliced
  • 30 vanilla wafers, coarsely crushed
  • additional whipped topping, vanilla wafers and sliced bananas for garnish, optional
Instructions
  1. In the bowl of a stand mixer fitted with the paddle attachment, or in a large bowl with an electric mixer, beat the cream cheese for 3 minutes. Scrape down the sides of the bowl and add in powdered sugar and vanilla and beat an additional 3 minutes.
  2. In a large bowl, whisk together the dry pudding mixes and milk. Allow pudding to set up for a few minutes.
  3. Add the pudding to the cream cheese mixture and beat until fully incorporated. Be sure to scrape down the sides of the bowl to incorporate all of the cream cheese.
  4. Fold in whipped topping until completely incorporated. Fold in the marshmallows.
  5. Cover and refrigerate for at least 2 hours.
  6. Just before serving, fold in the sliced bananas and top with crushed vanilla wafers.

Watch the recipe video here:

Banana Cream Pie Fluff ~ It’s wonderful for potlucks and picnics, and way easier than pie!RECIPE HERE –> https://www.mybakingaddiction.com/banana-cream-pie-fluff/

Posted by My Baking Addiction on Sunday, June 30, 2019

Dessert

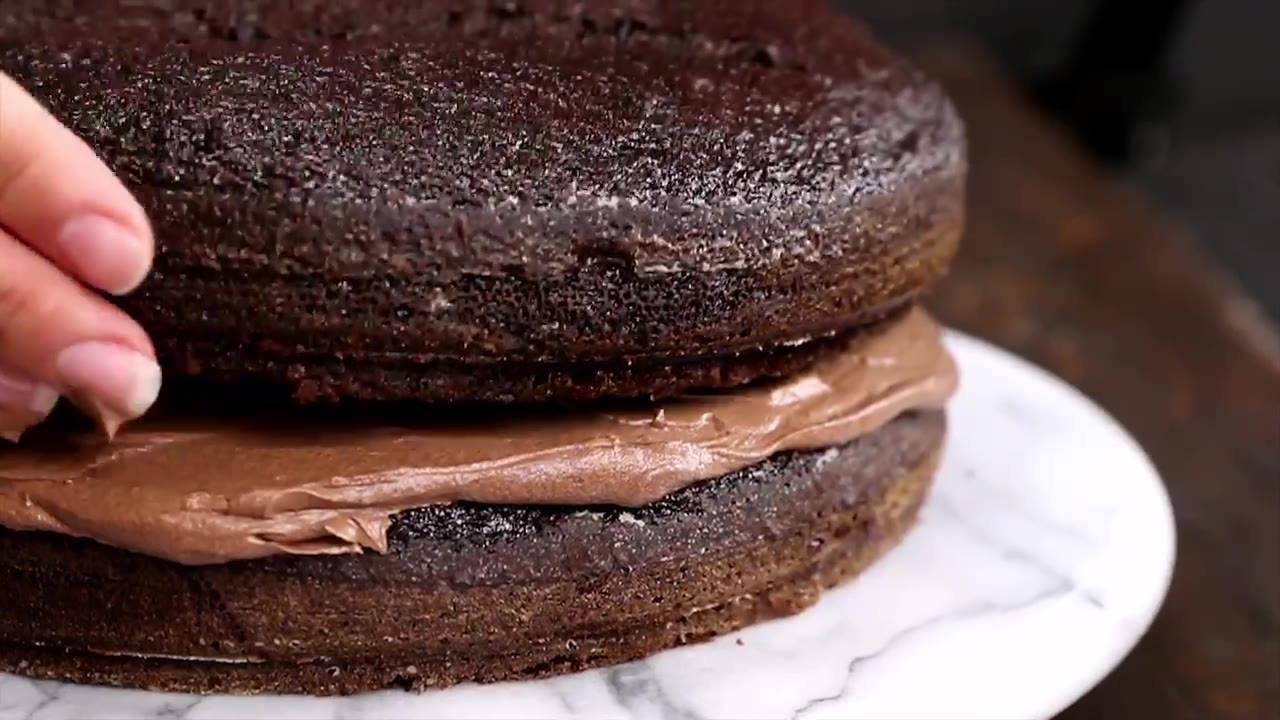
THE BEST CHOCOLATE CAKE RECIPE

THE BEST CHOCOLATE CAKE RECIPE
The Best Chocolate Cake combines cocoa and coffee to create a chocolate lover’s dream. The rich buttercream frosting makes it perfect!
Author:
Cuisine: American
Recipe type: Dessert
Ingredients
  • 2 cups sugar (400 grams)
  • 1¾ cups all-purpose flour (210 grams)
  • ¾ cup unsweetened cocoa powder (64 grams)
  • 2 tablespoons King Arthur Flour Black Cocoa, optional (11 grams)
  • 2 teaspoons baking soda (12 grams)
  • 1 teaspoon baking powder (4 grams)
  • 1 teaspoon kosher salt (6 grams)
  • 2 eggs
  • 1 cup buttermilk (240 mL)
  • 1 cup strong black coffee (I used Green Mountain Coffee’s Vermont Country Blend) (240 mL)
  • ½ cup vegetable oil (120 mL)
  • 2 teaspoons vanilla extract (4 grams)
  • Chocolate Buttercream Frosting
Instructions
  1. Heat oven to 350°F. Grease and flour two 9-inch round baking pans or one 13x9x2-inch baking pan. Set aside. In the bowl of a stand mixer fitted with the whisk attachment or in a large bowl with an electric mixer, combine the sugar, flour, cocoa(s), baking soda, baking powder and salt. Mix on low until dry ingredients are thoroughly combined.
  2. Add eggs, buttermilk, coffee, oil and vanilla. Beat on medium speed for about two minutes; the batter will be thin.
  3. Pour batter evenly into prepared pans.
  4. Bake in preheated oven for 30 to 35 minutes for round pans, 35 to 40 minutes for rectangular pan or until wooden toothpick inserted in center comes out clean.
  5. Cool 10 minutes; remove from pans to wire racks. Cool completely.
  6. Frost as desired. I used a simple and delicious Chocolate Buttercream Frosting from Savory Sweet Life. One batch was perfect for this chocolate layer cake.

Watch the recipe video here:

The Best Chocolate Cake with rich buttercream frosting! ?RECIPE: https://www.mybakingaddiction.com/the-best-chocolate-cake

Posted by My Baking Addiction on Saturday, June 22, 2019

Cake Dessert

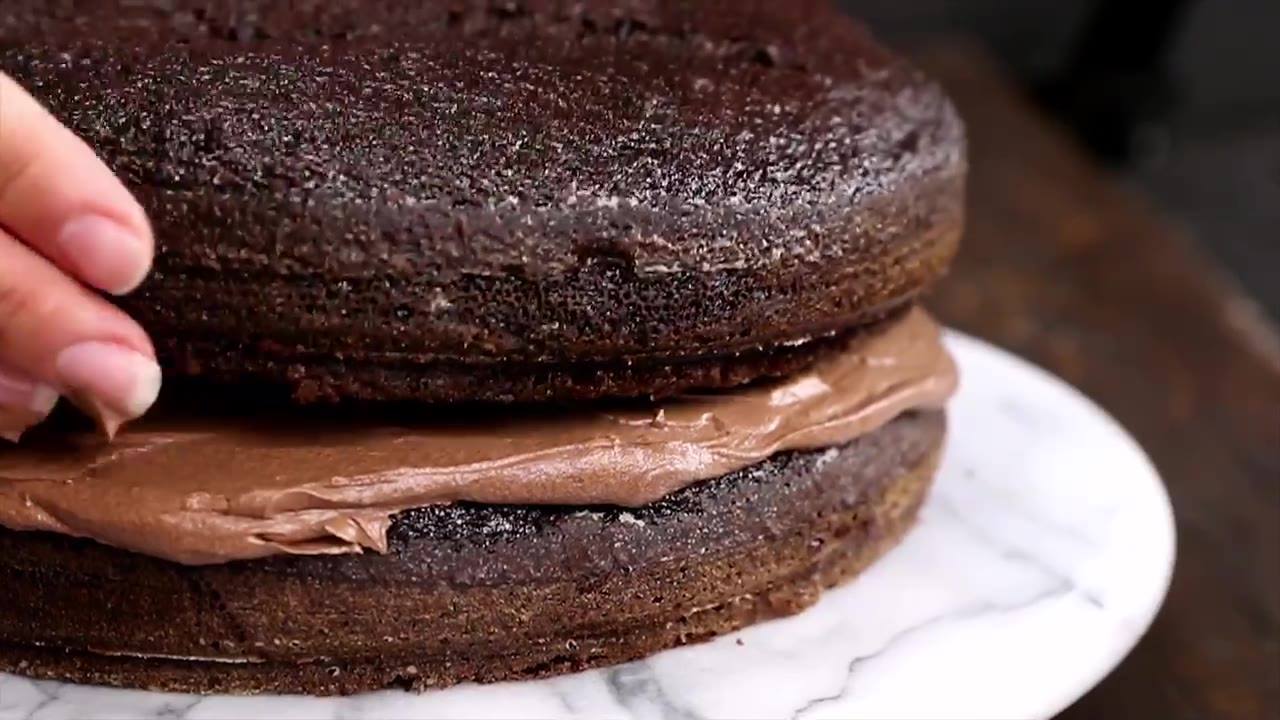
THE BEST CHOCOLATE CAKE RECIPE

THE BEST CHOCOLATE CAKE RECIPE
The Best Chocolate Cake combines cocoa and coffee to create a chocolate lover’s dream. The rich buttercream frosting makes it perfect!
Author:
Cuisine: American
Recipe type: Dessert
Ingredients
  • 2 cups sugar (400 grams)
  • 1¾ cups all-purpose flour (210 grams)
  • ¾ cup unsweetened cocoa powder (64 grams)
  • 2 tablespoons King Arthur Flour Black Cocoa, optional (11 grams)
  • 2 teaspoons baking soda (12 grams)
  • 1 teaspoon baking powder (4 grams)
  • 1 teaspoon kosher salt (6 grams)
  • 2 eggs
  • 1 cup buttermilk (240 mL)
  • 1 cup strong black coffee (I used Green Mountain Coffee’s Vermont Country Blend) (240 mL)
  • ½ cup vegetable oil (120 mL)
  • 2 teaspoons vanilla extract (4 grams)
  • Chocolate Buttercream Frosting
Instructions
  1. Heat oven to 350°F. Grease and flour two 9-inch round baking pans or one 13x9x2-inch baking pan. Set aside. In the bowl of a stand mixer fitted with the whisk attachment or in a large bowl with an electric mixer, combine the sugar, flour, cocoa(s), baking soda, baking powder and salt. Mix on low until dry ingredients are thoroughly combined.
  2. Add eggs, buttermilk, coffee, oil and vanilla. Beat on medium speed for about two minutes; the batter will be thin.
  3. Pour batter evenly into prepared pans.
  4. Bake in preheated oven for 30 to 35 minutes for round pans, 35 to 40 minutes for rectangular pan or until wooden toothpick inserted in center comes out clean.
  5. Cool 10 minutes; remove from pans to wire racks. Cool completely.
  6. Frost as desired. I used a simple and delicious Chocolate Buttercream Frosting from Savory Sweet Life. One batch was perfect for this chocolate layer cake.

Watch the recipe video here:

The Best Chocolate Cake with rich buttercream frosting! ?RECIPE: https://www.mybakingaddiction.com/the-best-chocolate-cake

Posted by My Baking Addiction on Friday, May 24, 2019

Main dish

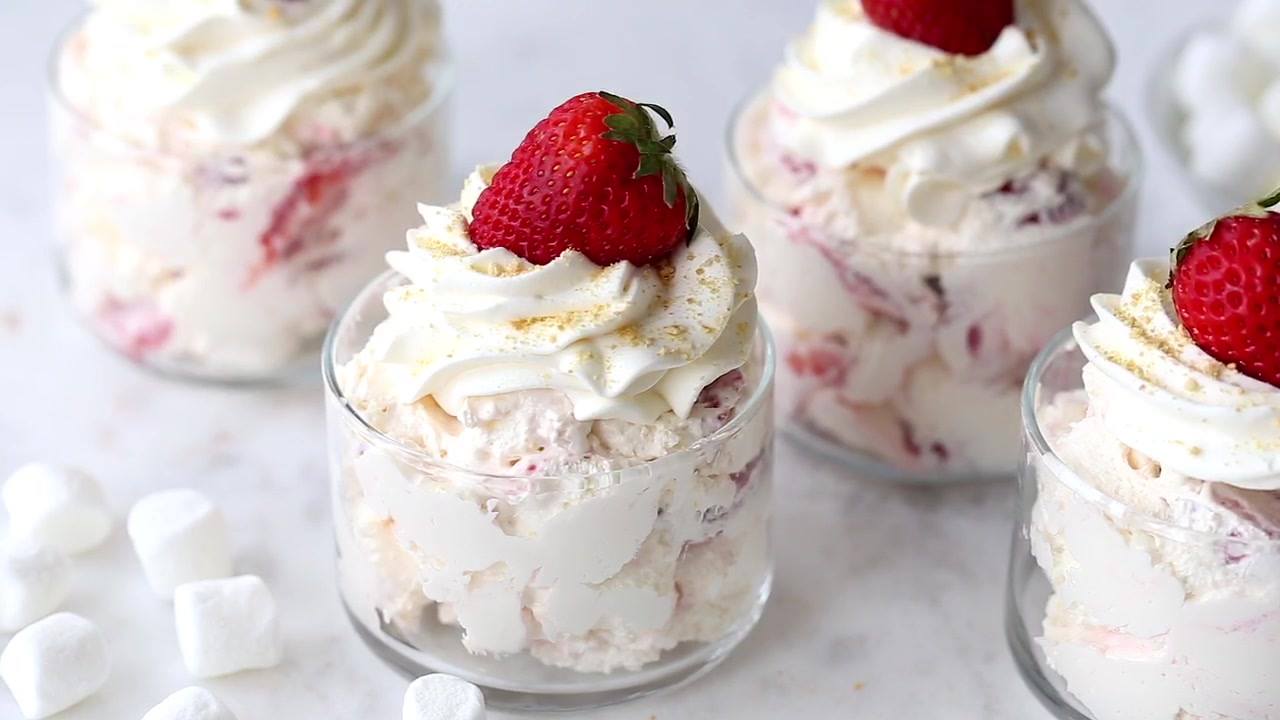
STRAWBERRY CHEESECAKE FLUFF

STRAWBERRY CHEESECAKE FLUFF
Strawberry Cheesecake Fluff comes together in less than 10 minutes and is the perfect dessert, or side dish for any occasion.
Author:
Cuisine: American
Recipe type: Main dish
Ingredients
  • 2 8-ounce packages cream cheese, room temperature
  • 1½ cups powdered sugar
  • 2 teaspoons vanilla extract
  • 2 8-ounce containers frozen whipped topping, thawed
  • 2 16-ounce containers fresh strawberries, washed, hulled and sliced
  • 1½ cups Campfire® Mini White Marshmallows
  • 3 full sheets of graham crackers, coarsely crushed
  • additional whipped topping for garnish, optional
Instructions
  1. In the bowl of a stand mixer fitted with the paddle attachment, or in a large bowl with an electric mixer, beat the cream cheese for 3 minutes. Scrape down the sides of the bowl and add in powdered sugar and vanilla and beat an additional 3 minutes.
  2. Fold in whipped topping until completely incorporated.
  3. Fold in the strawberries and marshmallows.
  4. Cover and refrigerate for at least 2 hours.
  5. If desired, top with additional whipped topping and crushed graham crackers just before serving.

Watch the recipe video here:

Main dish

BLUEBERRY MUFFIN TOP COOKIES

BLUEBERRY MUFFIN TOP COOKIES
Blueberry Muffin Top Cookies are covered in streusel and drizzled with a lemon glaze. They’re perfect for breakfast, dessert, or a midday snack. Recipe contains a gluten-free option.
Author:
Cuisine: American
Recipe type: Main dish
Ingredients
FOR THE DOUGH:
  • 3 cups all-purpose flour or gluten-free flour mix*
  • 1 teaspoon salt
  • ½ teaspoon baking powder
  • ½ teaspoon baking soda
  • 1 cup unsalted butter, softened
  • 1 cup granulated sugar
  • 2 tablespoons lemon zest
  • 2 tablespoons lemon juice
  • 1 teaspoon vanilla extract
  • 1 teaspoon lemon extract
  • 2 large eggs, room temperature
  • 1½ cups fresh blueberries, rinsed and patted dry with paper towels
FOR THE STREUSEL:
  • ¾ cup all-purpose flour or gluten-free flour mix*
  • ¼ cup light brown sugar
  • ¼ cup granulated sugar
  • ⅛ teaspoon salt
  • ¼ cup unsalted butter, melted and cooled slightly
FOR THE GLAZE:
  • 1 cup powdered sugar
  • 1-2 tablespoons lemon juice
  • 1 teaspoon lemon zest
  • ½ teaspoon vanilla extract
  • pinch of salt
* IF YOU NEED THESE COOKIES TO BE GLUTEN-FREE, MAKE SURE ALL YOUR INGREDIENTS ARE CERTIFIED GLUTEN-FREE. FOR THE GLUTEN-FREE MIX, USE THE FOLLOWING MIXTURE IN THE DOUGH:
  • 2 cups rice flour
  • ⅔ cup potato starch
  • ⅓ cup tapioca flour / starch
  • 1 teaspoon xanthan gum
AND THIS IN THE STREUSEL:
  • ½ cup rice flour
  • 2 tablespoons + 2 teaspoons potato starch
  • 1 tablespoon + 1 teaspoon tapioca flour / starch
  • ¼ teaspoon xanthan gum
Instructions
  1. Preheat the oven to 350°F and line a baking sheet with a piece of parchment paper.
  2. Prepare the cookie dough. In a medium mixing bowl, stir together the flour, salt, baking powder, and baking soda. Set the bowl aside.
  3. In a large bowl using an electric hand mixer or a stand mixer fitted with the paddle attachment, beat the butter and sugar at medium speed until light and fluffy.
  4. Beat in the lemon zest, lemon juice, vanilla extract and lemon extract.
  5. Add the eggs, one by one and beat until thoroughly combined. It may appear curdled.
  6. Add the dry ingredients to the wet mixture and beat on low just until the dough comes together.
  7. Pour the blueberries on top and use your hands to gently incorporate them into the dough.
  8. Prepare the streusel by mixing together all streusel ingredients in a small bowl.
  9. Roll the dough into 2" balls and roll the top and sides of each ball in the streusel. It won’t stick very well so pat more streusel on top of each ball.
  10. Place on the prepared cookie sheet about 3" apart. It’s okay if some streusel falls off the cookies.
  11. Bake the all-purpose version for 13-16 minutes and the gluten-free version for 16-20 minutes or until lightly browned.
  12. Cool for 5 minutes on the cookie sheet and then remove to a wire rack to cool completely.
  13. Prepare the glaze. In a small bowl, mix together the sugar, 1 tablespoon lemon juice, lemon zest, vanilla extract and salt.
  14. Add additional lemon juice to reach desired consistency. Drizzle over the cooled cookies.
  15. Store in an airtight container for up to 3 days or refrigerate for up to 5 days.

Watch the recipe video here:

Blueberry Muffin Top Cookies are covered in streusel and drizzled with a lemon glaze. They’re perfect for breakfast,…

Posted by My Baking Addiction on Monday, May 6, 2019

Dessert

J. ALEXANDER’S CARROT CAKE

J. ALEXANDER'S CARROT CAKE
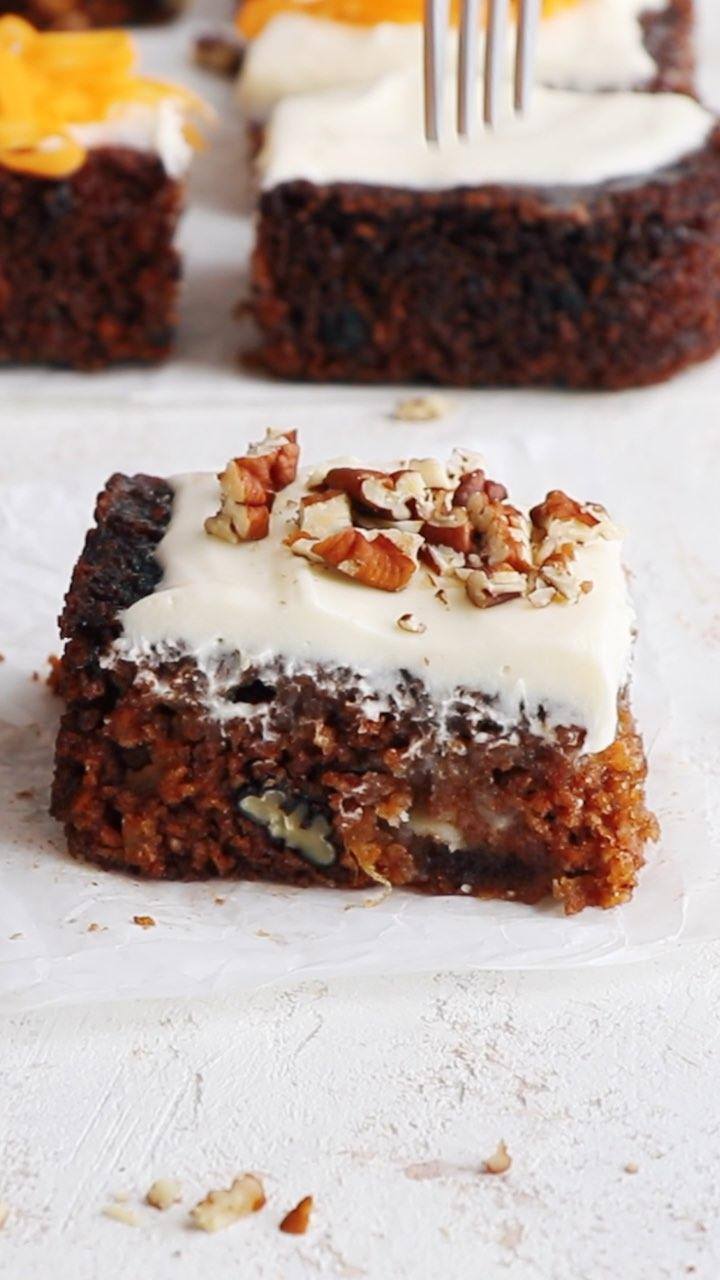
This copycat version of J. Alexander’s Carrot Cake is every bit as perfect as the original: full of carrots, pineapple and coconut, and soaked with a buttermilk syrup for a melt-in-your-mouth slice of cake.
Author:
Cuisine: American
Recipe type: Dessert
Ingredients
FOR THE CAKE:
  • 2 cups all-purpose flour
  • 1 tablespoon baking soda
  • 1 tablespoon cinnamon
  • 2 cups sugar
  • ¼ teaspoon salt
  • 3 large eggs
  • ¾ cup canola oil, plus more for pan
  • ¾ cup buttermilk
  • 2 teaspoons vanilla extract
  • 1 (8-ounce) can crushed pineapple, drained
  • 2 cups julienne carrots
  • 3 ounces shredded coconut, about 1 cup
  • 1 cup pecan pieces
FOR THE SYRUP:
  • 1 cup sugar
  • ½ cup buttermilk
  • 6 ounces (1½ sticks) unsalted butter, room temperature
  • 1 teaspoon vanilla extract
FOR THE FROSTING:
  • 6 ounces (1½ sticks) unsalted butter, room temperature
  • 8 ounces cream cheese, room temperature
  • 2 cups confectioners' sugar
Instructions
  1. Make the Carrot Cake:
  2. Generously grease a 9x13-inch cake pan, set aside. Preheat oven to 325 degrees. Mix flour, baking soda, cinnamon, sugar and salt in a large mixing bowl.
  3. Mix remaining cake ingredients in a separate medium bowl. Combine the wet ingredients with the flour mixture, mixing well.
  4. Transfer batter to prepared pan. Bake approximately 45-50 minutes or until a toothpick inserted in the center comes out clean. Cake should be 1 ½-inch thick.
  5. While the cake is still hot, poke holes all over the top with a large fork. Pour the Cake syrup over the top, allowing cake to soak up the syrup. Refrigerate cake until completely cool.
  6. Frost with Cream cheese frosting. Refrigerate cake to let frosting set.
  7. Make the Syrup:
  8. Using a medium saucepan over medium-high heat, combine ingredients. Cook, stirring occasionally, until sugar is dissolved.
  9. Make the Frosting:
  10. Using the bowl of an electric mixer fitted with a paddle attachment on medium speed, combine ingredients, mixing until smooth and free of lumps.

Watch the recipe video here:

This is hands-down one of my favorite recipes! RECIPE: https://www.mybakingaddiction.com/j-alexanders-carrot-cake/

Posted by My Baking Addiction on Wednesday, May 1, 2019