Dessert

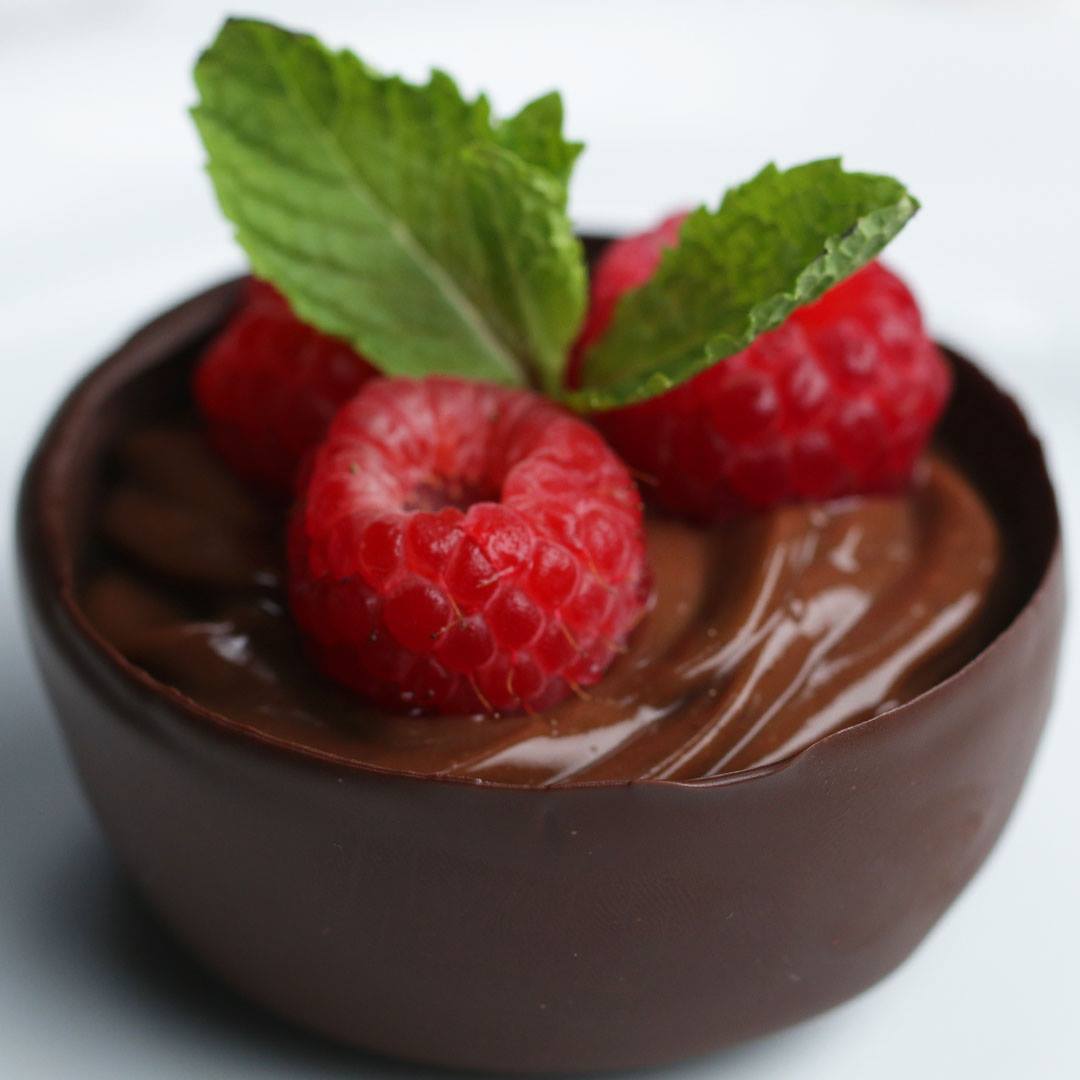
Easy Ice Cube Chocolate Cups
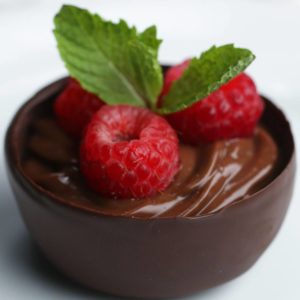
Easy Ice Cube Chocolate Cups
Author:
Cuisine: American
Recipe type: Dessert
Ingredients
  • water
  • 2 oz cream cheese, softened (55 g)
  • ¼ cup peanut butter (60 g)
  • 3 ½ teaspoons whole milk, divided
  • ½ teaspoon vanilla extract, divided
  • ¼ cup powdered sugar, plus 2 tablespoons, divided (40 g)
  • 1 pinch kosher salt
  • 1 ¼ cups whipped cream, divided (75 g)
  • 14 chocolate sandwich cookies, divided
  • 2.5 oz pudding mix, chocolate, 1 package (70 g)
  • 1 ½ cups whole milk, cold (360 mL)
  • 2 cups milk chocolate, melted (340 g)
  • 2 cups white chocolate, melted (340 g)
  • 2 cups dark chocolate, melted (340 g)
GARNISH
  • ¼ cup chopped nuts (30 g)
  • 4 mini peanut butter cups
  • 12 raspberries
  • fresh mint leaf
SPECIAL EQUIPMENT
  • 12 popsicle sticks
Instructions
  1. Please be aware, you have to place the ice cube right in the chocolate as soon as you're able to remove it from its slot otherwise it will start to melt and the chocolate will not adhere.
  2. Fill a 12-cup muffin tin with water.
  3. Place a popsicle stick into each muffin cup.
  4. Freeze until solid.
  5. In a medium bowl, whisk together the cream cheese, peanut butter, 1½ teaspoons milk, ¼ teaspoon vanilla, ¼ cup powdered sugar, and salt until smooth.
  6. Fold in ¼ cup of whipped cream with spatula. Set aside.
  7. Separate the cream from 12 chocolate sandwich cookies into a separate medium bowl.
  8. Add the remaining 2 tablespoons powdered sugar, remaining 2 teaspoons milk, and remaining ¼ teaspoon vanilla to the bowl with the cream filling. Whisk until well-combined.
  9. Fold in the remaining cup of whipped cream with a spatula. Set aside.
  10. Transfer the cookies to a zip-top bag and break into crumbs with a rolling pin. Set aside.
  11. In a small bowl, combine the chocolate pudding mix and cold milk. Whisk for 2 minutes, then let sit for 3 minutes, until the pudding thickens.
  12. Remove the muffin tin from the freezer. Give the ice a minute to melt down just enough to remove each ice mold from the muffin cups.
  13. Dip 4 of the ice discs into the melted milk chocolate, making sure not to fully submerge the ice disc. Set the chocolate-dipped ice discs onto a parchment-lined baking sheet or plate. Dip 4 of the ice discs in the melted white chocolate, and the remaining 4 discs in the melted dark chocolate.
  14. Once the chocolate has set, give the ice discs a minute to melt down slightly. Wiggle the ice disc out of the chocolate to reveal hollow chocolate cups.
  15. Pipe the peanut butter mousse into the milk chocolate cups. Top with chopped nuts and a mini peanut butter cup.
  16. Sprinkle chocolate sandwich cookie crumbs on the bottom of the white chocolate cups. Pipe the cookie cream filling on top of the crumbs. Garnish with more cookie crumbs and half of a chocolate sandwich cookie.
  17. Pipe the chocolate pudding mixture into the dark chocolate cups. Top each one with 3 raspberries and fresh mint leaves.
  18. Enjoy!

Watch the recipe video here:

These easy chocolate cups are like magic! ? Get the recipe: https://tasty.co/recipe/easy-ice-cube-chocolate-cups

Posted by BuzzFeed Food on Sunday, August 4, 2019
Main dish

Potato Chip Clusters

Potato Chip Clusters
Just three offbeat ingredients add up to one unique, delectable, no-bake treat. These super-easy, sweet-and-salty candy clusters make for merry munching during holiday trips or parties. They travel well in containers without melting or getting soft. —Donna Brockett, Kingfisher, Oklahoma
Author:
Cuisine: American
Recipe type: Main dish
Ingredients
  • 9 ounces white baking chocolate, chopped
  • 2 cups coarsely crushed ridged potato chips
  • ½ cup chopped pecans
Instructions
  1. In a large microwave-safe bowl, melt white chocolate. Stir in potato chips and pecans. Drop by tablespoonfuls onto waxed paper-lined baking sheets. Refrigerate until set.

Watch the recipe video here:

The perfect mix of sweet and salty!FULL RECIPE for Potato Chip Clusters here: https://trib.al/KnQ6tgY

Posted by Taste of Home on Sunday, August 4, 2019
Main dish

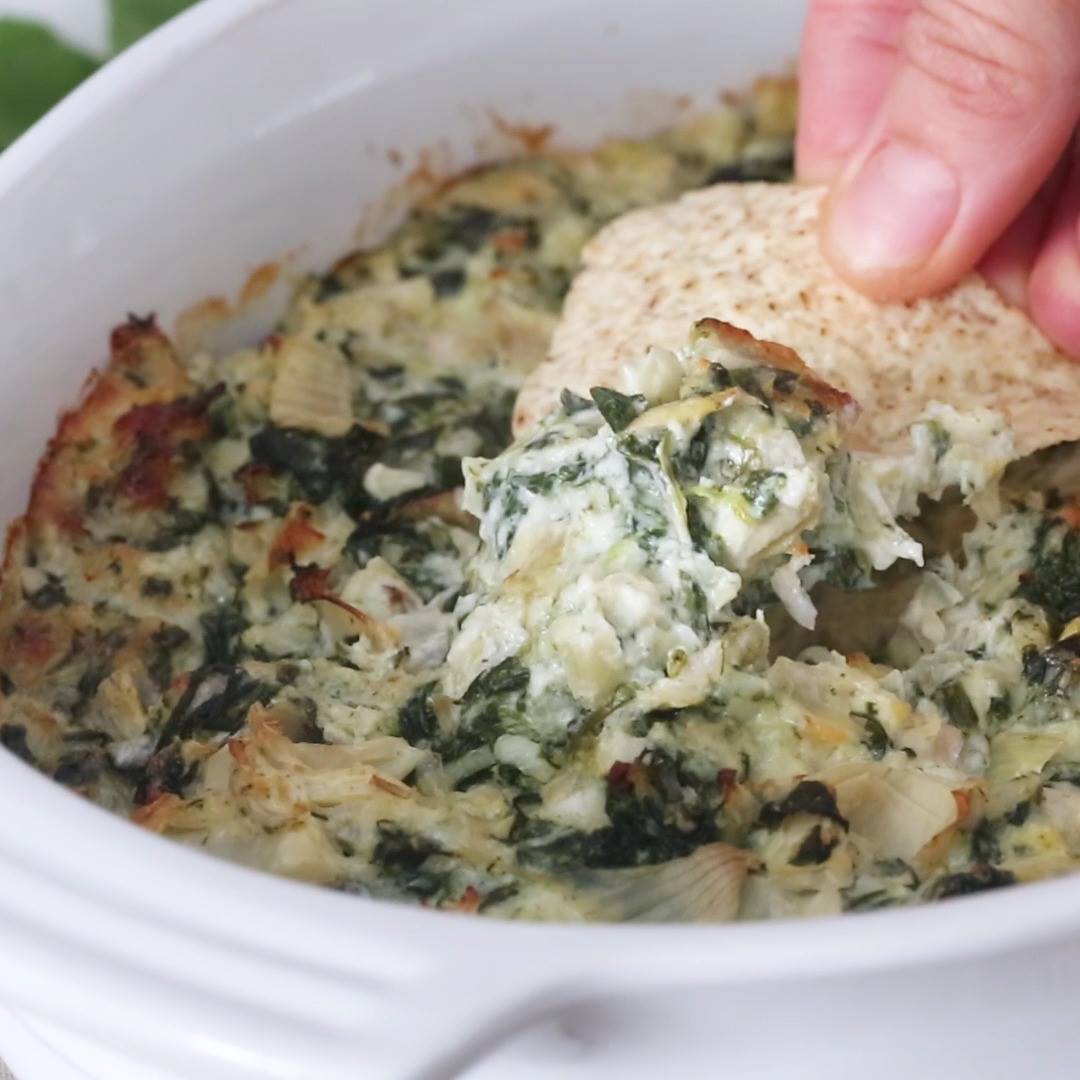
HOT SPINACH ARTICHOKE DIP

HOT SPINACH ARTICHOKE DIP
Hot and Cheesy Spinach Artichoke Dip, perfect for game day apps! Serve with chips or mini bell peppers to keep it low-carb.
Author:
Cuisine: American
Recipe type: Main dish
Ingredients
  • 13.75 oz artichoke hearts packed in water, drained
  • 10 oz frozen spinach, thawed and squeezed
  • ¼ cup chopped shallots
  • 1 clove garlic
  • ½ cup fat-free Greek yogurt
  • ½ cup light mayonnaise
  • ⅔ cup good quality grated parmesan
  • 4 oz shredded part-skim mozzarella cheese
  • salt and fresh pepper to taste
  • olive oil spray
Instructions
  1. Preheat oven to 375°F.
  2. In a small food processor, coarsely chop the artichoke hearts with the garlic and shallots.
  3. Combine all the ingredients in a medium bowl.
  4. Place in an oven-proof dish and bake at 375F for 20-25 minutes, until hot and cheese is melted. Serve right away.

Watch the recipe video here:

Hot and Cheesy Spinach Artichoke Dip, perfect for game day apps! Serve with chips or mini bell peppers to keep it…

Posted by Skinnytaste on Sunday, August 4, 2019
Dessert

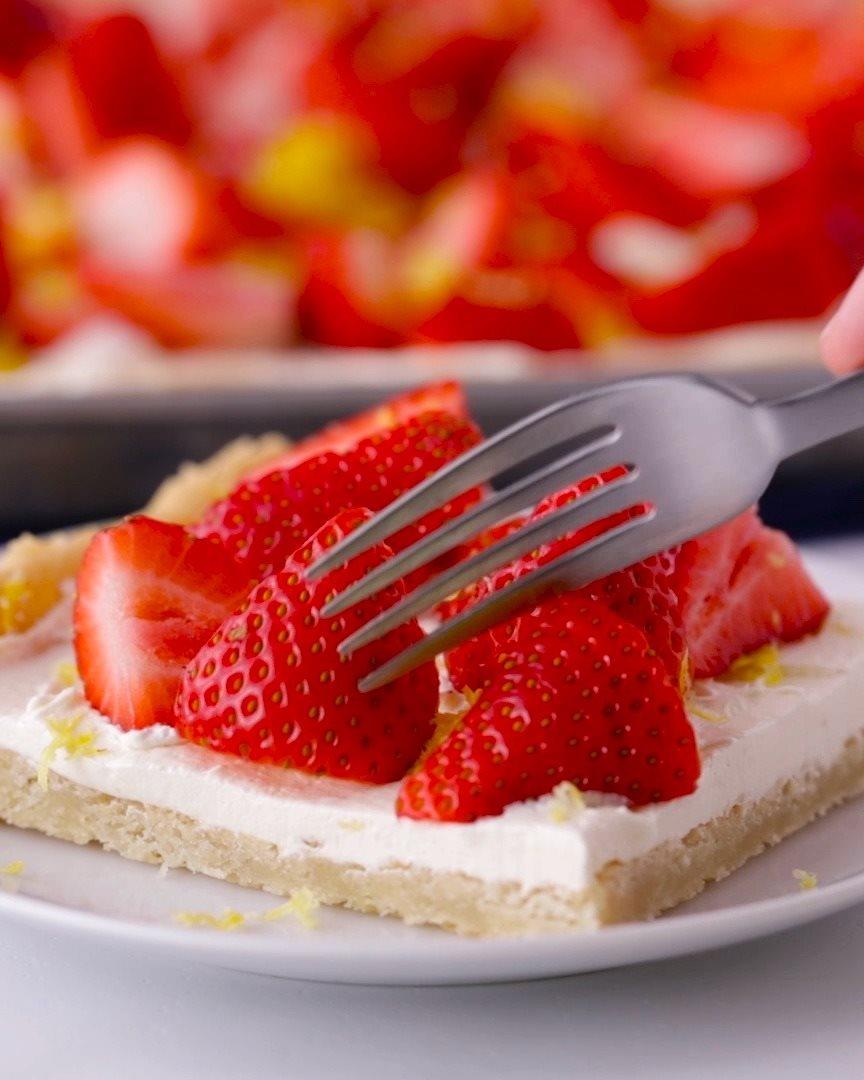
Strawberry-Lemonade Sugar Cookie Sheet-Pan Bars

Strawberry-Lemonade Sugar Cookie Sheet-Pan Bars
Fresh strawberries garnish a fluffy lemon curd topping that’s baked onto a sugar cookie crust for a sheet-pan dessert that tastes like springtime in every bite!
Author:
Cuisine: American
Recipe type: Dessert
Ingredients
  • 2 rolls (16.5 oz each) Pillsbury™ refrigerated sugar cookies
  • 1 jar (10 oz) lemon curd
  • 2 cups (from 8-oz container) Cool Whip™ frozen whipped topping, thawed
  • 4 icups chopped fresh strawberries (25 medium)
  • 1 tablespoon finely grated lemon zest, if desired
Instructions
  1. Heat oven to 350°F. Spray 15x10x1-inch pan with cooking spray. Break cookie dough into pieces; press evenly in bottom and up sides of pan.
  2. Bake 18 to 22 minutes or until golden brown. Cool completely, at least 1 hour.
  3. When ready to serve, in medium bowl, beat lemon curd and whipped topping with spoon until blended. Spread over baked crust. Top with chopped berries and lemon zest. Store loosely covered in refrigerator.

Watch the recipe video here:

This crowd-pleasing sheet-pan dessert tastes like summertime and happiness. Strawberry-Lemonade Sugar Cookie Sheet-Pan…

Posted by Pillsbury on Sunday, August 4, 2019
Dessert

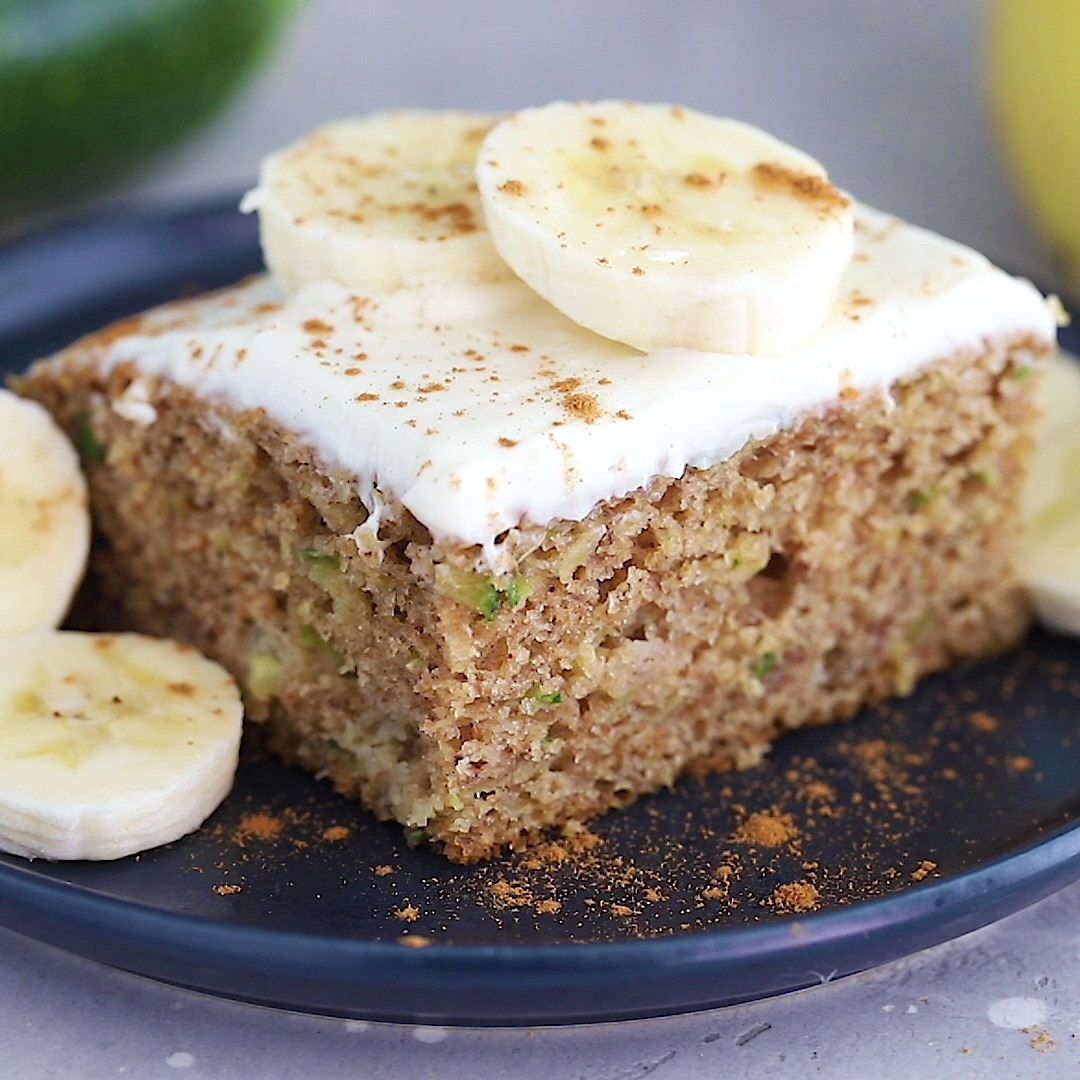
BANANA ZUCCHINI CAKE WITH CREAM CHEESE FROSTING

BANANA ZUCCHINI CAKE WITH CREAM CHEESE FROSTING
Fruity, moist and delicious, this banana and zucchini cake is crazy delicious!
Author:
Cuisine: American
Recipe type: Dessert
Ingredients
  • ¾ cup all-purpose flour
  • ¾ cup whole wheat flour
  • 2 teaspoons baking soda
  • 1 teaspoon salt
  • 1 teaspoon ground cinnamon
  • ¼ teaspoon nutmeg
  • ¼ teaspoon ground ginger
  • ⅔ cup honey
  • 2 tablespoons vegetable oil
  • 2 large eggs
  • 1 teaspoon vanilla extract
  • 2 cups mashed ripe bananas, from 5 small
  • 8 ounce zucchini, grated and squeezed well
  • 8 ounce can crushed pineapple in juice, drained well
FOR THE FROSTING:
  • 8 oz ⅓-less fat Philadelphia Cream Cheese
  • ¼ cup powdered sugar
  • 2 teaspoons vanilla extract
Instructions
  1. To prepare frosting, beat together cream cheese, powdered sugar and vanilla until smooth. Refrigerate until ready to use.
  2. Preheat oven to 350°F. Spray bottom of 13x9x2-inch nonstick metal pan with cooking spray.
  3. In a large bowl, combine flour, baking soda, salt, and spices; stir well with a whisk.
  4. In a medium bowl, combine honey, oil, eggs, and vanilla; stir well. Add zucchini, banana and pineapple; mix well.
  5. Fold wet ingredients with the dry ingredients and mix well with a spatula until combined.
  6. Spoon batter into the sheet pan.
  7. Bake at 350F for about 45 minutes, or until a wooden toothpick inserted in the center comes out clean.
  8. Cool completely on a wire rack.
  9. Spread frosting over the cake once cooled and cut into 16 pieces.

Watch the recipe video here:

Fruity, moist and delicious, this banana and zucchini cake is crazy delicious! 6 Freestyle Points • 172 Calorieshttps://www.skinnytaste.com/banana-zucchini-cake-with-cream-cheese-frosting/

Posted by Skinnytaste on Sunday, August 4, 2019
Main dish

Crunchy Ramen Salad

Crunchy Ramen Salad
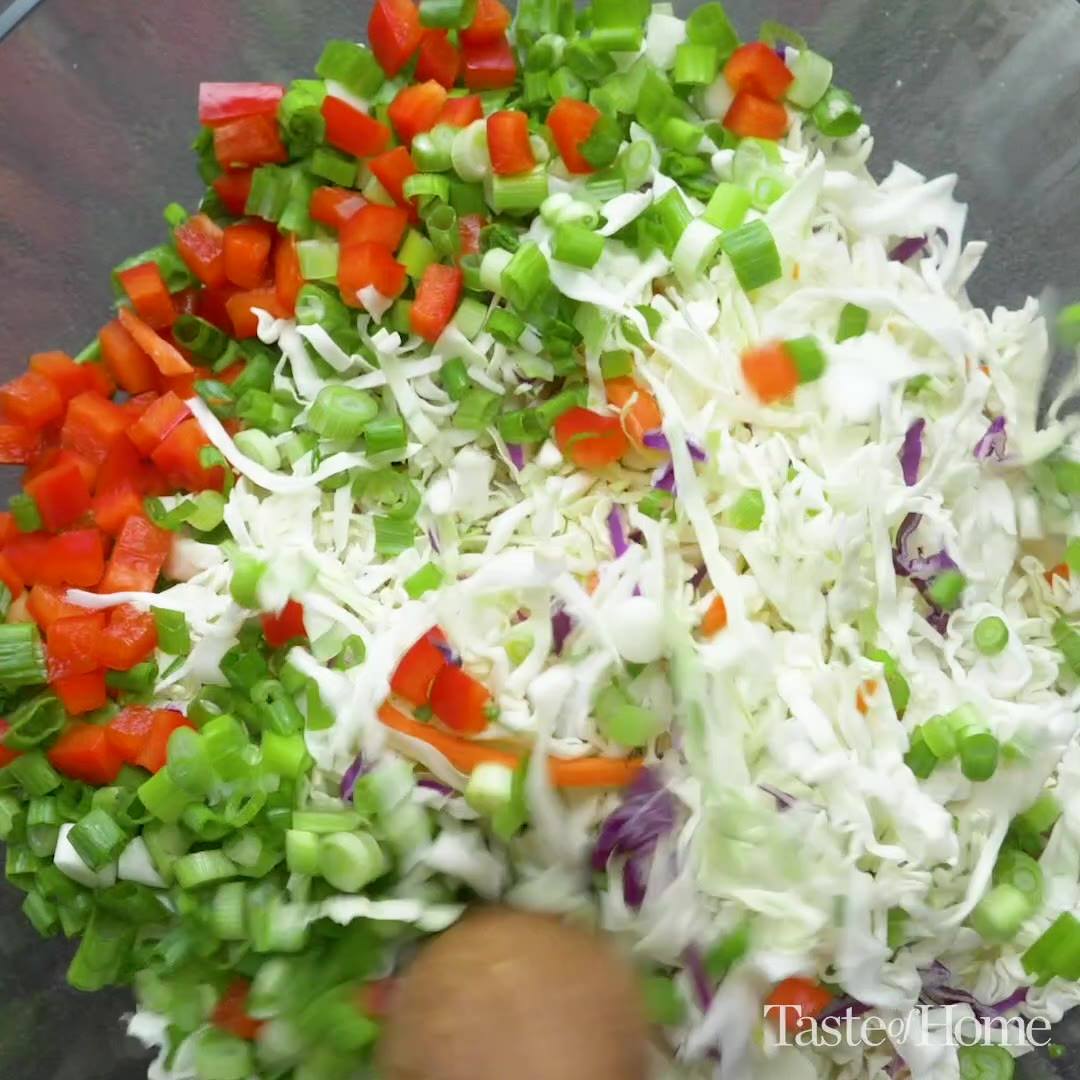
For potlucks and picnics, this ramen cabbage salad is a knockout. I tote the veggies in a bowl, dressing in a jar and noodles in a bag. Then I shake them up together when it's time to eat. —LJ Porter, Bauxite, Arkansas
Author:
Cuisine: American
Recipe type: Main dish
Ingredients
  • 1 tablespoon plus ½ cup olive oil, divided
  • ½ cup slivered almonds
  • ½ cup sunflower kernels
  • 2 packages (14 ounces each) coleslaw mix
  • 12 green onions, chopped (about 1-1/2 cups)
  • 1 medium sweet red pepper, chopped
  • ⅓ cup cider vinegar
  • ¼ cup sugar
  • ⅛ teaspoon pepper
  • 2 packages (3 ounces each) chicken ramen noodles
Instructions
  1. In a large skillet, heat 1 tablespoon oil over medium heat. Add almonds and sunflower kernels; cook until toasted, about 4 minutes. Cool.
  2. In a large bowl, combine coleslaw mix, onions and red pepper. In a small bowl, whisk vinegar, sugar, pepper, contents of ramen seasoning packets and remaining oil. Pour over salad; toss to coat. Refrigerate until serving. Break noodles into small pieces. Just before serving, stir in noodles, almonds and sunflower kernels.

Watch the recipe video here:

This ramen cabbage salad is a knockout at summer picnics and potlucks!Get the full recipe here –> https://trib.al/YUtaPEJ

Posted by Taste of Home on Sunday, August 4, 2019
Main dish

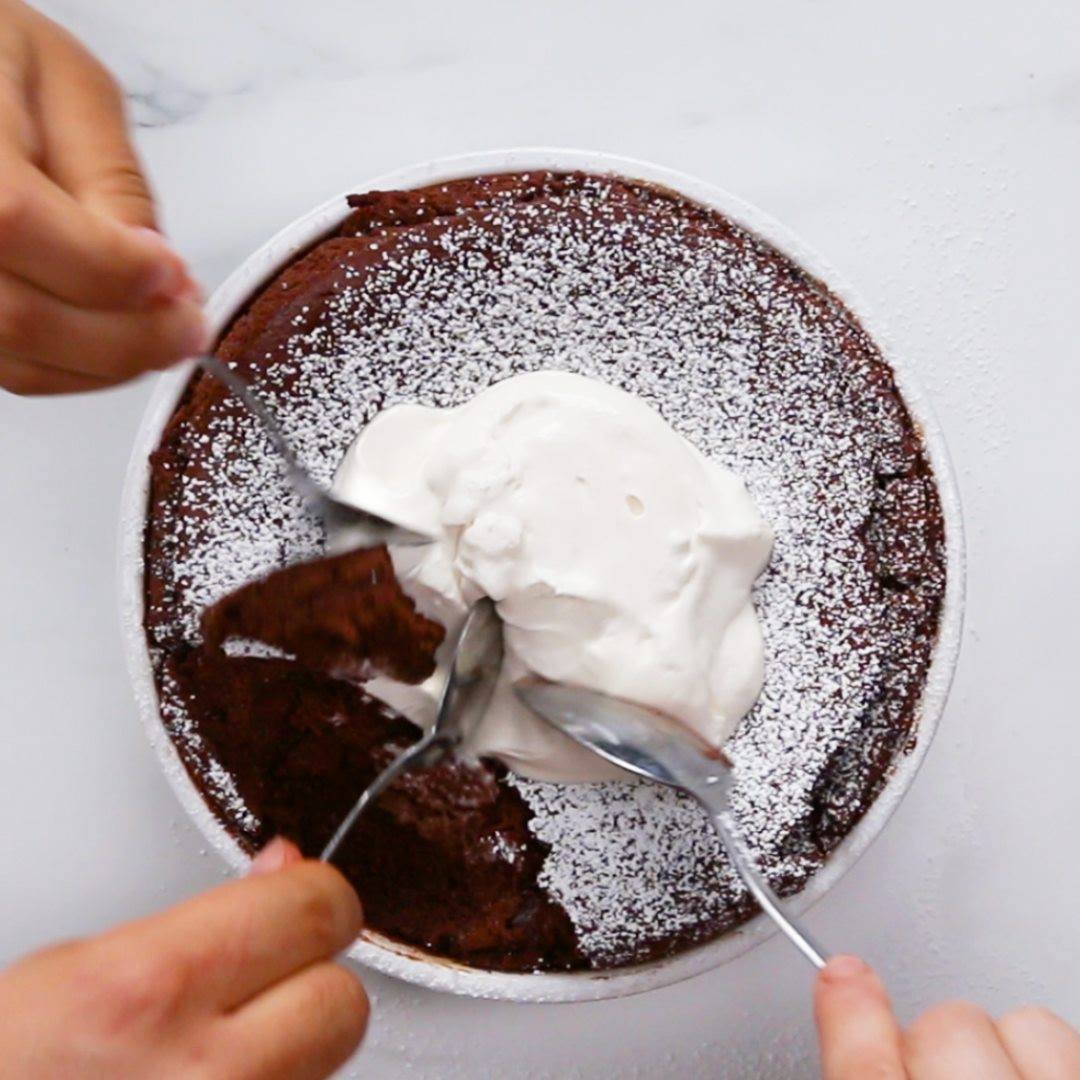
Giant Chocolate Soufflé

Giant Chocolate Soufflé
BIG souffle, BIG taste!
Author:
Cuisine: American
Recipe type: Main dish
Ingredients
  • 2 tablespoons unsalted butter, softened, for greasing
  • ¾ cup granulated sugar, divided (150 g)
  • 2 ½ cups whole milk (600 mL)
  • 12 oz semisweet chocolate, chopped (340 g)
  • 6 large eggs, separated
  • ¼ cup all-purpose flour (30 g)
  • ½ teaspoon salt
  • 1 teaspoon vanilla extract
  • ½ teaspoon cream of tartar
  • powdered sugar, for topping
  • whipped cream, for topping
SPECIAL EQUIPMENT
  • 1 ½ qt ramekins (1 ½ L)
Instructions
  1. Preheat the oven to 400°F (200°C) and position a rack at the bottom of the oven, removing the other rack.
  2. Grease the ramekin with the softened butter and pour in ¼ cup (50 g) of sugar. Tilt the ramekin to coat with sugar evenly, then pour out the excess and set the ramekin aside.
  3. In a medium saucepan, scald the milk over medium heat. Just before boiling, remove the milk from the heat and whisk in the chopped chocolate until melted. Set aside.
  4. In a large bowl, whisk together the egg yolks, ¼ cup (50 g) of sugar, the flour, salt, and vanilla, until smooth.
  5. Add ½ cup (120 ml) of the chocolate milk mixture to the yolks and whisk until combined. This will temper the egg yolks so they don’t curdle when added to the rest of the chocolate mixture.
  6. Return the pan with the remaining chocolate milk mixture back to the stove over medium heat and pour in the chocolate egg yolk mixture. Whisk constantly until thick.
  7. Remove the chocolate pastry cream from the heat and transfer to a large bowl. Cover with plastic wrap, making sure the plastic touches the surface to prevent a skin from forming. Chill in the refrigerator for 30 minutes.
  8. In a large bowl, combine the egg whites and cream of tartar. With an electric hand mixer, whip the egg whites until they turn opaque and leave trails. Gradually add the remaining ¼ cup (50 g) of sugar and beat until stiff peaks form.
  9. Spoon about 1 cup (240 ml) of the whites into the chocolate pastry cream. Fold until no white streaks remain. Gently fold in the rest of the whites in 2 additions, being careful not to deflate the whites. Once no white streaks are visible, transfer the batter to the prepared ramekin and smooth out the top.
  10. Run your thumb between the outside edge of the dish and the batter to create a border.
  11. Reduce the oven temperature to 375°F (190°C), then immediately place the soufflé in the oven and bake for 45-50 minutes, until the soufflé has risen over the edge of the dish. Do not open the oven while baking.
  12. Dust the soufflé with powdered sugar and top with whipped cream.
  13. Enjoy!

Watch the recipe video here:

BIG souffle, BIG taste! ??FULL RECIPE: https://tasty.co/recipe/giant-chocolate-souffle

Posted by Proper Tasty on Monday, August 5, 2019

Main dish

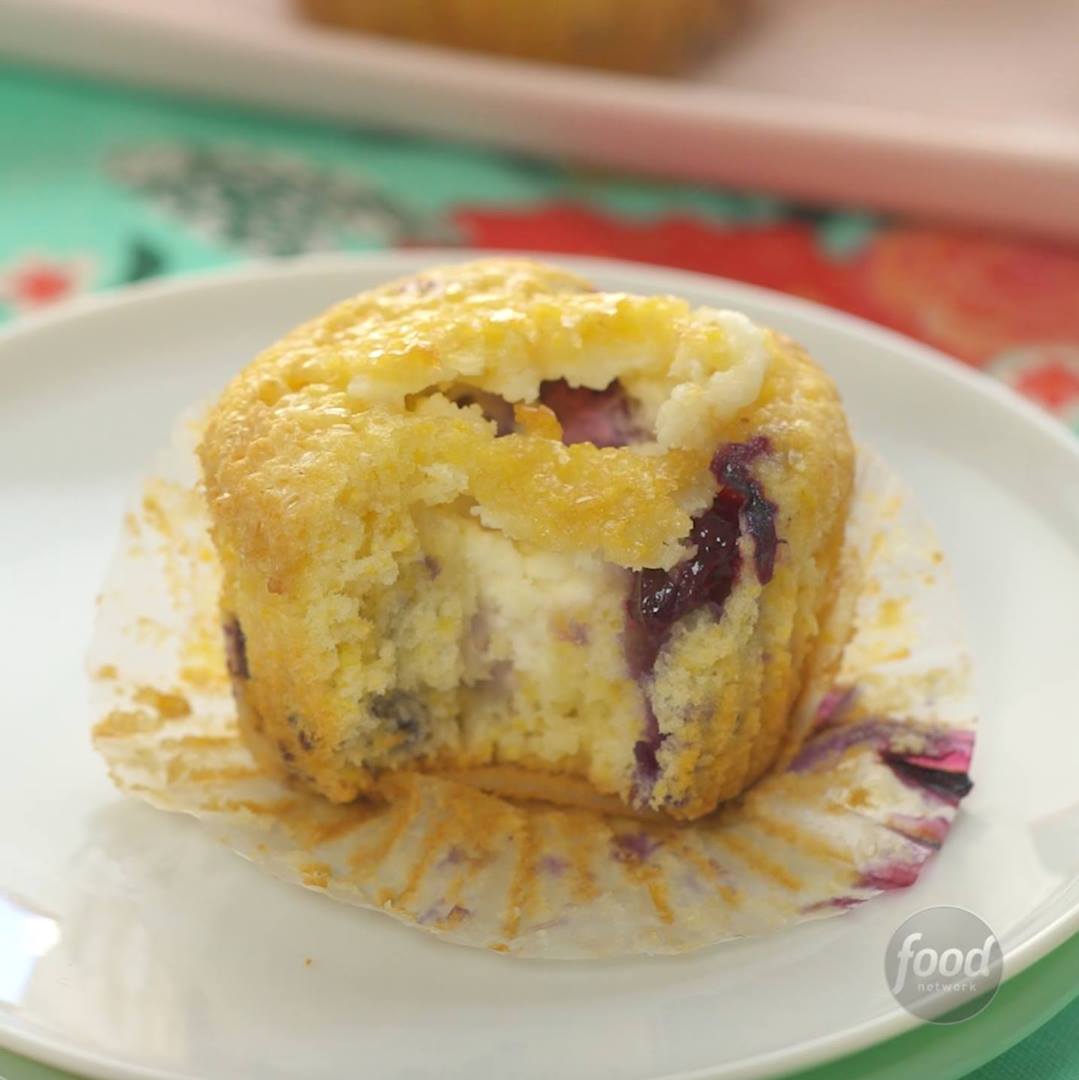
Cheesecake-Stuffed Blueberry Muffin

Cheesecake-Stuffed Blueberry Muffin
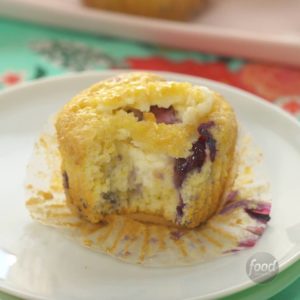
Bran muffins beware -- beneath the sugary tops of these dump-and-stir blueberry muffins is a creamy cheesecake surprise that makes them the only muffin you'll crave. Eat them for breakfast or dessert and add a little lemon zest to the batter if you like yours with some citrus zing.
Author:
Cuisine: American
Recipe type: Main dish
Ingredients
Cheesecake Filling:
  • 4 ounces cream cheese, at room temperature
  • ¼ cup sour cream
  • 3 tablespoons granulated sugar
Batter:
  • Nonstick cooking spray
  • 1¾ cups all-purpose flour (see Cook's Note)
  • ½ cup yellow cornmeal
  • ¾ cup granulated sugar
  • 2 teaspoons baking powder
  • ½ teaspoon fine salt
  • ½ cup whole milk
  • ½ cup vegetable oil
  • 1 teaspoon pure vanilla extract
  • 2 large eggs
  • ¾ cup blueberries
  • ¼ cup coarse sugar
Instructions
  1. Preheat the oven to 375 degrees F.
  2. For the cheesecake filling: Whisk together the cream cheese, sour cream and granulated sugar in a small bowl until well combined. Transfer to a medium plastic resealable bag and refrigerate until ready to use.
  3. For the batter: Line a 12-cup muffin tin with liners and coat with nonstick spray.
  4. Whisk together the flour, cornmeal, sugar, baking powder and salt in a medium bowl. Whisk together the milk, oil, vanilla and eggs in a large bowl. Fold the flour mixture into the egg mixture until well combined and smooth. Gently fold in the blueberries.
  5. Fill each muffin cup about three-quarters of the way with batter. Snip the tip off the plastic bag. Insert the tip into the center of each cup and pipe some of the cream cheese mixture into the batter. Sprinkle the top of each cup with 1 teaspoon coarse sugar. Bake until golden brown and a toothpick inserted in the side the muffins come out clean (not the cream cheese center), 14 to 16 minutes. Cool the muffins in the pan on a rack. Serve at room temperature.
Cook’s Note
  1. When measuring flour, we spoon it into a dry measuring cup and level off the excess. (Scooping directly from the bag compacts the flour, resulting in dry baked goods.)

Watch the recipe video here:

These Blueberry Muffins have a creamy cheesecake surprise inside…? WHAT ARE YOU WAITING FOR?Get the recipe: https://foodtv.com/337KlnZ!

Posted by Food Network on Monday, August 5, 2019

Main dish

Chocolate Chip Cheesecake Bars

Chocolate Chip Cheesecake Bars
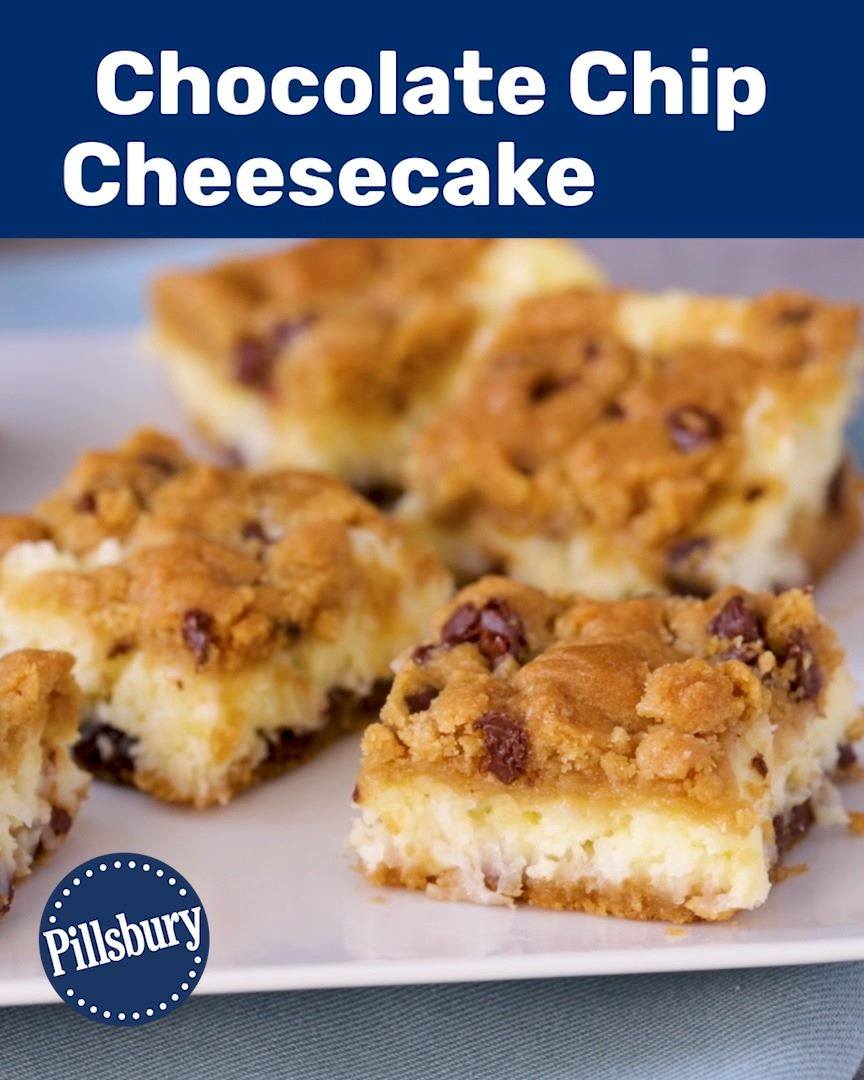
You no longer have to pick between your two favorite desserts! Starting with Pillsbury™ refrigerated cookie dough, this creamy cheesecake filling is spread onto a chocolate chip cookie crust for a dessert that has the best of both worlds. These chocolate chip cheesecake bars are the perfect addition to your next family gathering or dinner party with friends. Bonus: This recipe yields 16 servings, so there’s more than enough to share. Any leftovers (if there are any) can be stored in the fridge for up to 3 days, but we don’t think you’ll have any problem getting rid of them.
Author:
Cuisine: American
Recipe type: Main dish
Ingredients
  • 1 package (8 oz) cream cheese, softened
  • ½ cup sugar
  • 1 egg
  • ½ cup coconut, if desired
  • 1 roll (16.5 oz) Pillsbury™ refrigerated chocolate chip cookies
Instructions
  1. Heat oven to 350°F. In small bowl, beat cream cheese, sugar and egg until smooth. Stir in coconut.
  2. In ungreased, 9- or 8-inch square pan, break up half of cookie dough. With floured fingers, press dough evenly in bottom of pan to form crust. Spread cream cheese mixture over dough. Crumble and sprinkle remaining half of dough over cream cheese mixture.
  3. Bake 35 to 40 minutes or until golden brown and firm to the touch. Cool 30 minutes. Refrigerate at least 2 hours or until chilled. For bars, cut into 4 rows by 4 rows. Store in refrigerator.

Watch the recipe video here:

Cheesecake or chocolate chip cookies? Why not cheesecake AND chocolate chip cookies. Chocolate Chip Cheesecake Bars…

Posted by Pillsbury on Saturday, August 3, 2019

Main dish

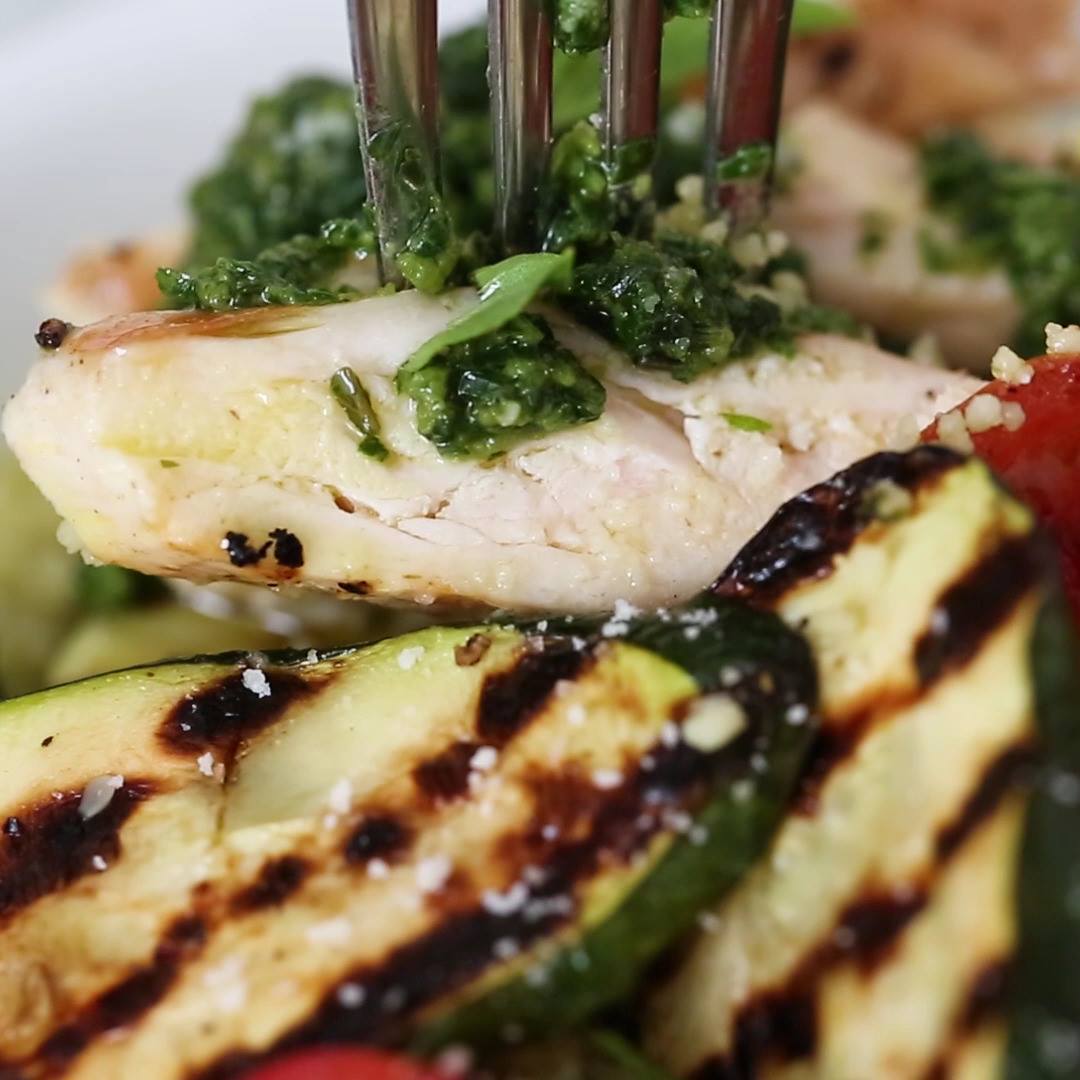
GRILLED PESTO CHICKEN COUSCOUS BOWLS

GRILLED PESTO CHICKEN COUSCOUS BOWLS
Juicy grilled chicken, zucchini and tomatoes topped with a light spinach-arugula basil pesto served over couscous.
Author:
Cuisine: American
Recipe type: Main dish
Ingredients
  • 1 cup original Earthly Grains Couscous
  • 1⅓ cups boiling water
  • Kosher salt and Stonemill Ground Black Pepper
  • 2 medium zucchini, diagonally sliced ¼ inch thick
  • 6 medium Campari tomatoes, halved
  • Carlini Olive Oil Cooking Spray
  • 4 boneless Never Any! Fresh Organic Chicken Breasts, 6 ounces each
  • Spinach Arugula Pesto
  • ½ cup fresh packed basil leaves
  • ½ cup fresh packed SimplyNature Organic Baby Spinach & Arugula Mix
  • 1 clove garlic
  • ¼ cup grated Priano Parmesan
  • Stonemill Salt
  • Stonemill Ground Black Pepper, to taste
  • 3 tablespoons SimplyNature Extra Virgin Olive Oil
Instructions
  1. To make the pesto: In a food processor, pulse basil, spinach and arugula mix, garlic, parmesan cheese, salt and pepper until smooth. Slowly add the olive oil while pulsing.
  2. Place couscous in a medium, heat-proof bowl. Add boiling water and ¼ teaspoon salt. Cover.
  3. Let stand for 5 minutes or until liquid has been absorbed. Fluff couscous with a fork to separate grains.
  4. Add 2 tablespoons of the pesto. Toss to combine and set aside.
  5. Pound the thicker end of the chicken to make both sides leveled out so they cook evenly.
  6. Spritz with oil and season with ½ teaspoon salt and black pepper.
  7. Heat a grill or grill pan on medium-high heat.
  8. Spritz the zucchini and tomato all over with olive oil, season with salt and pepper.
  9. Cook zucchini, in batches, for 2 to 3 minutes each side or until tender. Transfer to a baking sheet. Cover to keep warm.
  10. Add tomato to the grill. Cook, turning, for 1 to 2 minutes or until softened.
  11. Cook the chicken 3 to 4 minutes each side or until browned and cooked through. Slice.
  12. Divide couscous between 4 plates, ¾ cup each.
  13. Top with vegetables and chicken. Drizzle with remaining pesto. Serve.

Grilled Pesto Chicken Couscous Bowls, so summery and fresh!9 Freestyle Points • 505 Calories https://www.skinnytaste.com/grilled-pesto-chicken-couscous-bowls/

Posted by Skinnytaste on Saturday, August 3, 2019