Showing 1,528 Result(s)
Main dish

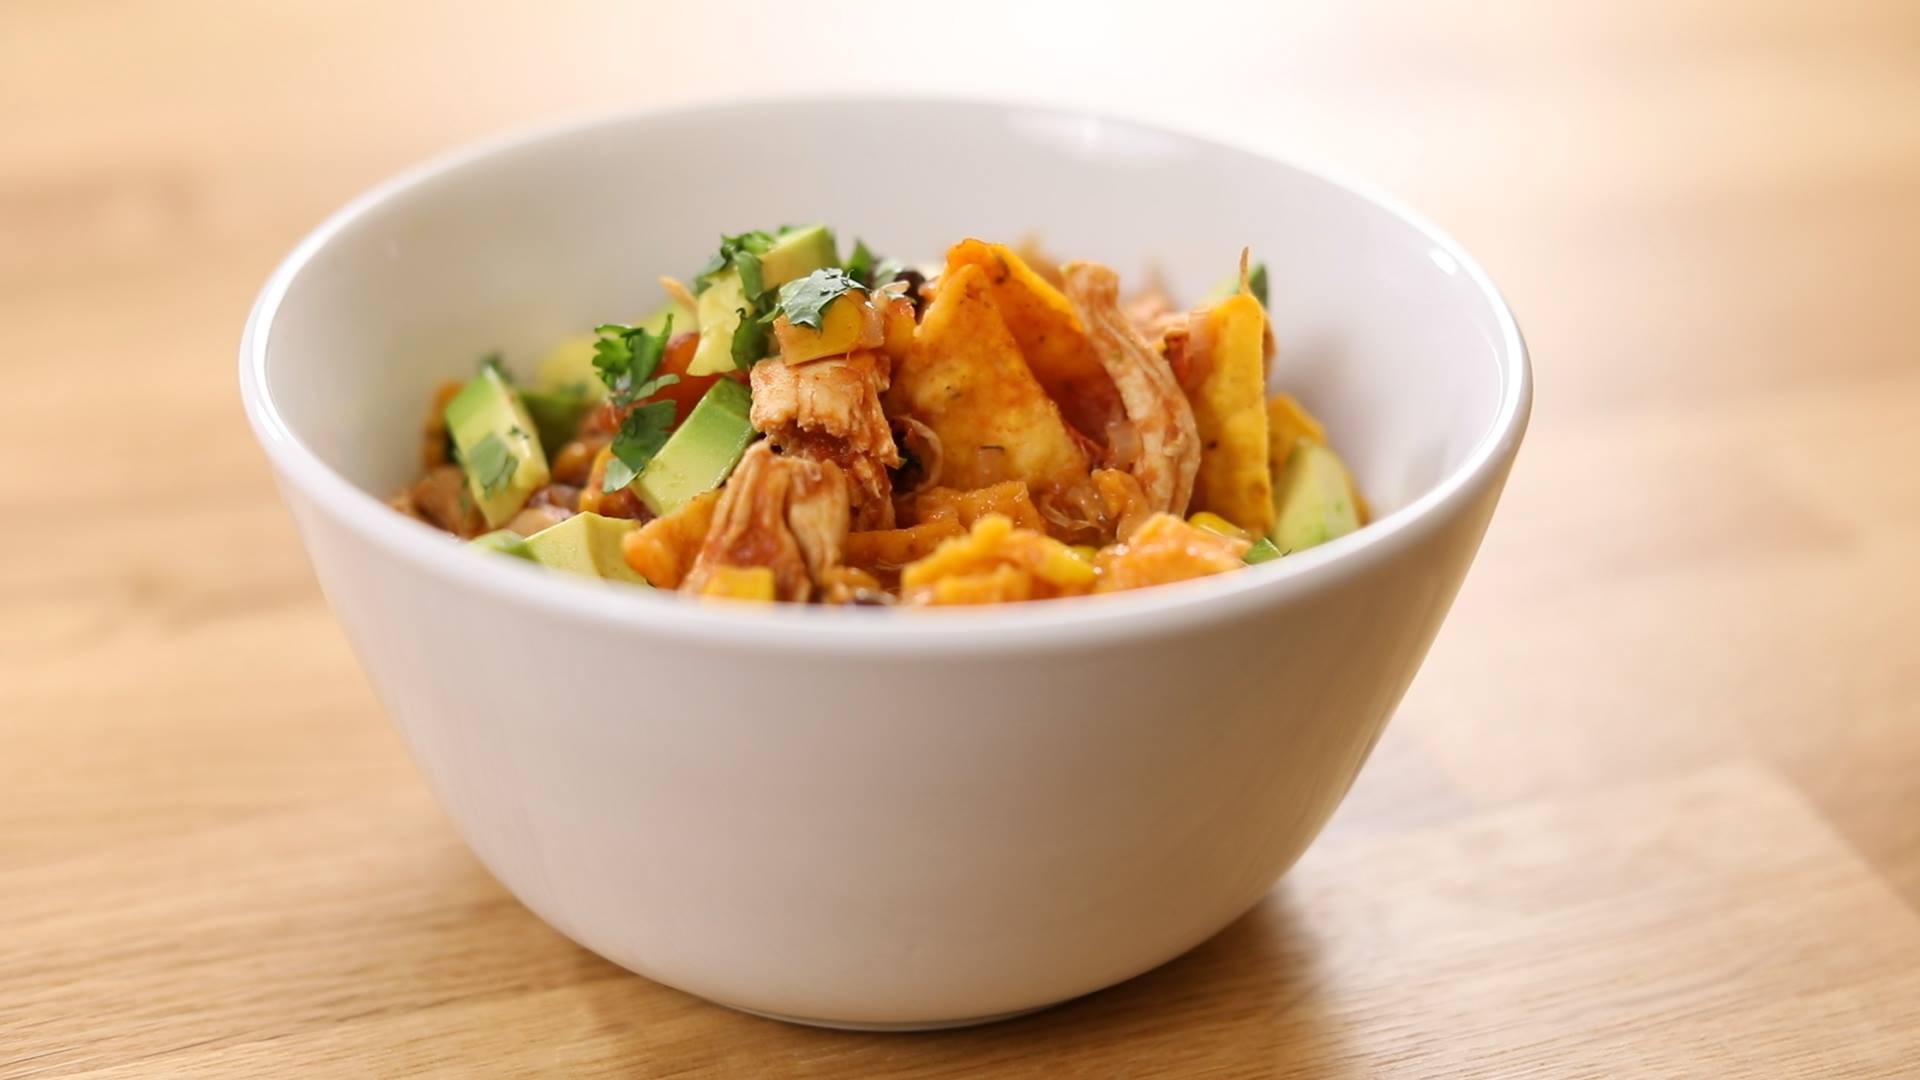
Instant Pot Chicken Tortilla Soup
Instant Pot Chicken Tortilla Soup
I love chicken tortilla soup, but I hardly ever make it because it takes so long to get a flavorful broth and really tender chicken. That’s where the Instant Pot comes in – the high pressure cooks everything quickly, and all the flavors get melded together in a fraction of the time. Home late, but trying to resist the temptation for a fast-food fix? This one-pot chicken tortilla soup recipe is a great solution. It combines frozen chicken and corn with beans, tomatoes, and stock from your pantry. It’s kid-friendly but is pretty enough to serve for guests. And it’s ready in just 30 minutes! Just because it’s a weeknight dinner doesn’t mean it can’t be gorgeous and tasty. Ladling the hot soup over crunchy chips right before serving melts the cheese for a fantastic texture combination. Psst…don’t tell the kids, but it’s also loaded with protein and vegetables. Want it spicier? Use two packets of taco seasoning instead of one and bring on the jalapenos!
Author:
Cuisine: African
Recipe type: Main dish
Ingredients
  • 1 lb frozen chicken breasts (about 2)
  • 1 14.5 oz can black beans, rinsed and drained (or 2 cups cooked)
  • 2 cups frozen corn
  • 1 large onion, finely diced
  • 1 cup diced tomato
  • 6 oz tomato paste
  • 32 oz chicken or vegetable stock
  • ¼ cup prepared taco seasoning (1 pouch)
  • ⅔ cup shredded Mexican blend cheese
  • 4-5 cups tortilla chips
  • Diced avocado and finely chopped cilantro for garnish
Instructions
  1. Place all ingredients in the Instant Pot. Secure the lid, making sure the vent is closed.
  2. Using the display panel select the MANUAL function*. Use the +/- buttons and program the Instant Pot for 15 minutes.
  3. When the time is up, quick-release the pressure. Shred any remaining large pieces of chicken and return to the pot.
  4. Meanwhile, in each serving bowl place ⅔ cup tortilla chips sprinkled with 2 tablespoons shredded cheese. Ladle hot soup over chips and cheese just before serving.
  5. Serve with diced, fresh avocado and cilantro.
  6. *If your Instant Pot does not have a MANUAL function, use the Pressure Cook function.

Watch the recipe video here:

Instant Pot Chicken Tortilla SoupFULL RECIPE: http://chopsecrets.com/instant-pot-chicken-tortilla-soup/

Posted by Chop Secrets on Saturday, March 2, 2019
Main dish

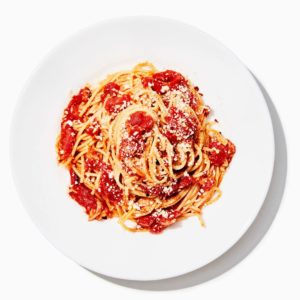
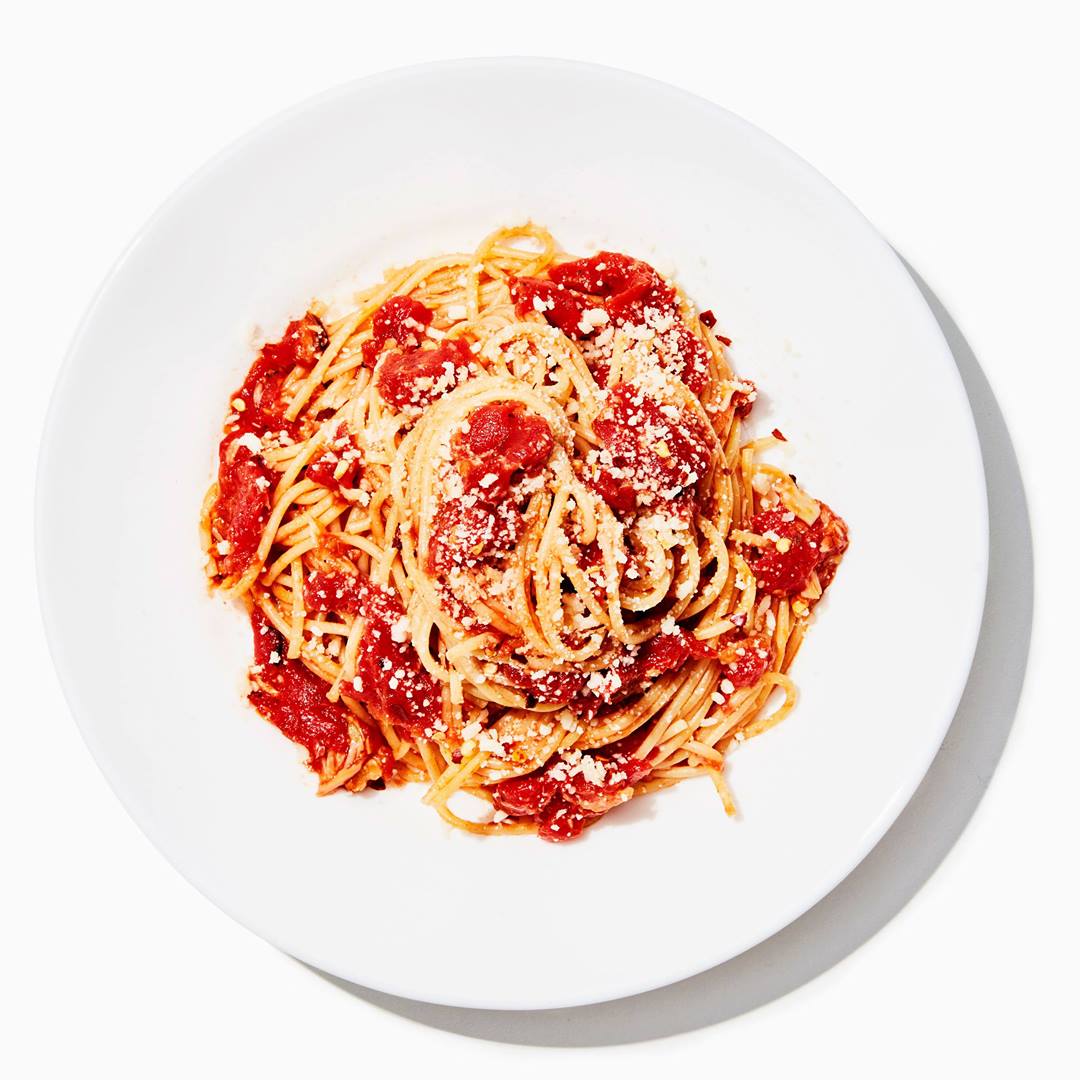
Bucatini with Butter-Roasted Tomato Sauce

Bucatini with Butter-Roasted Tomato Sauce
We love the way that roasting intensifies the flavor of canned tomatoes. While we're pretty obsessed with the texture of bucatini, a strand pasta with a hole running through it, this dish is every bit as delicious with spaghetti, linguine, or even rigatoni.
Author:
Cuisine: American
Recipe type: Main dish
Ingredients
  • 8 garlic cloves
  • ¼ cup (½ stick) unsalted butter
  • 1 28-ounce can whole peeled tomatoes
  • 2 anchovy fillets packed in oil
  • ½ teaspoon crushed red pepper flakes, plus more for serving
  • Kosher salt
  • Freshly ground black pepper
  • 12 ounces bucatini or spaghetti
  • Finely grated Parmesan (for serving)
Instructions
  1. Preheat oven to 425°. Crush 8 garlic cloves with the flat side of a chef's knife and remove peel. Cut ¼ cup (½ stick) butter into small pieces (about ½").
  2. Empty 28 oz. can of tomatoes into a 13x9" baking dish and crush lightly with your hands. Watch out for flying tomato juices. Scatter garlic, butter pieces, 2 anchovies, and ½ tsp. red pepper flakes over tomatoes; season with salt and black pepper.
  3. Roast tomatoes, tossing halfway through, until garlic is very soft and mixture is thick and jammy, 35–40 minutes. While tomatoes are roasting, bring a large pot of water (4-6 qt.) to a boil over high heat and add a small fistful of salt.
  4. Remove pan from oven and let sauce cool slightly. Using a potato masher or fork, break up garlic and tomatoes until mixture looks like coarse applesauce.
  5. Cook 12 oz. bucatini or spaghetti in pot of boiling water, stirring occasionally with tongs, according to package instructions for al dente. Toward end of cook time, use a heatproof measuring cup to scoop out and reserve ½ cup pasta cooking liquid. Drain pasta in a colander; reserve pot.
  6. Return pasta to pot and add tomato sauce and pasta cooking liquid. Cook over medium-high heat, tossing with tongs, until sauce coats pasta, about 3 minutes.
  7. Divide pasta among plates. Serve topped with Parmesan and more red pepper flakes.
Do Ahead: Tomato sauce can be made 4 days ahead. Let cool; cover and chill. Reheat before mixing with pasta.

Watch the recipe video here:

Because you need more butter-roasted things in your life. (via Basically)Recipe: http://bonap.it/8kyDbdY

Posted by Bon Appétit Magazine on Saturday, March 2, 2019

Main dish

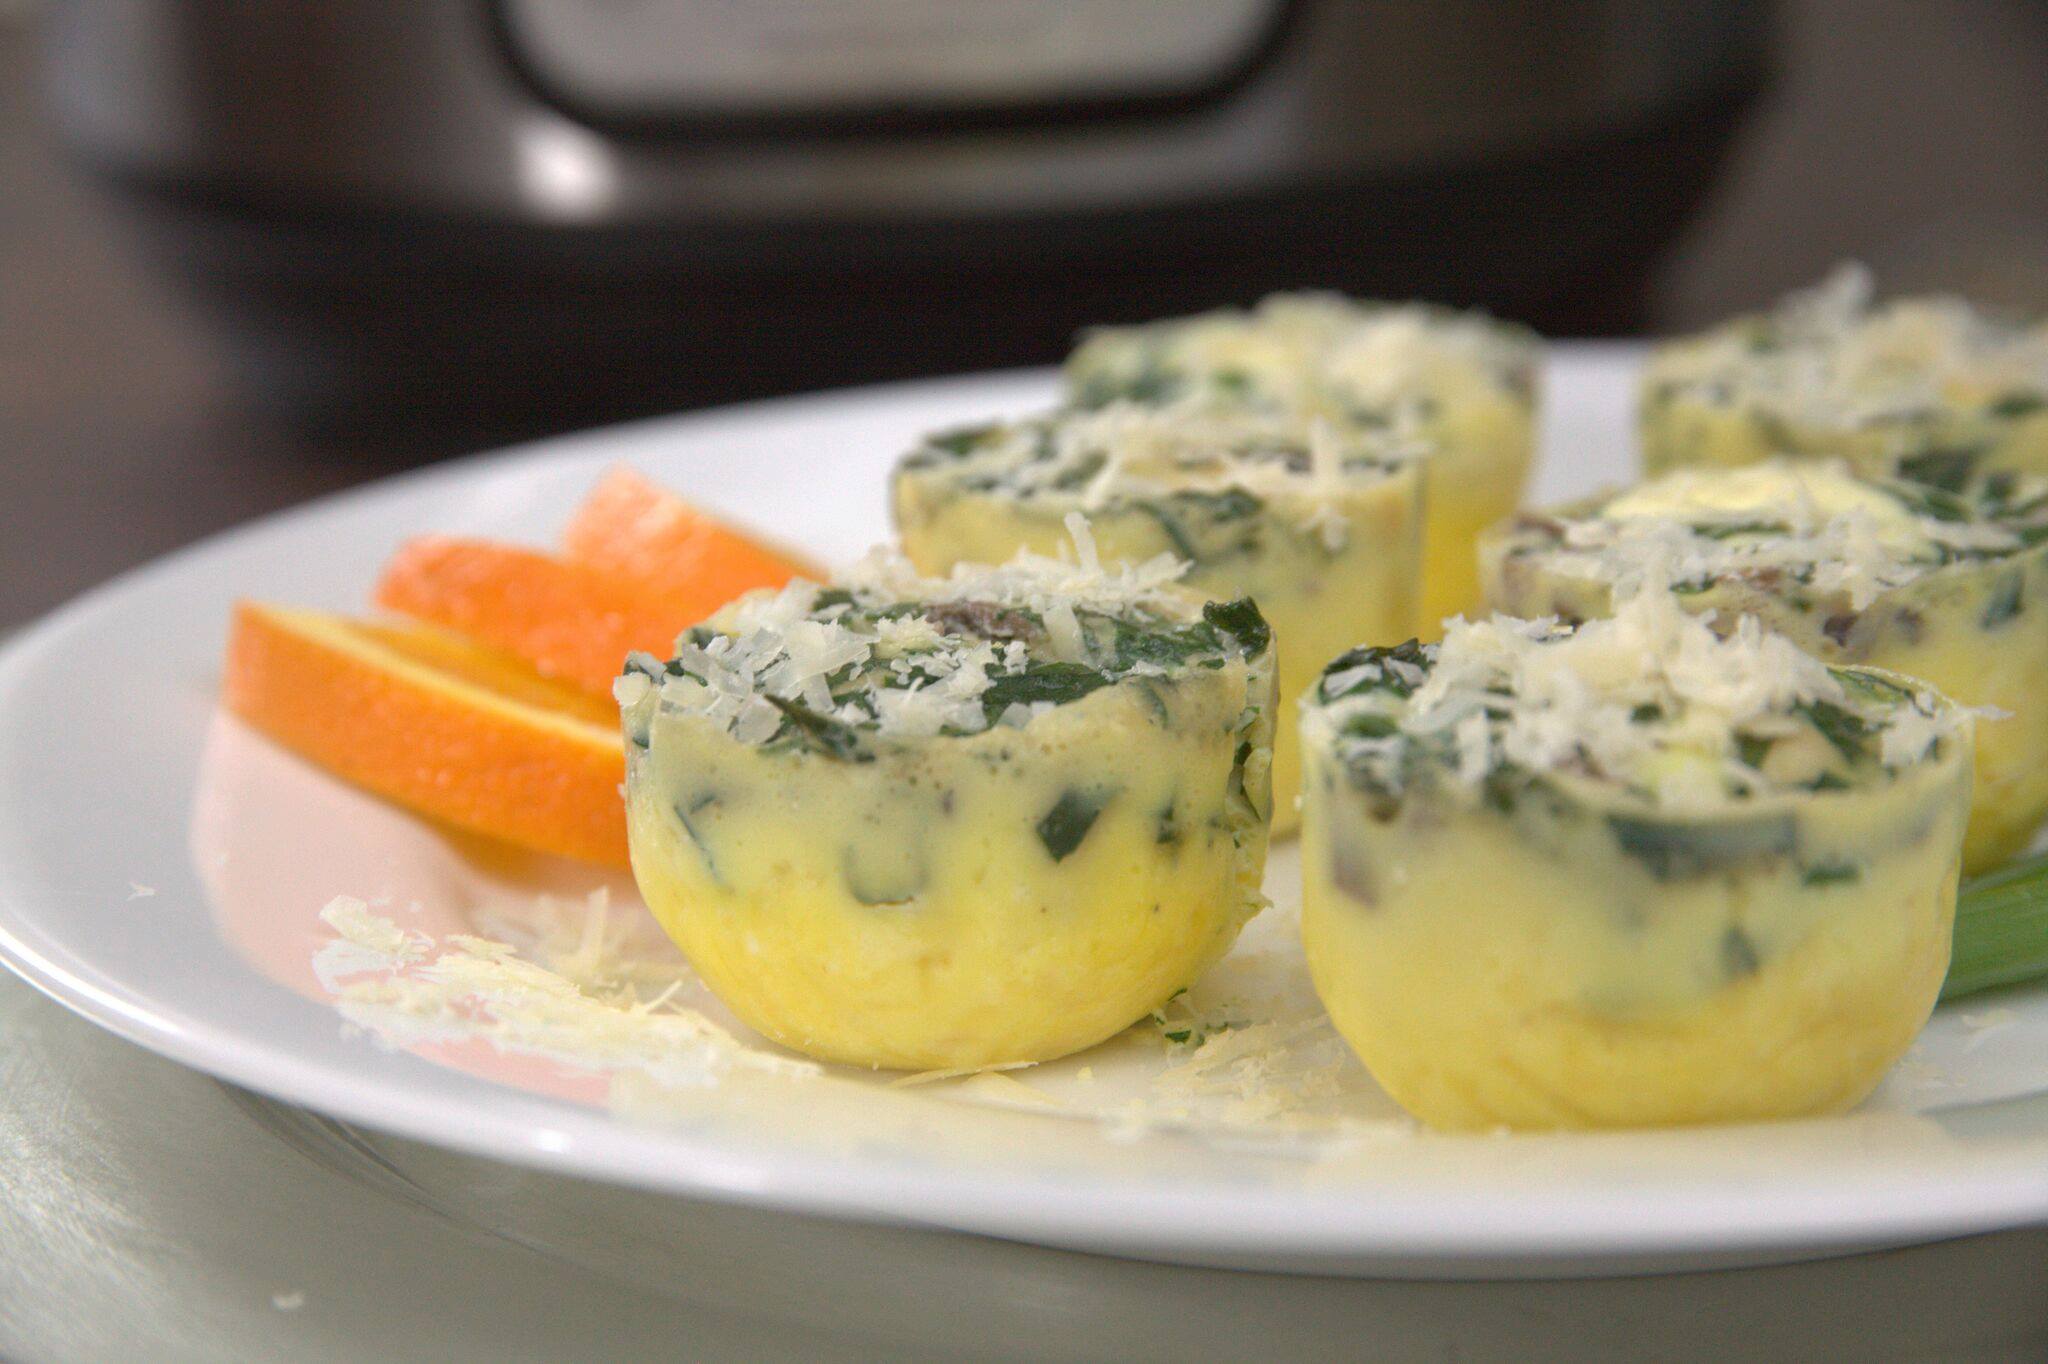
Instant Pot Mini Mushroom Quiche

Instant Pot Mini Mushroom Quiche
Delicate mushrooms are a perfect accompaniment to the bold flavor of the asiago.
Author:
Cuisine: American
Recipe type: Main dish
Ingredients
  • 3 oz asiago cheese, shredded
  • 2 oz mushrooms, finely diced
  • 1 tbsp chives, snipped
  • 3 tbsp spinach leaves, cut into thin ribbons
  • 4 eggs, beaten
  • ¼ cup heavy cream (or half and half)
  • ½ tsp garlic salt
  • ½ tsp kosher salt
  • 1 cup water
  • Additional asiago cheese for garnish (optional)
Instructions
  1. Coat the inside of a silicone mold (we love these: https://amzn.to/2Q2dnyq) with nonstick spray.
  2. Firmly press the asiago cheese into the bottom and slightly up the sides of the silicone mold. Top with diced mushrooms, chives, and spinach.
  3. Combine the eggs, cream, garlic salt and salt in a medium bowl and whisk thoroughly. Pour into molds. Molds should not be more than ¾ full.
  4. Pour one cup of water in the Instant Pot and insert the trivet. Carefully lower the mold on to the trivet. Secure the lid, making sure the vent is closed.
  5. Using the display panel select the MANUAL function*. Use the +/- keys and program the Instant Pot for 5 minutes.
  6. When the time is up, let the pressure naturally release for 5 minutes, then quick-release the remaining pressure.
  7. Carefully remove the mold and turn out onto a plate while still warm. Immediately flip each mini quiche so that the mushrooms are on top and press down lightly with fingers to flatten the bottom of each quiche.
  8. Garnish with additional asiago cheese if desired. Serve warm.

Watch the recipe video here:

Instant Pot Mini Mushroom QuicheFULL RECIPE: http://chopsecrets.com/instant-pot-mini-mushroom-quiche/

Posted by Chop Secrets on Friday, March 1, 2019

Main dish

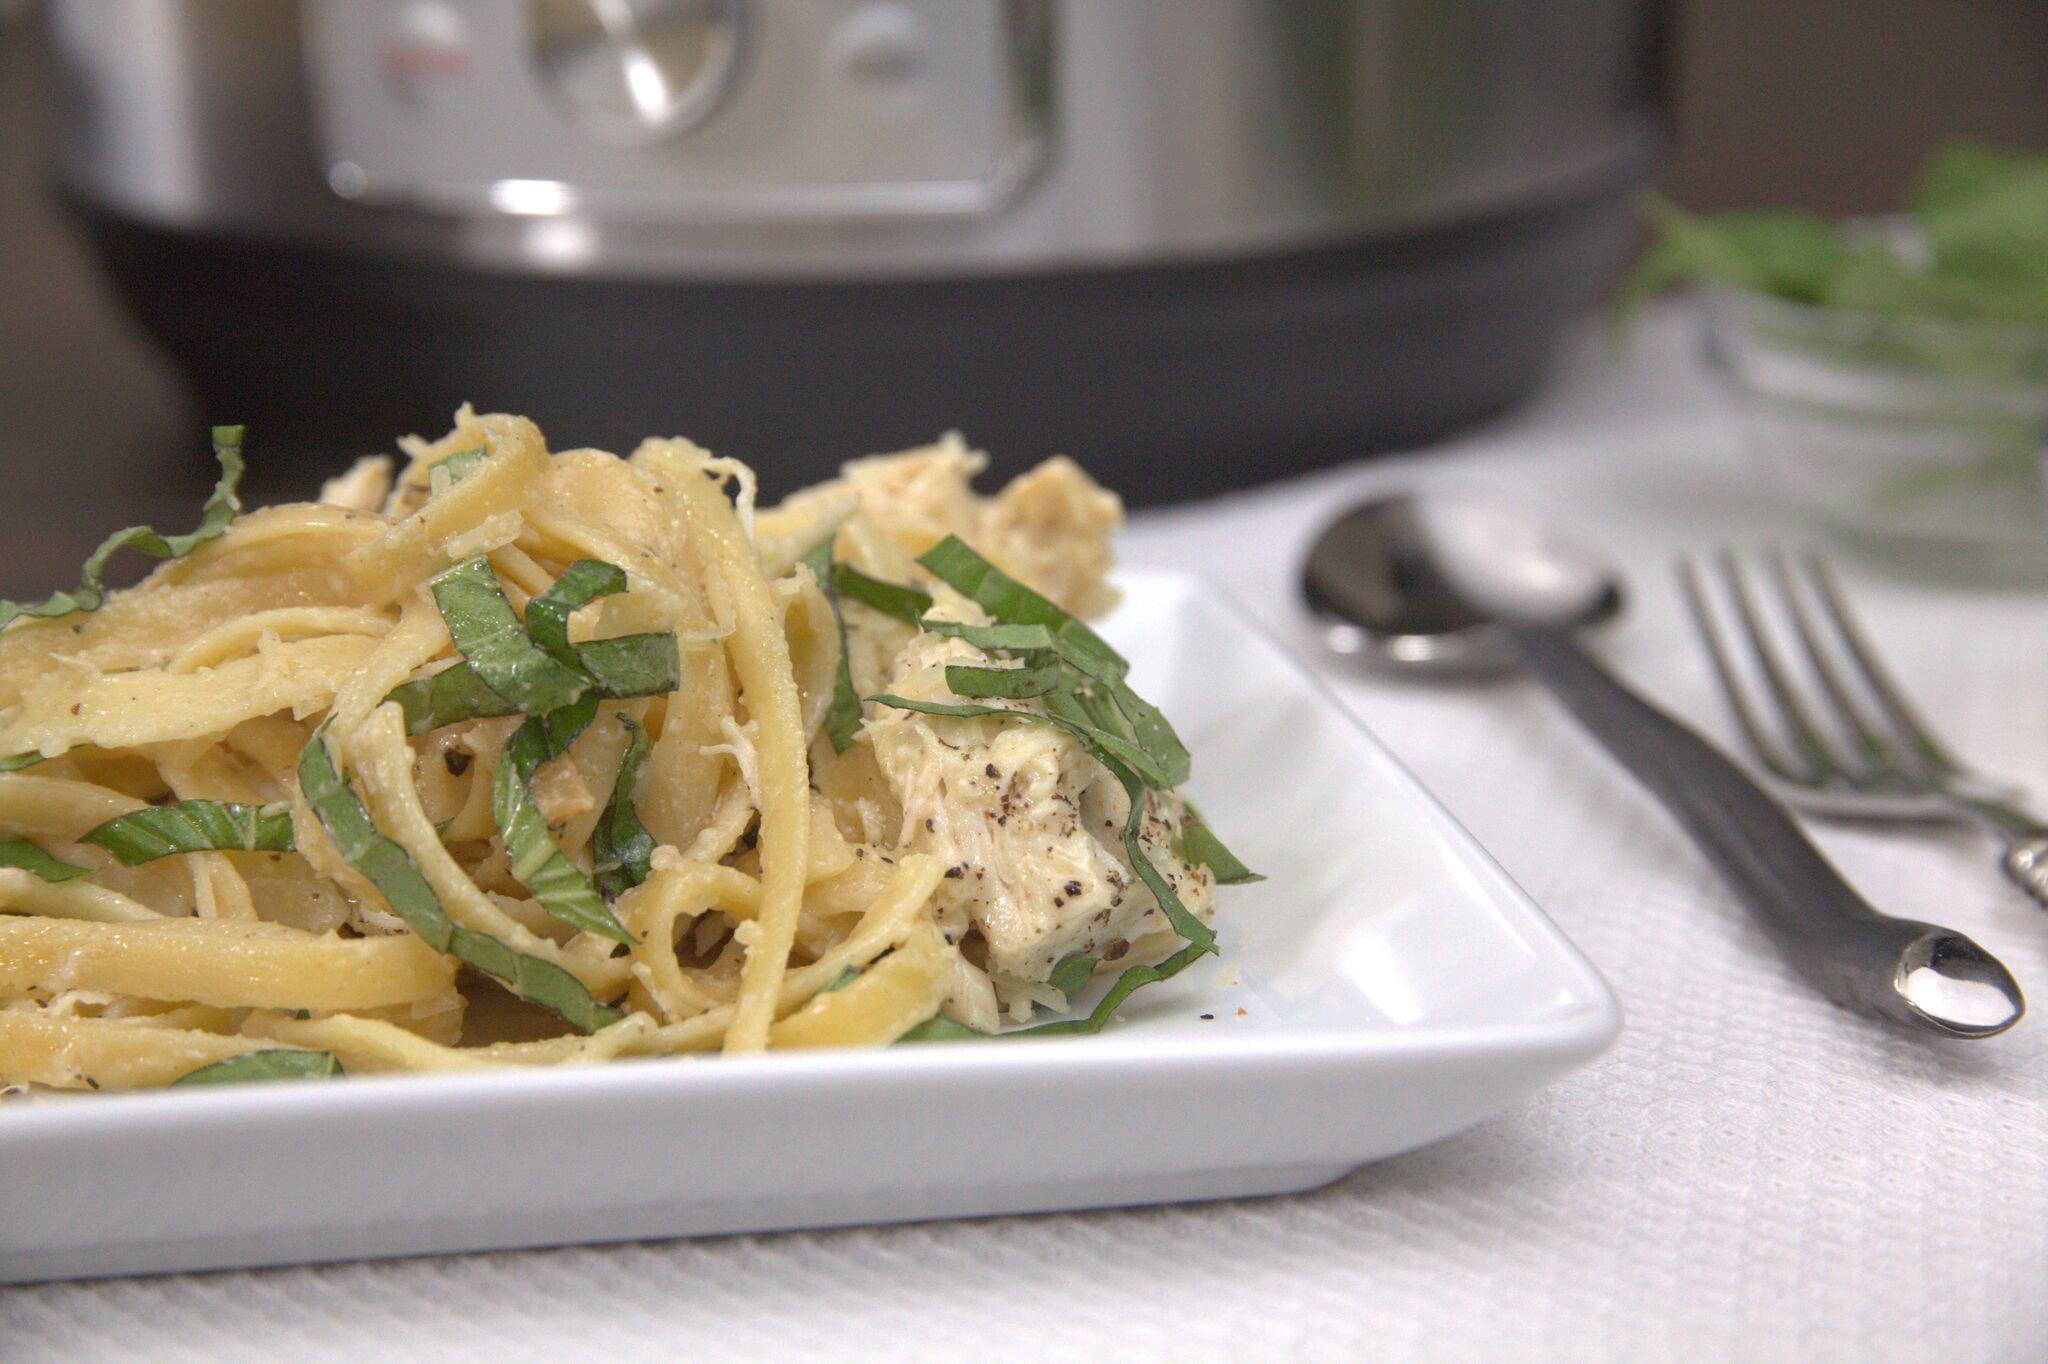
Instant Pot Chicken Fettuccini Alfredo

Instant Pot Chicken Fettuccini Alfredo
This dish is truly a one-pot wonder.
Author:
Cuisine: American
Recipe type: Main dish
Ingredients
Chicken Mixture:
  • 1 tbsp olive oil
  • 2 lbs chicken breasts, boneless and skinless
  • ½ tsp kosher salt
  • ¼ tsp black pepper
Sauce Mixture:
  • 2 tbsp butter
  • 5 cloves garlic, minced
  • 2 cups heavy cream
  • 2½ cups chicken broth
  • ¼ tsp kosher salt
  • 1 pinch ground nutmeg
  • 1 lb dry fettuccini noodles, broken in half to fit flat in the pot
To Finish:
  • ¾ cup parmesan cheese, shredded
  • 3 tbsp fresh basil, cut into thin ribbons
Instructions
  1. Add olive oil to the Instant Pot. Using the display panel select the SAUTE function. Season the chicken with salt and pepper.
  2. When oil gets hot, brown the chicken on both sides, 3-4 minutes per side. Meat will not be cooked through. Do not crowd the pot–you may have to work in batches. Transfer browned meat to a shallow dish and cover loosely with foil.
  3. Add butter to the Instant Pot. When butter is melted, add garlic and cook for 1 minute or until it just begins to brown.
  4. Mix in cream, broth, salt, and nutmeg and deglaze by using a wooden spoon to scrape the brown bits from the bottom of the pot.
  5. Fan the noodles in the pot (this will help prevent them from sticking in clumps), and ensure all noodles are submerged. Nestle chicken breasts in sauce in an even layer, turning once to coat.
  6. Turn the pot off by selecting CANCEL, then secure the lid, making sure the vent is closed.
  7. Using the display panel select the MANUAL function*. Use the +/- keys and program the Instant Pot for 10 minutes.
  8. When the time is up, let the pressure naturally release for 10 minutes, then quick-release the remaining pressure.
  9. Turn the pot off by selecting CANCEL. Carefully remove the chicken to a cutting board and slice into bite-sized pieces.
  10. Return chicken to the pot, stir in parmesan cheese and serve immediately, garnished with basil.

Watch the recipe video here:

Instant Pot Chicken Fettuccini AlfredoFULL RECIPE: http://chopsecrets.com/instant-pot-chicken-fettuccini-alfredo/

Posted by Chop Secrets on Friday, March 1, 2019

Main dish

Hawaiian Sausage Skillet

Hawaiian Sausage Skillet
I made this up one day when I couldn't find a recipe anywhere with these ingredients. So I kind of threw it together on a whim. Sugar can be adjusted for sweetness, and if the sauce gets a bit thicker than desired I suggest adding a little chicken broth as it's thickening. Serve immediately over rice.
Author:
Cuisine: American
Recipe type: Main dish
Ingredients
  • 1 tablespoon vegetable oil, or more to taste
  • 1 (16 ounce) package Polish sausage, or to taste, cut into 1-inch squares
  • 1 large onion, thinly sliced
  • 1 large green bell pepper, cut into 1-inch squares
  • ¾ fresh pineapple - peeled, cored, and cut into chunks
  • 2 tablespoons cornstarch
  • ½ cup pineapple juice, or more to taste
  • ⅓ cup packed brown sugar, or to taste
  • 2 tablespoons cider vinegar
  • 2 tablespoons soy sauce
  • 2 teaspoons minced garlic
Instructions
  1. Heat oil in a large skillet over medium heat. Cook and stir sausage, onion, and green bell pepper until vegetables start to become tender, about 8 minutes; add pineapple and cook, stirring occasionally, until the pineapple is hot, about 5 minutes more.
  2. Beat pineapple juice and cornstarch together in a bowl using a whisk. Stir brown sugar, cider vinegar, soy sauce, and minced garlic with the pineapple juice until the sugar dissolves into the liquid; pour over the sausage mixture and cook until the sauce thickens, 5 to 8 minutes.

Watch the recipe video here:

Hawaiian Sausage Skillet: https://trib.al/T9hcADm

Posted by Allrecipes on Thursday, February 28, 2019

Main dish

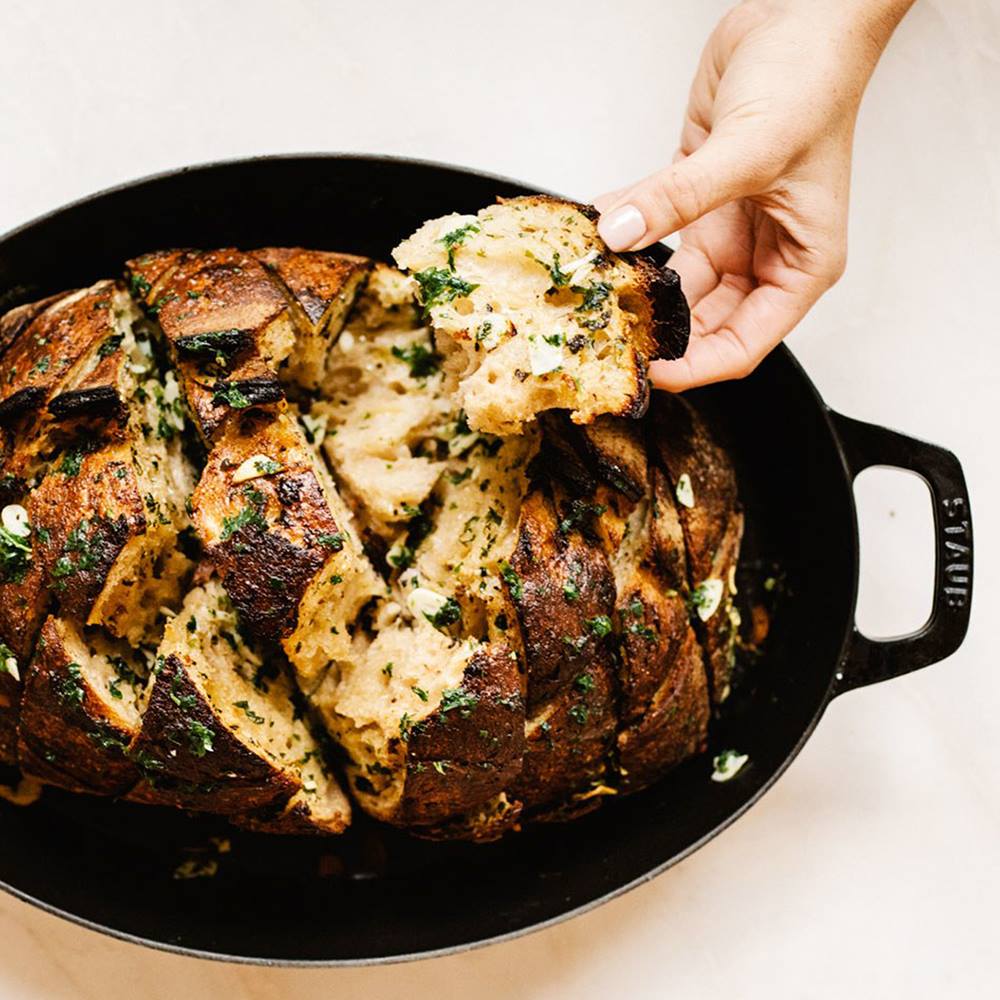
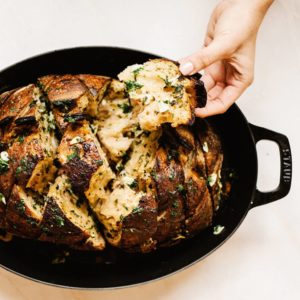
Pull-Apart Cheesy Garlic Loaf

Pull-Apart Cheesy Garlic Loaf
It can get tricky to hold the bread together when making the second set of cuts. Just do your best and plop any loose pieces back into place. Check out more recipes from Tartine here.
Author:
Cuisine: American
Recipe type: Main dish
Ingredients
  • 1 head of garlic, plus 4 cloves, finely grated
  • 1 tablespoon olive oil
  • 1 loaf country-style bread (about 2 pounds)
  • ½ cup (1 stick) unsalted butter
  • 2 tablespoons chopped parsley
  • 1 teaspoon chopped rosemary
  • 1 teaspoon chopped thyme
  • 1 teaspoon kosher salt
  • 1 teaspoon freshly ground black pepper
  • 10 ounces white cheddar, grated (about 3 cups)
Instructions
  1. Preheat oven to 400°. Cut top ½" off garlic bulb so that tops of cloves are exposed. Place on a square of foil and drizzle with oil, making sure as much as possible gets inside. Bring up foil around garlic to make a tight packet and bake until cloves are soft, 20–25 minutes. Transfer garlic bulb (still in packet!) to a foil-lined rimmed baking sheet, placing to one side (you want to leave room for the bread).
  2. Slice bread across the top in a 1" crosshatch pattern, cutting most of the way through but leaving the bottom crust intact.
  3. Melt butter in a small saucepan over medium; remove from heat. Add grated garlic and swirl pan to gently warm the garlic. Add parsley, thyme, rosemary, salt, and pepper and swirl pan to combine everything.
  4. Brush top and cut sides of bread with butter, working down into crevices. Sprinkle cheese over loaf, making sure some gets in between the cuts as well as on top.
  5. Set the loaf on baking sheet with garlic. Bake loaf until cheese is melted, 18–20 minutes. Unwrap garlic and serve with cheesy loaf.
  6. Do Ahead: Bread can be assembled 3 days ahead. Wrap tightly and chill.

Watch the recipe video here:

Cheesy. Garlic. Loaf. Does it get much better than that? We think not.RECIPE: http://bonap.it/JIyv1uB

Posted by Bon Appétit Magazine on Wednesday, February 27, 2019

Main dish

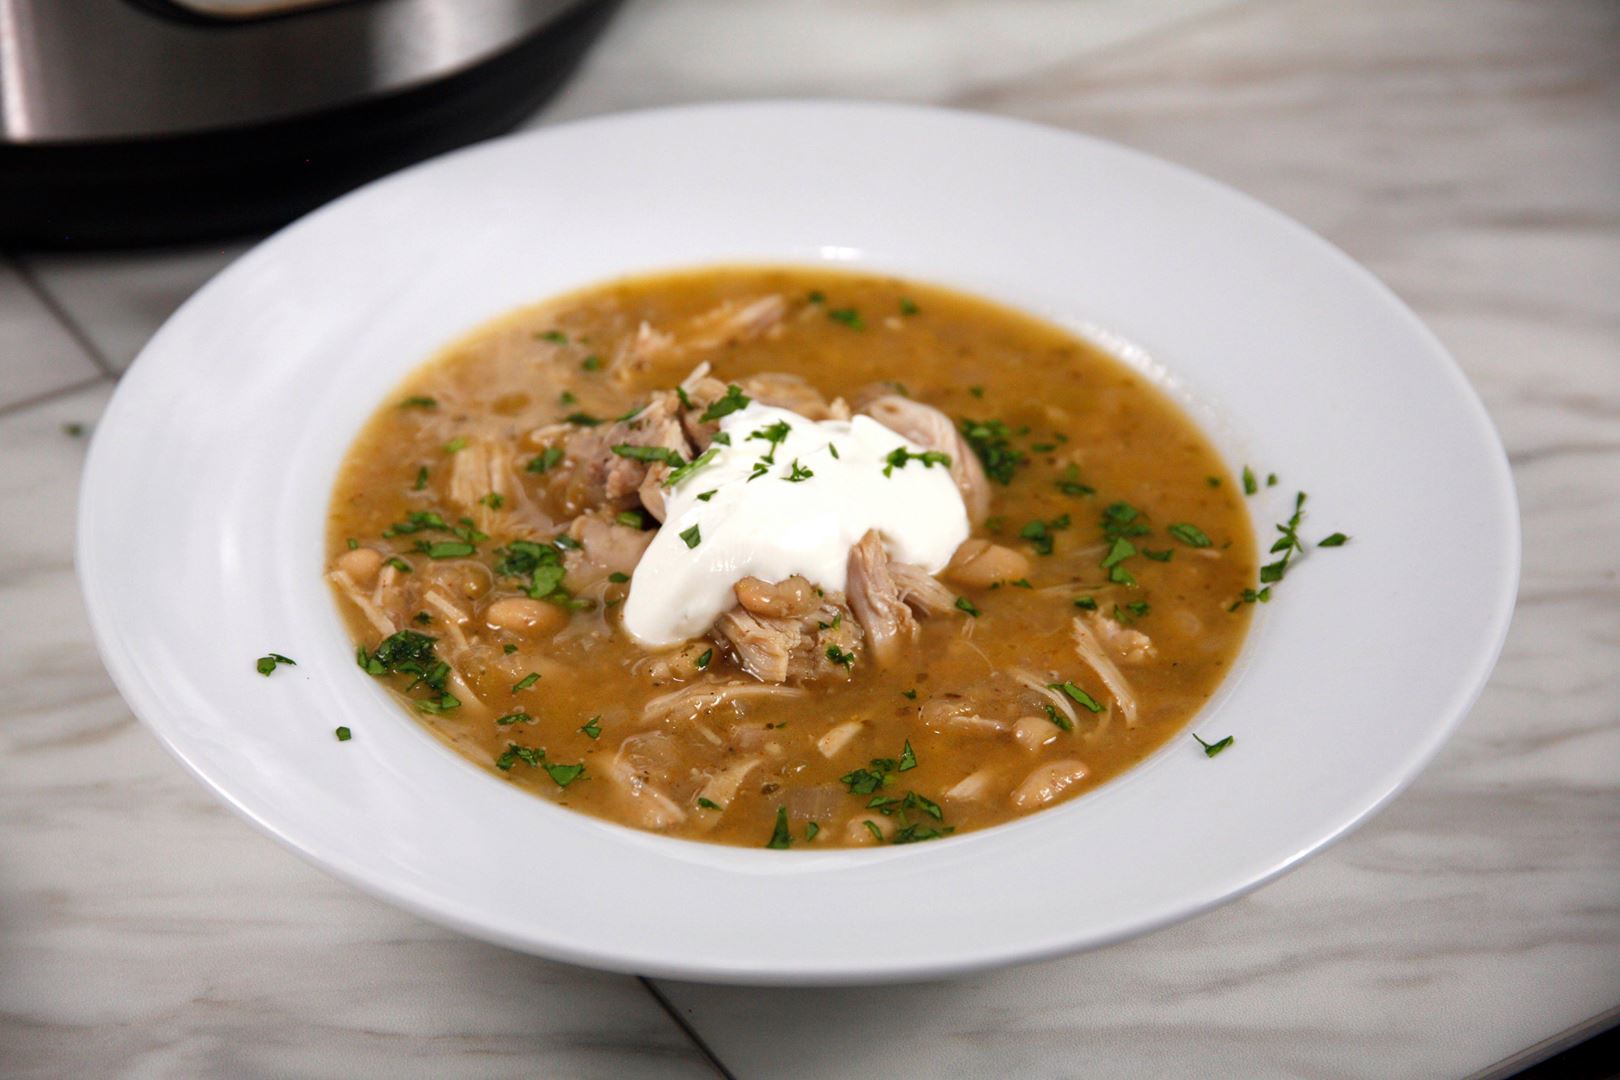
Instant Pot Healthy Chicken & White Bean Soup

Instant Pot Healthy Chicken & White Bean Soup
This dish is a fabulous fast-food buster!
Author:
Cuisine: American
Recipe type: Main dish
Ingredients
  • 4 cups chicken broth, warmed
  • 1¾ lbs skinless boneless chicken thighs
  • 4 cloves garlic, minced
  • 1 onion, finely diced
  • 2 15 oz cans white northern beans, drained and rinsed
  • 1 4 oz can diced green chilis, undrained
  • 1 tsp dried oregano
  • 1 tsp ground cumin
  • ½ tsp chili powder
  • 2 tsp kosher salt
  • ½ tsp pepper
  • Sour cream and chopped cilantro for garnish (optional)
Instructions
  1. Add all ingredients to the pot and stir to combine, then secure the lid, making sure the vent is closed.
  2. Using the display panel select the MANUAL function*. Use the +/- keys and program the Instant Pot for 10 minutes.
  3. When the time is up, let the pressure naturally release for 5 minutes, then quick-release the remaining pressure.
  4. Carefully remove the chicken from the pot to a cutting board and shred.
  5. Use a fork or an immersion blender to break up about half the beans.
  6. Return chicken to the pot and stir to combine. Serve hot garnished with sour cream and chopped cilantro (optional).

Watch the recipe video here:

This dish is a fabulous fast-food buster!RECIPE: http://chopsecrets.com/instant-pot-healthy-chicken-white-bean-soup/

Posted by Chop Secrets on Wednesday, February 27, 2019

Main dish

SKILLET CHICKEN CORDON BLEU

SKILLET CHICKEN CORDON BLEU
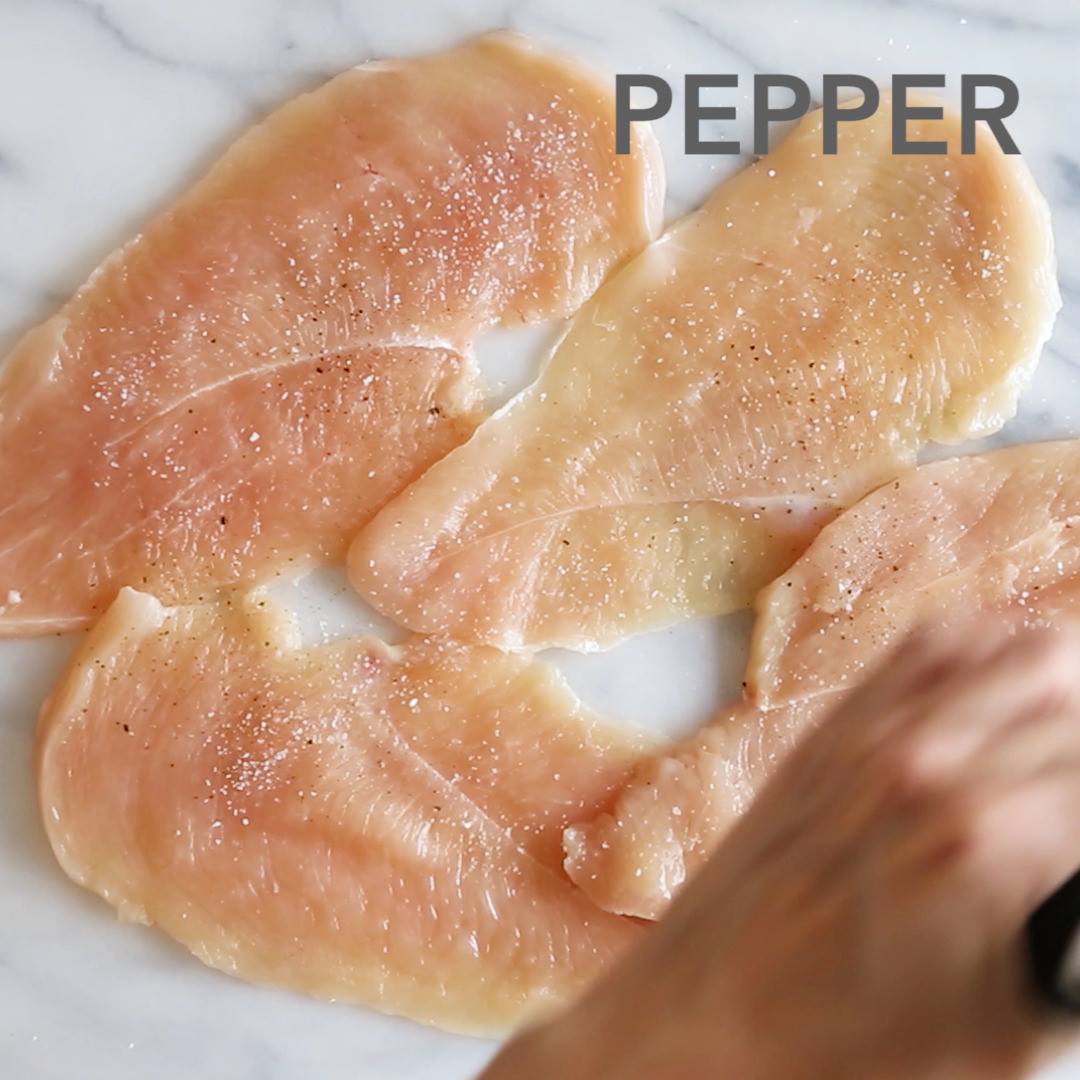
I love making Chicken Cordon Bleu which I usually bread, roll and bake. But I wanted something quick with the same ingredients and came up with this – lazy chicken cordon bleu made all in one skillet. This is great with roasted veggies or you can serve this with rice pilaf.
Author:
Cuisine: American
Recipe type: Main dish
Ingredients
  • 4 thin boneless, skinless cutlets, 4 oz each
  • ½ teaspoon kosher salt
  • ¼ cup all purpose flour*
  • ½ teaspoon butter
  • 1½ teaspoons olive oil
  • ⅔ cup reduced sodium chicken broth
  • 1 tbsp fresh lemon juice
  • ½ tablespoon Dijon mustard
  • 4 thin slices low sodium deli ham, I use Boar’s Head (3 oz total)
  • 4 slices light Swiss Cheese such as Alpine Lace (3 oz total)
  • chopped fresh parsley, for garnish
  • * All purpose gluten-free flour works well here.
Instructions
  1. Season chicken with salt and pepper, to taste.
  2. Place the flour in a shallow dish. Lightly dredge the chicken with flour on both sides, shaking off the excess reserving the flour.
  3. In a small bowl combine the chicken broth, lemon juice, Dijon mustard and 1 teaspoon of the reserved flour, whisk until smooth.
  4. Heat a large nonstick skillet over medium-high heat. Melt the butter and add 1 teaspoon of the olive oil and half of the chicken.
  5. Cook 2 minutes on each side, until slightly golden, then transfer to a dish.
  6. Add remaining ½ teaspoon olive oil and remaining chicken and cook 2 minutes on each side.
  7. Set aside on a dish with the other pieces of chicken.
  8. Reduce the heat to medium-low, add the chicken broth mixture. Whisk scraping up any bits stuck to the pan then simmer 2 minutes to reduce slightly.
  9. Return the chicken to the skillet, top each piece with a slice of ham and a slice of swiss, cover the skillet and simmer medium-low for 3 to 4 minutes until the cheese melts.
  10. To serve use a spatula and transfer the chicken to each dish, spoon the remaining sauce over each piece.

Watch the recipe video here:

Skillet Chicken Cordon Bleu – boneless chicken cutlets topped with ham and Swiss in a light lemon Dijon sauce. No…

Posted by Skinnytaste on Wednesday, February 27, 2019

Main dish

Crispy-Skin Salmon with Napa Cabbage

Crispy-Skin Salmon with Napa Cabbage
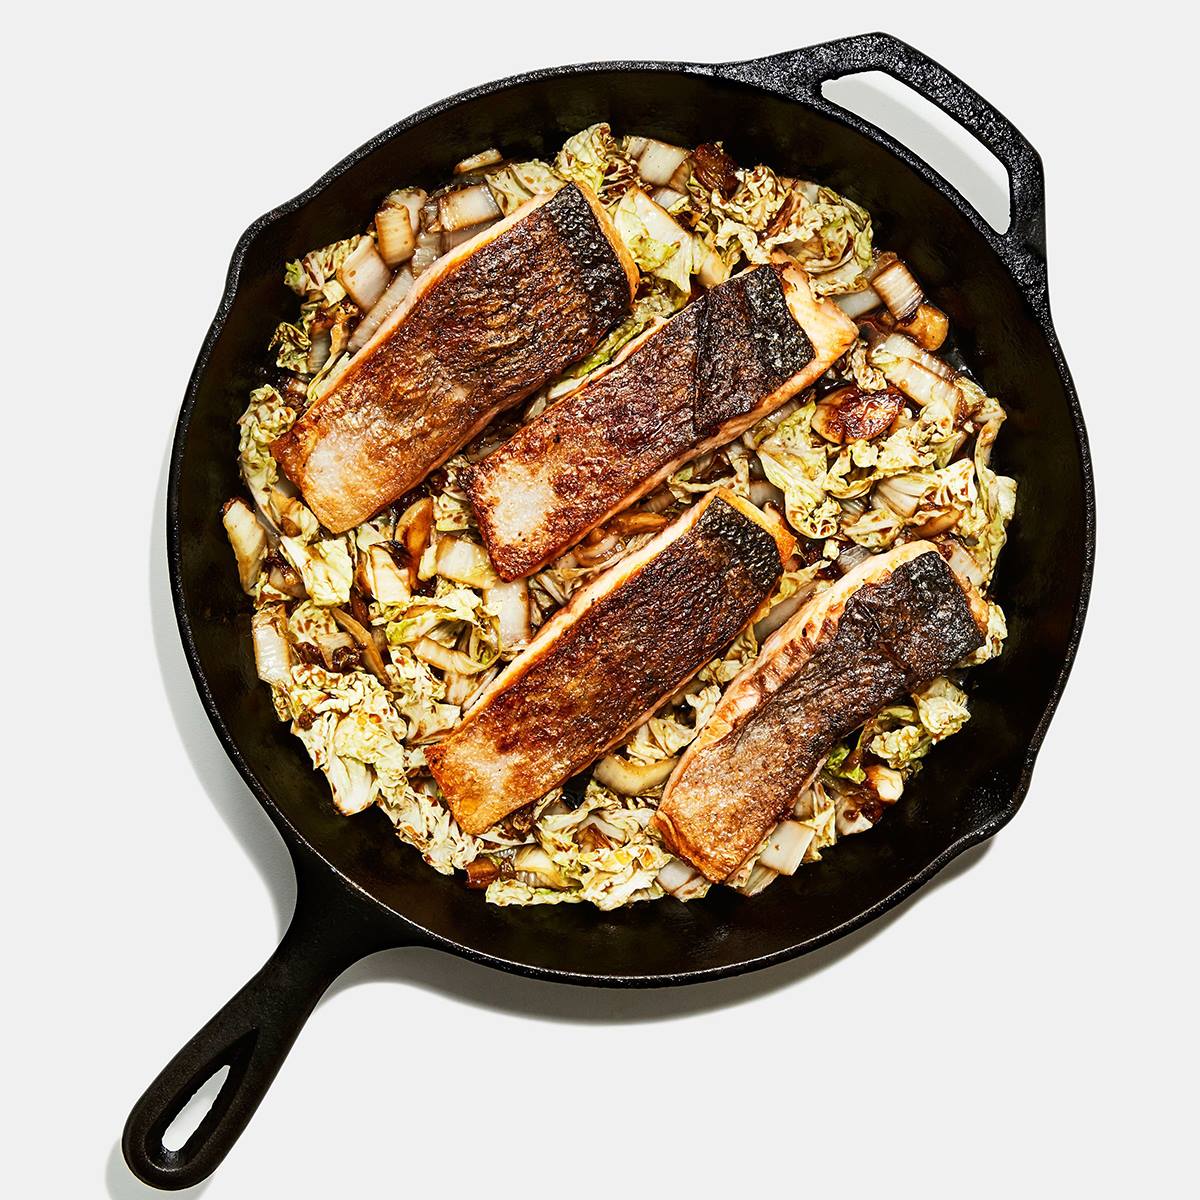
Does the thought of cooking fish at home freak you out? We got you. This method guarantees that the salmon comes out perfectly cooked with crispy skin. Use the same technique with any skin-on fish fillets for great results every time.
Author:
Cuisine: American
Recipe type: Main dish
Ingredients
  • 1 small head of Napa cabbage
  • 5 garlic cloves
  • 1 2-inch knob ginger
  • 2 tablespoons rice wine vinegar
  • 2 tablespoons soy sauce
  • 1 tablespoon honey
  • 1½ teaspoons cornstarch
  • 4 6-ounce skin-on salmon fillets
  • Kosher salt
  • Freshly ground black pepper
  • 3 tablespoons vegetable oil, divided
Instructions
  1. Starting at leafy green end of Napa cabbage, slice about one-third of head crosswise into ½”-thick ribbons. Set darker green pieces aside. Thinly slice remaining pale-green and white parts of cabbage crosswise and transfer to a medium bowl (discard cabbage core).
  2. Smash 5 garlic cloves and discard peel.
  3. Scrape down and around ginger with the curved tip of a spoon to remove skin, then thinly slice ginger crosswise.
  4. Stir 2 Tbsp. rice wine vinegar, 2 Tbsp. soy sauce, 1 Tbsp. honey, and 1½ tsp. cornstarch in a small bowl with a spoon until cornstarch is dissolved.
  5. Thoroughly pat dry 4 salmon fillets with paper towels. Season flesh side with salt and pepper.
  6. Drizzle 2 Tbsp. vegetable oil across surface of a large skillet, preferably cast iron. Arrange salmon fillets skin side down in skillet, spacing evenly apart. Heat skillet over medium (yes, you’re starting the cooking from cold).
  7. Cook salmon, occasionally sliding a flexible metal spatula underneath skin to lift fillets and let fresh hot fat flow underneath (if the skin is sticking, let it cook longer until skin releases), until flesh is opaque all the way up the sides of each fillet and only the top of thickest part is still translucent, 5–10 minutes. It will take more or less time depending on thickness of your salmon fillets. As fish is cooking, move pieces around pan to encourage even cooking.
  8. Using spatula and a pair of tongs, carefully turn each fillet so skin side is up. Turn off heat and let heat remaining in skillet gently cook second side. Once fillets have stopped sizzling, carefully transfer to a plate.
  9. Return pan to medium-high heat and add half of cabbage from bowl. Cook, tossing occasionally with tongs, until cabbage is wilted and browned and even charred in some spots, about 5 minutes. Toss in remaining cabbage from bowl and cook, stirring often, until second batch is tender, about 4 minutes.
  10. Scrape cabbage mixture back into bowl and add remaining 1 Tbsp. oil. Add garlic and ginger to pan and cook, tossing often, until garlic is browned all over and ginger is browned around the edges, about 3 minutes.
  11. Stir soy mixture to re-incorporate cornstarch and add to skillet. Stir rapidly until mixture is thickened, which will only take a few seconds, then remove from heat.
  12. Add cooked cabbage and uncooked green cabbage back to skillet and toss well to coat.
  13. Arrange salmon fillets over of cabbage and serve.

Watch the recipe video here:

Because you deserve the crispiest skinned fish. (via Basically) Recipe: http://bonap.it/HyokiDa

Posted by Bon Appétit Magazine on Monday, February 25, 2019

Main dish

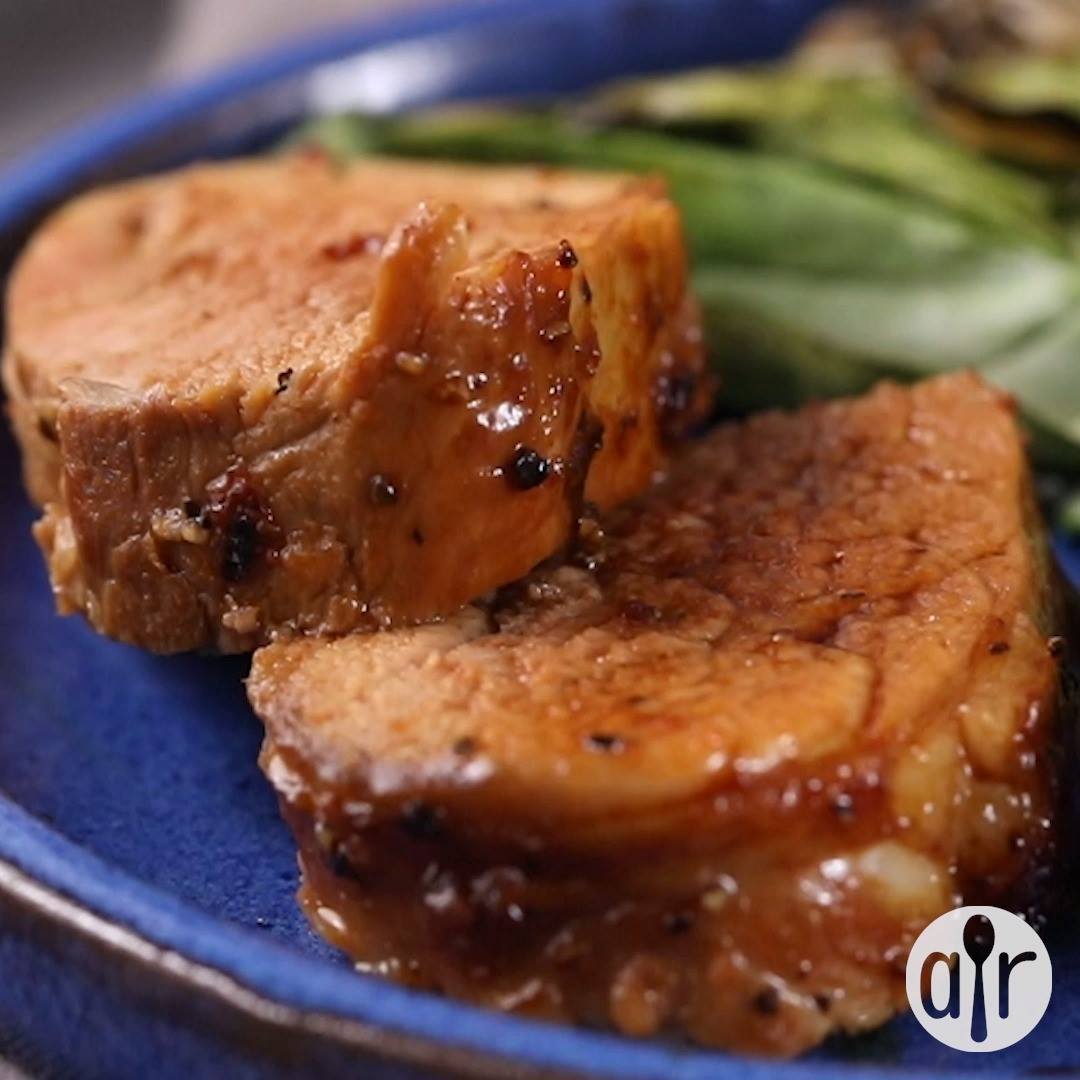
Asian Pork Tenderloin

Asian Pork Tenderloin
This is a simple and flavorful recipe. For best results, marinate the pork at least 8 hours (overnight is best) and flip it after 4 hours. It's great with rice and Asian veggies like bok choy! Enjoy!
Author:
Cuisine: American
Recipe type: Main dish
Ingredients
  • ⅓ cup lite soy sauce
  • ¼ cup sesame oil
  • 2 tablespoons Worcestershire sauce
  • ⅛ cup packed light brown sugar
  • 3 green onions, chopped
  • 4 cloves garlic, crushed
  • 1½ tablespoons Asian chile paste
  • 1½ teaspoons pepper
  • 1 (2 pound) fat-trimmed pork tenderloin
Instructions
  1. Pour into a medium bowl the soy sauce, sesame oil, and Worcestershire sauce. Then whisk in brown sugar, green onions, garlic, chile paste, and pepper. Place the tenderloin in a shallow dish. Pour sauce over tenderloin, turning the meat a few times to coat. Cover dish, and refrigerate at least 8 hours.
  2. Preheat oven to 450 degrees F (230 degrees C). Transfer pork with marinade into an aluminum foil-lined baking pan.
  3. Roast in a preheated oven 25 to 30 minutes. Remove, and let stand 5 to 10 minutes before carving.

Watch the recipe video here:

Asian Pork Tenderloin: https://trib.al/zTULZ9B

Posted by Allrecipes on Monday, February 25, 2019