Giant Steak Nacho Party Ring
Giant Steak Nacho Party Ring
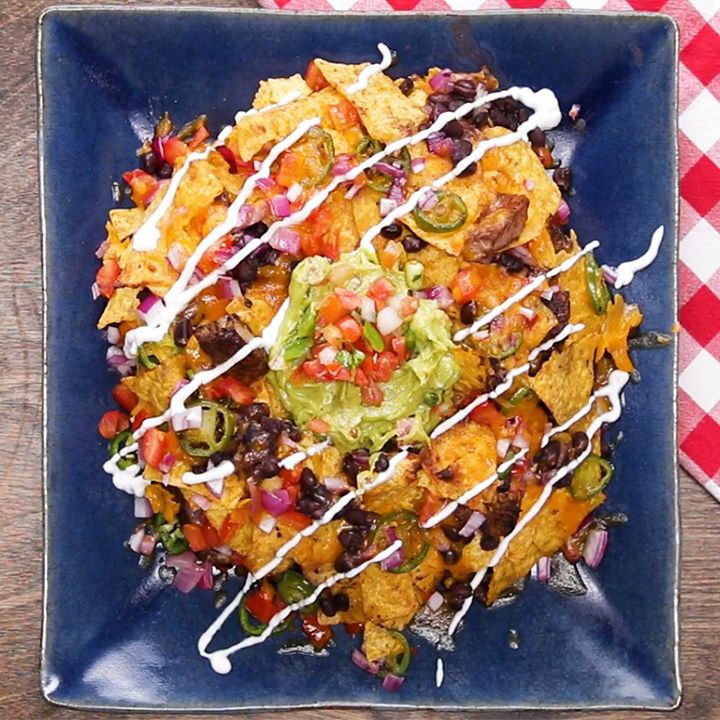
This steak nacho party ring is going to impress all your friends at the next get-together ?!
Author: The Chef
Cuisine: American
Recipe type: Main dish
Ingredients
- 6 oz steak, 2
- 1 teaspoon salt
- ½ teaspoon pepper
- 1 teaspoon paprika
- 1 teaspoon garlic powder
- 1 teaspoon cumin
- ½ teaspoon cayenne
- 3 cups shredded cheddar cheese
- 3 jalapeño, sliced
- 1 red onion, chopped
- 4 roma tomato, diced
- 1 can black bean, drained and rinsed
- 18 oz tortilla chip, 1 bag
- sour cream, to serve
- guacamole, to serve
- pico de gallo, to serve
Instructions
- Preheat the oven to 450˚F (230˚C).
- Season the steaks with the salt, pepper, paprika, garlic powder, cumin, and cayenne, rubbing fully over the meat.
- Add oil to a skillet over medium-high heat and add the steaks. Cook the steaks for 3 minutes per side.
- Let the steaks rest for 10 minutes, and then cut into bite-sized pieces. Set aside.
- Spray a bundt pan with cooking spray and create three layers of nachos consisting of shredded cheddar cheese, sliced jalapeños, diced red onion, diced tomatoes, black beans, and the steak. Top with more cheese.
- Place into the oven to melt and heat up for about 10 minutes.
- Take a serving tray and place on top of the warm bundt pan and carefully invert the nacho ring onto the tray.
- Top with sour cream, guacamole, pico de gallo, or whatever else you would like.
- Enjoy!
Watch the recipe video here:
This steak nacho party ring is going to impress all your friends at the next get-together ?!FULL RECIPE: https://tasty.co/recipe/giant-steak-nacho-party-ringShop the bundt pan you see in this video here: http://bit.ly/2hKVd89.(Just so you know, we'll make some money if you use this link.)
Posted by Tasty on Tuesday, October 3, 2017