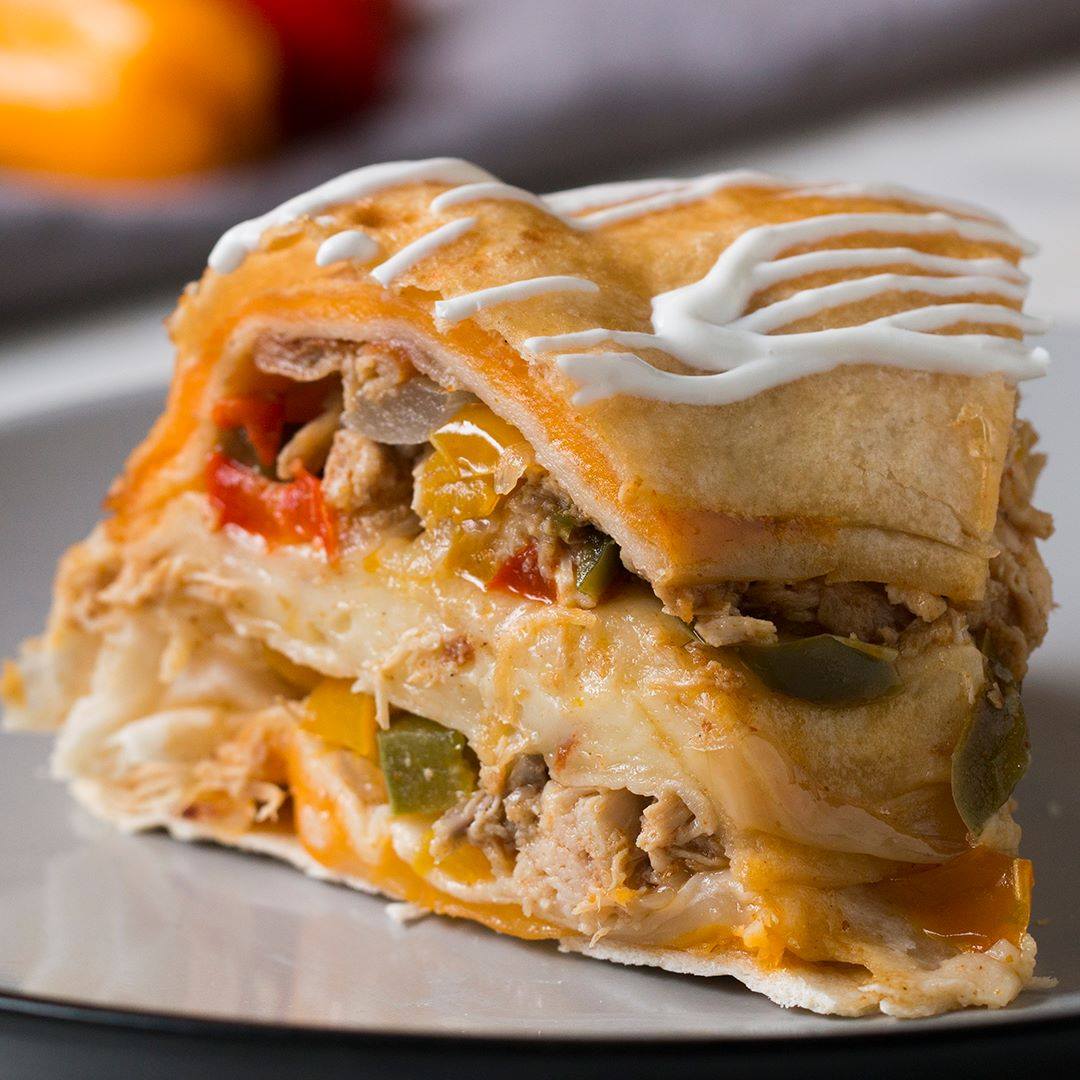


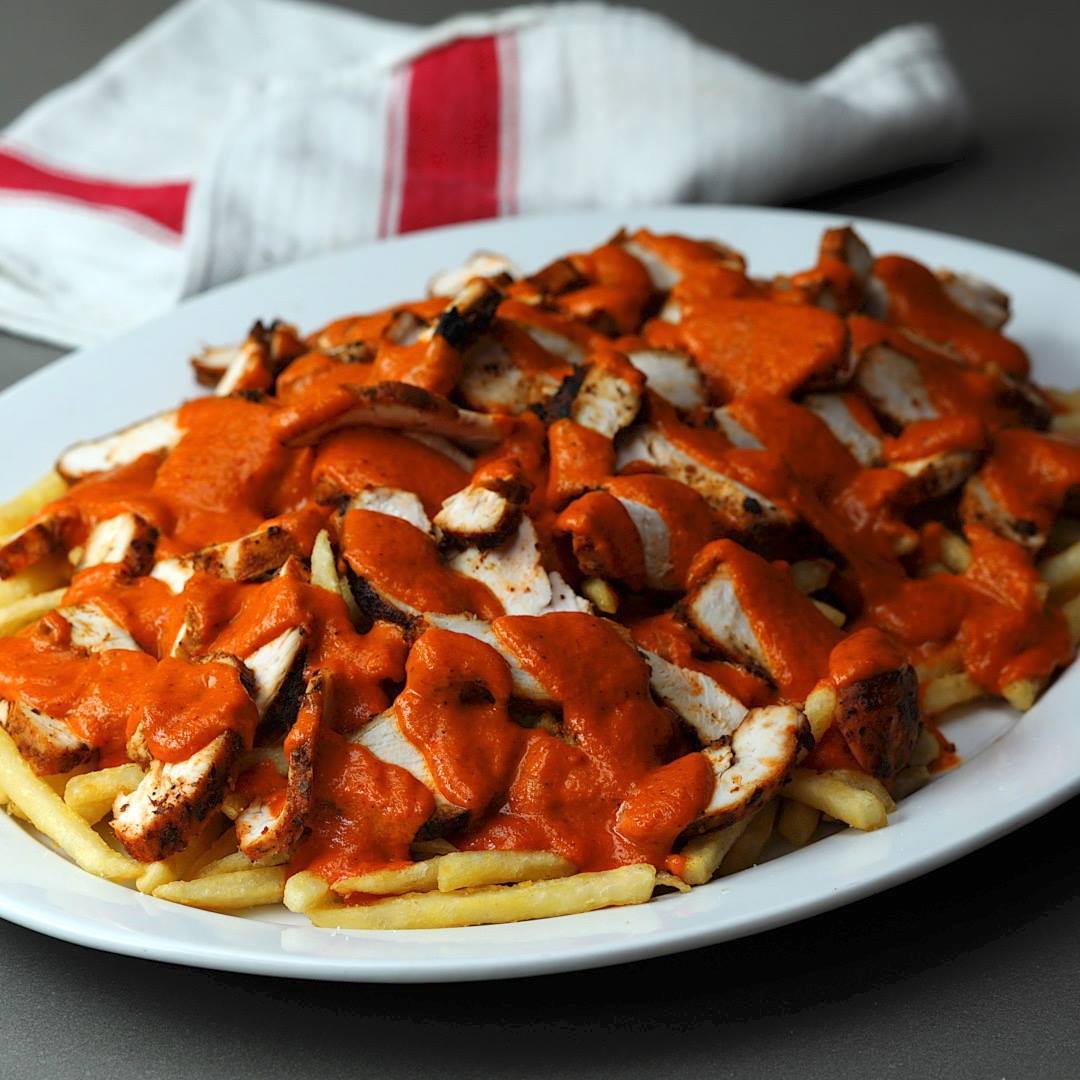
BBQ Peri Peri Chicken Loaded Fries
BBQ Peri Peri Chicken Loaded Fries
Once a little known sauce from Mozambique and East Africa, now an internationally adored condiment made famous by everyone's favourite grilled chicken restaurant, Nandos. We've taken the Nandos concept - chicken, sauce and chips - and taken it up a few notches. Fries loaded with spicy chicken and a tangy sauce, what's not to like?
Author: The Chef
Cuisine: American
Recipe type: Breakfast
Ingredients
For the chicken marinade:
- 4 chicken breasts
- 1 tbsp salt
- 1 tbsp sugar
- 1 tbsp paprika
- 1 tbsp oregano
- ½ tbsp cumin
- 1 tbsp olive oil
For the peri peri sauce:
- 3 roasted red peppers
- 2 red onions, roasted
- 4 cloves of garlic, crushed
- 2 bird's eye chillis, deseeded and chopped
- 2 lemons, zested and juiced
- 100ml red wine vinegar
- 1 tsp smoked paprika
- 1 tbsp oregano
- 2 tsp sea salt
- 1 tbsp soft brown sugar
- 1 tsp black pepper
- ½ tsp ground allspice
- 140 ml olive oil
Instructions
- Mix the salt, sugar, paprika, cumin and oil together. Add the chicken breasts and make sure they are thoroughly coated.
- Heat your grill to the highest setting/crank your barbecue up until the coals are grey and it's letting off a fierce heat - you want to char your chicken lightly and cook it all the way through.
- While the chicken is grilling heat all the ingredients up in a saucepan (except olive oil) and simmer for roughly 10 minutes. Blend until smooth in a blender when cool, then slowly add the olive oil in a stream to make a smooth sauce. If it's too watery, gently reduce in a saucepan and leave to cool.
- Fry the chips in a large pan of oil and drain. Slice the chicken and add to the top, pouring the sauce all over.
- Enjoy!
Watch the recipe video here:
BBQ Peri Peri Chicken Loaded Fries
BBQ Peri Peri Chicken Loaded Fries
Posted by Twisted on Tuesday, July 3, 2018