Dessert

Spiced Apple Pie

Spiced Apple Pie
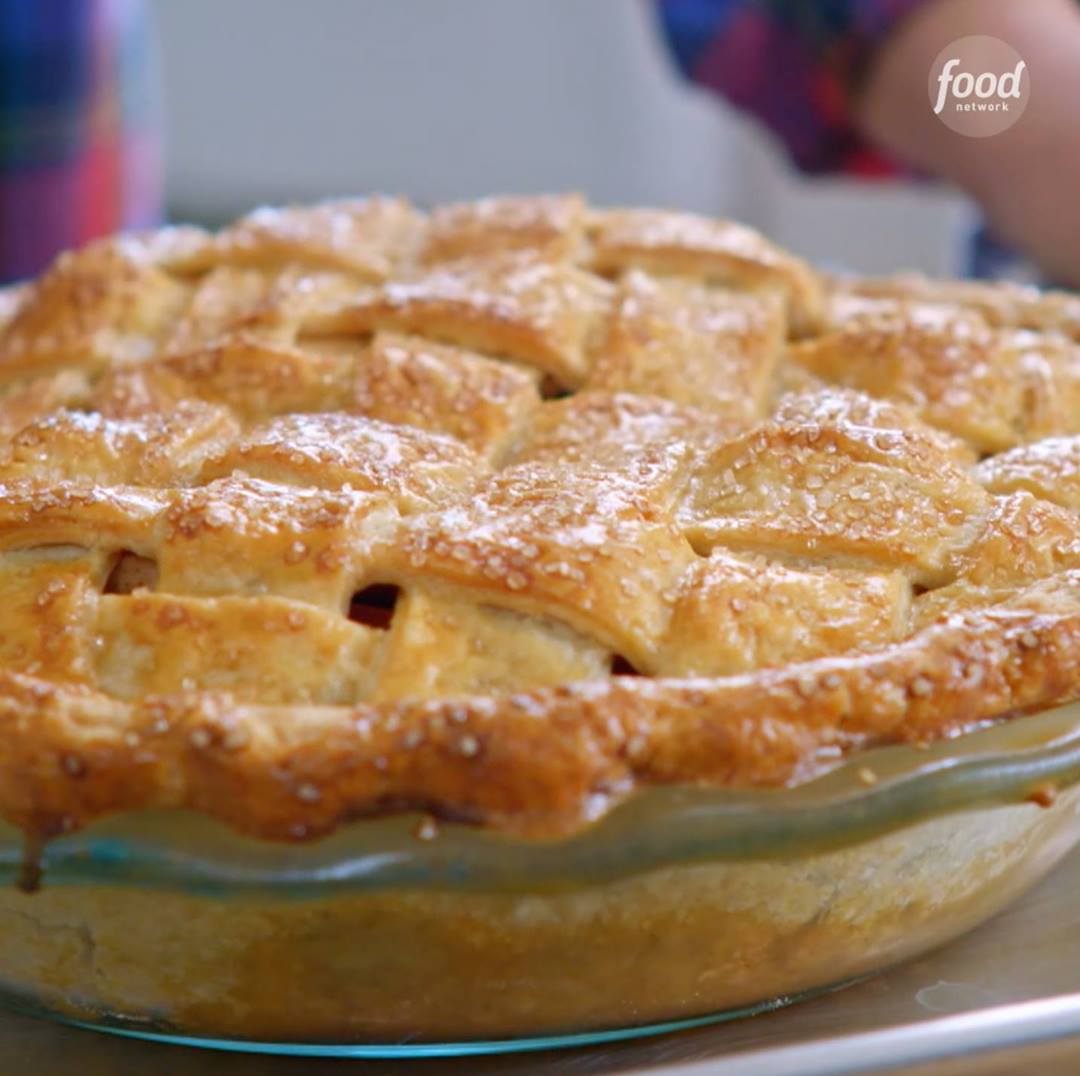
Spiced Apple Pie is bursting with flavor! You'll never look at classic apple pie the same again. ?
Author:
Cuisine: American
Recipe type: Dessert
Ingredients
  • Filling:
  • 8 apples, such as Gala (about 2¼ pounds)
  • Juice of 1 lemon
  • 1 cup packed dark brown sugar
  • 3 tablespoons cornstarch
  • 2 teaspoons Warm Spice Blend, recipe follows
  • ¾ teaspoon kosher salt
  • ¼ teaspoon ground cinnamon
  • 2 tablespoons boiled cider syrup
  • 1 teaspoon vanilla extract
  • Pie Dough:
  • 2½ cups all-purpose flour
  • 1 tablespoon granulated sugar
  • 1 teaspoon kosher salt
  • 1 cup (2 sticks) cold unsalted butter, cubed
  • 6 tablespoons ice water, plus more if needed
  • 1 tablespoon apple cider vinegar
  • Assembly:
  • All-purpose flour, for dusting
  • 2 tablespoons cold unsalted butter, cubed
  • 1 large egg, lightly beaten
  • 4½ teaspoons turbinado sugar
  • 1 teaspoon flaky salt
  • Whipped cream, for serving
  • Warm Spice Blend:
  • 1 tablespoon ground cardamom
  • 1 tablespoon ground ginger
  • ¼ teaspoon ground cinnamon
  • ¼ teaspoon ground cloves
  • ¼ teaspoon ground nutmeg
Instructions
For the filling:
  1. Cut the apples into ¼-inch slices and place them in a large bowl. Toss with the lemon juice to keep them from browning. Add the brown sugar, cornstarch, Warm Spice Blend, kosher salt and cinnamon and toss to combine. Mix in the boiled cider syrup and vanilla. Cover the mixture and let it sit at room temperature while you make the pie dough.
For the pie dough:
  1. Add the flour, granulated sugar and kosher salt to a food processor and pulse to combine. Add the butter and pulse to incorporate so that about three-quarters of the mixture is mealy and the rest has some slightly larger, pea-sized bits of butter. Combine the ice water and cider vinegar in a measuring cup. Drizzle the water and vinegar into the food processor and continue to pulse just until the mixture comes together to form a dough. If it seems dry or is having a hard time coming together, add a bit more water, a few drops at a time, until it comes together.
  2. Turn the dough out onto a clean surface and use your hands to press on any stray crumbs. Divide the dough in half, then divide one of the halves in half again so that you have 3 pieces of dough. Pat each piece into a disc and wrap in plastic wrap. Refrigerate for at least 30 minutes or until ready to roll out for the pie.
For the assembly:
  1. Flour a work surface and roll out the largest disc of dough into a circle just larger than 12 inches. Place it in a 9-inch pie plate and refrigerate. Roll out the 2 remaining dough discs to about 10 inches each. Cut the dough into 2-inch-wide strips for making a lattice top. Set the strips aside.
  2. Position an oven rack in the lower third of the oven (with a pizza stone if you have one) and preheat to 400 degrees F.
  3. Fill the pie crust with the apples (it will seem like a lot but they bake down!) and pour the juices over it. Distribute the butter over the top. Weave the dough strips together over and under to form a lattice crust over the top. Pinch the edges to seal, trim, fold the edges over and crimp. Give the edges a little hug to make sure they are sitting snugly on the rim of the pie plate; otherwise they could fall off in the oven. Freeze the pie for 15 minutes.
  4. Brush the lattice with the egg wash, then sprinkle with the turbinado sugar and flaky salt. Place the pie on a baking sheet and bake until the internal temperature reaches 195 degrees F, 45 to 55 minutes. Let cool slightly.
  5. Serve the pie with large dollops of whipped cream.
Warm Spice Blend:
  1. Layer the cardamom, ginger, cinnamon, cloves and nutmeg in a medium glass jar and tighten the lid. Shake to combine. Keep on hand to add to your favorite desserts and beverages -- or just toast with butter!

Watch the recipe video here:

Spiced Apple Pie is bursting with flavor! You'll never look at classic apple pie the same again. ?Save Molly Yeh's recipe: https://foodtv.com/2GYmbne!

Posted by Food Network on Wednesday, February 27, 2019
Main dish

SKILLET CHICKEN CORDON BLEU

SKILLET CHICKEN CORDON BLEU
I love making Chicken Cordon Bleu which I usually bread, roll and bake. But I wanted something quick with the same ingredients and came up with this – lazy chicken cordon bleu made all in one skillet. This is great with roasted veggies or you can serve this with rice pilaf.
Author:
Cuisine: American
Recipe type: Main dish
Ingredients
  • 4 thin boneless, skinless cutlets, 4 oz each
  • ½ teaspoon kosher salt
  • ¼ cup all purpose flour*
  • ½ teaspoon butter
  • 1½ teaspoons olive oil
  • ⅔ cup reduced sodium chicken broth
  • 1 tbsp fresh lemon juice
  • ½ tablespoon Dijon mustard
  • 4 thin slices low sodium deli ham, I use Boar’s Head (3 oz total)
  • 4 slices light Swiss Cheese such as Alpine Lace (3 oz total)
  • chopped fresh parsley, for garnish
  • * All purpose gluten-free flour works well here.
Instructions
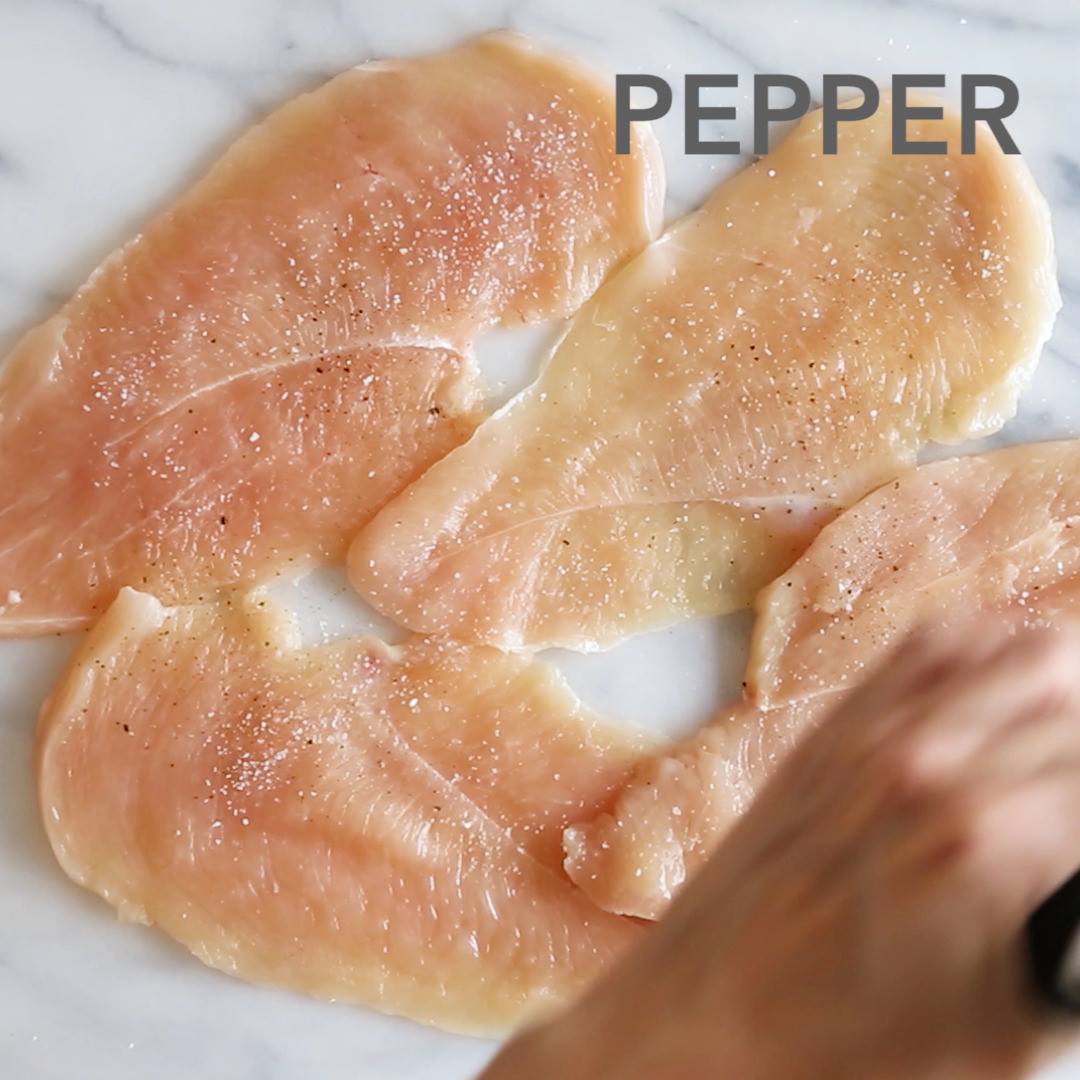
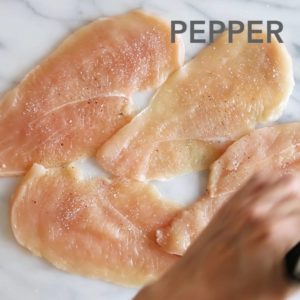
  1. Season chicken with salt and pepper, to taste.
  2. Place the flour in a shallow dish. Lightly dredge the chicken with flour on both sides, shaking off the excess reserving the flour.
  3. In a small bowl combine the chicken broth, lemon juice, Dijon mustard and 1 teaspoon of the reserved flour, whisk until smooth.
  4. Heat a large nonstick skillet over medium-high heat. Melt the butter and add 1 teaspoon of the olive oil and half of the chicken.
  5. Cook 2 minutes on each side, until slightly golden, then transfer to a dish.
  6. Add remaining ½ teaspoon olive oil and remaining chicken and cook 2 minutes on each side.
  7. Set aside on a dish with the other pieces of chicken.
  8. Reduce the heat to medium-low, add the chicken broth mixture. Whisk scraping up any bits stuck to the pan then simmer 2 minutes to reduce slightly.
  9. Return the chicken to the skillet, top each piece with a slice of ham and a slice of swiss, cover the skillet and simmer medium-low for 3 to 4 minutes until the cheese melts.
  10. To serve use a spatula and transfer the chicken to each dish, spoon the remaining sauce over each piece.

Watch the recipe video here:

Skillet Chicken Cordon Bleu – boneless chicken cutlets topped with ham and Swiss in a light lemon Dijon sauce. No…

Posted by Skinnytaste on Wednesday, February 27, 2019
Main dish

Crispy-Skin Salmon with Napa Cabbage

Crispy-Skin Salmon with Napa Cabbage
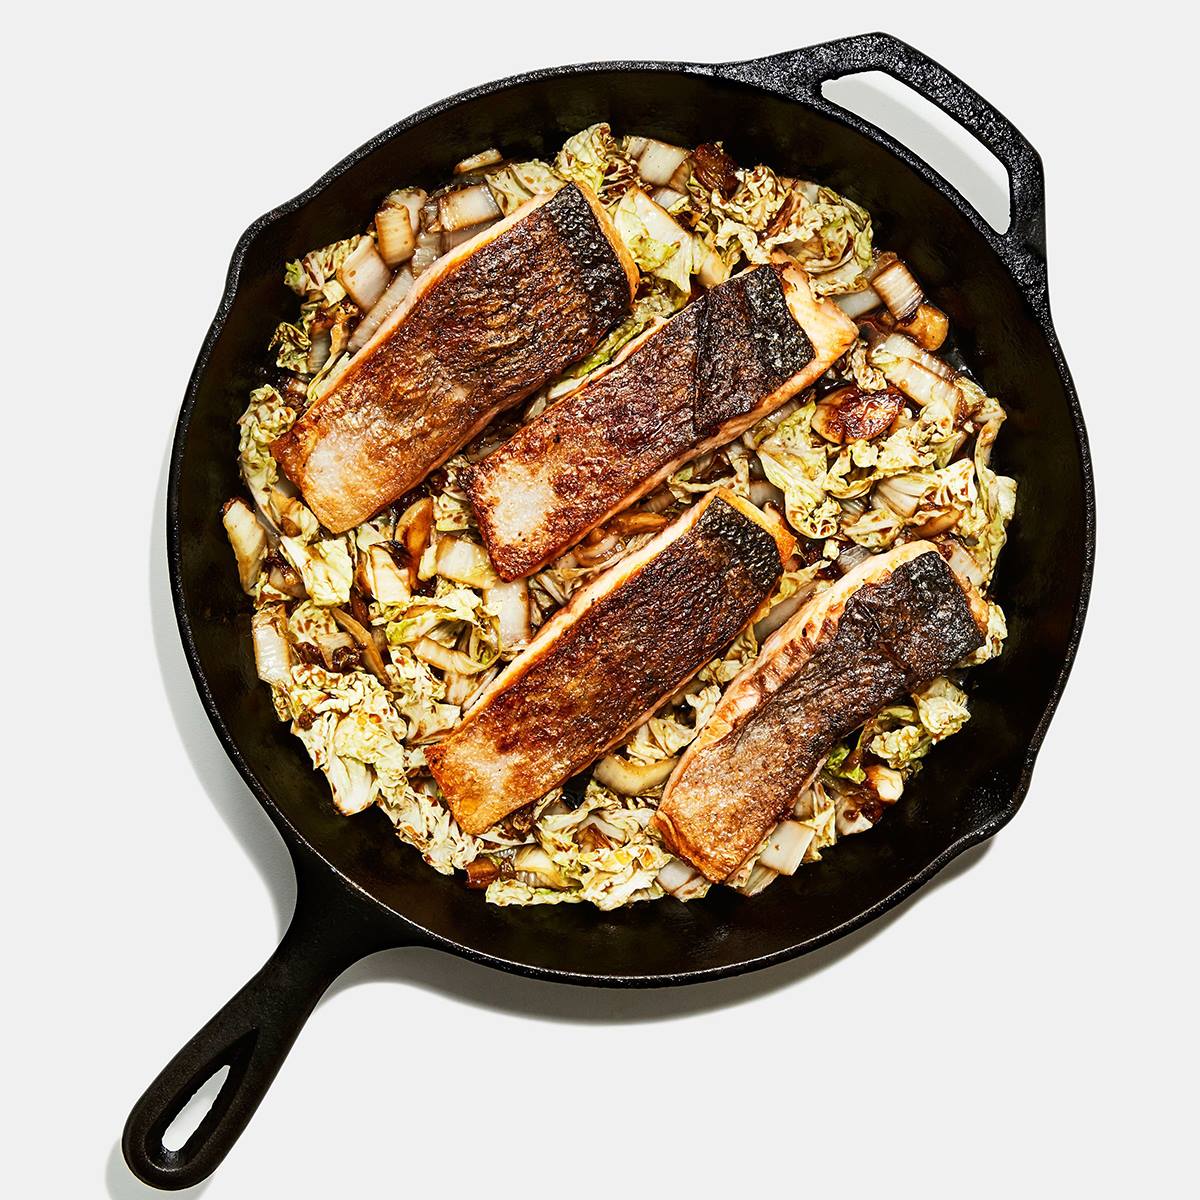
Does the thought of cooking fish at home freak you out? We got you. This method guarantees that the salmon comes out perfectly cooked with crispy skin. Use the same technique with any skin-on fish fillets for great results every time.
Author:
Cuisine: American
Recipe type: Main dish
Ingredients
  • 1 small head of Napa cabbage
  • 5 garlic cloves
  • 1 2-inch knob ginger
  • 2 tablespoons rice wine vinegar
  • 2 tablespoons soy sauce
  • 1 tablespoon honey
  • 1½ teaspoons cornstarch
  • 4 6-ounce skin-on salmon fillets
  • Kosher salt
  • Freshly ground black pepper
  • 3 tablespoons vegetable oil, divided
Instructions
  1. Starting at leafy green end of Napa cabbage, slice about one-third of head crosswise into ½”-thick ribbons. Set darker green pieces aside. Thinly slice remaining pale-green and white parts of cabbage crosswise and transfer to a medium bowl (discard cabbage core).
  2. Smash 5 garlic cloves and discard peel.
  3. Scrape down and around ginger with the curved tip of a spoon to remove skin, then thinly slice ginger crosswise.
  4. Stir 2 Tbsp. rice wine vinegar, 2 Tbsp. soy sauce, 1 Tbsp. honey, and 1½ tsp. cornstarch in a small bowl with a spoon until cornstarch is dissolved.
  5. Thoroughly pat dry 4 salmon fillets with paper towels. Season flesh side with salt and pepper.
  6. Drizzle 2 Tbsp. vegetable oil across surface of a large skillet, preferably cast iron. Arrange salmon fillets skin side down in skillet, spacing evenly apart. Heat skillet over medium (yes, you’re starting the cooking from cold).
  7. Cook salmon, occasionally sliding a flexible metal spatula underneath skin to lift fillets and let fresh hot fat flow underneath (if the skin is sticking, let it cook longer until skin releases), until flesh is opaque all the way up the sides of each fillet and only the top of thickest part is still translucent, 5–10 minutes. It will take more or less time depending on thickness of your salmon fillets. As fish is cooking, move pieces around pan to encourage even cooking.
  8. Using spatula and a pair of tongs, carefully turn each fillet so skin side is up. Turn off heat and let heat remaining in skillet gently cook second side. Once fillets have stopped sizzling, carefully transfer to a plate.
  9. Return pan to medium-high heat and add half of cabbage from bowl. Cook, tossing occasionally with tongs, until cabbage is wilted and browned and even charred in some spots, about 5 minutes. Toss in remaining cabbage from bowl and cook, stirring often, until second batch is tender, about 4 minutes.
  10. Scrape cabbage mixture back into bowl and add remaining 1 Tbsp. oil. Add garlic and ginger to pan and cook, tossing often, until garlic is browned all over and ginger is browned around the edges, about 3 minutes.
  11. Stir soy mixture to re-incorporate cornstarch and add to skillet. Stir rapidly until mixture is thickened, which will only take a few seconds, then remove from heat.
  12. Add cooked cabbage and uncooked green cabbage back to skillet and toss well to coat.
  13. Arrange salmon fillets over of cabbage and serve.

Watch the recipe video here:

Because you deserve the crispiest skinned fish. (via Basically) Recipe: http://bonap.it/HyokiDa

Posted by Bon Appétit Magazine on Monday, February 25, 2019

Dessert

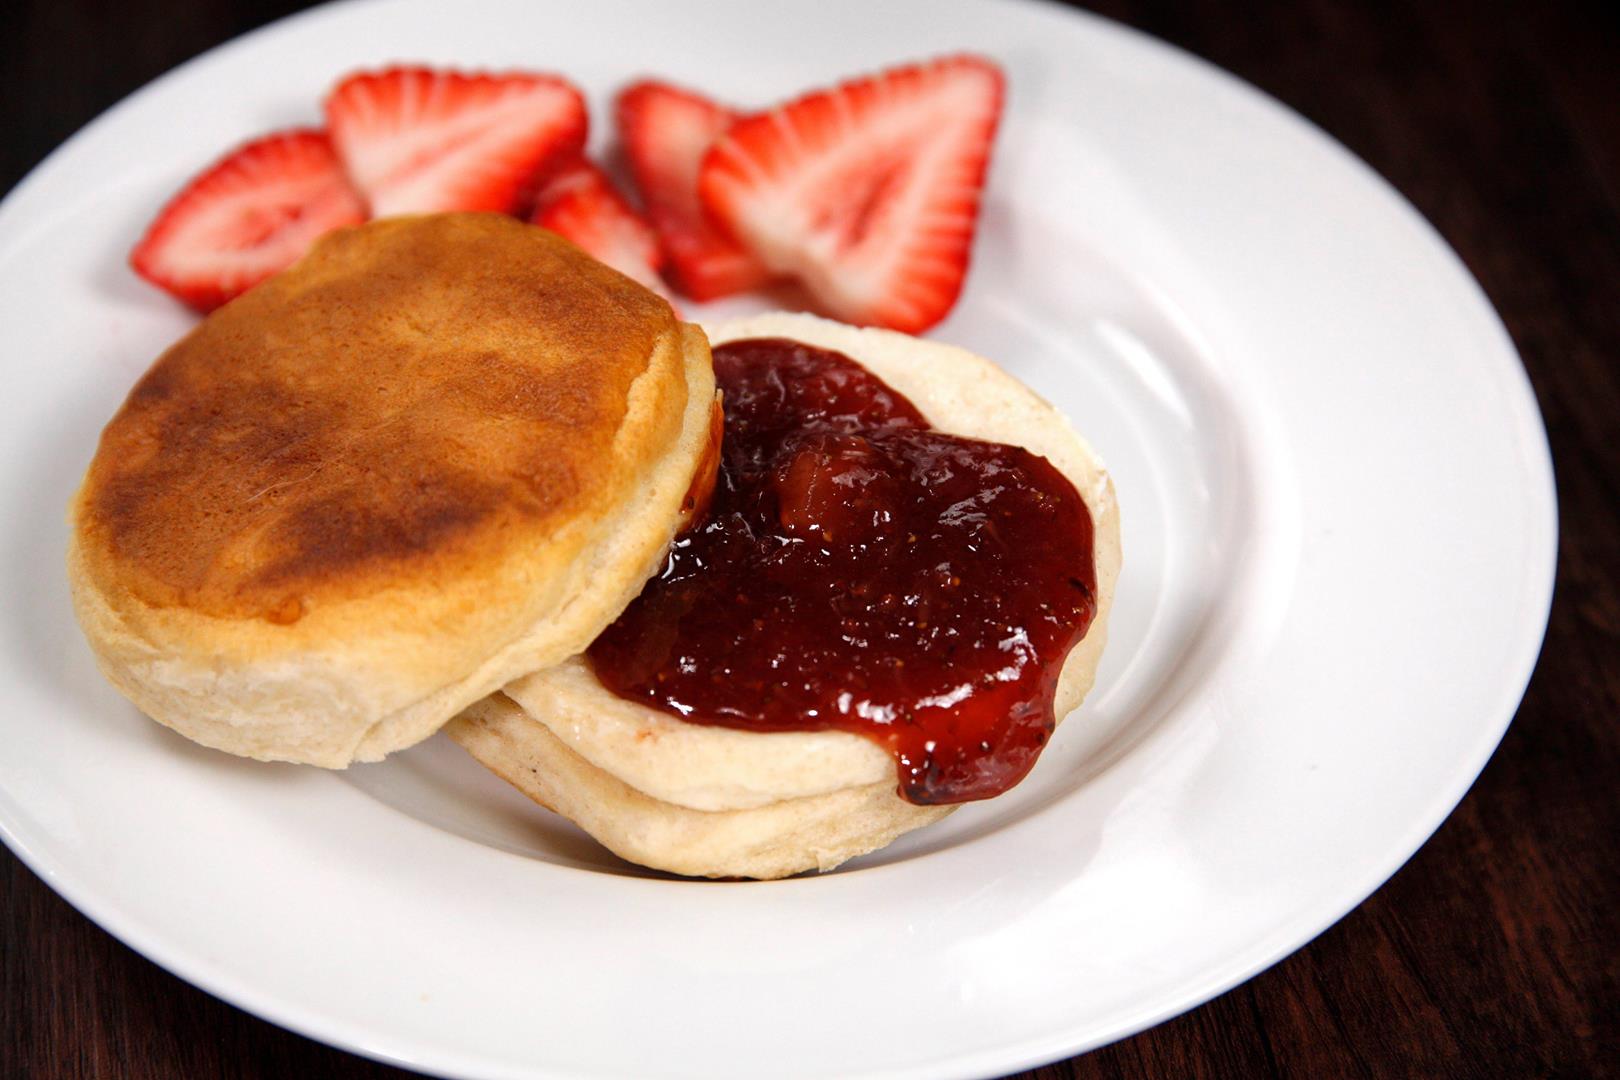
Instant Pot Classic Strawberry Jam

Instant Pot Classic Strawberry Jam
https://www.facebook.com/431815513692139/posts/1056055021268182/ aYou may never buy store-bought again!
Author:
Cuisine: American
Recipe type: Dessert
Ingredients
  • 4 cups hulled and quartered strawberries
  • 1½ cups sugar
  • 3 tbsp lemon juice
  • 3 tbsp water
  • 3 tbsp cornstarch
Instructions
  1. Mix together strawberries and sugar in the Instant Pot. Set aside for 30 minutes to allow the berries to macerate (soften and release juices).
  2. After 30 minutes, add lemon juice and stir to combine.
  3. Secure the lid, making sure the vent is closed.
  4. Using the display panel select the MANUAL function*. Use the +/- keys and program the Instant Pot for 1 minute.
  5. When the time is up, let the pressure naturally release for 15 minutes, then quick-release the remaining pressure.
  6. Turn the pot off by selecting CANCEL, then select the SAUTE function.
  7. In a small bowl, mix together cornstarch and cold water. Stir into the pot. Cook and stir until desired thickness is reached.
  8. Turn the pot off and allow to cool.

Watch the recipe video here:

You may never buy store-bought again!RECIPE: http://chopsecrets.com/instant-pot-classic-strawberry-jam/

Posted by Chop Secrets on Monday, February 25, 2019

Main dish

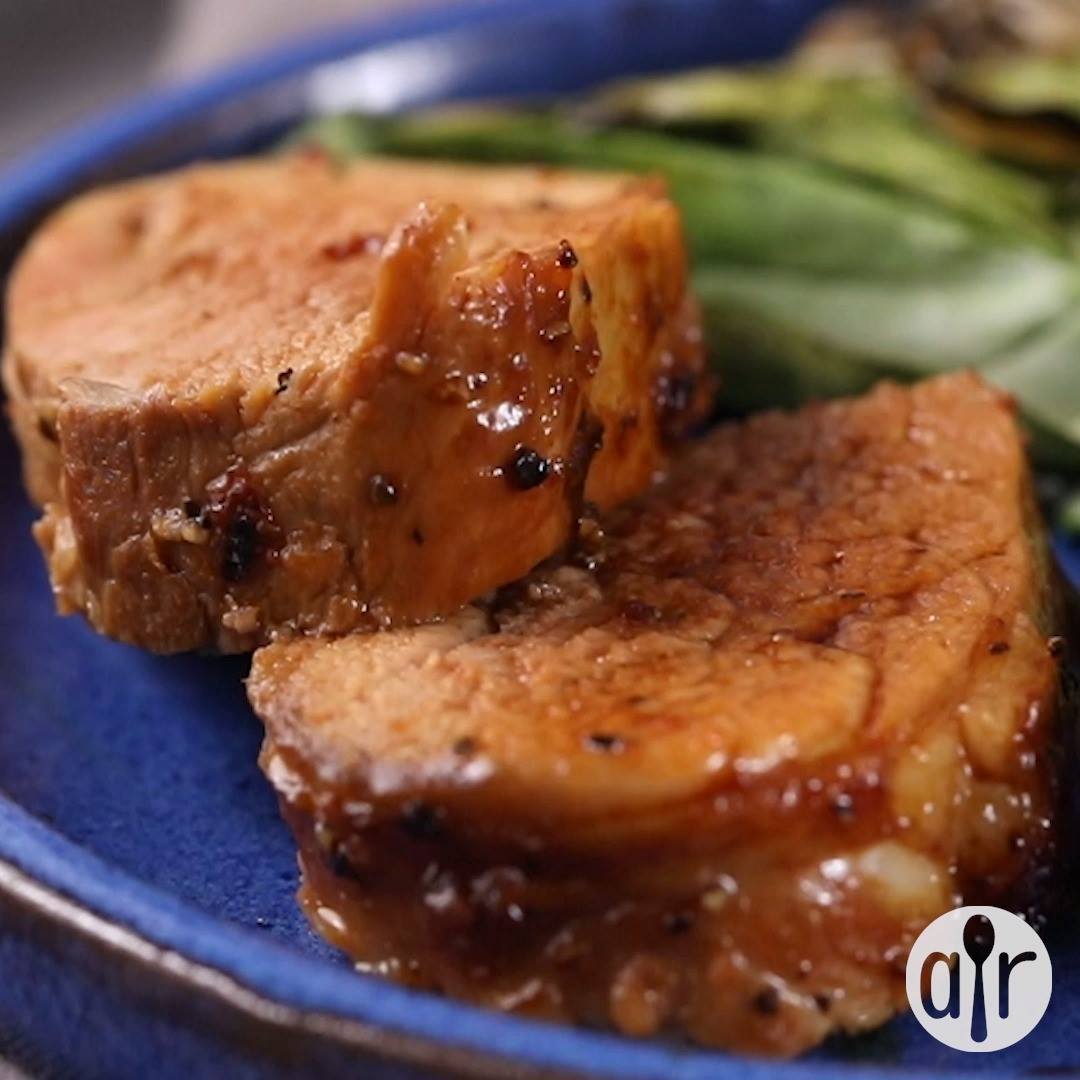
Asian Pork Tenderloin

Asian Pork Tenderloin
This is a simple and flavorful recipe. For best results, marinate the pork at least 8 hours (overnight is best) and flip it after 4 hours. It's great with rice and Asian veggies like bok choy! Enjoy!
Author:
Cuisine: American
Recipe type: Main dish
Ingredients
  • ⅓ cup lite soy sauce
  • ¼ cup sesame oil
  • 2 tablespoons Worcestershire sauce
  • ⅛ cup packed light brown sugar
  • 3 green onions, chopped
  • 4 cloves garlic, crushed
  • 1½ tablespoons Asian chile paste
  • 1½ teaspoons pepper
  • 1 (2 pound) fat-trimmed pork tenderloin
Instructions
  1. Pour into a medium bowl the soy sauce, sesame oil, and Worcestershire sauce. Then whisk in brown sugar, green onions, garlic, chile paste, and pepper. Place the tenderloin in a shallow dish. Pour sauce over tenderloin, turning the meat a few times to coat. Cover dish, and refrigerate at least 8 hours.
  2. Preheat oven to 450 degrees F (230 degrees C). Transfer pork with marinade into an aluminum foil-lined baking pan.
  3. Roast in a preheated oven 25 to 30 minutes. Remove, and let stand 5 to 10 minutes before carving.

Watch the recipe video here:

Asian Pork Tenderloin: https://trib.al/zTULZ9B

Posted by Allrecipes on Monday, February 25, 2019

Main dish

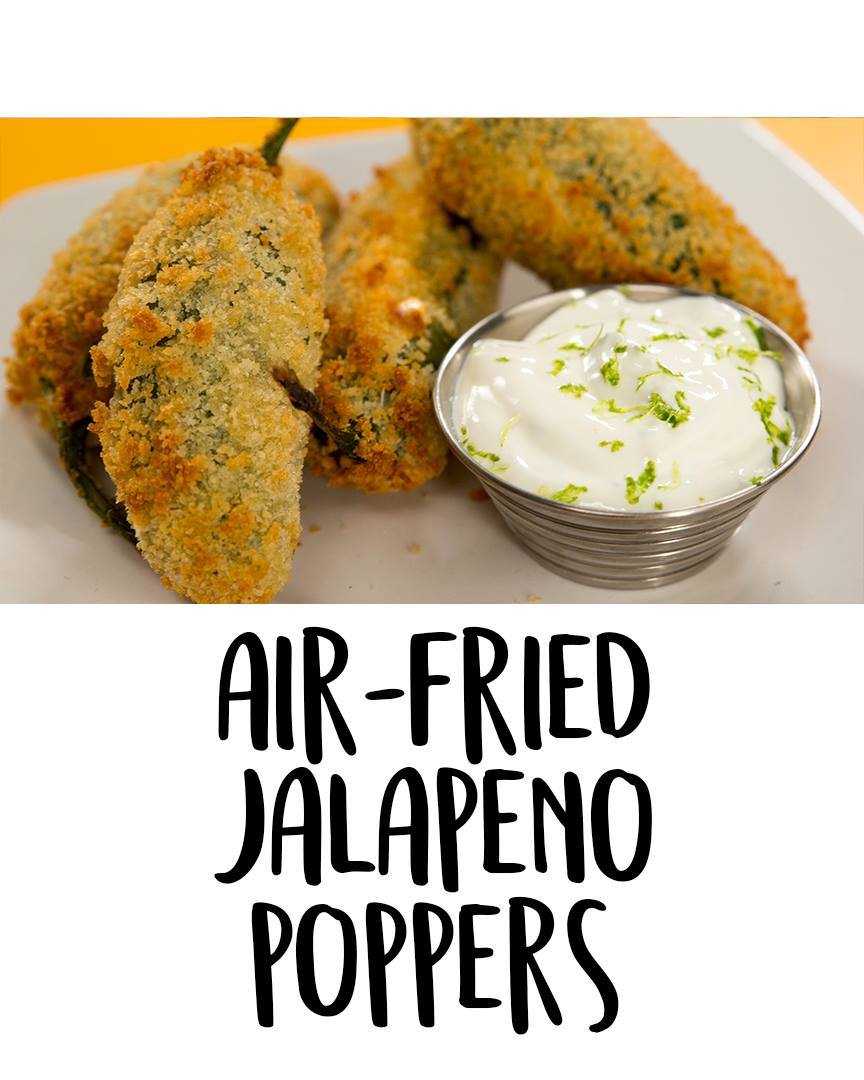
Air-Fried Jalapeño Poppers

Air-Fried Jalapeño Poppers
The air-fryer jalapeño poppers allow you to enjoy everything you love about crispy pepper poppers without all of the not-so-lovable mess that comes with deep-frying.
Author:
Cuisine: American
Recipe type: Main dish
Ingredients
  • 8 large jalapeño chiles
  • 6 ounces Cheddar cheese, shredded (about 1½ cups)
  • 4 ounces cream cheese, softened
  • 1½ teaspoons kosher salt, divided
  • ½ cup all-purpose flour
  • 2 large eggs, beaten
  • 1½ cups panko (Japanese-style breadcrumbs), very finely crushed
  • ½ cup sour cream
  • ½ teaspoon lime zest, plus 2 tsp. fresh lime juice (from 1 lime)
Instructions
  1. Bring 3 cups of water to a boil in a medium saucepan over high. Add jalapeños; cook, stirring occasionally for 3 minutes. Transfer jalapeños to a bowl of ice water to stop the cooking process; let stand for about 30 seconds. Transfer jalapeños to a plate lined with paper towels. Carefully make a slit vertically along the side of each jalapeño. Remove seeds and veins (gloves are best for this!). Rinse and dry thoroughly.
  2. Stir together Cheddar, cream cheese, and ½ teaspoon of the salt in a medium bowl until combined. Fill each pepper with about 2 teaspoons of cheese filling; close slit to seal in cheese.
  3. Place flour in 1 shallow dish, eggs in a second shallow dish, and panko and remaining 1 teaspoon salt in a third dish. Dip stuffed jalapeños in eggs, allowing excess to drip off. Coat lightly in flour. Return coated jalapeños to egg dish for a second dip, and finally coat in panko.
  4. Turn the air-fryer to 375°F, and allow it to preheat 3 to 5 minutes. Coat the basket and breaded jalapeños with cooking spray. Add 4 jalapeños at a time to air-fryer. Cook until golden brown, 10 to 12 minutes, turning half way through. Repeat with remaining jalapeños.
  5. Combine sour cream, lime zest, and lime juice in a small bowl. Serve poppers with lime cream.

Watch the recipe video here:

The ultimate cheesy, spicy party food—without the mess. GET THE RECIPE: https://trib.al/T0bHcaa (via Well Done)

Posted by MyRecipes on Monday, February 25, 2019

Main dish

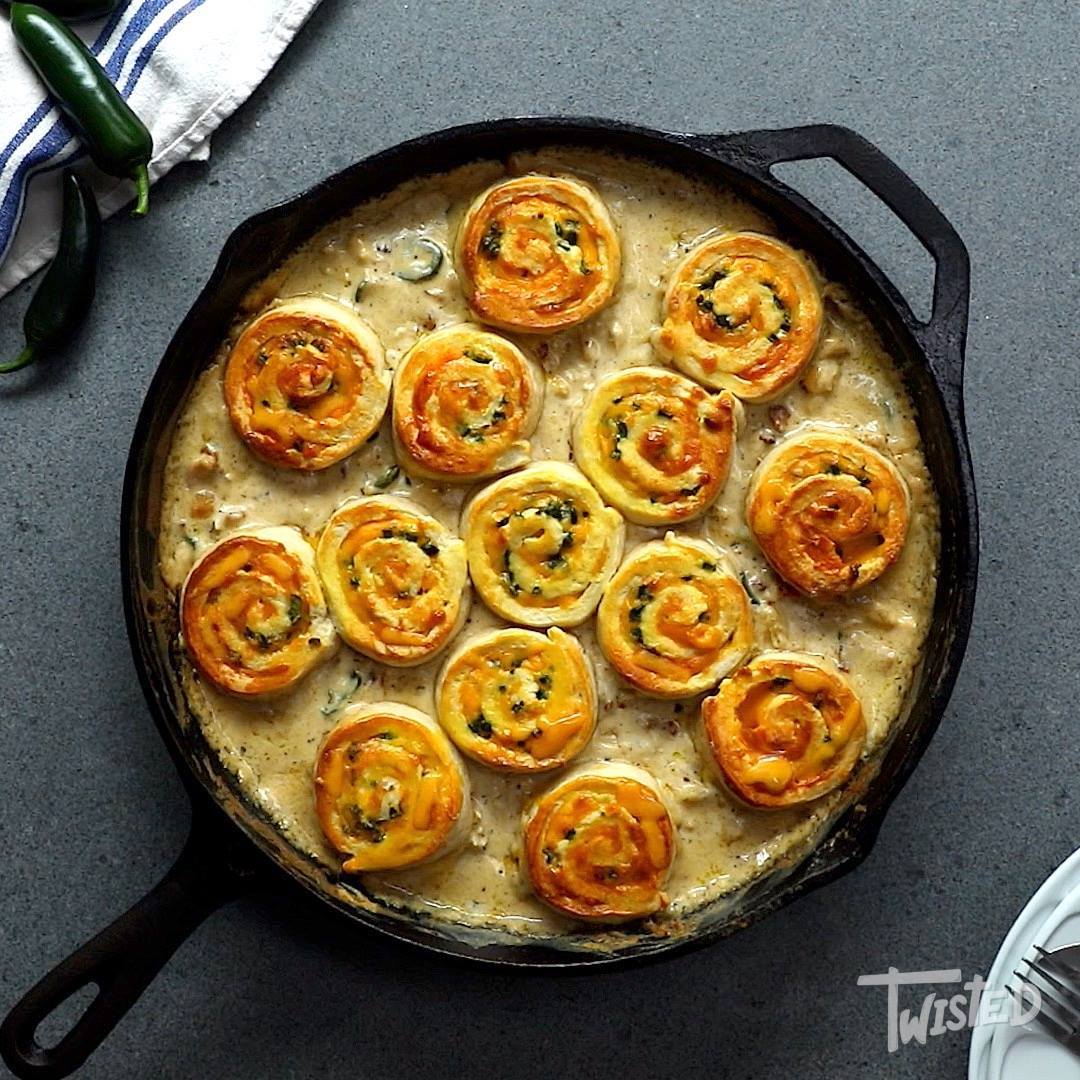
Jalapeno Popper Chicken Swirl Pie

Jalapeno Popper Chicken Swirl Pie
JALAPENO POPPER CHICKEN SWIRL PIE
Author:
Cuisine: American
Recipe type: Main dish
Ingredients
  • 2 tsp oil
  • 4 chicken breasts
  • Salt and Pepper to taste
  • 1 tsp oil
  • 1 small white onion, chopped
  • 8 rashers bacon, chopped
  • 2 cloves garlic, minced
  • 6 jalapeños, sliced into rings
  • 40g butter
  • 40g flour
  • 500ml chicken stock
  • 225ml heavy cream
  • 100g cream cheese
  • Salt and pepper to taste
  • 300g self-raising flour
  • 1 tsp salt
  • 50g, butter grated
  • 180ml whole milk
  • 1 cup grated red cheddar
  • 2-3 tbsp diced jalapeños
  • Egg wash
Instructions
  1. Heat oil in a large skillet over medium heat. Add the chicken breasts, seasoning on both sides. Sear on both sides and cook through. Remove to a dish and shred. Set aside while making the sauce.
  2. In the same pan, add 1 tsp oil, onion and bacon. Cook until onions are caramelised and bacon is just crispy.
  3. Add garlic and jalapeños. Cook until aromatic.
  4. Make the roux, add the butter and melt. Sprinkle over the flour and stir to combine. Gradually add the chicken stock, stirring in between until smooth. Stir in the heavy cream.
  5. Add the cream cheese and mix until melted. Bring to a simmer and cover. Simmer for about 5 minutes then add the shredded chicken. Stir and set aside.
  6. Pre-heat oven to 180ºC.
  7. In a large bowl, mix together flour and butter. Until small pebbles are formed. Add the milk and mix well. Transfer to a floured surface and knead until smooth.
  8. Roll out into a large rectangle.
  9. Sprinkle cheese over the dough leaving about ½ bare edge to seal. Sprinkle with jalapeños. Brush the bare edge with egg wash.
  10. Roll into a tight log. Cut into ½” spirals. Arrange on top of the chicken skillet.
  11. Bake for about 20 minutes until golden brown.
  12. Enjoy!

Watch the recipe video here:

Jalapeno Popper Chicken Swirl Pie

Posted by Twisted on Friday, February 22, 2019

Main dish

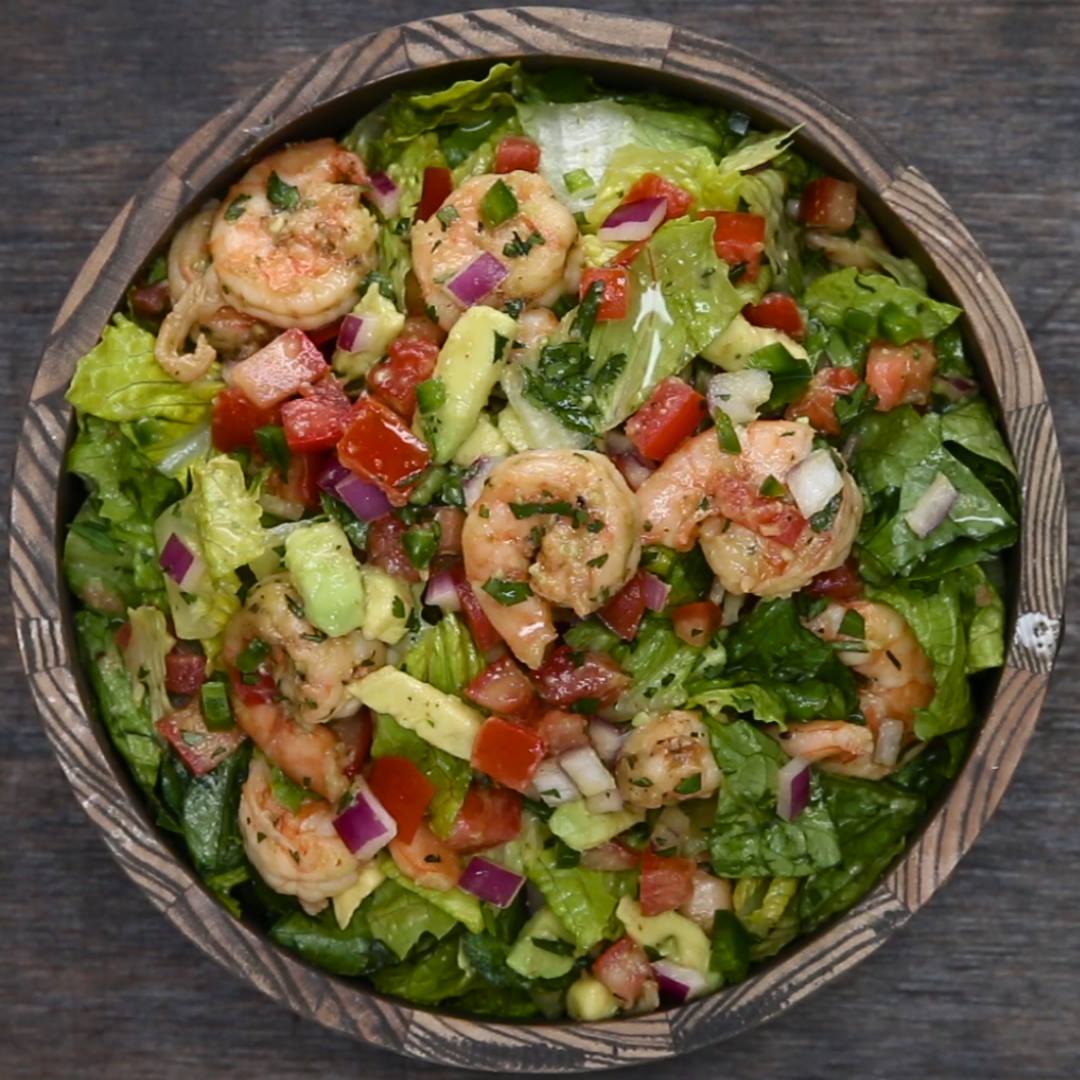
Shrimp and Avocado Taco Salad

Shrimp and Avocado Taco Salad
Author:
Cuisine: American
Recipe type: Main dish
Ingredients
  • 2 tablespoons oil
  • 1 lb medium shrimp, peeled and deveined (455 g)
  • 1 large head romaine lettuce, chopped
  • 4 tomatoes, diced
  • ½ jalapeño, deseeded and finely diced, optional
  • ¼ red onion, finely diced
  • 2 tablespoons fresh cilantro, minced
  • 1 large avocado, diced
  • ½ teaspoon salt
  • 2 tablespoons lime juice, or 1 lime
TACO SEASONING
  • ½ teaspoon salt
  • ½ teaspoon black pepper
  • 1 teaspoon ground cumin
  • 1 teaspoon dried oregano
  • ¼ teaspoon garlic powder
  • ½ teaspoon chili powder
Instructions
  1. Heat the oil in a skillet over medium-high heat.
  2. Toss in the shrimp and immediately season with the taco seasoning. Sauté the shrimp just until each piece has started to turn pink, about 2 minutes. Remove from heat.
  3. In a large bowl, combine the lettuce, shrimp, tomatoes, jalpeño, red onion, cilantro, avocado, salt, and lime juice, and mix until the salad is well-combined.
  4. Serve with tortilla strips, if desired.
  5. Enjoy!

Watch the recipe video here:

Being healthy is easy when it's this delicious ?FULL RECIPE: https://tasty.co/recipe/shrimp-and-avocado-taco-salad

Posted by Proper Tasty on Friday, February 22, 2019

Main dish

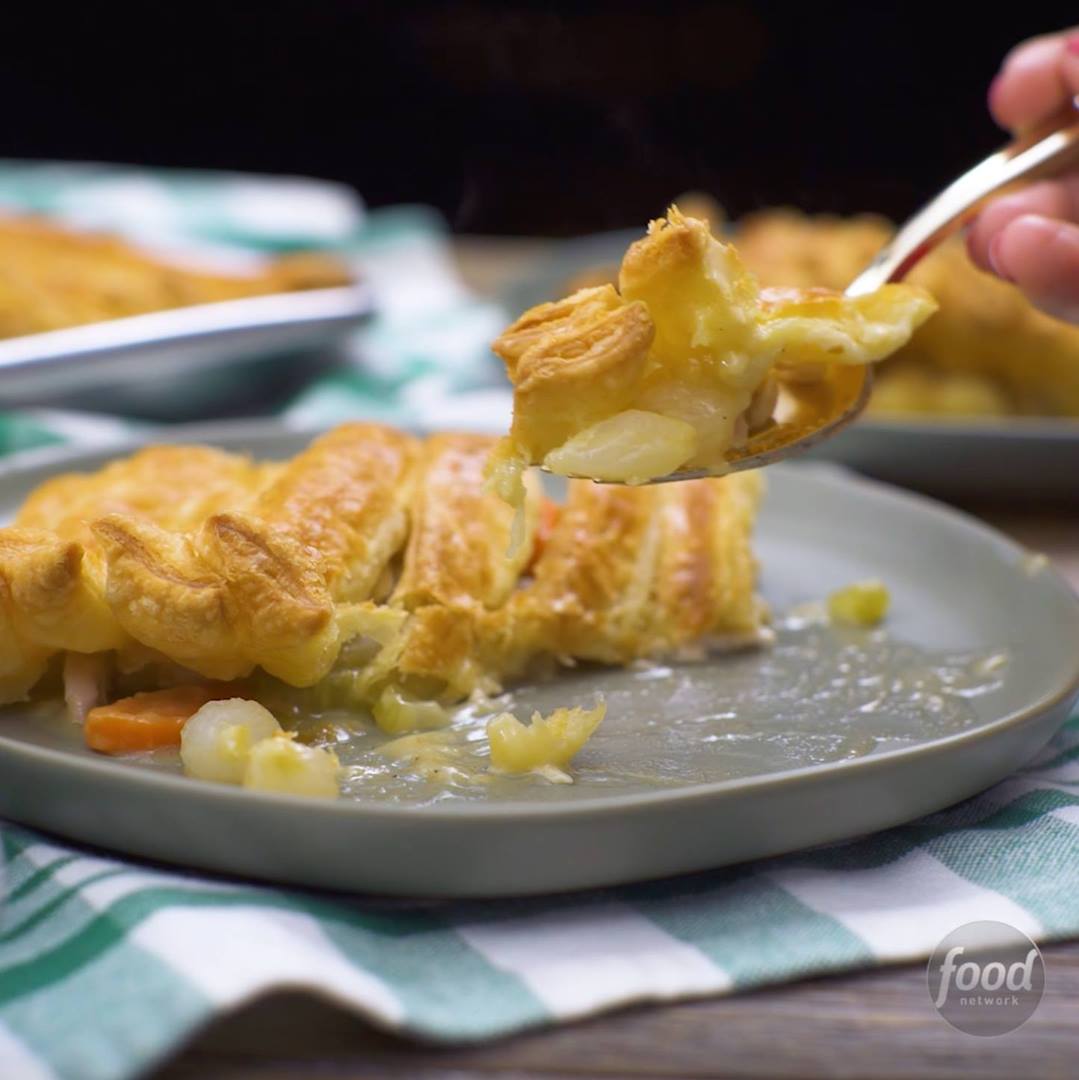
All-Crust Sheet Pan Chicken Pot Pie

All-Crust Sheet Pan Chicken Pot Pie
If your favorite part of the chicken pot pie is the crust, we've got you covered. This creamy version is topped with acres of light and flaky pastry and takes less than a half hour of hands-on time, making it easy enough for a weeknight and fun enough for a crowd.
Author:
Cuisine: American
Recipe type: Main dish
Ingredients
  • Nonstick cooking spray, for the pan
  • 3 tablespoons unsalted butter
  • 2 teaspoons fresh thyme leaves, chopped
  • ⅓ cup all-purpose flour, plus more for dusting
  • 3 cups low-sodium chicken broth
  • Kosher salt and freshly ground black pepper
  • 1 rotisserie chicken, skin discarded and meat shredded (about 3 cups)
  • One 14-ounce bag frozen pearl onions, thawed
  • 2 large carrots, sliced into thin half-moons
  • 2 stalks celery, finely diced
  • Two 17.3-ounce packages puff pastry (4 sheets)
  • 1 large egg, beaten with a splash of water
Instructions
  1. Preheat the oven to 400 degrees F. Spray an 18-by-13-inch sheet pan with cooking spray.
  2. Melt the butter with the thyme in small saucepan over medium heat. Whisk in the flour and cook, stirring, until a sandy consistency, about 1 minute. Pour in the chicken broth, whisking constantly until smooth. Stir in 2 teaspoons salt and a few grinds of black pepper and bring to a boil. Lower the heat and simmer gently until thickened and the flour flavor is gone, about 10 minutes.
  3. Meanwhile, add the chicken, onions, carrots and celery to the prepared sheet pan and toss to combine; set aside.
  4. Stack 2 puff pastry sheets on top of each other on a lightly floured surface. Roll the puff pastry out to a 15-by-15-inch square. Cut the pastry into 1-inch strips so you have 15 strips total. Repeat with the remaining 2 puff pastry sheets.
  5. Pour the gravy over top of the chicken mixture on the sheet pan. Arrange the pastry strips over the filling lengthwise, overlapping them slightly so most of the filling is covered. Trim any overhang from the edges of the pan. Brush the pastry with the egg wash and bake until deep golden brown, 35 to 40 minutes.

Watch the recipe video here:

Recipe of the Day: All-Crust Sheet Pan Chicken Pot Pie ?Save the recipe: https://foodtv.com/2tq0Z1I!

Posted by Food Network on Friday, February 22, 2019

Main dish

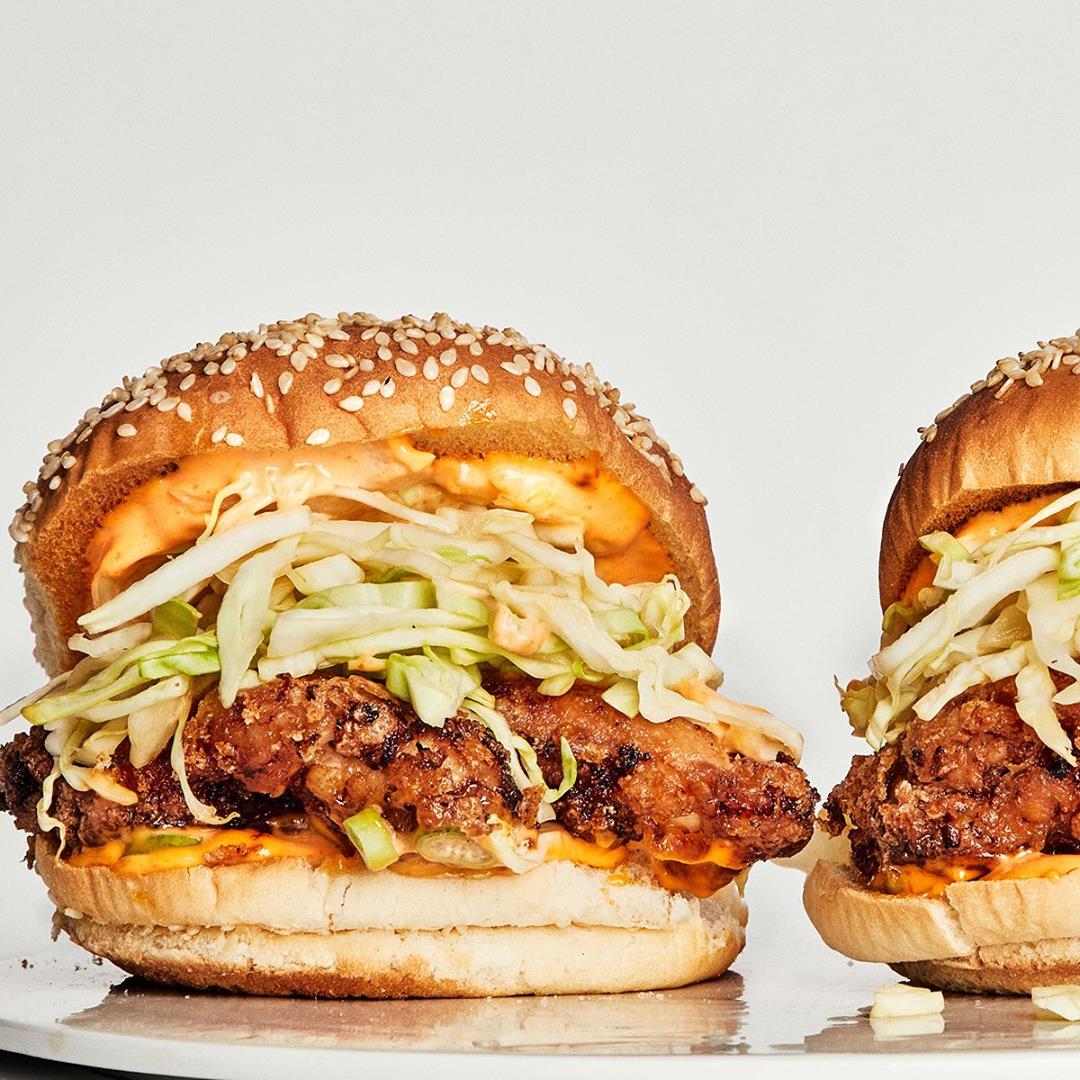
The Basically Fried Chicken Sandwich

The Basically Fried Chicken Sandwich
Our incredibly simple method for breading chicken thighs (no brine! no seasoned flour! no dipping!) is based on karaage, a type of Japanese fried chicken. Using a high-sided vessel like a Dutch oven for frying—instead of a shallow skillet—helps to cut down on any obnoxious splatter.
Author:
Cuisine: American
Recipe type: Main dish
Ingredients
  • 4 skinless, boneless chicken thighs (about 4 oz. each, 1 lb. total)
  • 4 Tbsp. seasoned rice vinegar, divided
  • 2 Tbsp. soy sauce, divided
  • Kosher salt
  • Freshly ground black pepper
  • Neutral oil, such as vegetable or peanut (for frying; 4–6 cups)
  • ½ cup mayonnaise
  • 2 Tbsp. Sriracha
  • 4 soft seeded hamburger buns
  • ¼ small head green cabbage
  • 2 scallions
  • ⅓ cup cornstarch
Instructions
  1. Pat 4 chicken thighs dry with paper towels, then transfer to a large resealable plastic bag. Add 2 Tbsp. rice vinegar and 1 Tbsp. soy sauce to bag. Sprinkle in a pinch of salt; season with pepper. Seal bag, pressing out air, and work chicken around inside bag to coat. Let sit while you prepare the other components.
  2. Pour oil into a Dutch oven to come 1"–1½" up the sides and heat over medium-high (the high sides make for less splatter during frying). Every few minutes check oil temperature with an instant-read thermometer. You want it right around 350° (this will take about 10 minutes total). As it surpasses the 300° mark, reduce heat to low to maintain.
  3. Stir ½ cup mayonnaise and 2 Tbsp. Sriracha in a small bowl with a spoon until smooth.
  4. Preheat boiler. If broiler element is at the top of your oven, move rack to highest position. Broil 4 buns (you can place them directly on the rack), cut sides up, just until surfaces are golden, less than a minute. Use tongs to remove and set aside.
  5. Very thinly slice ¼ head of cabbage and transfer to a medium bowl. Thinly slice 2 scallions; set aside for assembly.
  6. Remove chicken from bag with tongs, letting excess marinade drip back into bag, and transfer to another medium bowl. Add ⅓ cup cornstarch to bowl and toss with tongs until chicken is completely coated in cornstarch.
  7. Check oil and adjust temperature so thermometer registers around 350°. Carefully lay chicken into hot oil and cook, turning occasionally to prevent one side from browning too quickly, until crust is crispy and dark brown, 5–8 minutes. Keep an eye on your oil temperature, which will drop when you add the chicken; increase heat if needed to maintain 350°. Transfer chicken to a wire rack and let cool about 5 minutes.
  8. Meanwhile, toss cabbage with remaining 2 Tbsp. rice vinegar and 1 Tbsp. soy sauce.
  9. Spread about 1 Tbsp. Sriracha-mayonnaise across toasted sides of buns with the back of a spoon. Sprinkle reserved scallions over bottoms of buns, then arrange chicken over. Divide slaw evenly over chicken, then close with tops of buns.

Watch the recipe video here:

Everything you want in a crispy chicken sandwich, with none of the fuss.Make it: http://bonap.it/2meZaQ6

Posted by Bon Appétit Magazine on Thursday, February 21, 2019