Main dish

Instant Pot Cilantro Lime Chicken
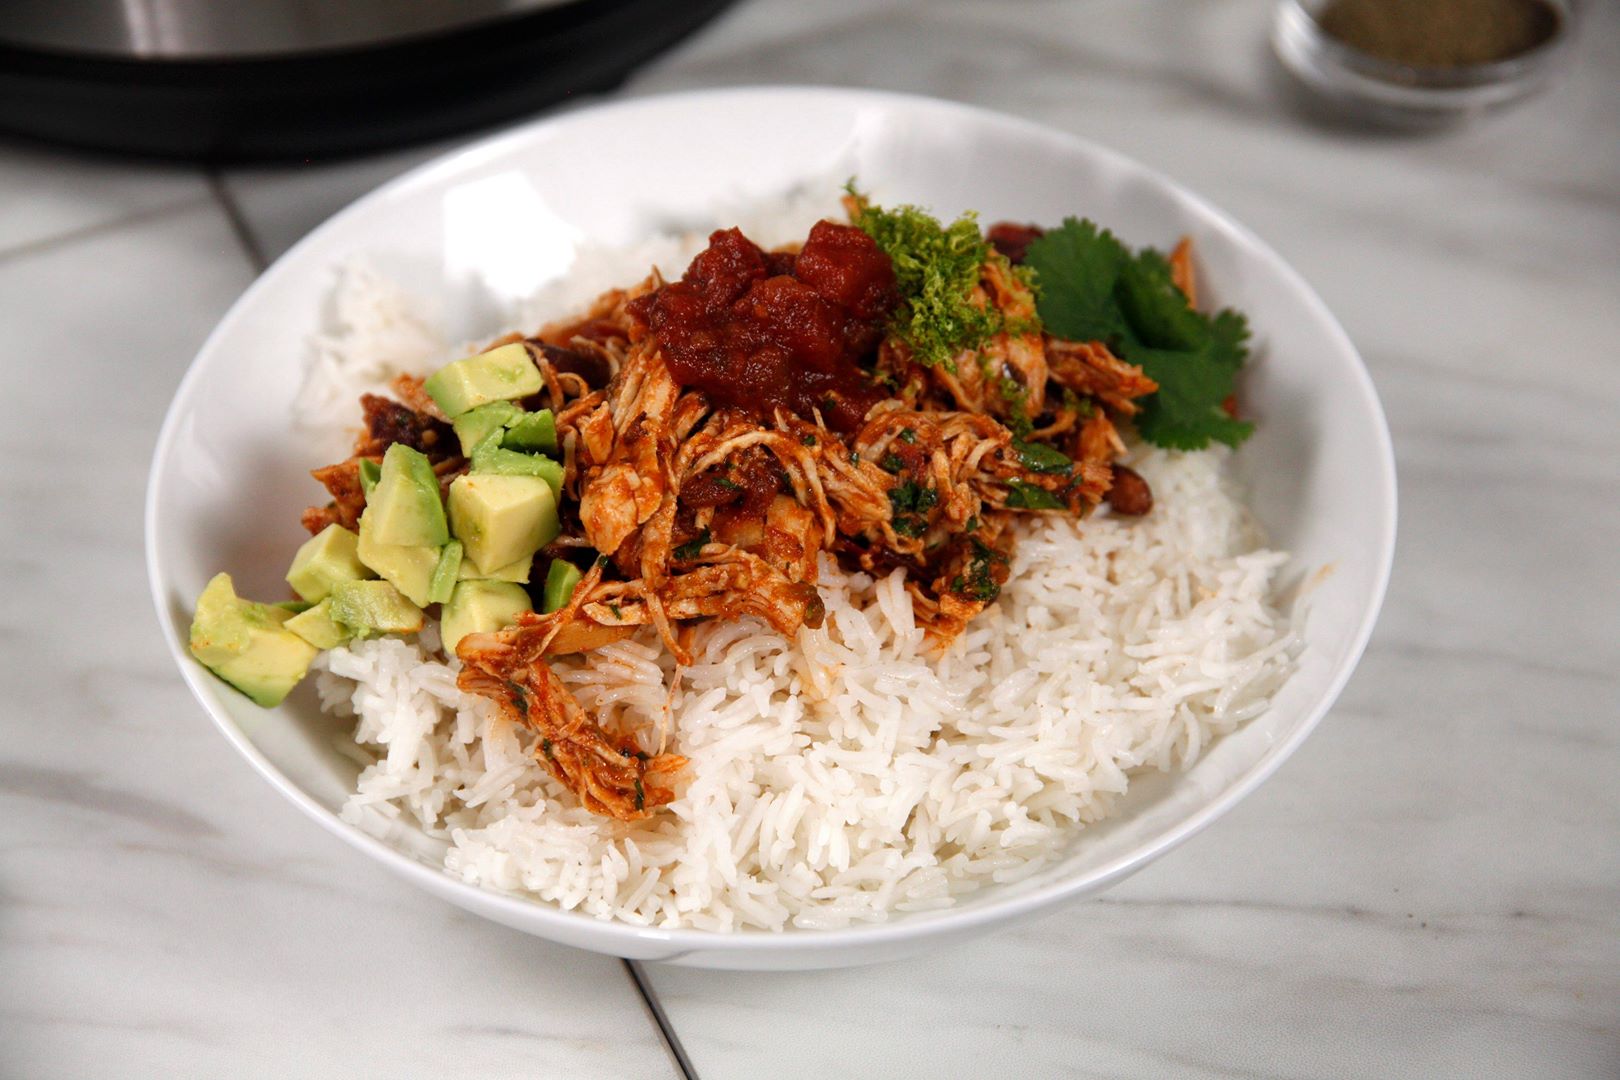
Instant Pot Cilantro Lime Chicken
It delivers big flavor to otherwise boring chicken breasts.
Author:
Cuisine: American
Recipe type: Main dish
Ingredients
Pot Mixture:
  • 3 cups fresh salsa (24 oz)
  • 1 1 oz package taco seasoning
  • Zest and juice of 1 lime
  • ¼ cup water
  • 1 15 oz can black beans, rinsed and drained
  • 2 lbs boneless skinless chicken breasts
  • 1 jalapeno, seeded and diced (optional)
To Finish:
  • ½ cup chopped fresh cilantro
  • White rice, quinoa, or tortillas (optional)
  • Avocado, lime wedges, sour cream, shredded cheese (optional)
Instructions
  1. Add Pot Mixture ingredients to the pot and stir to combine.
  2. Secure the lid, making sure the vent is closed.
  3. Using the display panel select the MANUAL function*. Use the +/- keys and program the Instant Pot for 12 minutes.
  4. When the time is up, let the pressure naturally release for 10 minutes, then quick-release the remaining pressure.
  5. Carefully remove the meat from the pot to a cutting board and shred.
  6. Return the shredded meat to the pot and add cilantro. Stir to combine.
  7. (Optional) Serve over rice, quinoa or in warmed tortillas. Garnish with lime wedges and cheese.

Watch the recipe video here:

It delivers big flavor to otherwise boring chicken breasts.RECIPE: http://chopsecrets.com/instant-pot-cilantro-lime-chicken/

Posted by Chop Secrets on Tuesday, April 23, 2019
Main dish

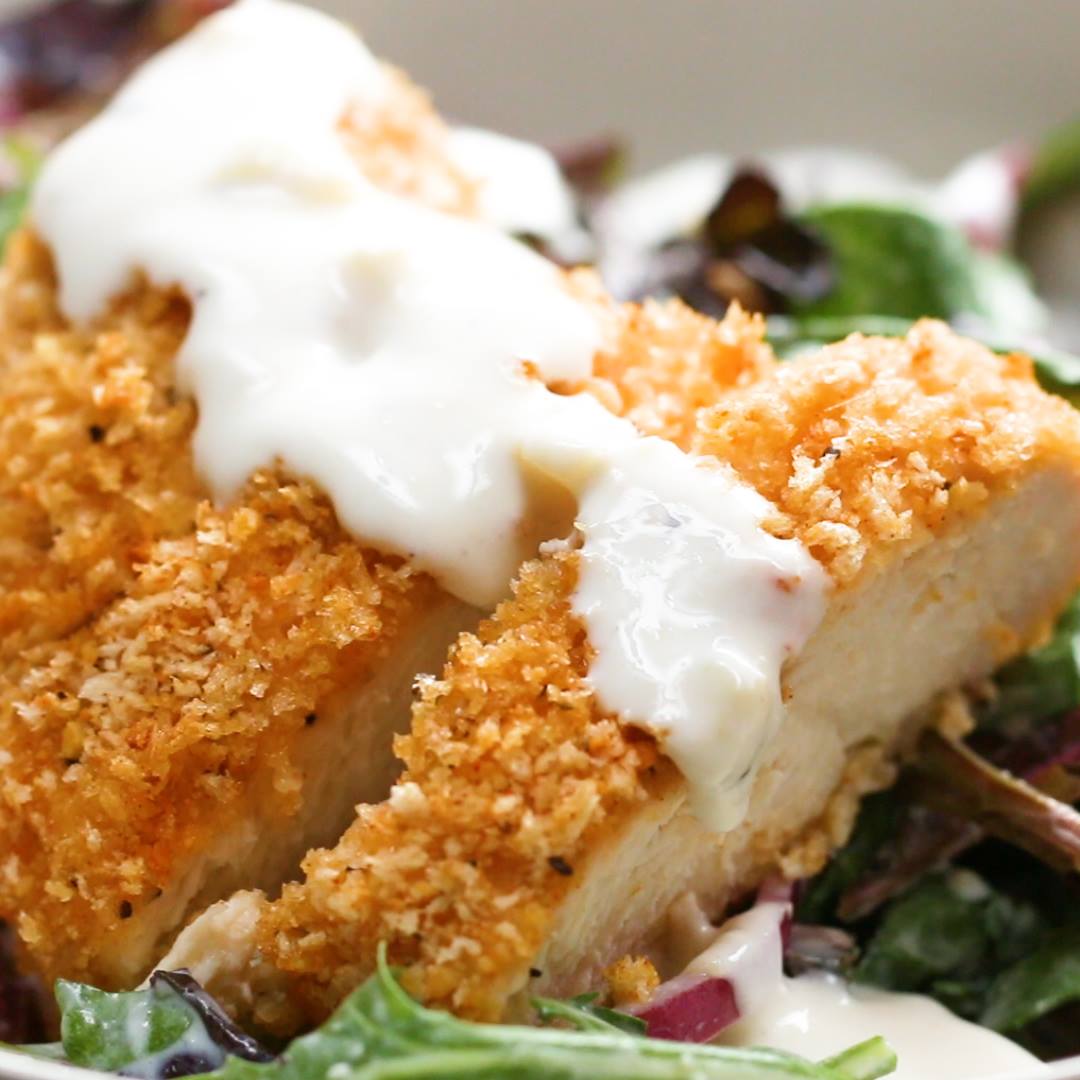
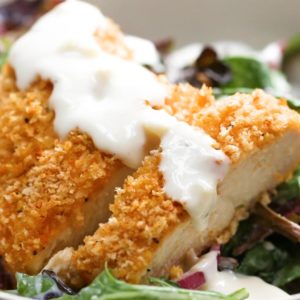
Creamy Garlic Parmesan Crispy Chicken Salad

Creamy Garlic Parmesan Crispy Chicken Salad
Author:
Cuisine: American
Recipe type: Main dish
Ingredients
CHICKEN
  • 1 ½ cups panko breadcrumbs (75 g)
  • ¼ cup parmesan cheese, grated (30 g)
  • 1 teaspoon salt, plus more for taste
  • 1 teaspoon pepper, plus more for taste
  • 1 teaspoon paprika
  • 1 teaspoon garlic powder
  • 2 chicken breasts
  • 1 cup all purpose flour (125 g)
  • 3 large eggs, beaten
  • 2 tablespoons olive oil
DRESSING
  • ⅔ cup sour cream (155 g)
  • ⅓ cup buttermilk (80 mL)
  • ¼ cup parmesan cheese, grated (30 g)
  • 1 tablespoon garlic, minced
  • 1 tablespoon lemon juice
  • 1 tablespoon apple cider vinegar
  • 1 tablespoon olive oil
  • salt, to taste
  • freshly ground black pepper, to taste
SALAD
  • 16 oz mixed greens (455 g)
  • 2 cups mixed cherry tomato, halved (400 g)
  • ½ red onion, thinly sliced
Instructions
  1. Preheat the oven to 425˚F (220˚C).
  2. In a medium bowl, combine the panko bread crumbs, Parmesan cheese, salt, pepper, paprika, and garlic powder. Mix together with a fork.
  3. Season the chicken breasts on both sides with pepper and salt to taste.
  4. Add the flour and eggs to 2 separate medium bowls. Dip the chicken breasts in the flour and shake off the excess. Then, dip in the eggs. Finally, dip in the bread crumb mixture. Make sure the chicken is well-coated.
  5. Place the chicken breasts on a baking sheet and drizzle with the olive oil.
  6. Bake for 25 minutes, or until deep golden brown and a meat thermometer inserted in the thick part of a breast registers at least 165˚F (75˚C).
  7. While the chicken is cooking, make the dressing: In a liquid measuring cup or small bowl, combine the sour cream, buttermilk, Parmesan, garlic, lemon juice, apple cider vinegar, olive oil, salt, and pepper. Stir to combine. If you prefer a thinner dressing, add a few more splashes of buttermilk.
  8. To assemble the salad, add the mixed greens, cherry tomatoes, and red onion to a large bowl. Drizzle about ½ the dressing over the salad and toss to combine.
  9. Slice the chicken, then serve on top of the salad and drizzle with more dressing.
  10. Enjoy!

Watch the recipe video here:

Give me panko crumbs and I'll love you forever ?FULL RECIPE: https://tasty.co/recipe/creamy-garlic-parmesan-crispy-chicken-salad

Posted by Tasty on Monday, April 22, 2019

Main dish

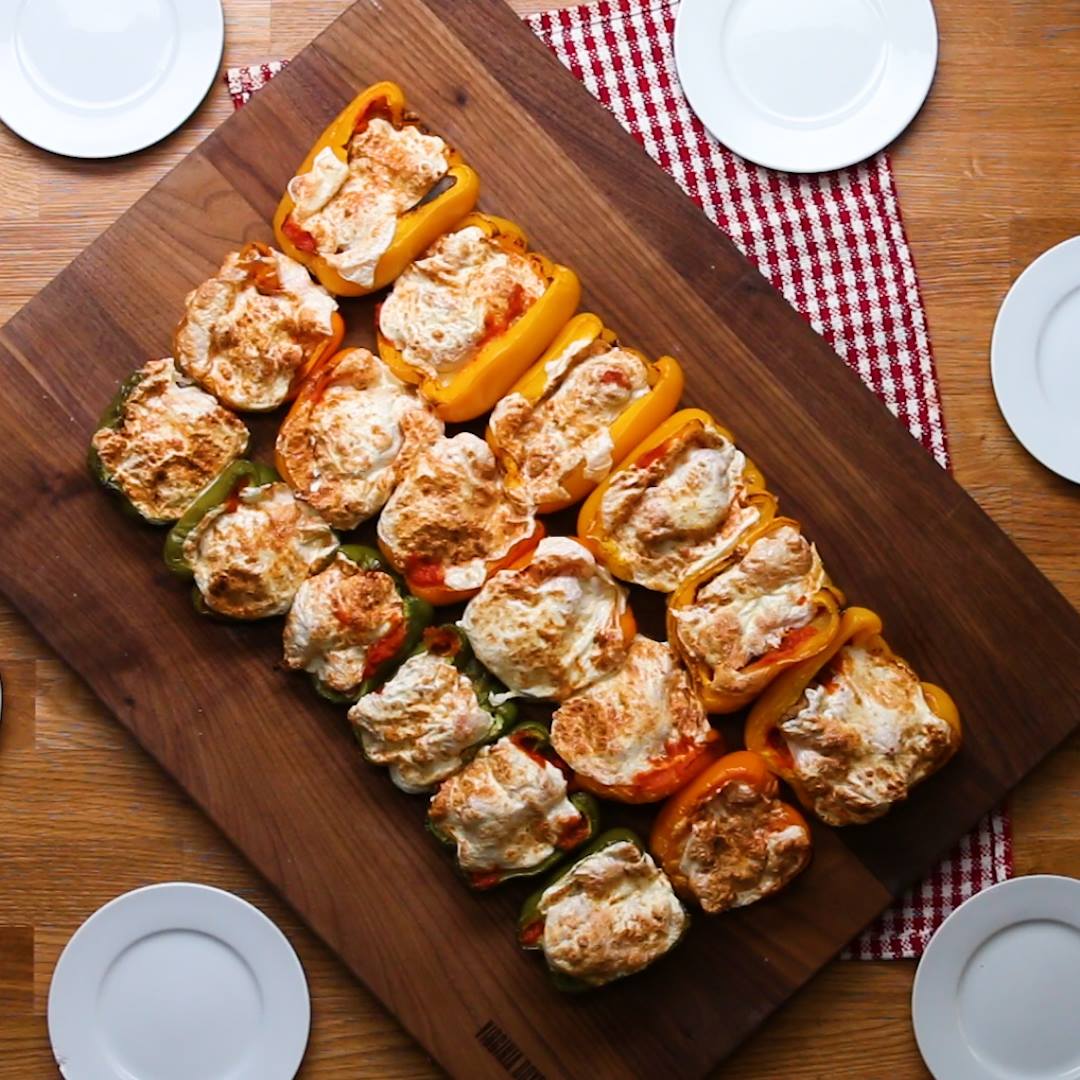
Chicken Parm-Stuffed Bell Peppers

Chicken Parm-Stuffed Bell Peppers
Author:
Cuisine: American
Recipe type: Main dish
Ingredients
  • nonstick cooking spray, for greasing
  • 2 lb chicken breast, diced (910 g)
  • 2 teaspoons salt
  • 2 teaspoons pepper
  • 2 teaspoons dried oregano
  • 2 teaspoons garlic powder
  • 2 teaspoons dried rosemary
  • 2 teaspoons onion powder
  • 2 cups all purpose flour (250 g)
  • 6 large eggs, beaten
  • 3 cups plain breadcrumbs (345 g)
  • 9 bell peppers, halved lengthwise, seeds and ribs removed
  • 3 cups marinara sauce (720 mL)
  • 1 cup parmesan cheese, grated (110 g)
  • 32 oz fresh mozzarella cheese, sliced (905 g)
Instructions
  1. Preheat the oven to 400°F (200°C). Set a wire rack over a baking sheet. Grease another baking sheet with nonstick spray.
  2. In a medium bowl, combine the chicken, salt, pepper, oregano, garlic powder, rosemary, and onion powder, and toss until evenly coated.
  3. Add the flour, eggs, and bread crumbs to 3 separate medium bowls. Coat a few pieces of chicken at a time in the flour, then the eggs, then the bread crumbs. Once coated, transfer to the wire rack.
  4. Bake for 25 minutes, or until golden brown.
  5. Arrange the bell peppers, cut-side up, on the greased baking sheet.
  6. Spoon half of the marinara sauce into the peppers. Sprinkle half of Parmesan over the marinara. Add a few pieces of chicken to each pepper, then spoon over the rest of the marinara sauce, and sprinkle with the rest of the Parmesan. Top each pepper with couple slices of mozzarella.
  7. Bake for 25 minutes, or until the cheese is melted and the peppers have softened.
  8. Serve immediately.
  9. Enjoy!

Watch the recipe video here:

This is the good kind of full ? FULL RECIPE: https://tasty.co/recipe/chicken-parm-stuffed-bell-peppers

Posted by Tasty on Monday, April 22, 2019

Main dish

A Fresh Lemony Take on the On-Going Poke Cake Phenomenon with Lemon Burst Poke Cake

A Fresh Lemony Take on the On-Going Poke Cake Phenomenon with Lemon Burst Poke Cake
Following the poke cake phenomenon, I wanted to try a recipe by Melissa's Southern Style Kitchen that adds fresh flavors to this yummy trend! Lemon meringue being my all time favorite pie, I knew this would inspire me to create delicious poke cake! This Lemon Burst Poke Cake has all the fresh flavor that comes with lemons, especially the addition of the zest which really gives it that burst. Laying on top is another level of lemony indulgence, lemon white chocolate cream cheese frosting!
Author:
Cuisine: American
Recipe type: Main dish
Ingredients
Cake:
  • 1 box Golden Vanilla cake mix, plus water, oil, eggs.
  • 1 tablespoon lemon zest
  • 1 (3.4-oz) box instant lemon pudding
  • 2 cups milk
Frosting:
  • 8-oz cream cheese, softened
  • 2 cups powdered sugar
  • 2 tablespoons fresh lemon juice
  • 1 teaspoon pure lemon extract
  • 1 pint heavy cream
  • 3 tablespoons lemon zest, divided
Instructions
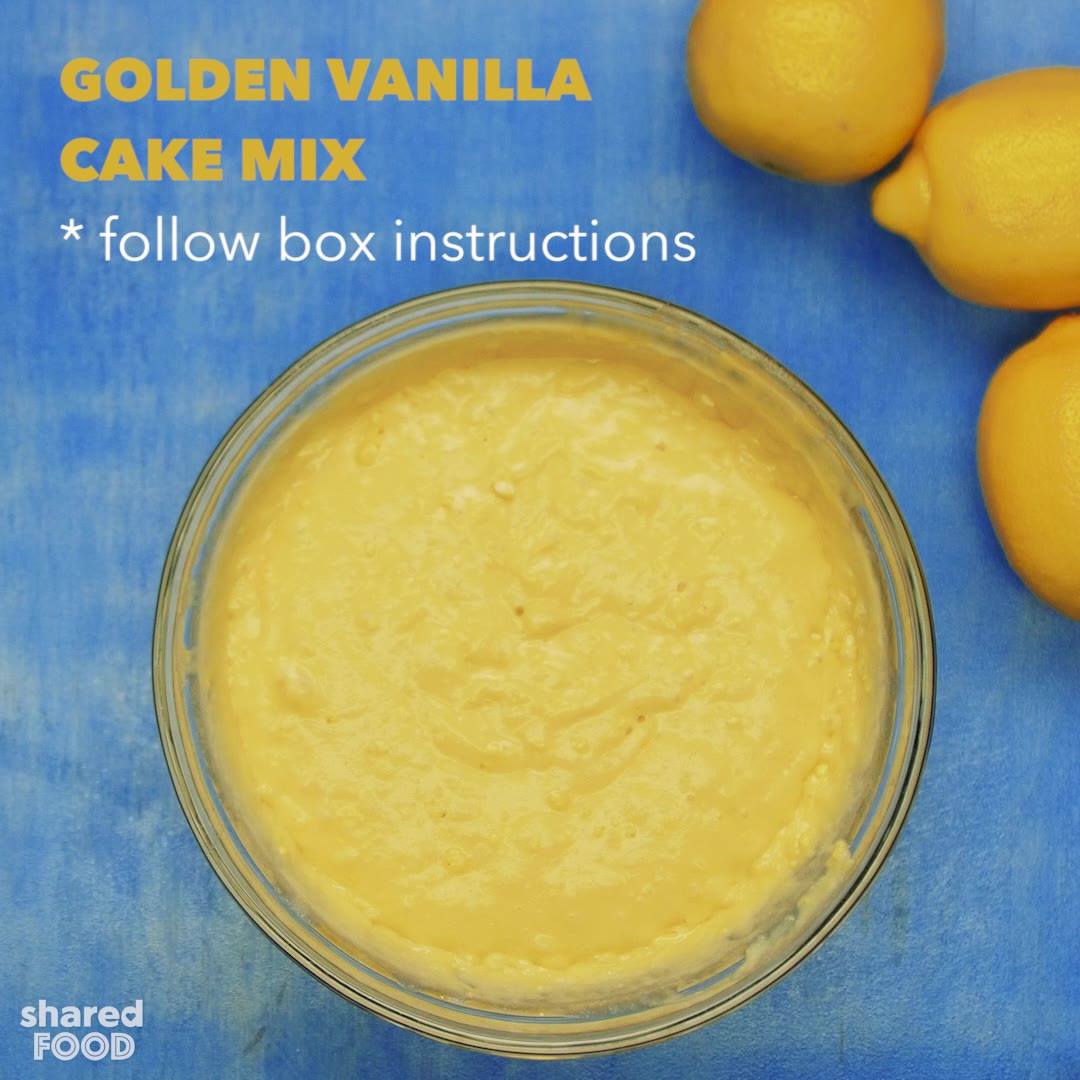
  1. Prepare the cake mix per the package instructions using the amounts of water, oil and eggs called for. Add 1 Tbsp fresh lemon zest. Bake in a 9 x 13-inch cake until a toothpick inserted into the center comes back clean.
  2. Remove from the oven and immediately poke holes using the back of a wooden spoon or similar over the cake.
  3. In a medium size mixing bowl whip the pudding mix and milk until thickened but still pourable.
  4. Spread over the cake gently pushing into the holes. Cool completely.
  5. To make the frosting, in a medium size mixing bowl using an electric mixer cream together the cream cheese, powdered sugar, lemon juice and lemon extract.
  6. Add the cream continuing to beat until fluffy and fully combined. Mix in 2 Tbsp lemon zest by hand.
  7. Frost the top of the cake and garnish with the remaining lemon zest.

Watch the recipe video here:

Lemon Burst Poke Cake is packed with delicious lemon flavorRecipe: http://sha.red/cyKsz

Posted by Shared Food on Monday, April 22, 2019

Dessert

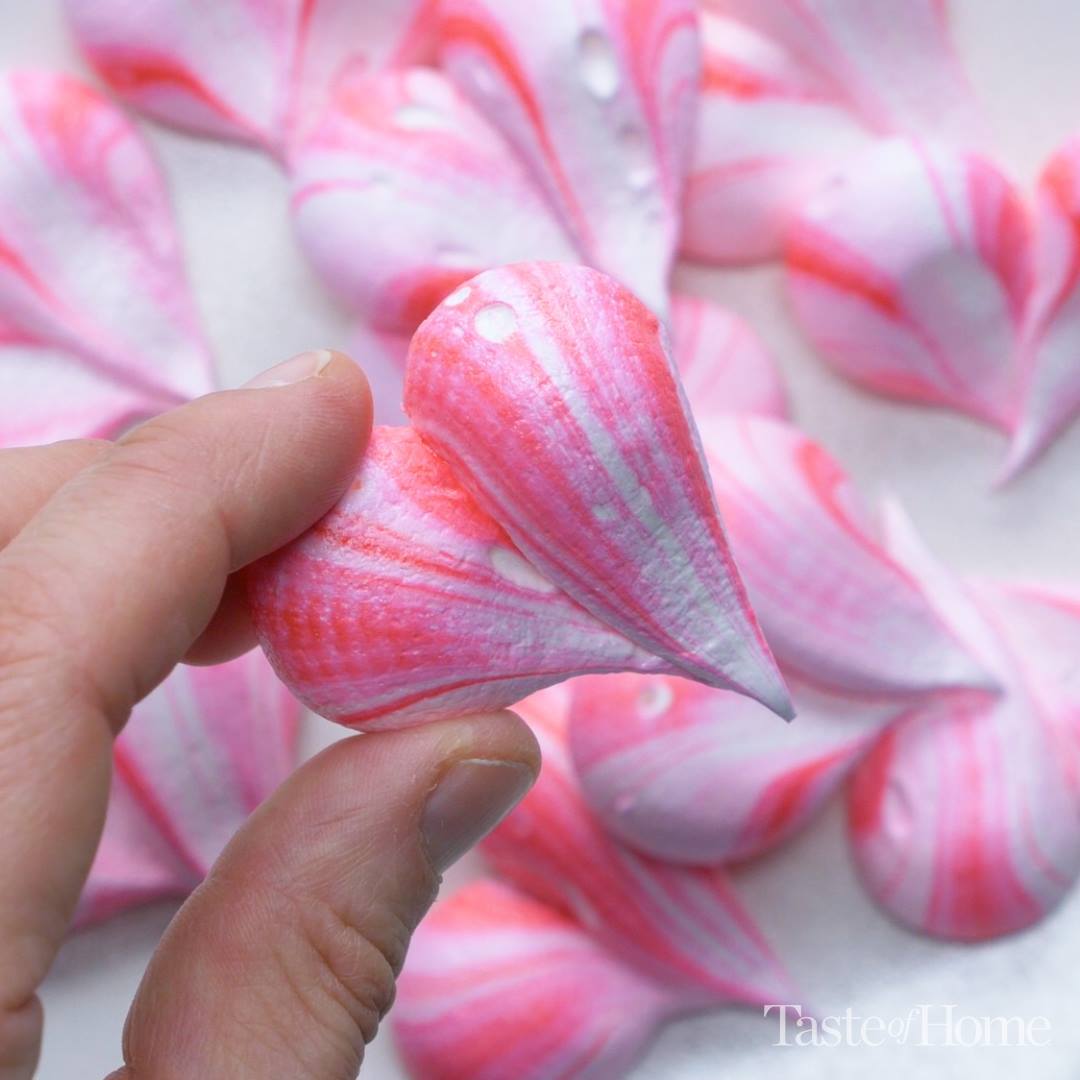
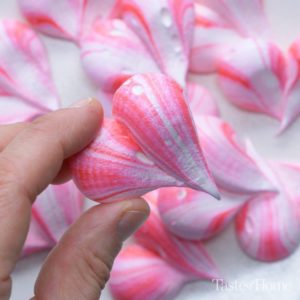
Marbled Meringue Hearts

Marbled Meringue Hearts
Pretty pastel cookies are a fun way to brighten any special occasion. Replace the vanilla with a different extract for a change of flavor. —Laurie Herr, Westford, Vermont
Author:
Cuisine: American
Recipe type: Dessert
Ingredients
  • 3 large egg whites
  • ½ teaspoon vanilla extract
  • ¼ teaspoon cream of tartar
  • Food coloring, optional
  • ¾ cup sugar
Instructions
  1. Place egg whites in a large bowl; let stand at room temperature for 30 minutes. Line baking sheets with parchment paper.
  2. Preheat oven to 200°. Add vanilla and cream of tartar to egg whites; beat on medium speed until soft peaks form. Gradually beat in sugar, 1 tablespoon at a time, on high until stiff peaks form. Remove ¼ cup and tint pink. Lightly swirl pink mixture into remaining meringue. Fill pastry bag with meringue. Pipe 2-in. heart shapes 2 in. apart onto prepared baking sheets.
  3. Bake until set and dry, about 20 minutes. Turn oven off; leave meringues in oven until oven has completely cooled. Store in an airtight container.

Watch the recipe video here:

These are GORGEOUS—and perfect for parties. Get the recipe for Marbled Meringue Hearts: https://trib.al/KHBQiCL

Posted by Taste of Home on Monday, April 22, 2019

Breakfast

Chocolate Fondue Bread Boat

Chocolate Fondue Bread Boat
Author:
Cuisine: American
Recipe type: Breakfast
Ingredients
  • 1 large loaf bread
  • 4 tablespoons butter
  • 3 tablespoons sugar
  • ½ teaspoon cinnamon
  • 10 oz dark chocolate (285 g)
  • 10 oz milk chocolate (285 g)
  • 10 oz white chocolate (285 g)
  • 3 ¼ cups heavy cream, divided (780 mL)
Instructions
  1. Preheat oven to 350˚F (180˚C).
  2. On a large cutting board cut out 3 evenly spaced squares roughly half the width and ⅙ the length of the bread loaf.
  3. Take the 3 bread cut outs and slice them into 6 strips each.
  4. On a parchment paper-lined baking sheet place bread and cut out bread strips.
  5. Combine butter and sugar and brush onto loaf.
  6. Add cinnamon to the sugar butter mixture and brush onto strips.
  7. Bake for 25 minutes removing the cinnamon toast strips after 10 minutes.
  8. In a small saucepan combine dark chocolate and 1 ¼ cup (295 ml) heavy cream and stir until fully incorporated.
  9. In a small saucepan combine milk chocolate and 1 cup heavy (235 ml) cream and stir until fully incorporated.
  10. In a small saucepan combine white chocolate and remaining heavy cream and stir until fully incorporated.
  11. Place loaf on serving tray and fill each hole with one of the three fondues.
  12. Enjoy!

Watch the recipe video here:

You have NEVER had fondue like this before ?FULL RECIPE: https://tasty.co/recipe/chocolate-fondue-bread-boat

Posted by Proper Tasty on Saturday, April 20, 2019

Main dish

Hainanese Chicken Rice

Hainanese Chicken Rice
Author:
Cuisine: American
Recipe type: Main dish
Ingredients
HAINANESE CHICKEN
  • 3 lb whole chicken, giblets removed (1.3 kg)
  • ¼ cup kosher salt, divided (60 g)
  • 4 inch pieces fresh ginger, peeled and cut into ¼-inch (6 mm) slices
  • 1 bunch fresh scallion
  • 1 gal cold water, plus more as needed (3.7 L)
  • 2 tablespoons sesame oil
HAINANESE RICE
  • ¼ cup sesame oil (60 mL)
  • 2 tablespoons chicken fat, chopped
  • 2 cloves garlic, minced
  • 1 tablespoon fresh ginger, minced
  • 1 teaspoon kosher salt
  • 2 cups long grain rice, rinsed and drained (400 g)
  • 2 cups reserved chicken poaching broth (480 mL)
CHILI SAUCE
  • 2 tablespoons sambal
  • 2 tablespoons sriracha
  • 2 teaspoons sugar
  • 1 tablespoon garlic, minced
  • 1 tablespoon fresh ginger, minced
  • 1 tablespoon lime juice
  • 2 tablespoons reserved chicken poaching broth
GINGER GARLIC SAUCE
  • 2 tablespoons fresh ginger, grated
  • 2 tablespoons garlic, finely minced
  • kosher salt, to taste
  • 3 tablespoons peanut oil
  • 1 tablespoon rice vinegar
SOY DIPPING SAUCE
  • reserved fried garlic and ginger
  • 1 tablespoon oyster sauce
  • 3 tablespoons dark sweet soy sauce
  • 1 tablespoon light soy sauce
  • 2 tablespoons reserved chicken poaching broth
  • 2 cucumbers, thinly sliced, for serving
  • 1 bunch fresh cilantro, for serving
Instructions
  1. To clean the chicken, rub all over with a handful of kosher salt, getting rid of any loose skin. Rinse the chicken well inside and out. Pat dry with paper towels.
  2. Remove any excess fat from the chicken and set aside for later.
  3. Season the chicken generously with salt. Stuff the chicken cavity with the ginger slices and scallions.
  4. Place the chicken in a large stock pot, cover with cold water by 1 inch (2 cm), and season with salt to taste.
  5. Bring to a boil over high heat, then immediately reduce the heat to low to maintain a simmer. Cover and cook for about 30 minutes, or until the internal temperature of the chicken reaches 165°F (75°C). Remove the pot from the heat.
  6. Remove the chicken from the pot, reserving the poaching liquid for later, and transfer to an ice bath for 5 minutes to stop the cooking process and to keep the chicken skin springy. Discard the ginger and green onion.
  7. After it’s cooled, pat the chicken dry with paper towels and rub all over with sesame oil. This will help prevent the chicken from drying out.
  8. In a large wok or skillet, heat ¼ cup (60 ml) of sesame oil over medium-high heat. Add 2 tablespoons of reserved chopped chicken fat, the garlic, ginger, and salt, and fry until aromatic, about 10 minutes.
  9. Reserve ¼ of the fried garlic mixture, then add the rice to the remaining fried garlic and stir to coat. Cook for 3 minutes.
  10. Transfer the rice to a rice cooker and add 2 cups (480 ml) of reserved poaching broth. Steam the rice for 60 minutes, or until tender.
  11. While the rice is cooking, carve the chicken for serving.
  12. Make the chili sauce: combine the sambal, Sriracha, sugar, garlic, ginger, lime juice, and chicken broth in a small bowl and stir to incorporate.
  13. Make the ginger garlic sauce: in a small bowl, combine the ginger, garlic, salt, peanut oil, and rice vinegar, and stir to incorporate.
  14. Make the soy sauce: in a small bowl, combine the reserved fried garlic and ginger with the oyster sauce, dark soy sauce, light soy sauce, and chicken broth, and stir to incorporate.
  15. Serve the sliced chicken with the rice, dipping sauces, sliced cucumbers, and fresh cilantro.
  16. Enjoy!

Watch the recipe video here:

Niki made her recipe for Hainanese Chicken Rice and it's SO DELICIOUS! ✨FULL RECIPE: https://tasty.co/recipe/hainanese-chicken-rice

Posted by Tasty on Saturday, April 20, 2019

Main dish

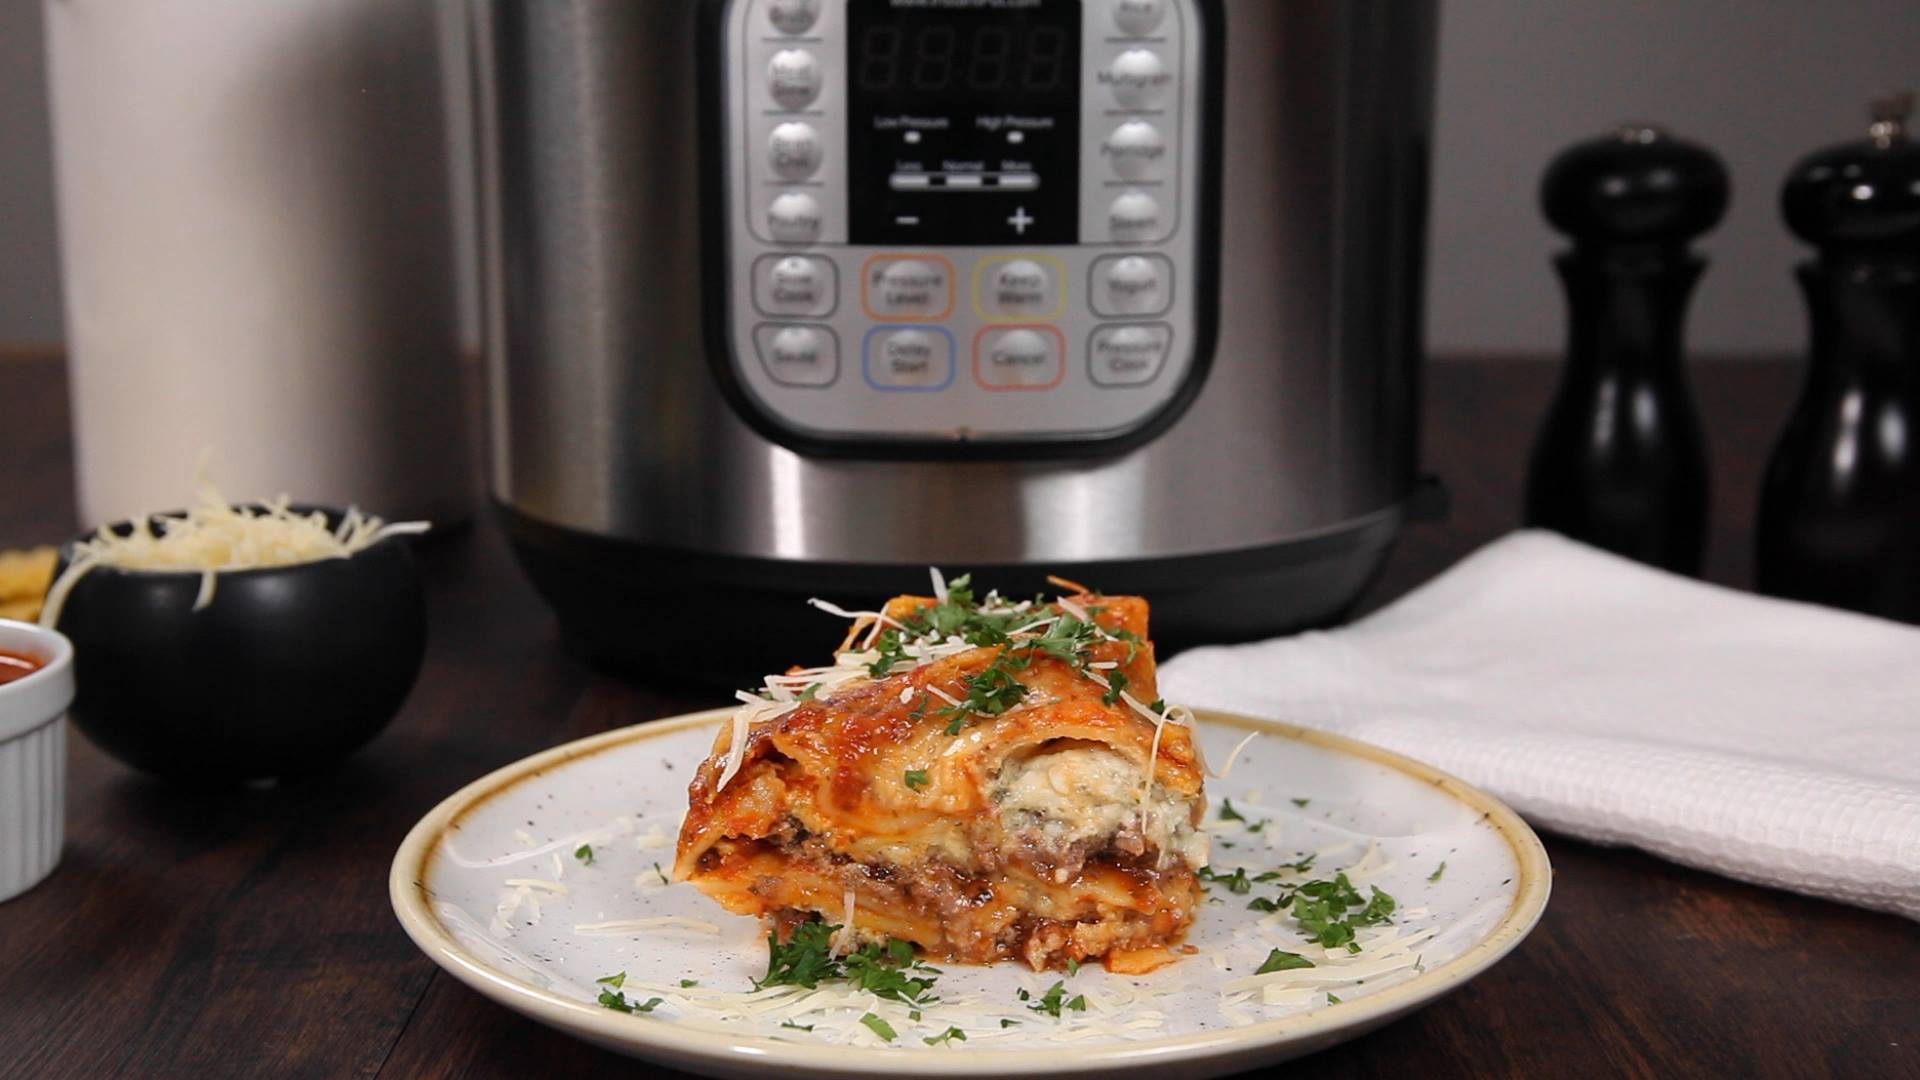
Instant Pot Hearty Meat Lasagna

Instant Pot Hearty Meat Lasagna
This amazing lasagna couldn’t be more delightful.
Author:
Cuisine: American
Recipe type: Main dish
Ingredients
Meat Mixture:
  • 1 lb lean ground beef, preferably 93% lean
  • ½ tbsp kosher salt
  • ½ tsp each garlic powder, onion powder, Italian seasoning, pepper
Cheese Mixture:
  • 1 cup ricotta cheese (or cottage cheese)
  • 1 egg, beaten
  • ½ cup mozzarella cheese, shredded
  • ½ cup parmesan cheese, grated
  • 1½ tsp each garlic powder, onion powder, Italian seasoning
  • ½ tsp each salt and pepper
  • ¼ cup fresh parsley, chopped (optional, but adds freshness)
For Layering:
  • 1 24 oz jar pasta sauce
  • 5-6 no-boil lasagna noodles
  • ½ cup mozzarella cheese, shredded
  • ½ cup parmesan cheese, grated
For Pot:
  • 1½ cups water
Instructions
  1. Using the display panel select the SAUTE function. Add all ingredients of the Meat Mixture and cook, breaking up the meat as you go, until no pink remains. Drain and set aside.
  2. In a large bowl, combine all ingredients in the Cheese Mixture until uniform in consistency. Set aside.
  3. Coat a 1.5 qt casserole or 7” x 3” pan with non-stick spray (this pan gives the prettiest results: https://amzn.to/2CHSu8K)
  4. Put a single layer of no-boil noodles in the bottom of the pan, breaking as necessary to fit. Press down gently.
  5. Pour ⅓ of the pasta sauce evenly over the noodles, spreading all the way to the sides.
  6. Spread ½ of the meat mixture over the sauce, then ½ of the cheese mixture, spreading all the way to the sides.
  7. Repeat steps 4, 5 and 6.
  8. Pour the remaining ⅓ of the pasta sauce evenly over the noodles, then top with ½ cup each mozzarella and parmesan cheeses.
  9. Coat one side of a piece of foil with non-stick spray and loosely cover, spray-side down.
  10. Rinse the pot, add 1½ cups of water and put in the steam rack. Place the casserole or pan on the trivet.
  11. Secure the lid, making sure the vent is closed.
  12. Using the display panel select the MANUAL function*. Use the +/- keys and program the Instant Pot for 22 minutes.
  13. When the time is up, let the pressure naturally release for 15 minutes, then quick-release the remaining pressure.
  14. Carefully remove the pan from the Instant Pot and remove the foil, replacing any cheese that sticks
  15. Set pan under the broiler until cheese begins to brown, about 5 minutes.
  16. Remove pan to cooling rack and let it sit for 10-15 minutes to firm up.
  17. Serve directly from pan, or if using springform pan, set on a plate and carefully release the latch, remove ring.

Watch the recipe video here:

This amazing lasagna couldn’t be more delightful.RECIPE: http://chopsecrets.com/instant-pot-hearty-meat-lasagna/

Posted by Chop Secrets on Saturday, April 20, 2019

Main dish

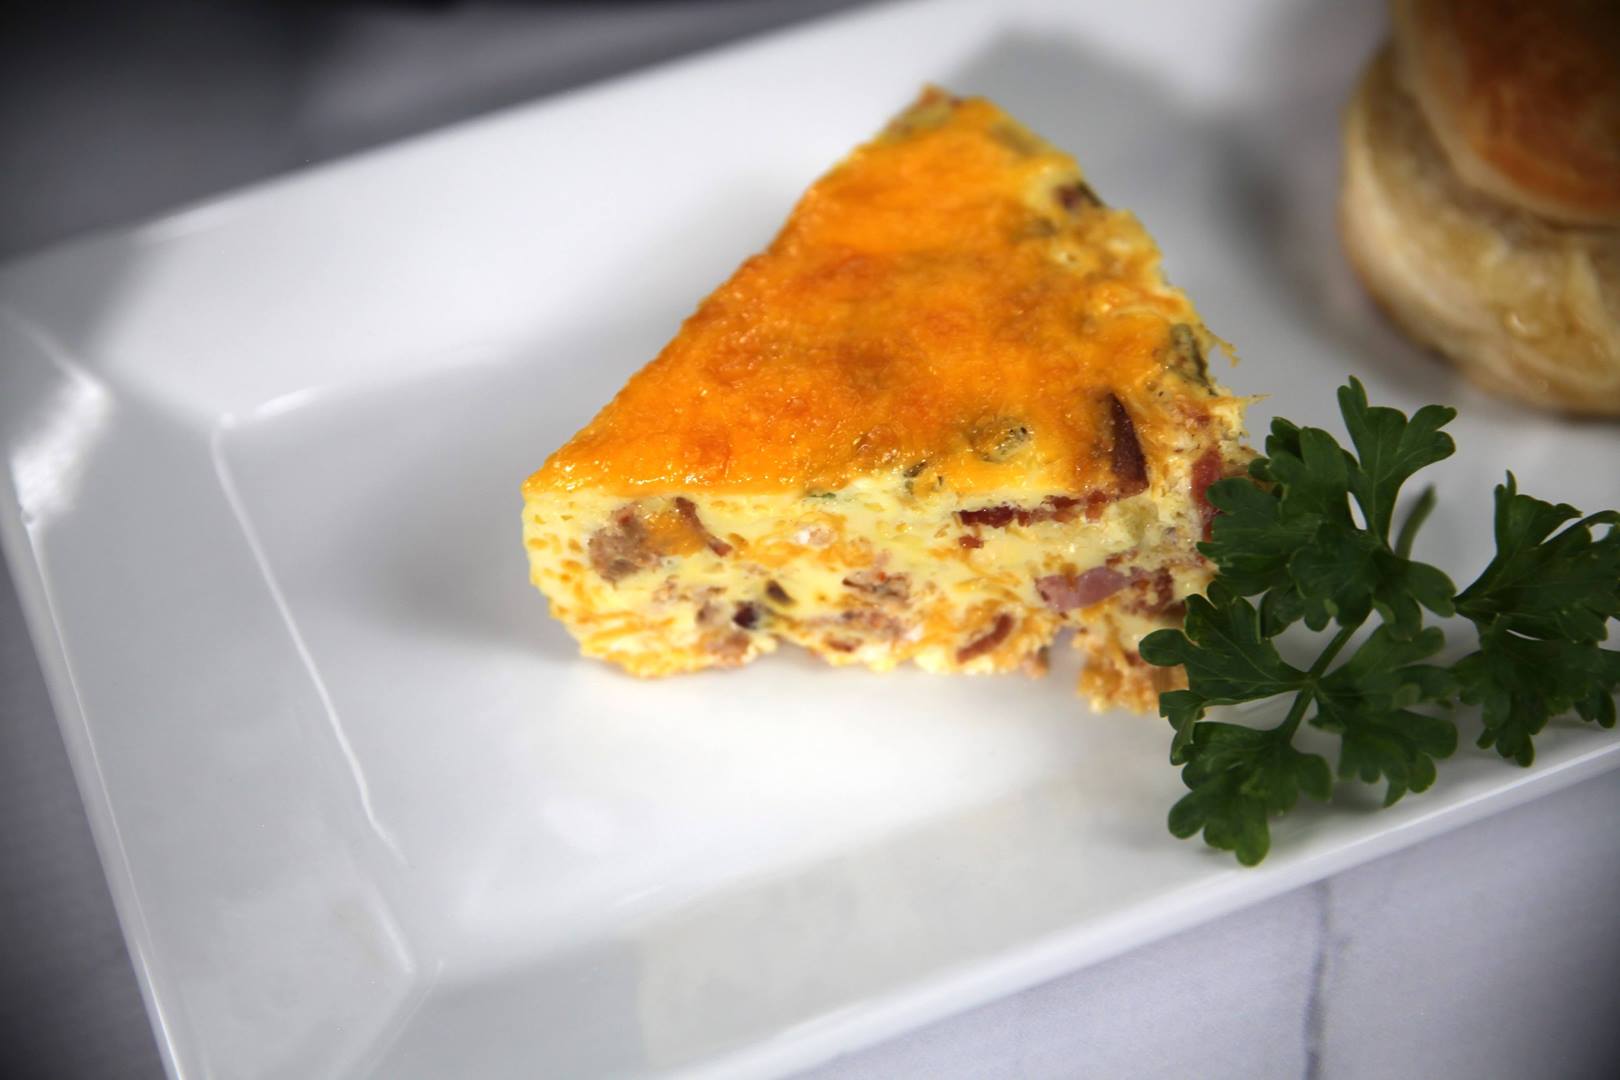
Instant Pot Crustless Meat Lover’s Quiche

Instant Pot Crustless Meat Lover’s Quiche
Fluffy eggs that are never dry, always moist and tasty.
Author:
Cuisine: American
Recipe type: Main dish
Ingredients
  • 1 cup cooked and crumbled sausage
  • 4 slices bacon, cooked and crumbled
  • ½ cup ham, diced
  • 1 cup + ⅓ cup sharp cheddar cheese, shredded (divided)
  • 2 large green onions, sliced thin
  • 6 large eggs, beaten
  • ½ cup milk
  • 1 cup water
  • Additional green onion for garnish (optional)
Instructions
  1. Mix together the meats, 1 cup cheese and green onion in the bottom of a 1.5 quart oven-proof casserole (this one fits perfectly: https://amzn.to/2OXT8Bw)
  2. In a large bowl, thoroughly whisk together eggs and milk. Pour egg mixture over meat mixture and stir to combine. Cover loosely with foil–do not seal.
  3. Pour one cup of water in the Instant Pot and insert the steam rack. Use a foil sling to carefully lower the casserole on to the steam rack.
  4. Secure the lid, making sure the vent is closed.
  5. Using the display panel select the MANUAL function*. Use the +/- keys and program the Instant Pot for 30 minutes.
  6. When the time is up, let the pressure naturally release for 10 minutes, then quick-release the remaining pressure.
  7. Carefully remove the casserole and top with remaining ⅓ cup cheese. Set under the broiler for 3-5 minutes until cheese begins to brown lightly. Serve immediately.

Watch the recipe video here:

Fluffy eggs that are never dry, always moist and tasty.RECIPE: http://chopsecrets.com/instant-pot-crustless-meat-lovers-quiche/

Posted by Chop Secrets on Friday, April 19, 2019

Dessert

Power Protein Brownies

Power Protein Brownies
Want a protein-packed treat after your workout that won’t undo all of your hard work? These power protein brownies are the perfect, slightly sweet treat. Stick around ‘til the end of the video for some of our other favorite high-protein snacks.
Author:
Cuisine: American
Recipe type: Dessert
Ingredients
  • 3 bananas, very riped, chopped
  • 15 oz black beans, rinsed and drained (425 g)
  • ½ cup dark cocoa powder (60 g)
  • ⅔ cup almond butter, or nut butter of choice (160 g)
  • 1 cup almond flour (95 g)
  • ¼ teaspoon kosher salt
  • 1 teaspoon baking powder
  • 1 tablespoon pure vanilla extract
  • ¼ cup dark chocolate chips (40 g)
Instructions
  1. Preheat the oven to 350°F (180°C). Grease and line a 8-inch (20 cm) square baking dish with parchment paper.
  2. In a food processor, combine the bananas, black beans, cocoa powder, almond butter, almond flour, salt, baking powder, and vanilla. Pulse until smooth.
  3. Pour the batter into the prepared baking dish. Sprinkle the dark chocolate chips over the top.
  4. Bake for 25 minutes, or until the brownies are set.
  5. Let cool, then slice into 12 pieces. Enjoy the brownies immediately, or store in the fridge for 1 week or in the freezer for up to 1 month.
  6. Enjoy

Watch the recipe video here:

Level up with these brownies! ?Get the recipe: https://tasty.co/recipe/power-protein-brownies

Posted by Tasty on Friday, April 19, 2019