Dessert

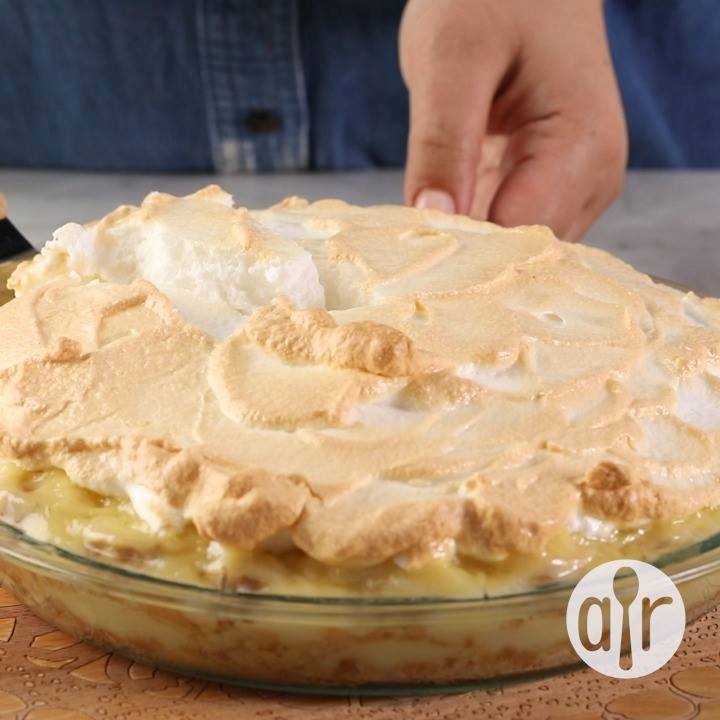
Homemade Banana Pudding Pie
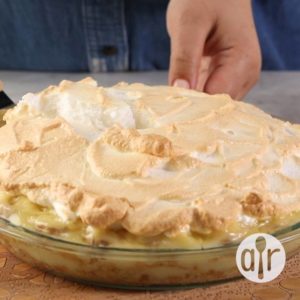
Homemade Banana Pudding Pie
I can't stand those instant banana puddings. This one is old and authentic!
Author:
Cuisine: American
Recipe type: Dessert
Ingredients
  • 2 cups vanilla wafer crumbs
  • 3 bananas, sliced into ¼ inch slices
  • 1½ cups white sugar
  • ¼ cup all-purpose flour
  • 2 cups milk
  • 3 egg yolks
  • 2 teaspoons butter
  • 2 teaspoons vanilla extract
  • 3 egg whites
  • ¼ cup white sugar
Instructions
  1. Preheat oven to 350 degrees F (175 degrees C).
  2. Line the bottom and sides of a 9-inch pie plate with a layer of alternating vanilla wafer crumbs and banana slices.
  3. To Make Pudding: In a medium saucepan, combine 1½ cups sugar with flour. Mix well, then stir in half the milk. Beat egg yolks and whisk into sugar mixture. Add remaining milk and butter or margarine.
  4. Place mixture over low heat and cook until thickened, stirring frequently. Remove from heat and stir in vanilla extract. Pour half of pudding over vanilla wafer and banana layer while still hot.
  5. Make another layer of alternating vanilla wafers and banana slices on top of pudding layer. Pour remaining pudding over second wafer and banana layer.
  6. To Make Meringue: In a large glass or metal bowl, beat egg whites until foamy. Gradually add ¼ cup sugar, continuing to beat until whites are stiff. Spread meringue into pie pan, making sure to completely cover pudding layer.
  7. Bake in preheated oven for 15 minutes, just until meringue is browned. Chill before serving.

Watch the recipe video here:

Homemade Banana Pudding Pie: https://trib.al/HIStSFO

Posted by Allrecipes on Friday, July 12, 2019
Dessert

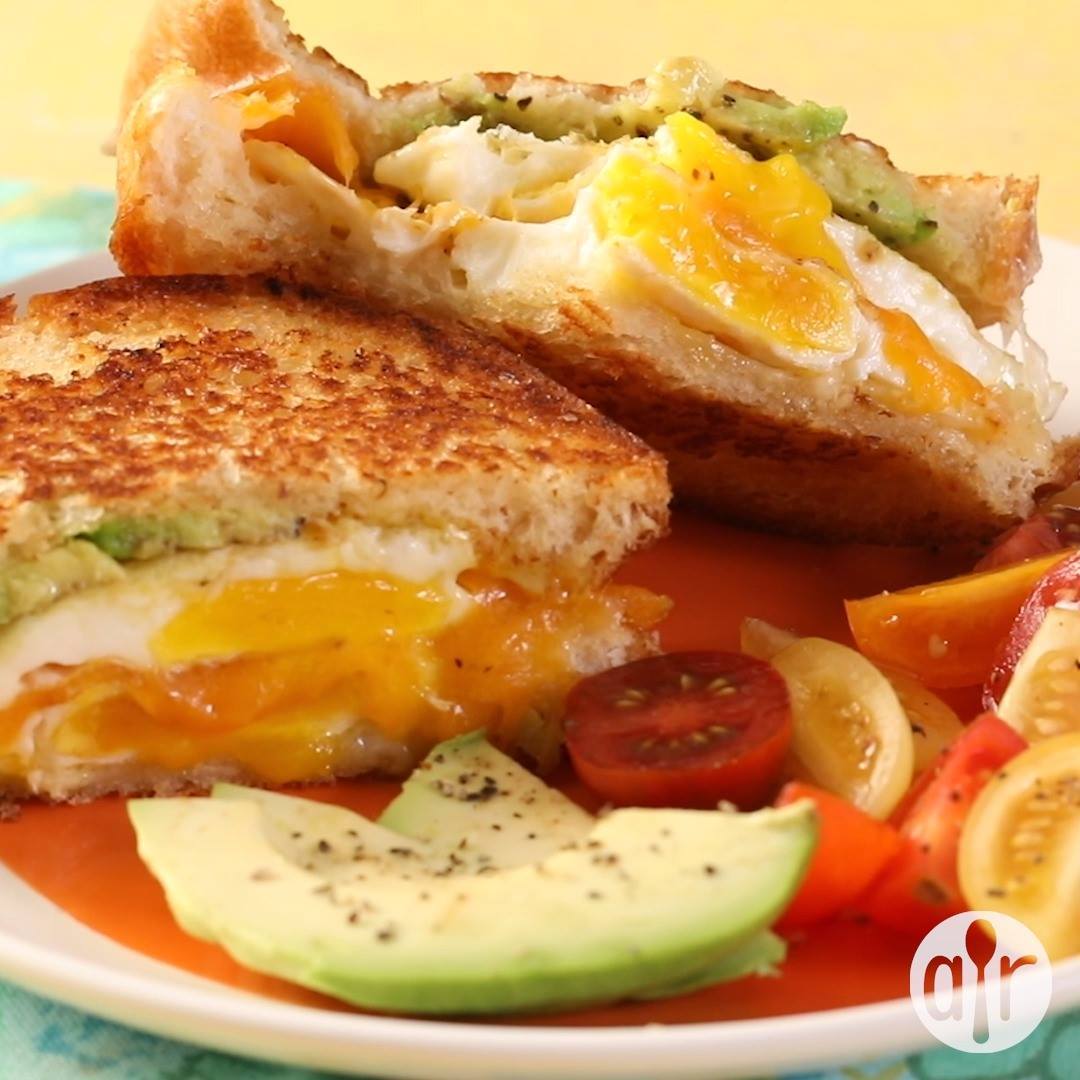
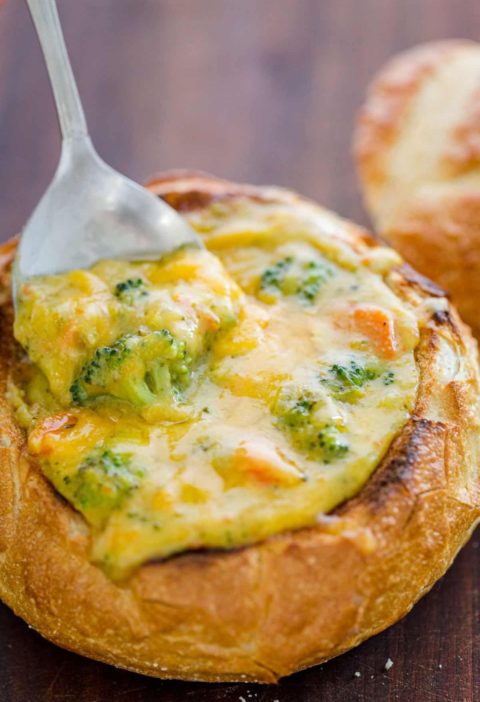
Avocado Breakfast Sandwich

Avocado Breakfast Sandwich
Restaurant-style breakfast sandwich at home! It's quick, easy and delicious! The sliced avocado is what makes this sandwich pop and gives it a unique flavor. It is chock-full of protein, as well, so this sandwich will keep you full until lunchtime.
Author:
Cuisine: American
Recipe type: Dessert
Ingredients
  • 1 tablespoon olive oil
  • 2 large eggssalt and ground black pepper to taste (optional)
  • 1 tablespoon butter, softened
  • 2 slices Italian bread
  • 1 ounce Swiss cheese, sliced
  • 1 ounce Cheddar cheese, sliced
  • ½ ripe avocado, sliced
Instructions
  1. Heat olive oil in a skillet over medium heat. Crack eggs into skillet; cook for 1 to 2 minutes. Flip and cook egg until done, 2 to 5 minutes more. Transfer eggs to a plate and season with salt and pepper.
  2. Spread butter onto 1 side of each bread slice.
  3. Heat a skillet over medium heat. Lay bread slices in the hot skillet, butter-side down. Quickly layer Swiss cheese, 1 fried egg, Cheddar cheese, 1 fried egg, avocado, and remaining bread slice, butter-side up. Carefully flip sandwich to grill other side until golden brown, 3 to 4 minutes.
  4. Remove sandwich from skillet and cut in half.

Watch the recipe video here:

Avocado Breakfast Sandwich: https://trib.al/F2QWE2y

Posted by Allrecipes on Wednesday, July 10, 2019

Dessert

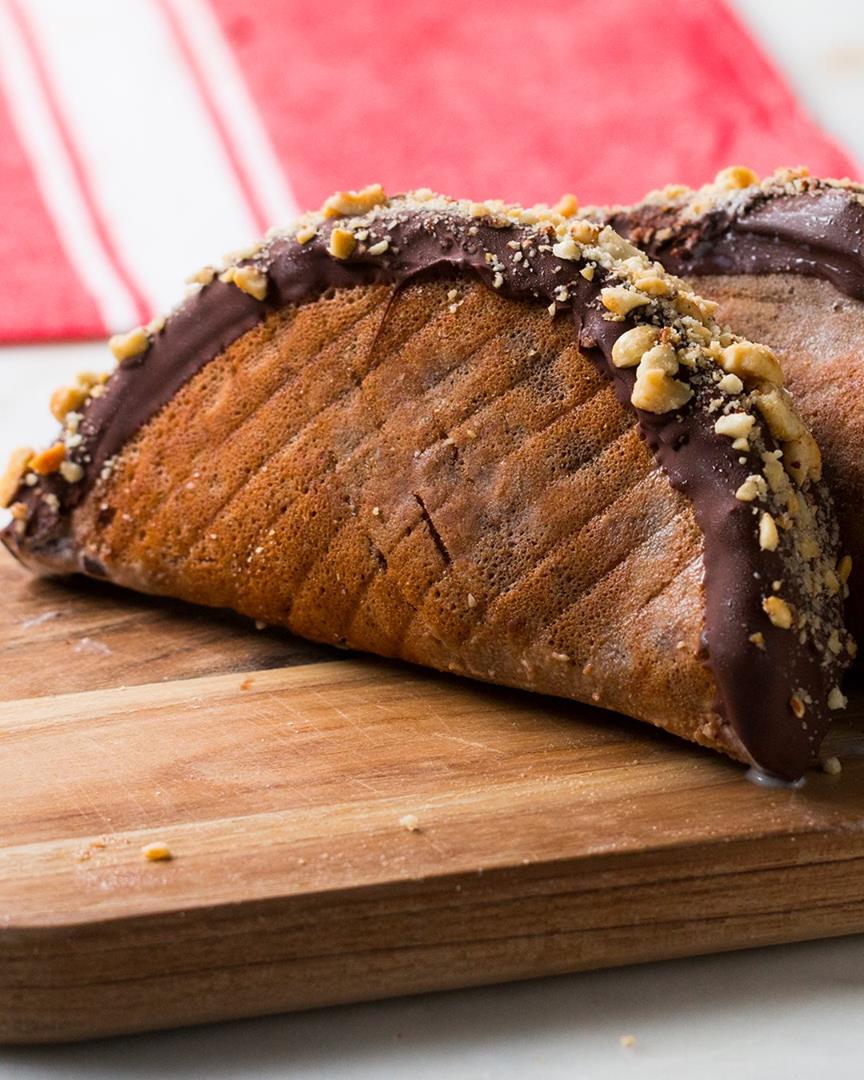
Chocolate-Dipped Ice Cream Tacos

Chocolate-Dipped Ice Cream Tacos
Chocolate-Dipped Ice Cream Tacos recipe.
Author:
Cuisine: American
Recipe type: Dessert
Ingredients
TACO SHELLS
  • 2 large eggs
  • ½ cup sugar (100 g)
  • ¼ cup milk (60 mL)
  • 1 teaspoon vanilla extract
  • ¼ cup unsalted butter, ¼ stick, melted (55 g)
  • ½ cup all purpose flour (60 g)
  • 1 tablespoon cocoa powder
MAGIC SHELL
  • 18 oz good-quality chocolate, finely chopped (510 g)
  • ¼ cup coconut oil, melted (60 mL)
ASSEMBLY
  • 4 cups vanilla ice cream, softened (575 g)
  • 1 cup salted peanut, crushed (125 g)
Instructions
  1. Make the taco shells: in a medium bowl, whisk together the eggs and sugar until combined.
  2. Add the milk, vanilla, and butter, and whisk until fully incorporated.
  3. Sift in the flour and cocoa powder. Whisk until smooth.
  4. Heat a small non-stick pan over medium-low heat, then add ⅓ cup (95 g) of batter at a time and tilt the pan to spread the batter evenly like a crepe.
  5. Cook until bubbles appear on the surface and the batter is set, about 6-8 minutes. Flip the taco shell and cook on other side for another 3-4 minutes, until cooked through.
  6. If desired, remove the taco shell from pan and place on a grated cooling rack while still hot. Place a sheet of parchment over the shell and press into the rack, allowing the grate marks to set into the shell. Rotate the shell 90 degrees and press the cone into the grates again for a waffled look. Or, skip to the next step.
  7. Place the taco shells between the cups of an inverted muffin tin to form their shape. Let set for about 10 minutes, then freeze for 20 minutes to harden.
  8. Make the magic shell: combine the chocolate and coconut oil in a medium bowl and microwave for 2 minutes, stirring every 30 seconds until melted and shiny.
  9. Remove the taco shells from the freezer and use a spoon to coat the inside of each taco shell with melted magic shell. Return to the freezer for 20 minutes, until the magic shell hardens. Reserve the leftover magic shell.
  10. Add the ice cream to a piping bag fitted with a round tip or a zip-top bag with the corner cut off.
  11. Remove the shells from the freezer and pipe in the ice cream, filling the tacos. Smooth out the tops with a knife or rubber spatula. Freeze for 2 hours.
  12. Microwave the reserved magic shell, if needed, to re-melt. Remove the tacos from the freezer and dip the tops of each taco in the magic shell, then immediately sprinkle with the crushed peanuts.
  13. Serve immediately or return to the freezer until ready to eat.
  14. Enjoy!

Watch the recipe video here:

Just when you thought tacos couldn't get any better! ??Get the recipe: https://tasty.co/recipe/chocolate-dipped-ice-cream-tacos

Posted by Tasty on Wednesday, July 10, 2019

Dessert

Cute Cream Puffs

Cute Cream Puffs
Cute Cream Puffs recipe
Author:
Cuisine: Korean
Recipe type: Dessert
Ingredients
  • ¼ cup dark chocolate, melted (45 g)
CUTE CREAM PUFFS
  • ½ cup unsalted butter, 1 stick (115 g)
  • ½ cup water (120 mL)
  • ½ cup milk (120 mL)
  • 3 tablespoons granulated sugar
  • 1 teaspoon salt
  • 1 cup all-purpose flour (125 g)
  • 4 large eggs
  • 1 egg, beaten, for egg wash
WHIPPED CREAM
  • 2 cups heavy cream (480 mL)
  • 3 tablespoons powdered sugar
  • 1 teaspoon vanilla extract
SPECIAL EQUIPMENT
  • 1 small piping bag, or zip-top bag
  • 2 large piping bags, or zip-top bags with standard round tips
Instructions
  1. Preheat the oven to 425˚F (220˚C). Line 2 baking sheets with parchment paper. Chill a large bowl in the freezer.
  2. Add the melted chocolate to a small piping bag or zip-top bag and cut ⅛ inch (3 mm) off the tip of the bag.
  3. Pipe 10 sets of ears, eyes, noses, mouths, and paws onto 1 of the parchment-lined baking sheets. Chill in the refrigerator until ready to use.
  4. Make the puffs: in a medium pot, bring the butter, water, milk, sugar, and salt to a boil over high heat.
  5. Once the liquid begins to boil, remove the pot from the heat and immediately add the flour, stirring constantly with a wooden spoon until the liquid is absorbed and the mixture begins to form a ball.
  6. Return the pot to the heat and cook for another 30 seconds to remove excess moisture. Remove the pot from the heat. Working quickly, add the eggs one at a time, stirring until each one is fully incorporated before adding the next. Continue stirring until the dough starts to pull away from the sides of the pan and is thick and glossy. Transfer the batter to a piping bag or zip-top bag fitted with a round tip.
  7. Pipe 1-inch (2-cm) dollops of batter on the prepared baking sheet, spacing them at least 1-inch (2-cm) apart.
  8. Dip a fingertip in the egg wash and gently press down any points, then brush the egg wash lightly all over the puffs.
  9. Bake for 10 minutes. Reduce the oven temperature to 350˚F (180˚C), and continue to bake for 20 minutes more, until golden brown.
  10. Transfer the puffs to a wire rack and cool until able to handle. Cut the tops off of the puffs with a serrated knife. Let cool completely.
  11. Make the whipped cream: add the heavy cream and powdered sugar to the chilled bowl and beat with an electric hand mixer or whisk until stiff peaks form. Transfer the whipped cream to a piping bag or zip-top bag fitted with a round tip.
  12. Pipe mounds of whipped cream into the puffs. Add the tops of the puffs and decorate with the chocolate faces.
  13. Enjoy!

Watch the recipe video here:

These cream puffs are the cutest thing you've ever seen! ?Get the recipe: https://tasty.co/recipe/cute-cream-puffs

Posted by Tasty on Thursday, July 11, 2019

Main dish

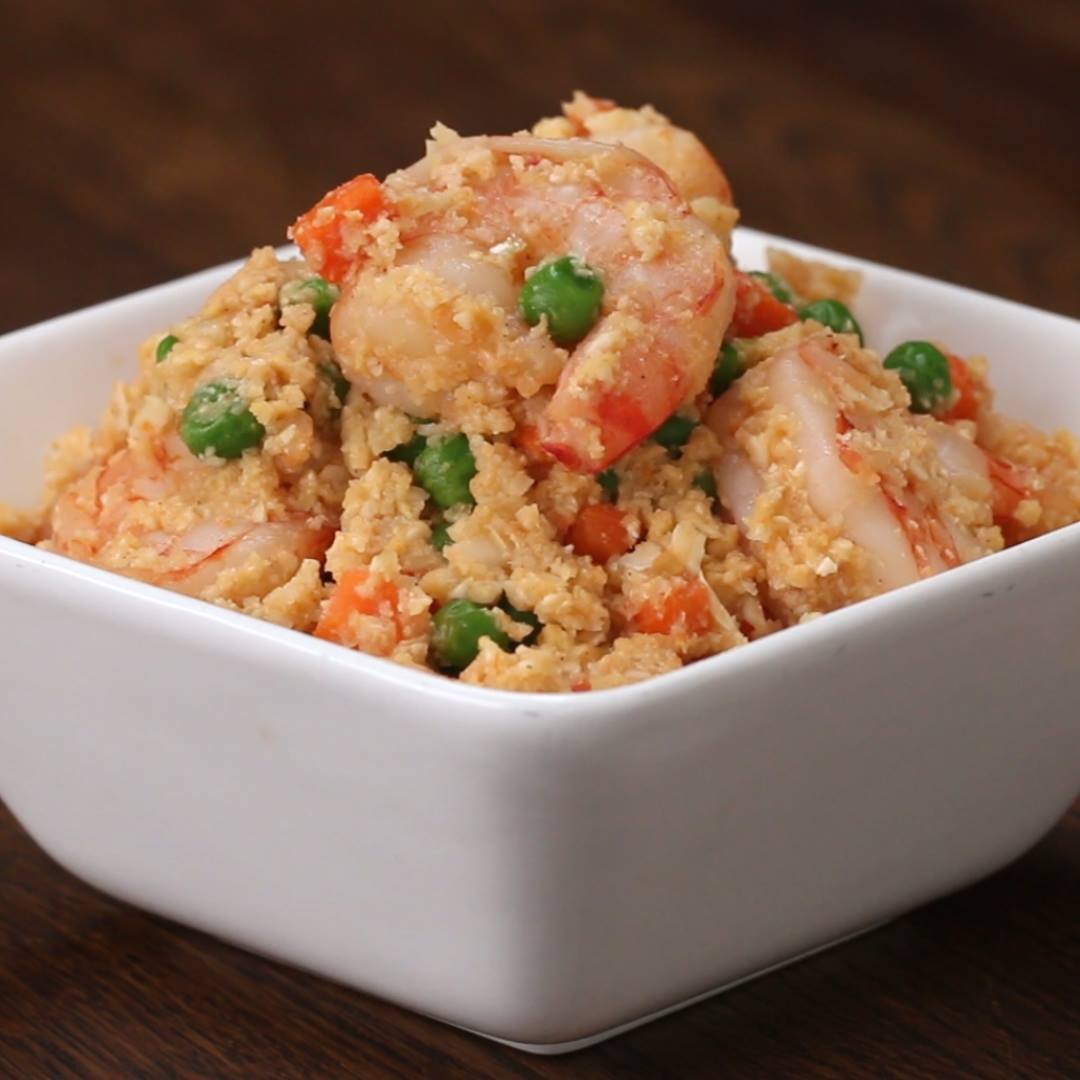
Cauliflower Shrimp Fried Rice

Cauliflower Shrimp Fried Rice
Cauliflower Shrimp Fried Rice recipe!
Author:
Cuisine: American
Recipe type: Main dish
Ingredients
  • 3 cups cauliflower florets (450 g)
  • 1 teaspoon sesame oil
  • 3 carrots, diced
  • 3 cloves garlic, minced
  • 1 lb large shrimp, peeled and deveined (455 g)
  • 1 cup frozen peas, thawed (150 g)
  • 2 eggs, beaten
  • 3 tablespoons low sodium soy sauce
  • ½ teaspoon white pepper
  • green onion, for garnish
Instructions
  1. Pulse cauliflower in a food processor until broken into rice-sized pieces.
  2. Heat the sesame oil in a large skillet or wok. Toss in the carrots and sauté until soft, about 5 minutes.
  3. Add in the garlic and shrimp and sautée until the shrimp begin to turn pink, about 2 minutes.
  4. Add the peas and cauliflower rice and mix until the cauliflower has warmed through.
  5. Move the contents of the pan to the side to create a well in the center. Pour in the eggs and slowly scraped the cooked bits off the bottom of the pan to scramble the eggs. Once the eggs are almost finished cooking, mix everything in the pan together.
  6. Season the cauliflower with white pepper and soy sauce, give one last good mix to combine and serve with a garnish of sliced green onion.
  7. Enjoy!

Watch the recipe video here:

Cauliflower And Shrimp "Fried Rice"FULL RECIPE: https://tasty.co/recipe/cauliflower-shrimp-fried-rice

Posted by Proper Tasty on Thursday, July 11, 2019

Nosh

Rich French Onion Soup

Rich French Onion Soup
When entertaining guests, I bring out this savory soup while we're waiting for the main course. It's simple to make—just saute the onions early in the day and let the soup simmer until dinner-time. In winter, big bowls of it make a warming supper with a salad and biscuits. —Linda Adolph, Edmonton, Alberta
Author:
Cuisine: American
Recipe type: Nosh
Ingredients
  • 6 large onions, chopped
  • ½ cup butter
  • 6 cans (10-1/2 ounces each) condensed beef broth, undiluted
  • 1-1/2 teaspoons Worcestershire sauce
  • 3 bay leaves
  • 10 slices French bread, toasted
  • Shredded Parmesan and shredded part-skim mozzarella cheese
Instructions
  1. In a large skillet, saute onions in butter until crisp-tender. Transfer to a 5-qt. slow cooker. Add the broth, Worcestershire sauce and bay leaves.
  2. Cover and cook on low for 5-7 hours or until the onions are tender. Discard bay leaves.
  3. Ladle soup into ovenproof bowls. Top each with a slice of toast; sprinkle with desired amount of cheese. Place bowls on a baking sheet. Broil for 2-3 minutes or until cheese is lightly golden.

Watch the recipe video here:

Soup doesn't get richer tasting than this! Rich French Onion Soup Recipe: https://trib.al/wjPIPhN

Posted by Taste of Home on Thursday, July 11, 2019

Breakfast

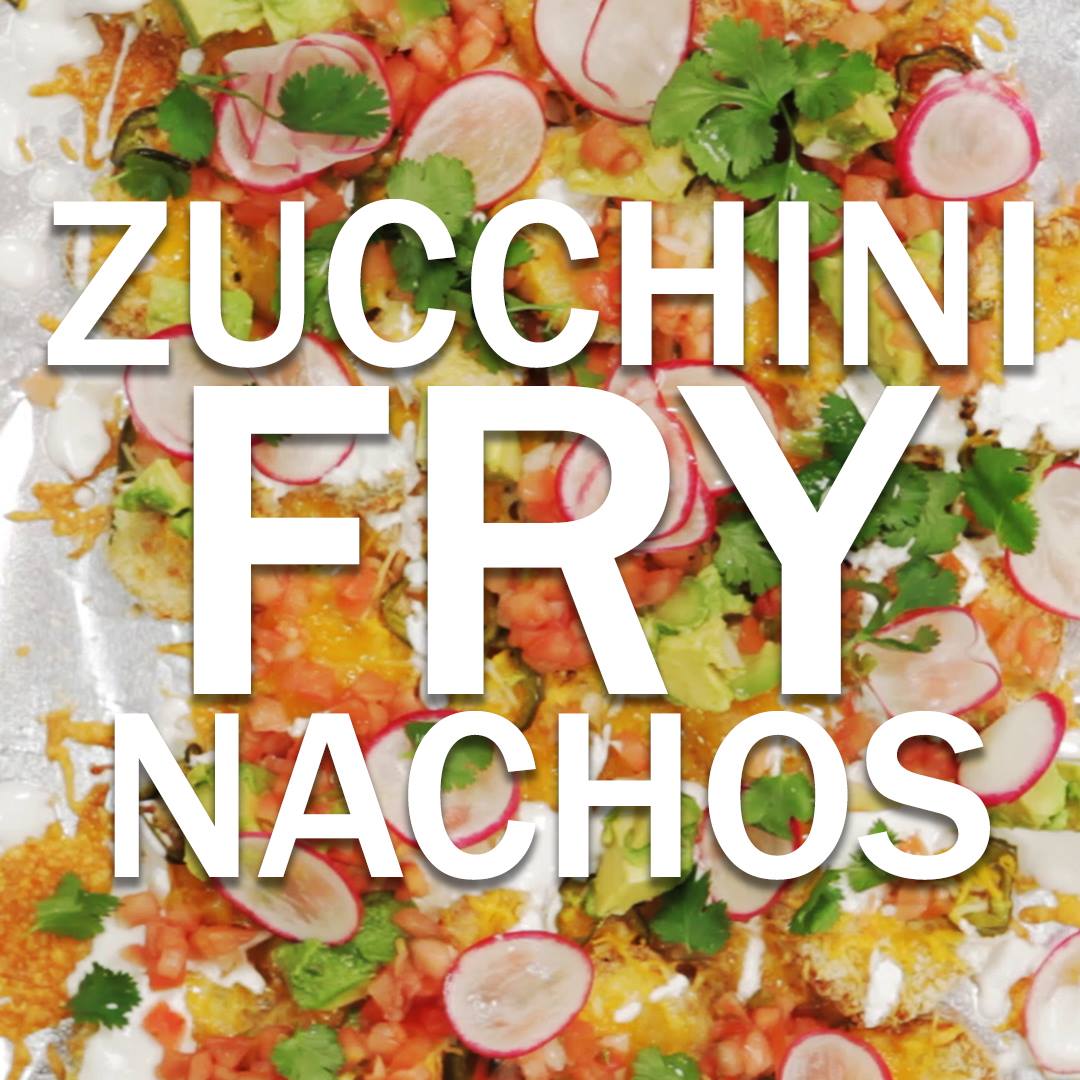
Zucchini Fry Nachos

Zucchini Fry Nachos
Why should tortilla chips have all the fun? Turn the humble zucchini into crunchy disks and then dress them up with all the fixings.
Author:
Cuisine: American
Recipe type: Breakfast
Ingredients
  • Nonstick cooking spray
  • ½ cup all-purpose flour
  • Kosher salt
  • 3 large eggs, beaten
  • 2½ cups panko breadcrumbs (See Cook's Note)
  • 1 pound zucchini (2 to 3 small to medium zucchini), cut into ¼-inch-thick rounds
  • 1½ cups shredded Mexican-blend cheese (about 4.5 ounces)
  • ¼ cup sliced pickled jalapenos
  • ½ cup sour cream
  • 1 cup pico de gallo or salsa
  • 1 small avocado, diced
  • 1 radish, thinly sliced
  • A small handful cilantro leaves and tender stems
  • A small handful cilantro leaves and tender stems
  • 1 lime, quartered
Instructions
Special equipment: 2 wire racks 2 rimmed baking sheets
  1. Adjust 2 oven racks to the top and bottom thirds of the oven and preheat to 425 degrees F. Put the wire racks in the baking sheets and coat each generously with cooking spray.
  2. Combine the flour and ¾ teaspoon salt in a large re-sealable plastic bag. Combine the eggs and ¾ teaspoon salt in another large plastic bag; combine the breadcrumbs and ¾ teaspoon salt in a third large plastic bag.
  3. Add about a half of the zucchini rounds to the flour, and use a combination of your hands and shaking the bag to coat the zucchini. Remove the zucchini and shake off any excess flour. Transfer to the egg wash and repeat until coated. (It's less messy if you use only one hand for the dry ingredients and the other for the wet.) Let any excess egg drip off before transferring to the breadcrumb mixture; repeat until fully coated (you'll still see some green and white of the zucchini peeking through the breading). Transfer to the prepared baking sheets and coat the breaded zucchini generously with cooking spray (there's no need to turn them). Repeat with the remaining zucchini.
  4. Bake, rotating the baking sheets from top to bottom about halfway through, until golden brown and tender, 25 to 30 minutes.
  5. Lower the oven to 350 degrees F and let the baking sheet cool for a few minutes. Remove the rack from one of the baking sheets and line the baking sheet with foil. Slide the baked zucchini onto the baking sheet and scatter the cheese and jalapenos on top. Bake until the cheese melts, about 10 minutes. Thin the sour cream out with a little water, until it's pourable, and drizzle over the nachos. Then garnish with the pico de gallo, avocado, radish and cilantro. Serve with lime on the side.
Cook’s Note:
  1. Some panko breadcrumbs are coarser then others. Rub the breadcrumbs with your fingers to make them finer, which will help them coat the zucchini pieces better.

Watch the recipe video here:

Recipe of the Day: Zucchini Fry NachosSave the recipe: https://foodtv.com/32i0ffe!

Posted by Food Network on Thursday, July 11, 2019

Main dish

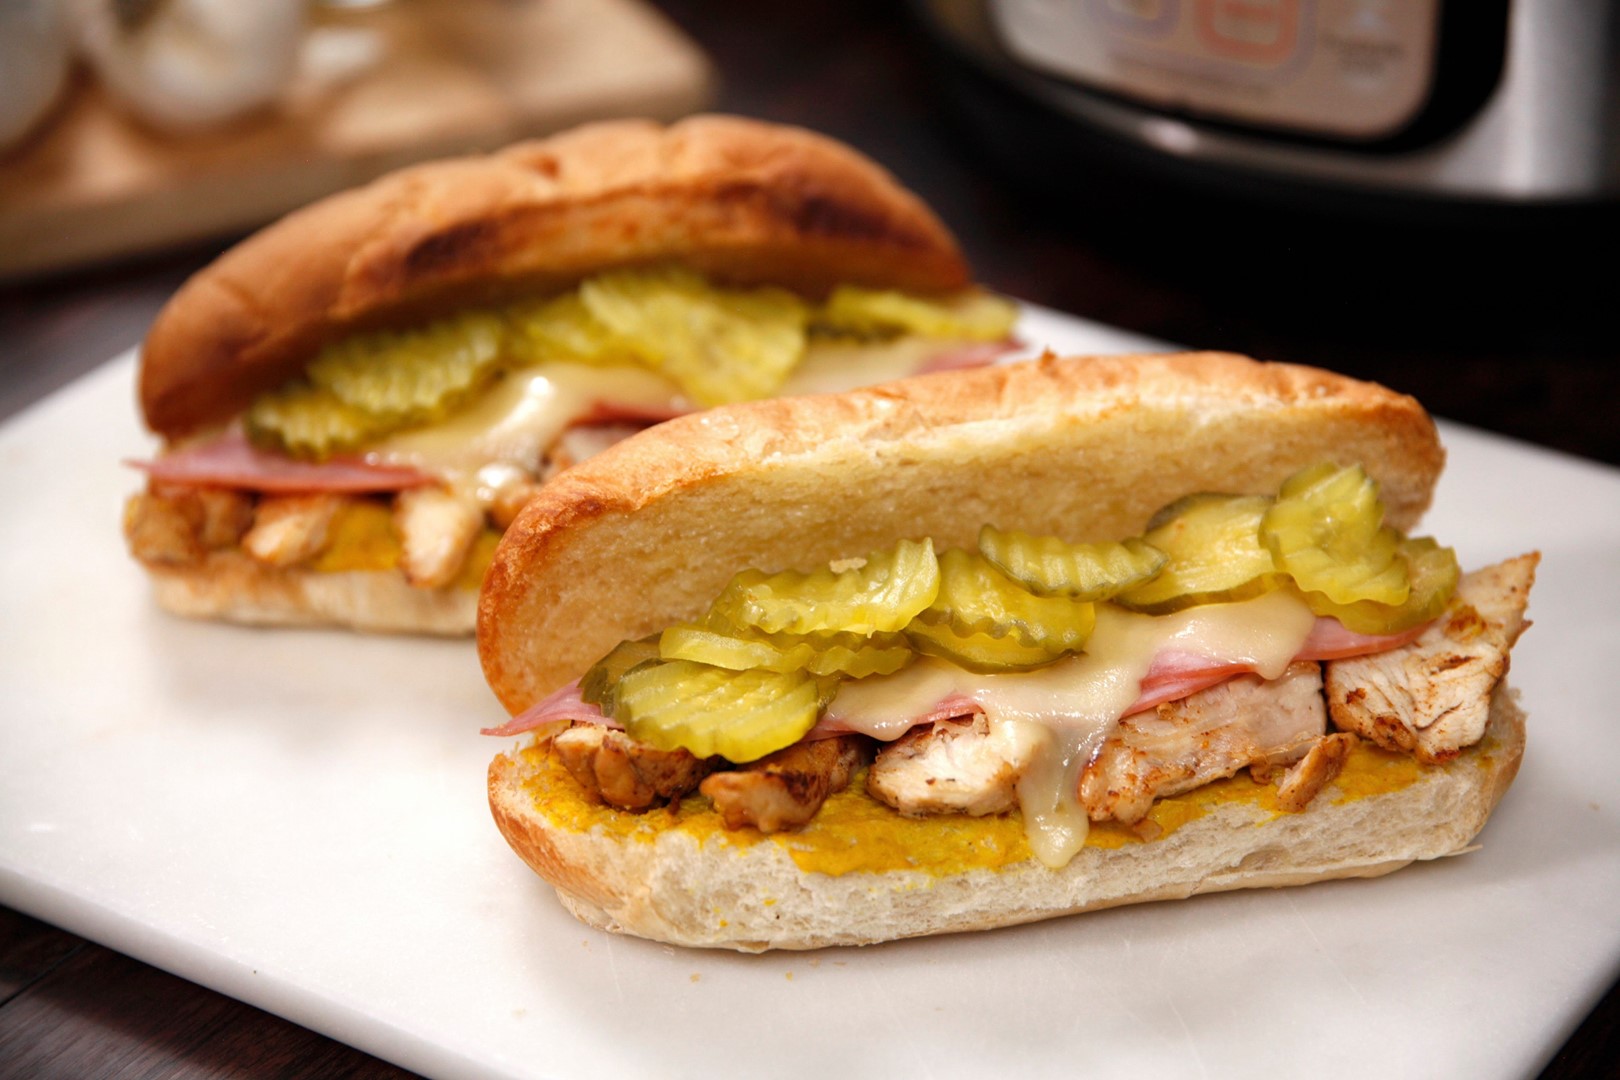
Instant Pot Classic Cuban Sandwiches

Instant Pot Classic Cuban Sandwiches
Yes, that’s two kinds of pig!
Author:
Cuisine: American
Recipe type: Main dish
Ingredients
  • 2 lbs boneless pork shoulder (Boston butt), trimmed and cut into 2 pieces
  • 2 tsp kosher salt
  • 1 tsp pepper
  • 1 tbsp olive oil
  • 6 cloves of garlic, minced
  • ½ cup chicken (or beef) broth
  • Zest and juice of one large orange
  • 2 tbsp lime juice
For sandwich:
  • 6 6” cuban rolls (or bolillo or sub roll)
  • 1 tbsp butter, melted
  • 2 tbsp yellow mustard
  • 3 oz thinly sliced deli ham
  • 3 oz thinly sliced swiss cheese
  • 18 dill pickle slices
Instructions
  1. Season pork pieces with salt and pepper.
  2. Add olive oil to the Instant Pot. Using the display panel select the SAUTE function.
  3. When oil gets hot, brown the meat on 2 sides, 3-4 minutes per side. Meat will not be cooked through. Do not crowd the pot–you may have to work in batches. Transfer browned meat to a shallow dish and cover loosely with foil.
  4. Add garlic to the pot and saute 1-2 minutes more.
  5. Add broth, juices and zest to the pot and deglaze by using a wooden spoon to scrape the brown bits from the bottom of the pot. Put the meat back into to the pot, turning once to coat.
  6. Turn the pot off by selecting CANCEL, then secure the lid, making sure the vent is closed.
  7. Using the display panel select the MANUAL function*. Use the +/- keys and program the Instant Pot for 20 minutes.
  8. When the time is up, let the pressure naturally release for 15 minutes, then quick-release the remaining pressure.
  9. Carefully remove the meat from the pot to a cutting board. Allow to cool for 5-10 minutes and then slice thinly.
  10. Split rolls lengthwise. Brush mustard on the bottom half and melted butter on top half.
  11. Top evenly with pork, ham and swiss. Set under the broiler just until the cheese is melted, 1-2 minutes.
  12. Top with pickles and press the sandwich closed.

Watch the recipe video here:

Yes, that’s two kinds of pig!RECIPE: http://chopsecrets.com/instant-pot-classic-cuban-sandwiches/

Posted by Chop Secrets on Thursday, July 11, 2019

Main dish

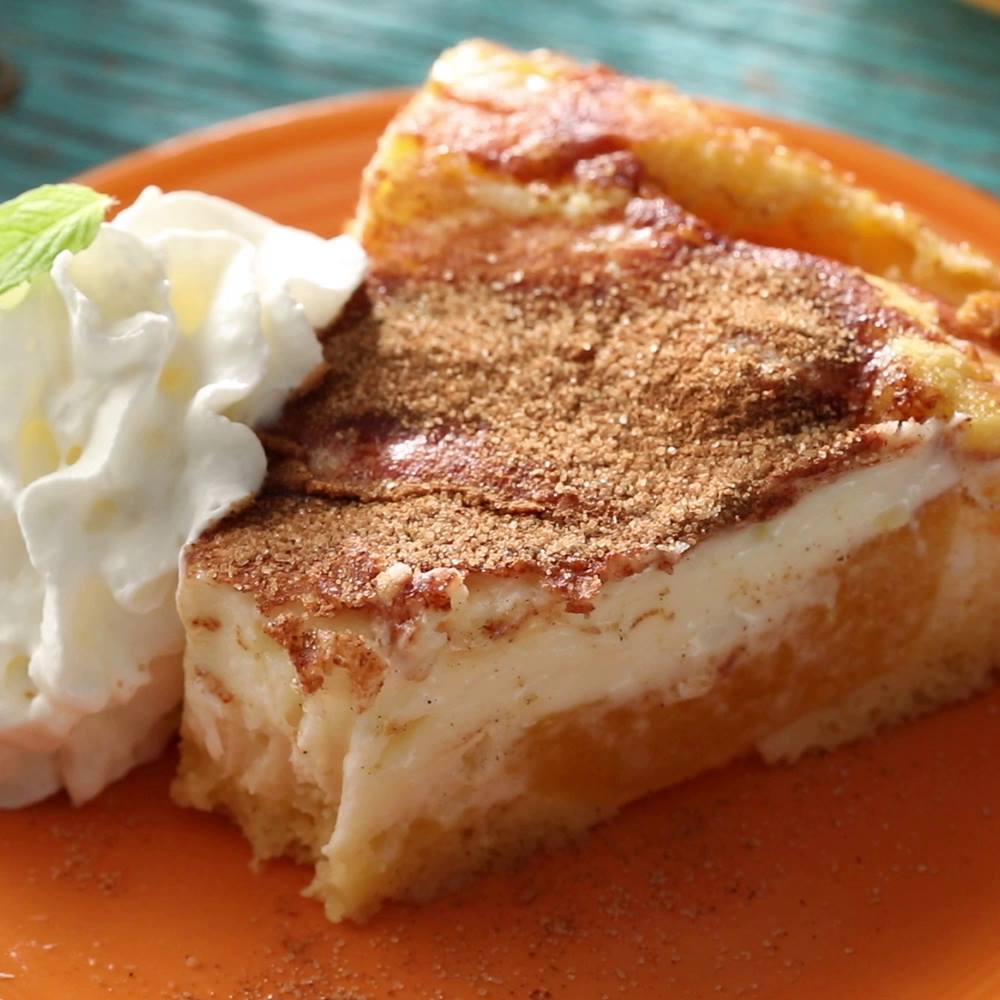
Award Winning Peaches and Cream Pie

Award Winning Peaches and Cream Pie
I am always asked for the recipe when I take this anywhere. Plus I won 5 blue ribbons and Best Pie of Show for this pie. It's a great pie.
Author:
Cuisine: American
Recipe type: Main dish
Ingredients
  • ¾ cup all-purpose flour
  • ½ teaspoon salt
  • 1 teaspoon baking powder
  • 1 (3 ounce) package non-instant vanilla pudding mix
  • 3 tablespoons butter, softened
  • 1 egg
  • ½ cup milk
  • 1 (29 ounce) can sliced peaches, drained and syrup reserved
  • 1 (8 ounce) package cream cheese, softened
  • ½ cup white sugar
  • 1 tablespoon white sugar
  • 1 teaspoon ground cinnamon
Instructions
  1. Preheat oven to 350 degrees F (175 degrees C). Grease sides and bottom of a 10 inch deep-dish pie pan.
  2. In a medium mixing bowl, mix together flour, salt, baking powder and pudding mix. Mix in butter, egg and milk. Beat for 2 minutes. Pour mixture into pie pan. Arrange the peach slices on top of the pudding mixture.
  3. In a small mixing bowl, beat cream cheese until fluffy. Add ½ cup sugar and 3 tablespoons reserved peach syrup. Beat for 2 minutes. Spoon mixture over peaches to within 1 inch of pan edge. Mix together 1 tablespoon sugar and 1 teaspoon cinnamon, and sprinkle over top.
  4. Bake in preheated oven for 30 to 35 minutes, until golden brown. Chill before serving.

Watch the recipe video here:

Award Winning Peaches and Cream Pie: https://trib.al/segVsv3

Posted by Allrecipes on Thursday, July 11, 2019

Main dish

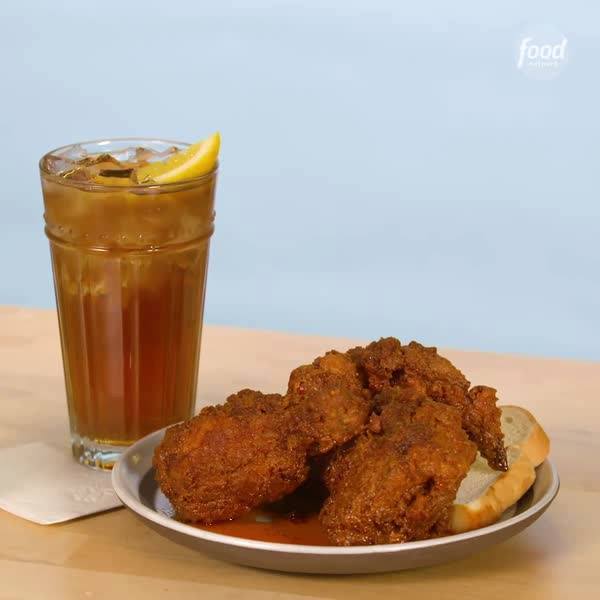
Hot Chicken

Hot Chicken
Hot Chicken recipe.
Author:
Cuisine: American
Recipe type: Main dish
Ingredients
  • 3 pounds skin-on, bone-in chicken parts (breasts halved crosswise)
  • Kosher salt and freshly ground pepper
  • 3 cups all-purpose flour
  • 1 tablespoon baking powder
  • 1 tablespoon garlic powder
  • ⅓ cup plus ½ cup whole milk
  • 2 large eggs
  • 1 tablespoon hot sauce
  • ½ cup vegetable oil, plus more for frying (about 10 cups)
  • 12 tablespoons unsalted butter, cut into pieces
  • 3 tablespoons cayenne pepper
  • 2 tablespoons packed dark brown sugar
Instructions
  1. Season the chicken generously with salt and pepper. Place on a baking sheet, cover loosely with plastic wrap and refrigerate at least 2 hours and up to 1 day to infuse the flavor.
  2. Whisk the flour, baking powder, 1 teaspoon garlic powder, 1 tablespoon salt and 1½ teaspoons pepper in a large bowl. Drizzle in ⅓ cup milk and whisk to form small shaggy clumps. Whisk the remaining ½ cup milk, the eggs and hot sauce in another large bowl. Coat each piece of chicken in the flour mixture, then dip in the egg mixture, letting the excess drip off. Return the chicken to the flour mixture and turn until well coated. Transfer to a rack set on a baking sheet and let sit, uncovered, to set the coating, 15 minutes.
  3. Meanwhile, fill a large Dutch oven or other heavy pot with 2 to 3 inches of vegetable oil. Heat over medium heat until a deep-fry thermometer registers 350 degrees F. Carefully add 4 to 5 pieces chicken to the hot oil. The oil temperature will drop; adjust the heat as needed to maintain a temperature between 300 degrees F and 325 degrees F. Fry the chicken until golden brown and a thermometer inserted into the breasts registers 160 degrees F and the thighs 170 degrees F, 10 to 14 minutes. Remove with tongs and transfer to a clean rack set on a baking sheet; sprinkle with salt. Let the oil temperature return to 350 degrees F before frying the remaining chicken.
  4. While the last batch of chicken fries, heat ½ cup vegetable oil, the butter, cayenne, brown sugar, remaining 2 teaspoons garlic powder and ½ teaspoon salt in a medium saucepan over medium heat. Cook, stirring frequently, until the butter is melted, 2 to 3 minutes. Dip the fried chicken one piece at a time in the spicy butter, turning with tongs to coat completely; return to the rack. For spicier chicken, top with more of the spicy butter.

Watch the recipe video here:

Hot chicken >>> literally everything ?? Save the recipe: https://foodtv.com/2LFN3Lj!

Posted by Food Network on Wednesday, July 10, 2019