Dessert

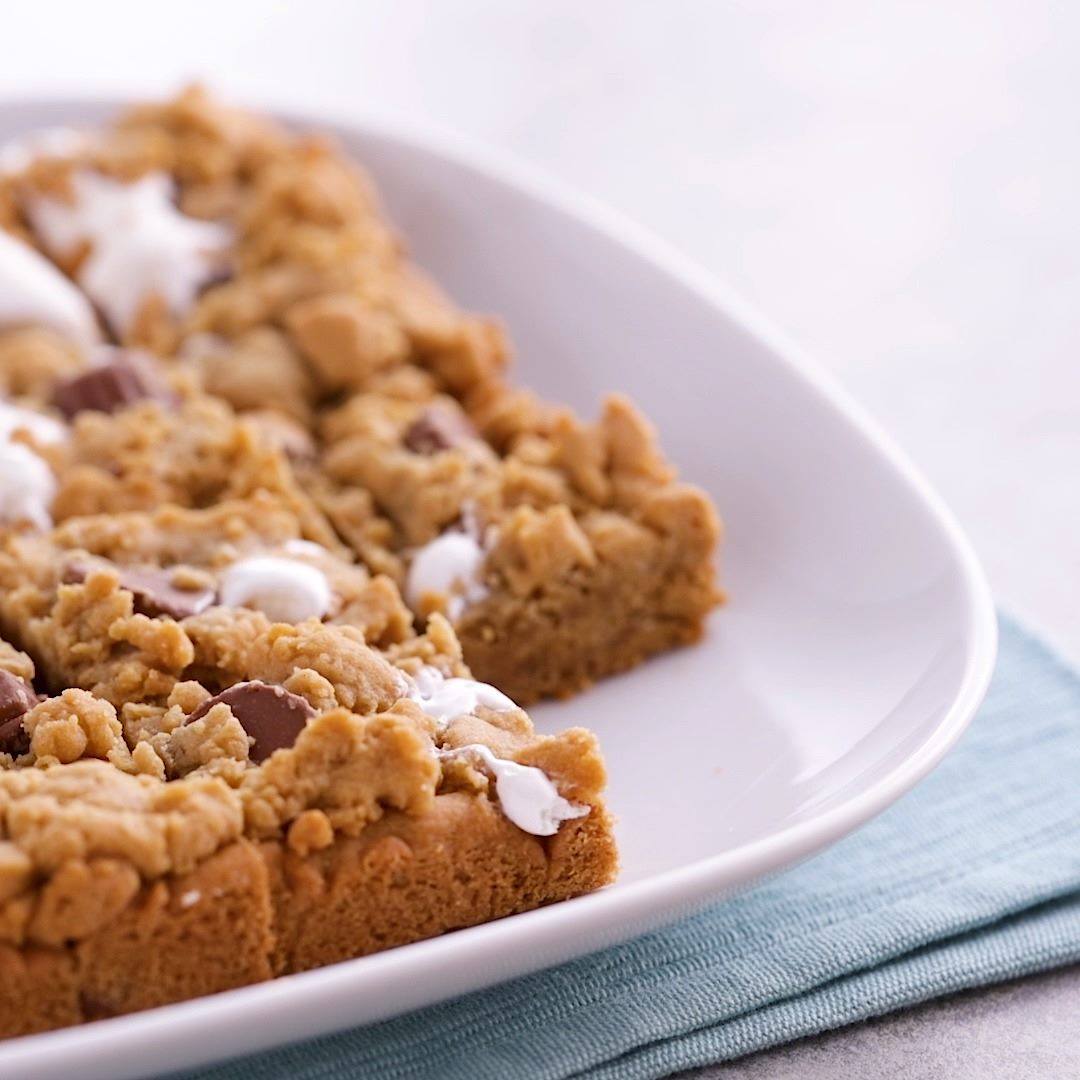
Fluffernutter Bars

Fluffernutter Bars
Marshmallow and peanut butter come together in these gooey, indulgent bars.
Author:
Cuisine: American
Recipe type: Dessert
Ingredients
  • 1 roll (16.5 oz) Pillsbury™ refrigerated peanut butter cookies
  • ½ cup milk chocolate Reese's™ minis peanut butter cups (from 8-oz package) (25 mini cups)
  • ½ cup marshmallow creme
Instructions
  1. Heat oven to 350°F.
  2. In medium bowl, mix cookie dough and peanut butter cups until well blended. Reserve 1 cup cookie dough. Press remaining dough evenly in bottom of ungreased 8-inch square pan. Bake 15 minutes.
  3. Drop tablespoonfuls marshmallow cream on bar base. Crumble reserved cookie dough onto marshmallow and bar base.
  4. Bake 14 to 18 minutes or until golden brown. Cool completely, about 1 hour. For bars, cut into 4 rows by 4 rows.

Watch the recipe video here:

3-ingredients is all it takes for gooey indulgent greatness. Fluffernutter Bars recipe:…

Posted by Pillsbury on Sunday, August 11, 2019

Main dish

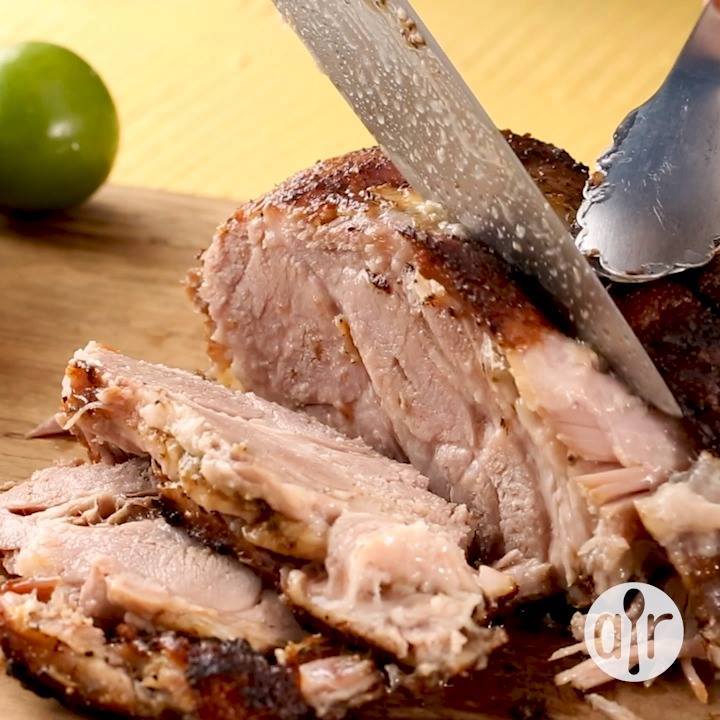
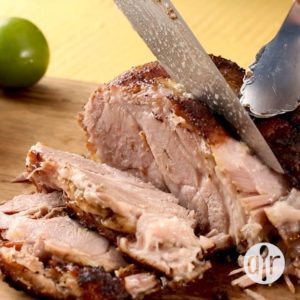
Cuban-Style Roast Pork

Cuban-Style Roast Pork
Fragrant, savory, and succulent pork roast the whole family will love. Serve with cumin scented black beans, and mashed sweet potatoes.
Author:
Cuisine: American
Recipe type: Main dish
Ingredients
  • 4 cloves garlic
  • 2 teaspoons kosher salt
  • 1 teaspoon ground black pepper
  • 1 teaspoon ground cumin
  • 1 teaspoon dried oregano
  • 1 teaspoon ground coriander
  • 3 tablespoons lime juice
  • 3 tablespoons orange juice
  • 3 tablespoons olive oil
  • 1½ teaspoons white wine vinegar
  • 1 (4 pound) pork shoulder roast
Instructions
  1. Grind garlic, salt, black pepper, cumin, oregano, and coriander into a paste using a mortar and pestle.
  2. Transfer half of the garlic and spice paste to a bowl; add lime juice, orange juice, olive oil, and vinegar. Beat the mixture with a whisk until smooth.
  3. Cut several inch-long, deep slits into the fatty side of the pork roast. Rub the reserved garlic paste into the slits.
  4. Put rubbed roast into a gallon-size resealable plastic bag. Pour the liquid mixture over the roast, squeeze as much air from the bag as possible and seal; refrigerate, turning occasionally, 8 hours to overnight.
  5. Remove pork roast from refrigerator, put into a roasting pan, and let warm at room temperature for 30 minutes.
  6. Preheat oven to 400 degrees F (200 degrees C).
  7. Roast pork in preheated oven for 30 minutes, reduce heat to 375 degrees F (190 degrees C), and continue cooking until pork is no longer pink in the center, about 2 hours more. An instant-read thermometer inserted into the center should read at least 170 degrees F (75 degrees C).

Watch the recipe video here:

Cuban-Style Roast Pork: https://trib.al/yoGoAw5

Posted by Allrecipes on Sunday, August 11, 2019
Main dish

Instant Pot French Dip Sandwich

Instant Pot French Dip Sandwich
Better-than-restaurant French dip sandwiches at home!
Author:
Cuisine: American
Recipe type: Main dish
Ingredients
For the pot:
  • 1 tbsp oil
  • 2.5 lbs beef chuck roast, left at room temperature for 15 minutes
  • 2 tsp kosher salt
  • ½ tsp black pepper
  • ½ tsp garlic powder
  • 1 onion, thinly sliced
  • ½ cup red wine
  • 14 oz beef broth
  • 1 bay leaf
To finish:
  • 1 tbsp kosher salt, or to taste
  • 6 soft rolls
  • 3 tbsp butter, melted
  • ½ tsp garlic salt
  • 6 slices provolone cheese
  • Flat-leaf parsley for garnish (optional)
Instructions
  1. Add olive oil to the Instant Pot. Using the display panel select the SAUTE function.
  2. Season the beef with salt, pepper and garlic powder.
  3. When oil gets hot, brown the meat on all sides, 3-4 minutes per side. Meat will not be cooked through. Transfer browned meat to a shallow dish and cover loosely with foil.
  4. Add onion to the pot and saute until soft, 3-4 minutes.
  5. Add wine to the pot and deglaze by using a wooden spoon to scrape the brown bits from the bottom of the pot.
  6. Add beef broth and bay leaf to the pot. Put the meat back into to the pot, turning once to coat.
  7. Turn the pot off by selecting CANCEL, then secure the lid, making sure the vent is closed.
  8. Using the display panel select the MANUAL function*. Use the +/- keys and program the Instant Pot for 100 minutes.
  9. When the time is up, let the pressure naturally release for 25 minutes, then quick-release any remaining pressure.
  10. Carefully remove the meat from the pot to a cutting board and shred.
  11. Strain remaining liquid. Reserve onions to serve with the sandwich (optional).
  12. Use a spoon or fat separator to skim fat from remaining juices. Discard fat. Season au jus with 1 tbsp kosher salt, or to taste.
  13. Slice open rolls, brush with melted butter and garlic salt and set under a broiler 2-3 minutes, until lightly toasted.
  14. Top toasted rolls with shredded beef and cheese. Return to broiler for 2-3 minutes, until cheese begins to melt.
  15. Top with chopped parsley (optional) and serve with au jus for dipping.

Watch the recipe video here:

Better-than-restaurant French dip sandwiches at home!RECIPE: http://chopsecrets.com/instant-pot-french-dip-sandwich/

Posted by Chop Secrets on Sunday, August 11, 2019

Soup

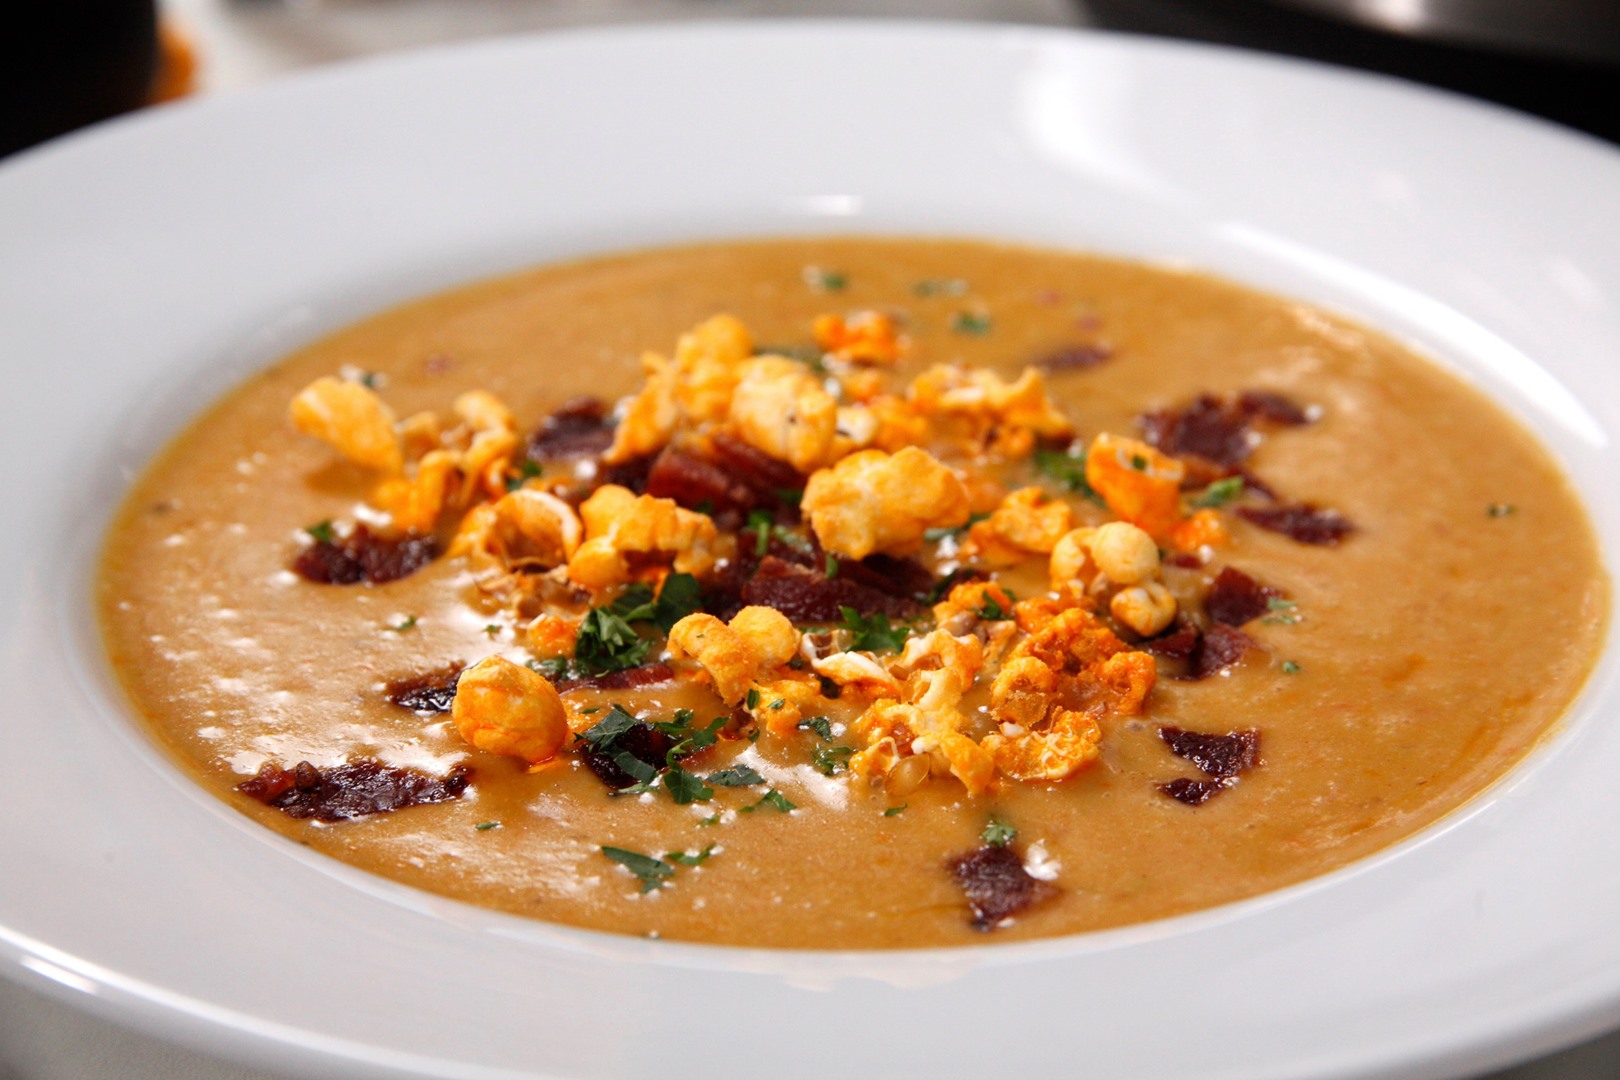
Instant Pot Beer Cheese Soup

Instant Pot Beer Cheese Soup
A hearty bowl of beer cheese soup topped with…wait for it…POPCORN.
Author:
Cuisine: American
Recipe type: Soup
Ingredients
  • 5 slices bacon, chopped
  • 3 tbsp butter
  • 1 small onion, finely diced
  • ½ cup diced carrots
  • ½ cup diced celery
  • ⅓ cup flour
  • 3 cups chicken broth
  • ½ tsp black pepper
  • ½ tsp ground mustard
  • ¼ tsp cayenne, or to taste
  • 12 oz beer
  • 16 oz grated sharp cheddar cheese
  • 1½ cups salted popcorn for garnish (cheese popcorn works great or you can use croutons in a pinch)
Instructions
  1. Add bacon to the Instant Pot. Using the display panel select the SAUTE function. Cook and stir until bacon is crisp.
  2. Remove bacon with a slotted spoon and set aside on a paper towel-lined plate.
  3. Add butter, onion, carrots and celery to the bacon drippings and saute until slightly softened, about 4 minutes.
  4. Sprinkle flour over the vegetables and stir to coat.
  5. Add broth to the pot and deglaze by using a wooden spoon to scrape the brown bits from the bottom of the pot.
  6. Add pepper, mustard powder, cayenne and beer to the pot and stir to combine.
  7. Turn the pot off by selecting CANCEL, then secure the lid, making sure the vent is closed.
  8. Using the display panel select the MANUAL function*. Use the +/- keys and program the Instant Pot for 7 minutes.
  9. When the time is up, perform a controlled release of the remaining pressure, watching out for any starchy spray.
  10. Using an immersion blender (or high capacity blender), puree the vegetable mixture until smooth.
  11. Gradually add cheese, stirring between each addition, until the mixture becomes thick and creamy.
  12. Adjust seasonings. Top with bacon and popcorn and serve immediately.

Watch the recipe video here:

A hearty bowl of beer cheese soup topped with…wait for it…POPCORN.RECIPE: http://chopsecrets.com/instant-pot-beer-cheese-soup/

Posted by Chop Secrets on Sunday, August 11, 2019

Dessert

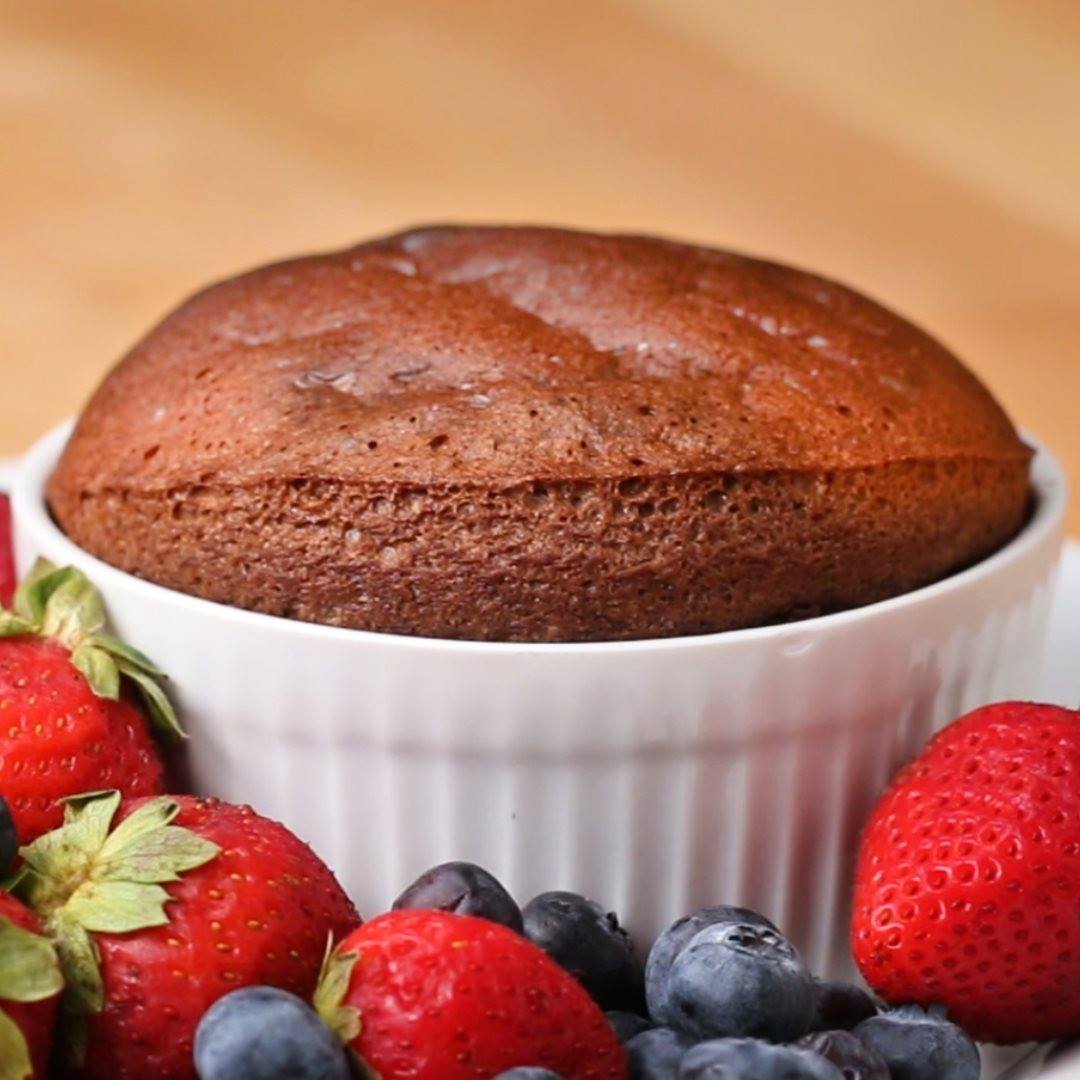
2-ingredient Chocolate Soufflé

2-ingredient Chocolate Soufflé
You can make this chocolate soufflé with only 2 ingredients ??
Author:
Cuisine: American
Recipe type: Dessert
Ingredients
  • ½ cup chocolate hazelnut spread (150 g)
  • 2 eggs
Instructions
  1. Preheat the oven to 375˚F (190˚C).
  2. Separate the egg yolks from the egg whites and place into two bowls.
  3. Mix the chocolate hazelnut spread into the bowl with the egg yolks.
  4. In the second bowl, whisk 2 egg whites until stiff peaks form.
  5. Fold ⅓ of the whipped egg whites into the chocolate/egg yolk mixture until fully incorporated. Add the remaining egg whites to the mixture and fold gently, but thoroughly, until the mixture is smooth.
  6. Pour the mixture into a greased ramekin. Clean the rims so the soufflé rises evenly, and bake for 15-17 minutes.
  7. Serve immediately.
  8. Enjoy!

Watch the recipe video here:

You can make this chocolate soufflé with only 2 ingredients ??FULL RECIPE: https://tasty.co/recipe/2-ingredient-chocolate-souffle

Posted by Proper Tasty on Saturday, August 10, 2019

Main dish

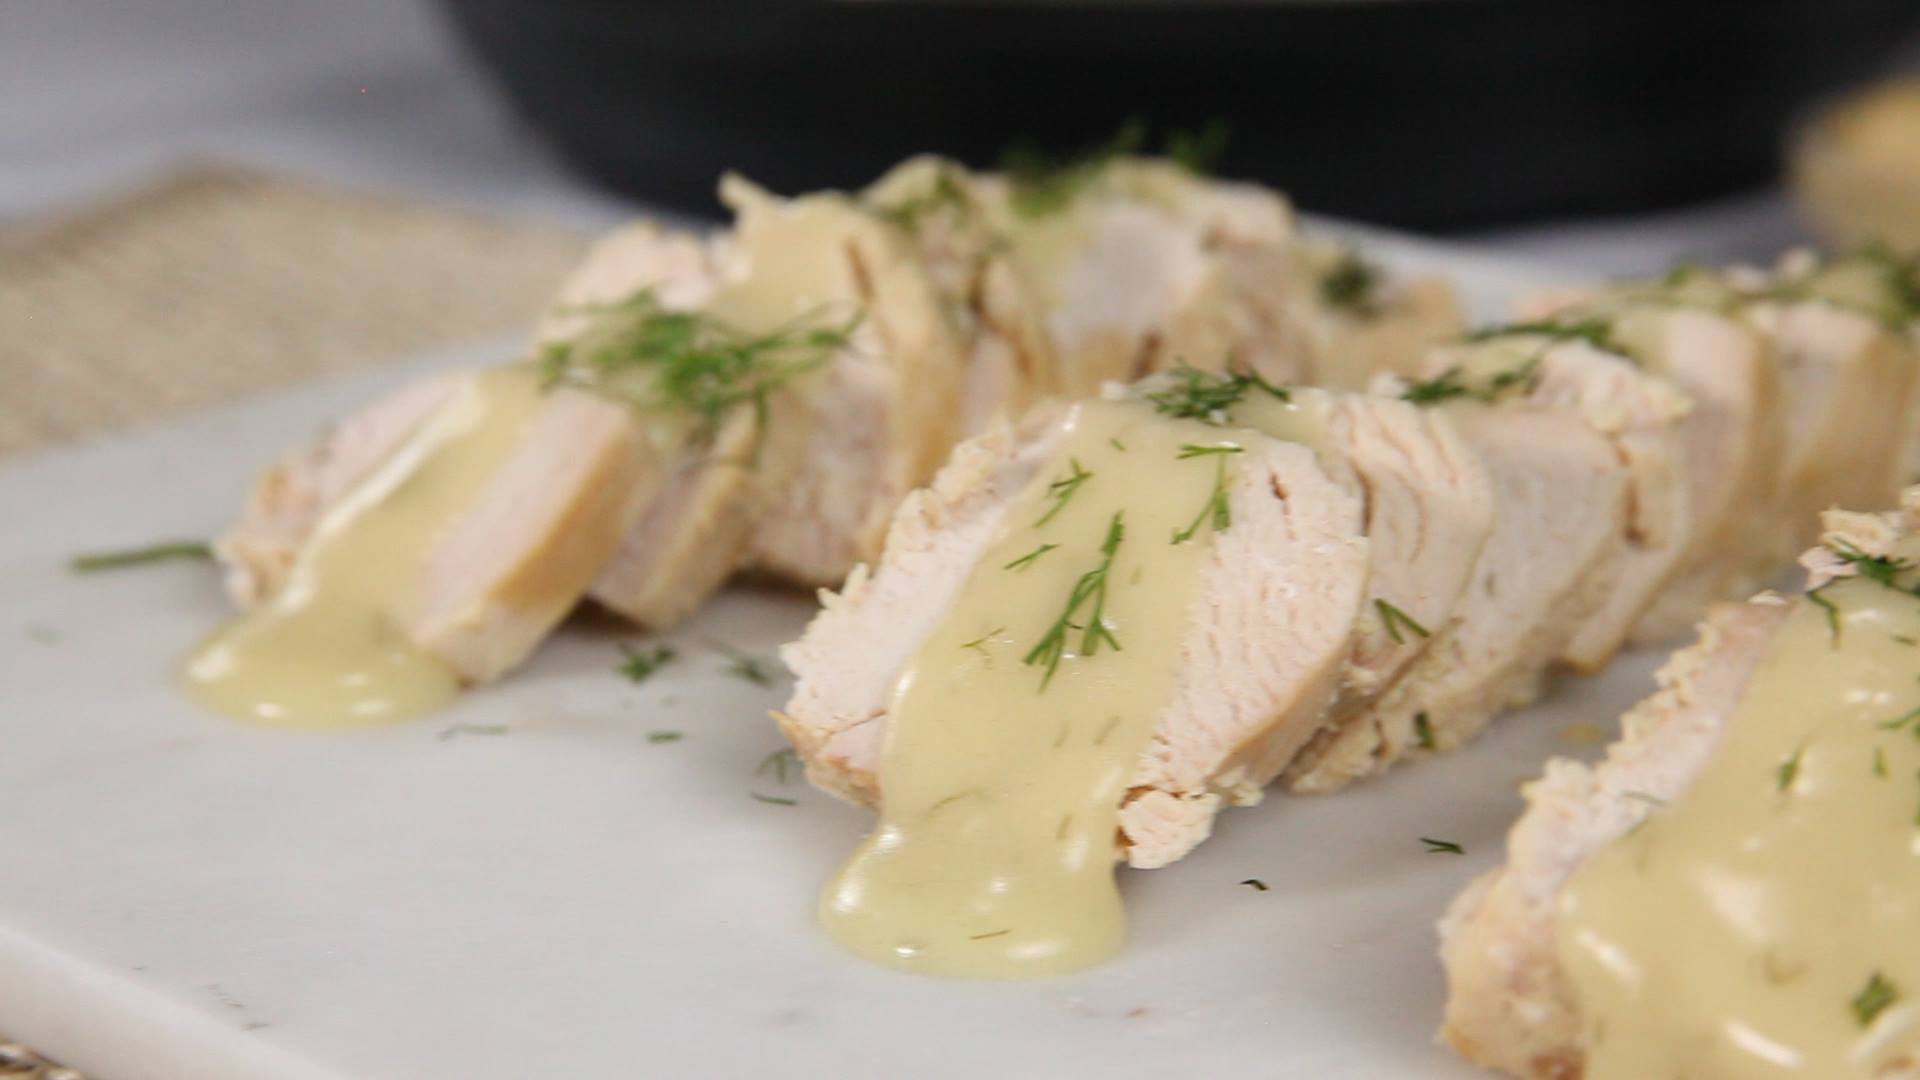
Instant Pot Dijon Dill Chicken

Instant Pot Dijon Dill Chicken
Dijon and dill anchor this keto-friendly dish.
Author:
Cuisine: American
Recipe type: Main dish
Ingredients
  • 2 cups chicken broth
  • ¼ cup of dijon mustard
  • 2½ lbs boneless, skinless chicken thighs
  • 4 tbsp salted butter, cut into 6-8 pieces
To finish:
  • 1½ tbsp lemon juice
  • ¼ cup of dijon mustard
  • ¼ cup cornstarch
  • ¼ cup cold water
  • ½ cup fresh dill, finely chopped, plus more for garnish
Instructions
  1. Add broth and ¼ cup dijon to the Instant Pot. Stir to combine.
  2. Add the chicken in one even layer, turning once to coat.
  3. Dot butter pieces over the chicken.
  4. Secure the lid, making sure the vent is closed.
  5. Using the display panel select the MANUAL function*. Use the +/- keys and program the Instant Pot for 8 minutes.
  6. When the time is up, quick-release the remaining pressure.
  7. Carefully remove the meat from the pot to a shallow dish and cover loosely with foil, reserving juices.
  8. Using the display panel select the SAUTE function and adjust to HIGH or MORE
  9. Add lemon juice and remaining ¼ cup dijon mustard. Stir to combine.
  10. In a small bowl, mix together cornstarch and cold water. Pour cornstarch mixture into the pot and stir until thickened
  11. Turn the pot off by selecting CANCEL. Allow to cool 5 minutes.
  12. Stir in chopped dill. Serve chicken topped with sauce and additional dill for garnish, if desired.

Watch the recipe video here:

Dijon and dill anchor this keto-friendly dish.RECIPE: http://chopsecrets.com/instant-pot-dijon-dill-chicken/

Posted by Chop Secrets on Saturday, August 10, 2019

Dessert

Bubble Wrap Honeycomb Cake

Bubble Wrap Honeycomb Cake
This cake is the bee’s knees! We used boxed cake mix to keep things simple, but feel free to get fancy by making your own. When melting the candy, make sure you’re on medium power. Microwaving on high power will cause the candy to seize. For a finishing touch, drizzle on extra honey and top with our homemade honeycomb. You and your guests won’t be able to stop buzzin’ about it!
Author:
Cuisine: American
Recipe type: Dessert
Ingredients
HONEY BUTTERCREAM FROSTING
  • 2 cups unsalted butter, softened (460 g)
  • 1 cup cream cheese, softened (225 g)
  • ½ cup honey (170 g)
  • 4 cups powdered sugar, sifted (480 g)
  • 1 pinch of salt
ASSEMBLY
  • 15.25 oz yellow cake mix, baked according to package instructions in 2 8-inch round cake pans, cooled completely and trimmed level (to remove domed tops) (430 g)
  • 15.25 oz chocolate cake mix, baked according to package instructions in 2 8-inch round cake pans, cooled completely and trimmed level (to remove domed tops) (430 g)
  • 24 oz yellow candy melts (680 g)
  • homemade honeycomb, to garnish
  • ⅓ cup crushed honeycomb, to garnish (115 g)
  • honey, for drizzling
SPECIAL EQUIPMENT
  • cake turntable
  • cardboard cake round
  • large offset spatula
  • bubble wrap, Clean, atleast 27x7 inch (70x18 cm) piece. 5/16 inch (1 cm) thick
Instructions
  1. Make the honey buttercream frosting: In a large bowl, cream together the butter and cream cheese with an electric mixer on medium speed until well combined, scraping down the sides of the bowl as needed. Add the honey and beat to incorporate. Add the powdered sugar and a pinch of salt and beat on low until mostly combined. Increase the mixer speed to high and beat for 3-5 minutes more, until the buttercream is light and fluffy. If the frosting feels soft, you can also refrigerate it for 10-15 minutes so it stiffens slightly.
  2. Assemble the cake: Place a cardboard cake round on a cake turntable and dab a small amount of frosting in the center of the cardboard round. Center one yellow cake layer over the dab of frosting, then evenly spread about ½ cup of buttercream on top with an offset spatula. Top with a layer of chocolate cake, then another ½ cup of frosting. Repeat with the remaining cake layers and frosting. After adding the final layer, lightly frost the entire cake to create a thin crumb coat.
  3. Refrigerate the cake for 15 minutes.
  4. Cover the chilled cake with the remaining frosting in an even layer. Return the cake to the refrigerator for 15 minutes more, to allow the frosting to stiffen.
  5. Take the cake out of the refrigerator. With the bubbles facing outward so they don’t get frosting on them, wrap the sheet of bubble wrap around the perimeter of the cake. Trim the wrap to form a collar that fits loosely around the cake and comes about 2 inches over the top edge. Remove the bubble wrap. Keep the cake in the refrigerator until you’re ready to finish the assembly.
  6. Make the yellow candy honeycomb: Place the candy melts in a medium microwave-safe bowl. Microwave on medium power (not on high, which will cause the candy to seize) in 30-second intervals, stirring in between, until the candy is fully melted and smooth.
  7. Place the bubble wrap bubble-side up on a flat surface. Pour most of the melted candy along the bottom two-thirds of the bubble wrap. Working quickly, use an offset spatula to spread the candy over the bubble wrap, leaving the top third empty. Once the bottom two-thirds are evenly covered, use a spatula to spread the candy in a wave pattern along the top edge. Let sit for 5 minutes. While you wait, remove the cake from the refrigerator and position it near the bubble wrap.
  8. After 5 minutes, test the bubble wrap by lifting up a corner. If it looks like it is beginning to harden and has a sheen to it but is still pliable, it is ready to be used. If the candy is still very loose and dripping, let sit for another 1-3 minutes, checking every minute.
  9. Once the candy has set, pick it up by the top corners and quickly wrap the side with the candy around the cake. Press it onto the cake so it sticks. Once attached, try to slowly peel one corner of bubble wrap off. It it sticks, let sit for 1-3 minutes, checking every minute, until ready to peel. If it begins to peel, continue slowly peeling off the bubble wrap until entirely removed. If the candy cracks while you are peeling off the bubble wrap, either remelt and repeat the process, or break it into large shards to decorate the outside of the cake. Refrigerate until serving time.
  10. Immediately before serving, top the cake with homemade honeycomb pieces and crushed honeycomb. Drizzle honey around the edges of the yellow candy honeycomb.
  11. Carefully slice the cake. Drizzle each piece with more honey before serving.
  12. Enjoy!

Watch the recipe video here:

This cake is the bee’s knees!Get the recipe: https://tasty.co/recipe/bubble-wrap-honeycomb-cake

Posted by Tasty on Friday, August 9, 2019

Main dish

Hot Spinach and Artichoke Dip

Hot Spinach and Artichoke Dip
I love the addition of bacon to this cheesy spinach and artichoke dip. It's a family favorite around the holidays. My Nana passed it on to me. I hope you'll enjoy it!
Author:
Cuisine: American
Recipe type: Main dish
Ingredients
  • 8 slices bacon
  • 1 (10 ounce) package frozen chopped spinach, thawed and drained
  • 1 (14 ounce) can quartered marinated artichoke hearts, drained
  • 1 (5 ounce) container garlic-herb flavored cheese spread
  • 1 cup grated Parmesan cheese
  • 1 (8 ounce) container sour cream
  • ½ cup mayonnaise
Instructions
  1. Preheat oven to 400 degrees F (200 degrees C).
  2. Place bacon in a large, deep skillet. Cook over medium high heat until evenly brown. Drain and crumble into a medium bowl.
  3. Mix spinach, artichoke hearts, garlic-herb flavored cheese spread, Parmesan cheese, sour cream and mayonnaise into the bowl with bacon.
  4. Scoop mixture into a 7x11 inch baking dish. Bake in the preheated oven 20 minutes, or until bubbly and lightly browned.

Watch the recipe video here:

Hot Spinach and Artichoke Dip: https://trib.al/dN1TNzG

Posted by Allrecipes on Friday, August 9, 2019

Main dish

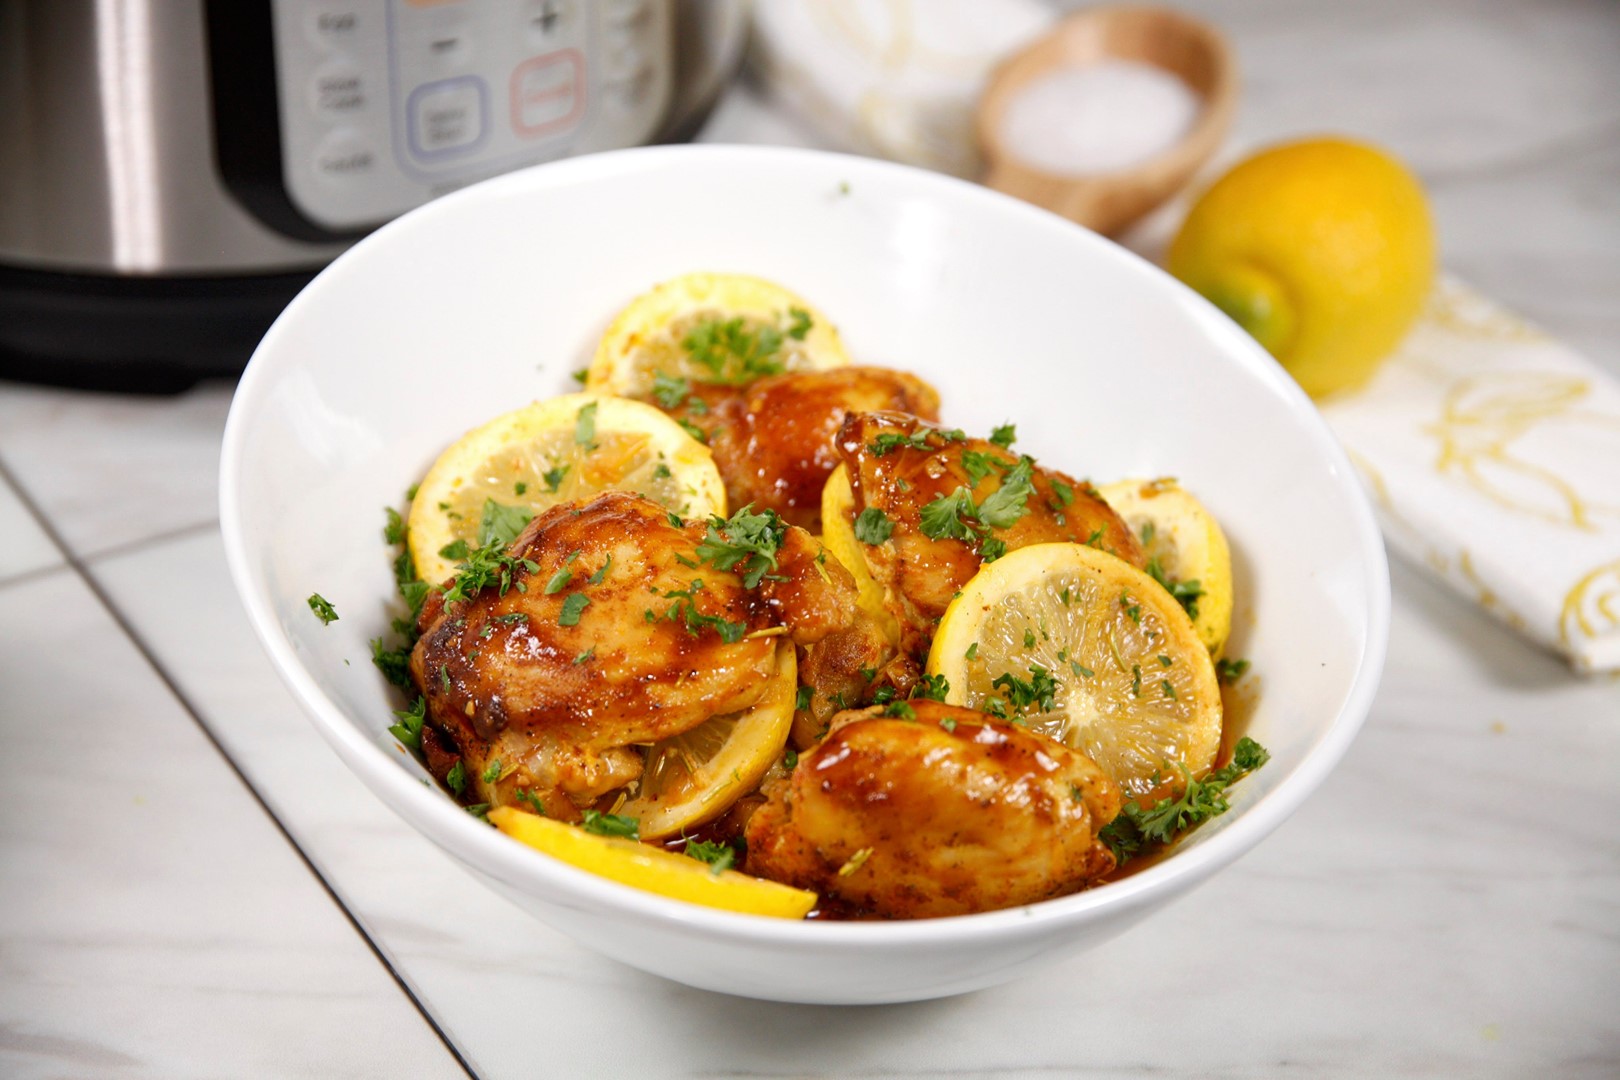
Instant Pot Zesty Lemon Chicken

Instant Pot Zesty Lemon Chicken
This easy lemon chicken recipe is your ticket to an easy weeknight dinner!
Author:
Cuisine: American
Recipe type: Main dish
Ingredients
  • 1 tsp paprika
  • 1 tsp salt
  • ½ tsp pepper
  • 1½ lbs boneless, skinless chicken thighs
  • 2 tbsp olive oil
  • 1+2 tbsp butter, divided
  • ½ small onion, chopped
  • 3 cloves garlic, minced
  • 1 tbsp dried rosemary, lightly crushed
  • ¼ cup lemon juice
  • Zest of one lemon
  • 3 tbsp chopped fresh parsley
  • Lemon slices, for garnish
Instructions
  1. Mix paprika, salt and pepper in a small bowl. Coat tops (smooth side) of chicken thighs in seasoning mixture.
  2. Add olive oil and 1 tbsp butter to the Instant Pot. Using the display panel select the SAUTE function.
  3. When oil gets hot, brown the chicken on both sides, 3-4 minutes per side. Meat will not be cooked through. Do not crowd the pot–you may have to work in batches. Transfer browned meat to a shallow dish and cover loosely with foil.
  4. Add onion and remaining 2 tbsp butter to the pot and saute until soft, 3-4 minutes. Add garlic and crushed rosemary and cook for 1-2 minutes more.
  5. Add lemon juice and zest to the pot and deglaze by using a wooden spoon to scrape the brown bits from the bottom of the pot.
  6. Put the chicken back into to the pot in one even layer, seasoned side up.
  7. Turn the pot off by selecting CANCEL, then secure the lid, making sure the vent is closed.
  8. Using the display panel select the MANUAL function*. Use the +/- keys and program the Instant Pot for 7 minutes.
  9. When the time is up, let the pressure naturally release for 5 minutes, then quick-release the remaining pressure.
  10. Serve chicken topped with fresh parsley and lemon slices.

Watch the recipe video here:

This easy lemon chicken recipe is your ticket to an easy weeknight dinner!RECIPE: http://chopsecrets.com/instant-pot-zesty-lemon-chicken/

Posted by Chop Secrets on Friday, August 9, 2019

Main dish

Marinated Olive & Cheese Ring

Marinated Olive & Cheese Ring
We love to make meals into celebrations, and antipasto always kicks off the party for Italian dinners. This one is almost too pretty to eat, especially when sprinkled with pimientos, fresh basil and parsley. —Patricia Harmon, Baden, Pennsylvania
Author:
Cuisine: American
Recipe type: Main dish
Ingredients
  • 1 package (8 ounces) cream cheese, cold
  • 1 package (10 ounces) sharp white cheddar cheese, cut into ¼-inch slices
  • ⅓ cup pimiento-stuffed olives
  • ⅓ cup pitted Greek olives
  • ¼ cup balsamic vinegar
  • ¼ cup olive oil
  • 1 tablespoon minced fresh parsley
  • 1 tablespoon minced fresh basil or 1 teaspoon dried basil
  • 2 garlic cloves, minced
  • 1 jar (2 ounces) pimiento strips, drained and chopped
  • Toasted French bread baguette slices
Instructions
  1. Cut cream cheese lengthwise in half; cut each half into ¼-in. slices. On a serving plate, arrange cheeses upright in a ring, alternating cheddar and cream cheese slices. Place olives in center.
  2. In a small bowl, whisk vinegar, oil, parsley, basil and garlic until blended; drizzle over cheeses and olives. Sprinkle with pimientos. Refrigerate, covered, at least 8 hours or overnight. Serve with baguette slices.

Watch the recipe video here:

A gorgeous antipasto always kicks off the party right. (And it's SUPER EASY!) FULL RECIPE for Marinated Olive & Cheese Ring: https://trib.al/4tHIwci

Posted by Taste of Home on Friday, August 9, 2019