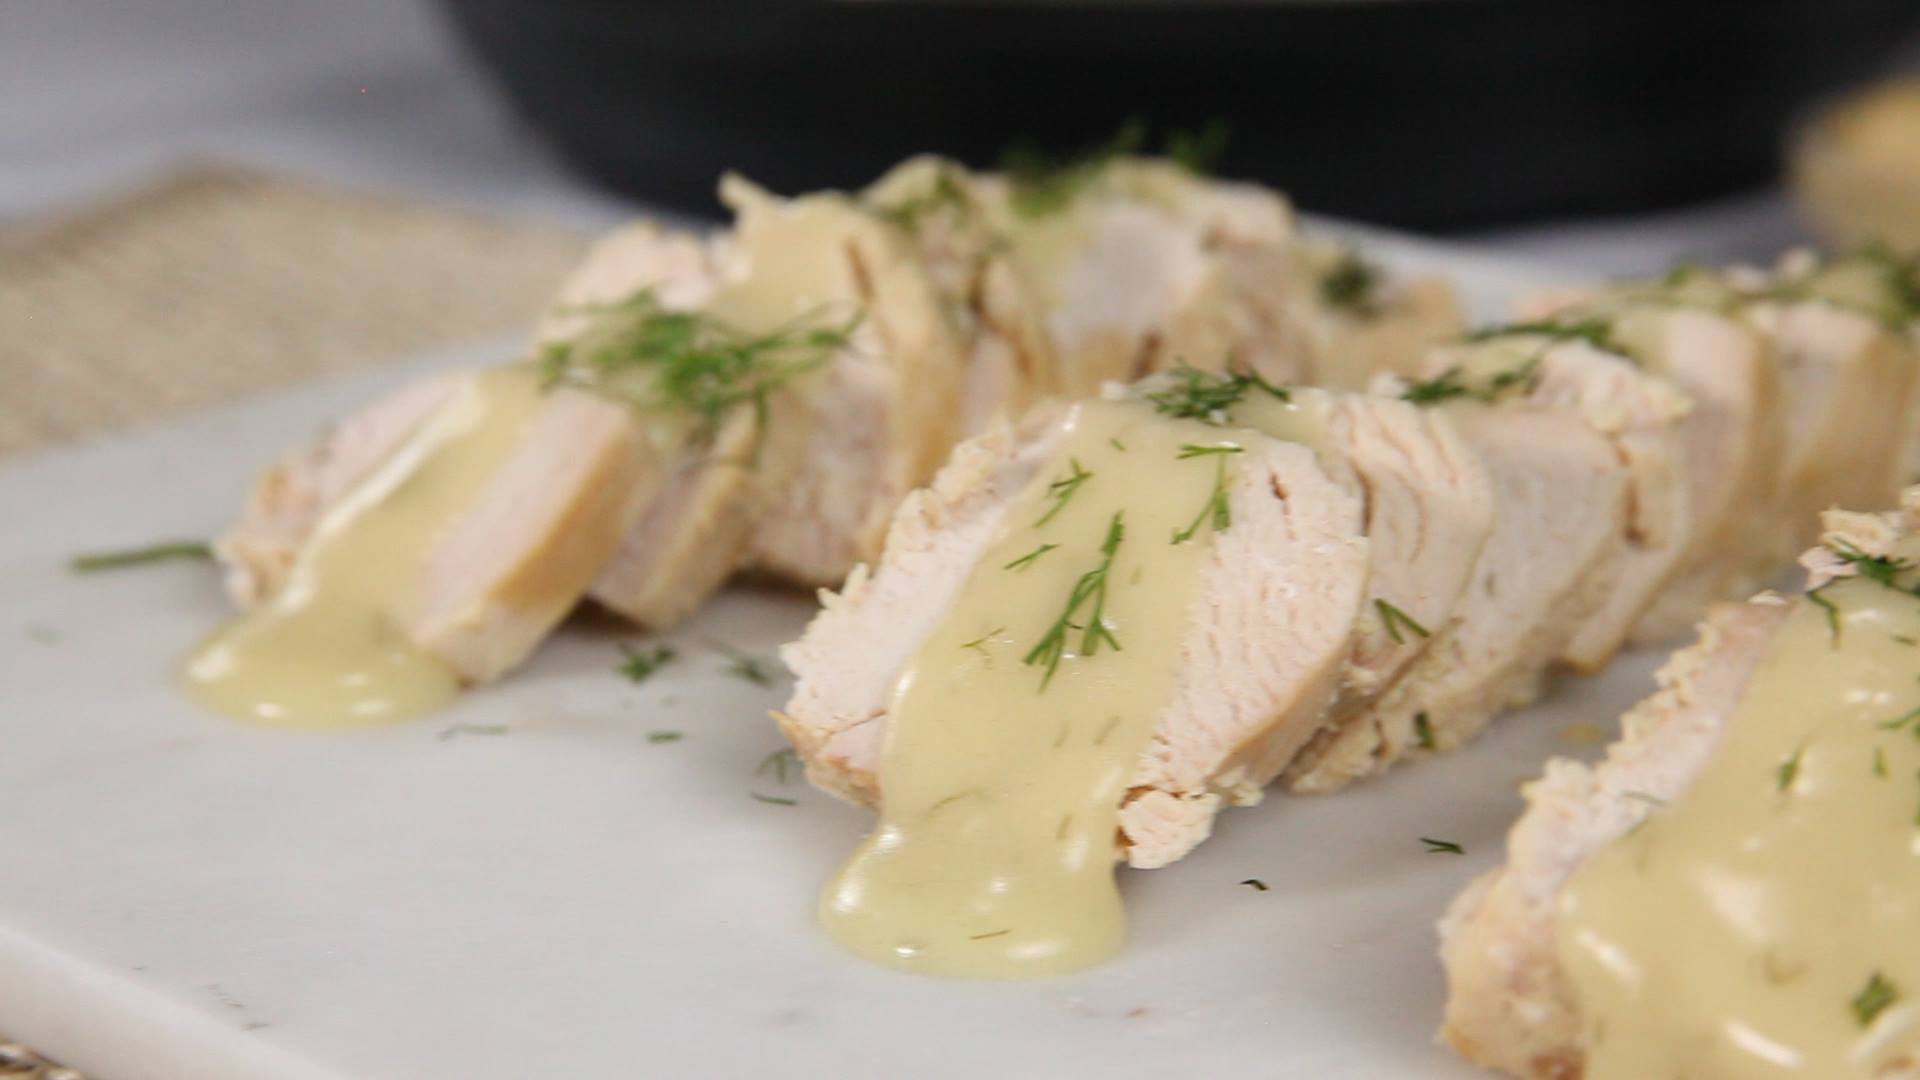
Instant Pot Dijon Dill Chicken
Instant Pot Dijon Dill Chicken
Dijon and dill anchor this keto-friendly dish.
Author: The Chef
Cuisine: American
Recipe type: Main dish
Ingredients
- 2 cups chicken broth
- ¼ cup of dijon mustard
- 2½ lbs boneless, skinless chicken thighs
- 4 tbsp salted butter, cut into 6-8 pieces
To finish:
- 1½ tbsp lemon juice
- ¼ cup of dijon mustard
- ¼ cup cornstarch
- ¼ cup cold water
- ½ cup fresh dill, finely chopped, plus more for garnish
Instructions
- Add broth and ¼ cup dijon to the Instant Pot. Stir to combine.
- Add the chicken in one even layer, turning once to coat.
- Dot butter pieces over the chicken.
- Secure the lid, making sure the vent is closed.
- Using the display panel select the MANUAL function*. Use the +/- keys and program the Instant Pot for 8 minutes.
- When the time is up, quick-release the remaining pressure.
- Carefully remove the meat from the pot to a shallow dish and cover loosely with foil, reserving juices.
- Using the display panel select the SAUTE function and adjust to HIGH or MORE
- Add lemon juice and remaining ¼ cup dijon mustard. Stir to combine.
- In a small bowl, mix together cornstarch and cold water. Pour cornstarch mixture into the pot and stir until thickened
- Turn the pot off by selecting CANCEL. Allow to cool 5 minutes.
- Stir in chopped dill. Serve chicken topped with sauce and additional dill for garnish, if desired.
Watch the recipe video here:
Dijon and dill anchor this keto-friendly dish.RECIPE: http://chopsecrets.com/instant-pot-dijon-dill-chicken/
Posted by Chop Secrets on Saturday, August 10, 2019