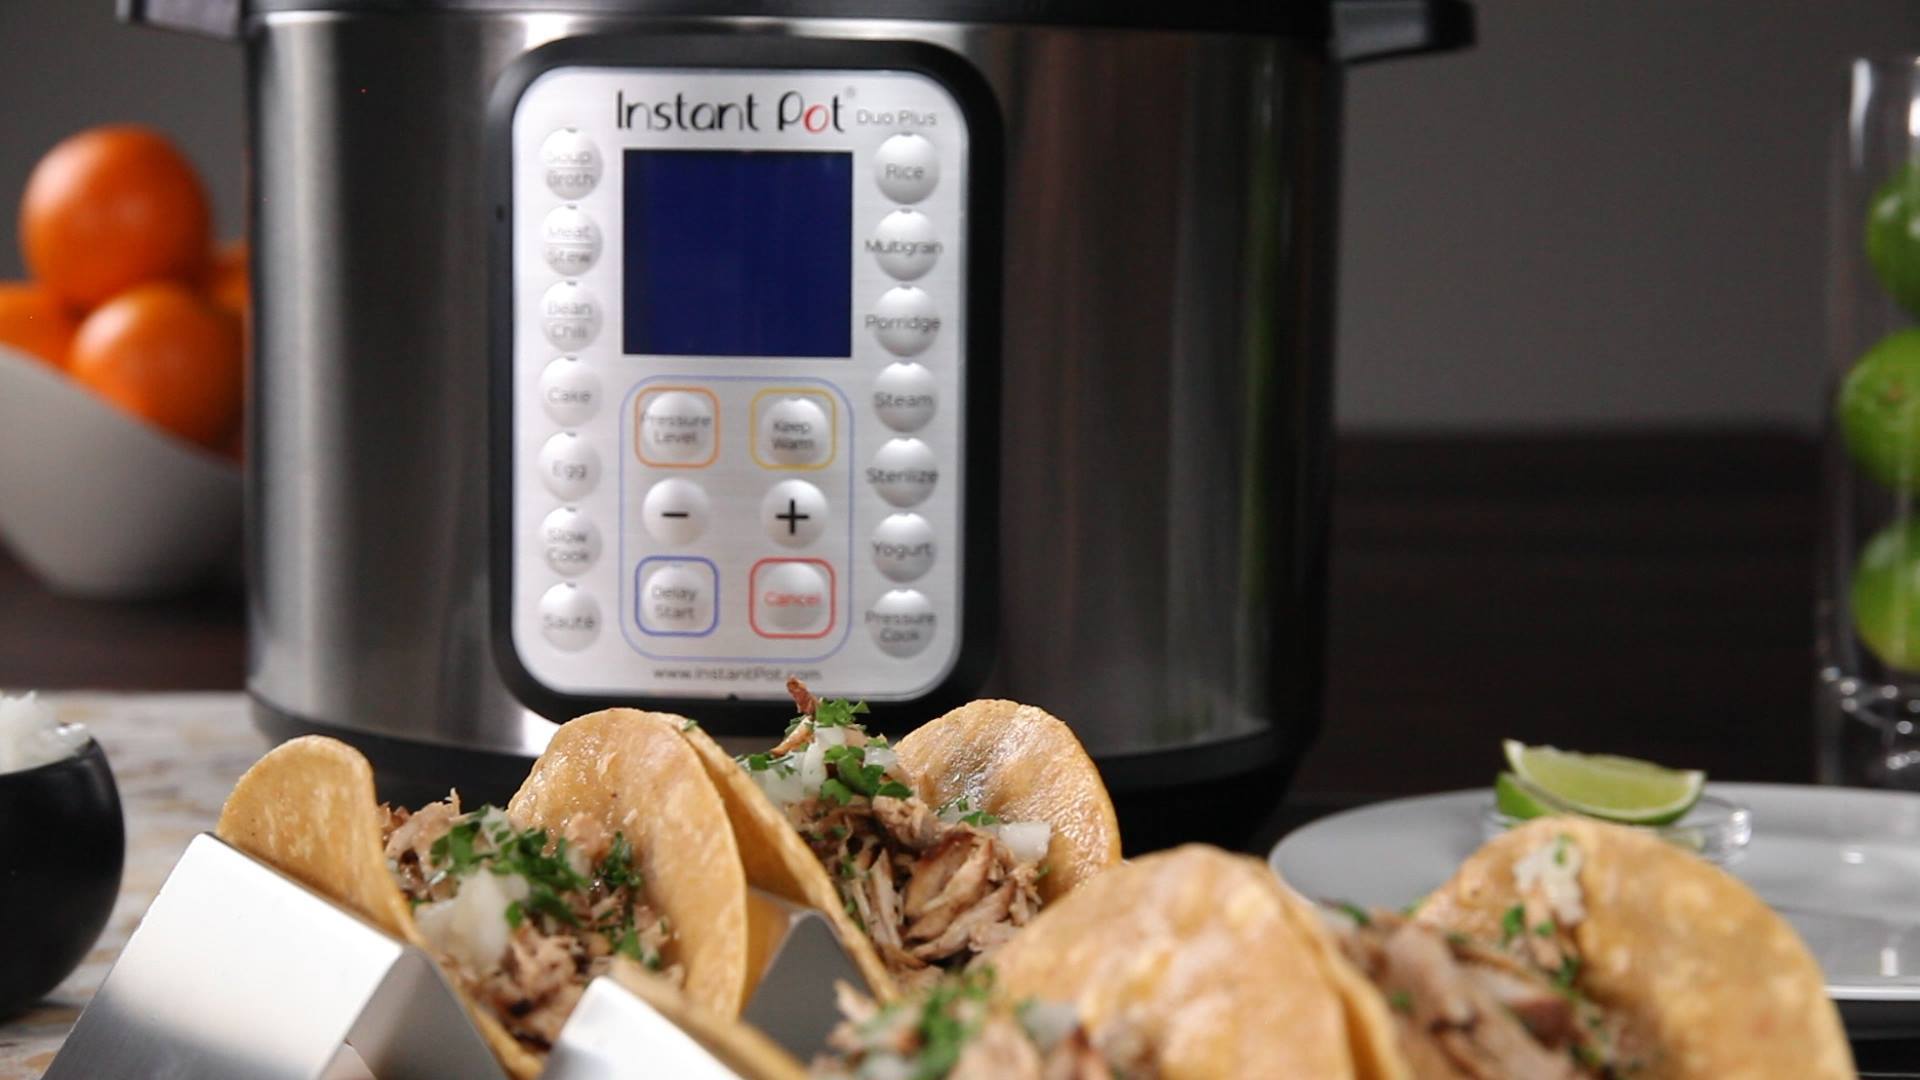
Instant Pot Best Pork Carnitas
Instant Pot Best Pork Carnitas
Every tortilla dreams of being stuffed with carnitas.
Author: The Chef
Cuisine: American
Recipe type: Main dish
Ingredients
- 2 oranges, cut in half
- 2 limes, cut in half
- Additional orange juice as needed (or water)
- 1 tbsp cumin
- 1 tbsp kosher salt
- 1 tbsp dried oregano
- 1 tsp chipotle chili powder
- 1 tsp smoked paprika
- 3-4 lb well-marbled pork shoulder or butt cut into ~1 lb pieces and left at room temp for 15 minutes
- 1 tbsp oil
- 2 cloves garlic, minced
- 1 onion, quartered
- 2 cinnamon sticks
- Corn or flour tortillas for serving
- Toppings (optional): ½ cup chopped cilantro, avocado slices, lime wedges
Instructions
- Squeeze oranges and limes into a small bowl or measuring cup. Add additional orange juice (or water) to make ¾ cup liquid, reserve rinds.
- In a medium bowl, combine the Rub Mixture ingredients, then add the pork pieces and coat thoroughly.
- Add oil to the Instant Pot. Using the display panel select the SAUTE function.
- When oil gets hot, brown the pork on both sides, 2-3 minutes per side. Meat will not be cooked through. Do not crowd the pot–you may have to work in batches. Transfer browned meat to a shallow dish and cover loosely with foil.
- Add garlic and cook for 1-2 minutes until lightly browned.
- Add orange/lime juice to the pot and deglaze by using a wooden spoon to scrape the brown bits from the bottom of the pot.
- Add quartered onion to the pot and lay pork pieces on top of the onion. Place citrus rinds cut-side down on top of the pork. Drop in cinnamon sticks.
- Turn the pot off by selecting CANCEL, then secure the lid, making sure the vent is closed.
- Using the display panel select the MANUAL function*. Use the +/- keys and program the Instant Pot for 60 minutes.
- When the time is up, let the pressure naturally release for 15 minutes, then quick-release the remaining pressure.
- Carefully remove the pork from the pot to a parchment-lined baking sheet and shred. Pour ⅔ cup cooking juice over the meat.
- Set the pan under the broiler until tips of pork are browned and slightly crisp, 3-5 minutes.
- Serve warm on tortillas with your choice of toppings.
Watch the recipe video here:
Every tortilla dreams of being stuffed with carnitas.RECIPE: http://chopsecrets.com/instant-pot-best-pork-carnitas/
Posted by Chop Secrets on Monday, April 29, 2019