Dessert

Instant Pot Butterfinger Cake
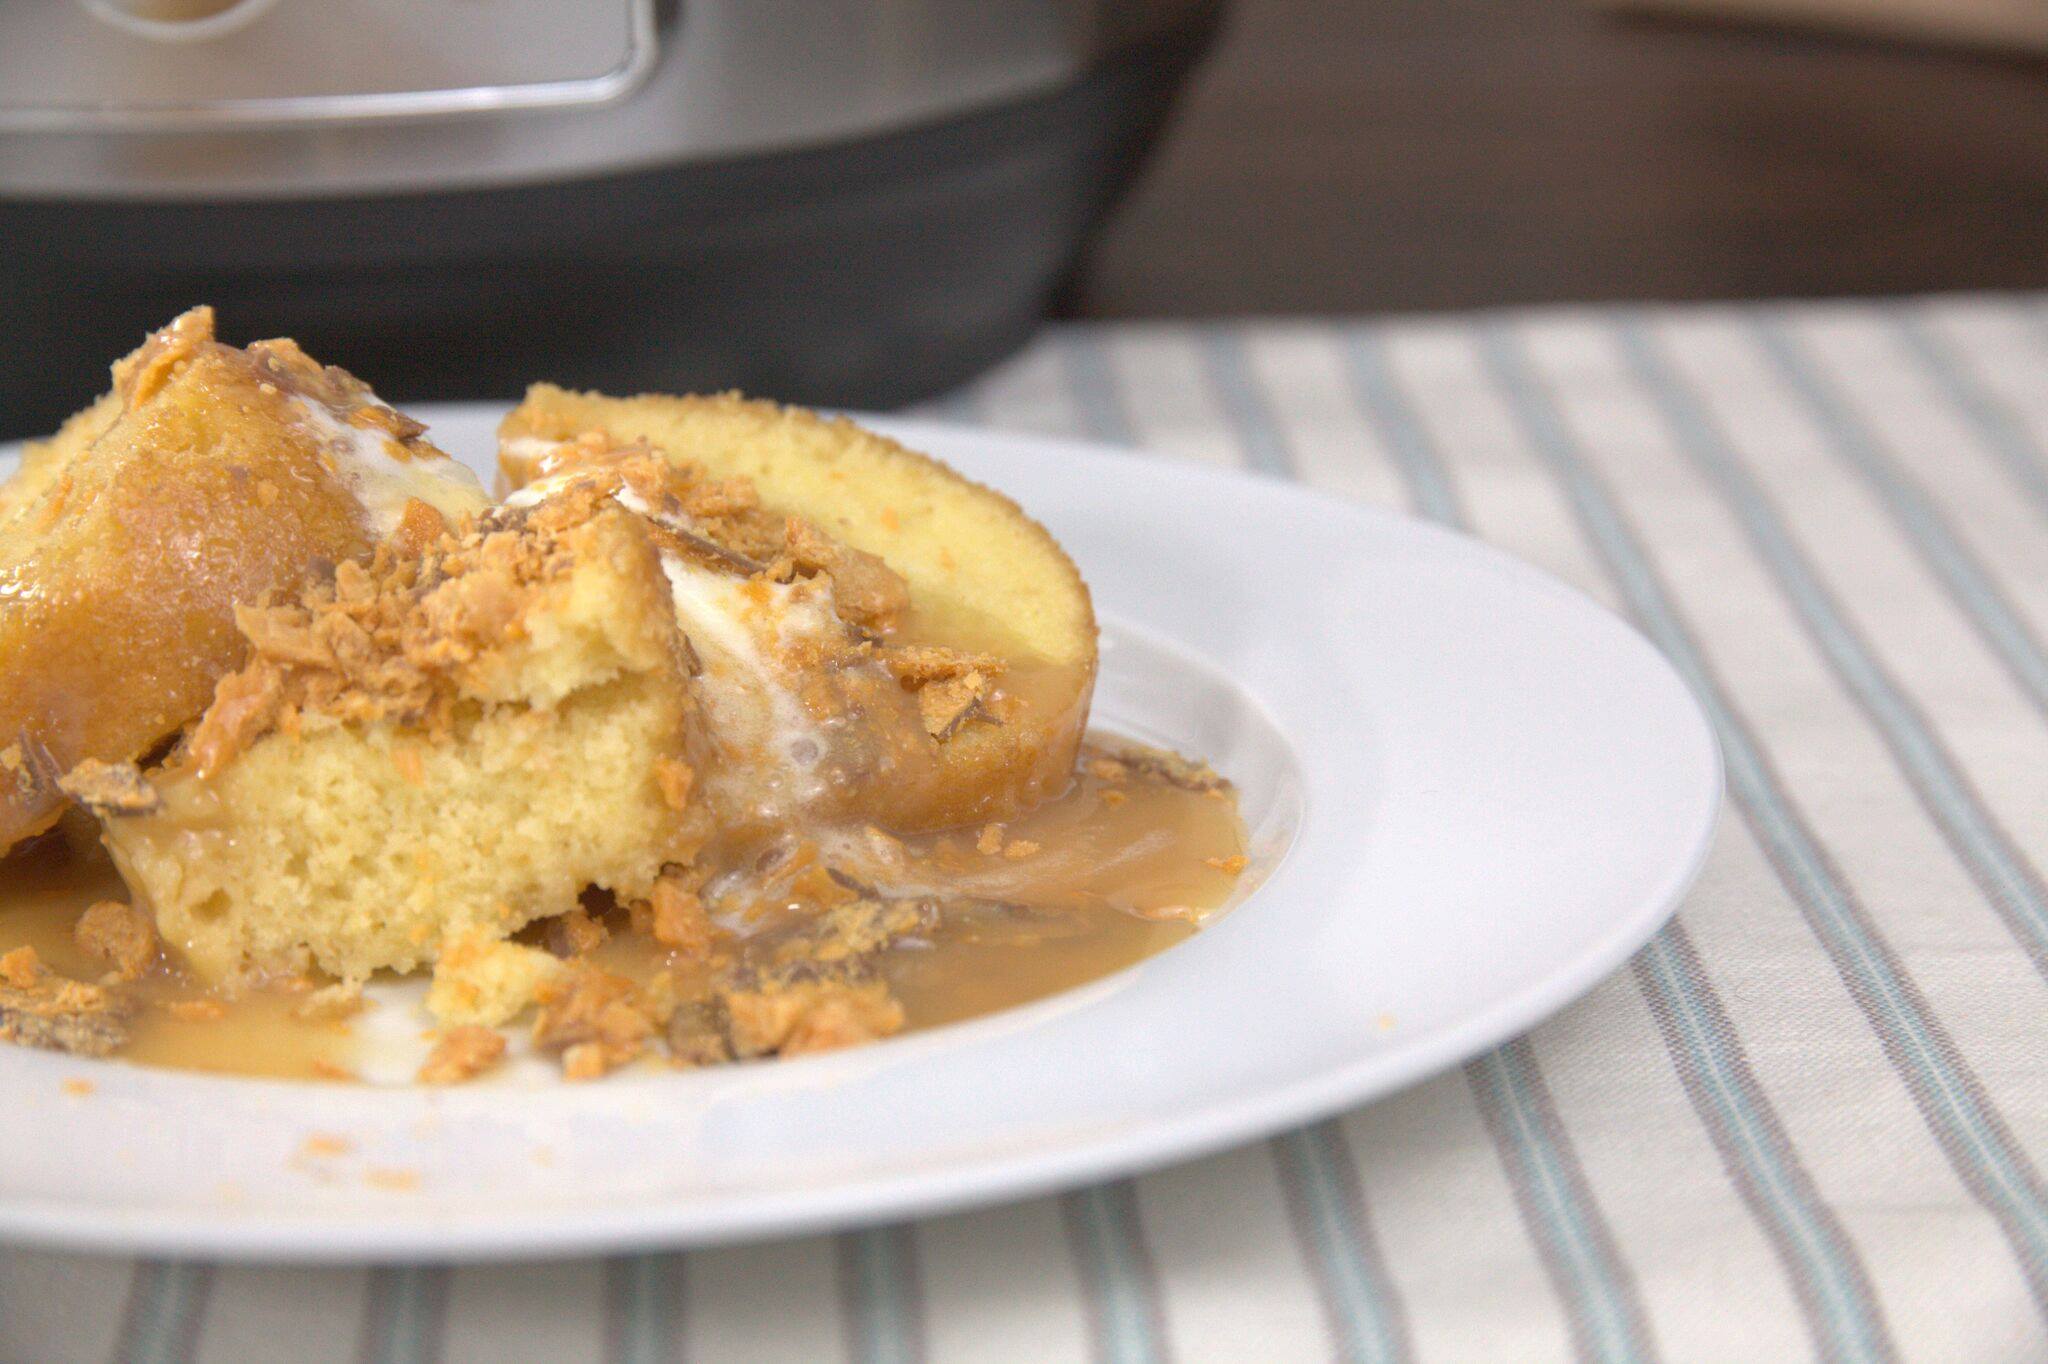
Instant Pot Butterfinger Cake
It’s a huge crowd-pleaser you’ll be asked for again and again.
Author:
Cuisine: American
Recipe type: Dessert
Ingredients
  • 1 box yellow cake mix
  • 5 oz sweetened condensed milk
  • 4 oz caramel ice cream topping (we like Smuckers Caramel Topping https://www.amazon.com/Smuckers-Caramel-Flavored-Topping-12-25/dp/B06VWCPY4H )
  • 2 Butterfinger candy bars, chilled and finely crumbled
  • Whipped cream or whipped topping and one additional Butterfinger for garnish
Instructions
  1. Combine sweetened condensed milk and caramel topping, set aside.
  2. Mix cake according to package directions.
  3. Coat the inside of a 6 cup bundt pan with non-stick spray (our favorite is the Nordic Ware 6-Cup Bundt Pan: https://amzn.to/2RNympZ)
  4. Pour in the cake batter until ¾ full. You may have leftover batter.
  5. Pour one cup of water in the Instant Pot and insert the trivet. Carefully lower the bundt pan on to the trivet.
  6. Secure the lid, making sure the vent is closed.
  7. Using the display panel select the MANUAL function*. Use the +/- keys and program the Instant Pot for 28 minutes.
  8. When the time is up, quick-release the remaining pressure. Carefully remove bundt pan from the pot and set on a cooling rack.
  9. While the cake is still hot, make 1½” deep holes across the surface of the cake with the handle of a wooden spoon or a straw. Pour 6 oz of the caramel/milk topping over the cake.
  10. When cake is completely cool, turn out onto a cake plate, drizzle with remaining caramel/milk topping and sprinkle with crushed Butterfinger.
  11. Garnish with whipped cream and additional Butterfinger as desired.

Watch the recipe video here:

Instant Pot Butterfinger CakeFULL RECIPE: http://chopsecrets.com/instant-pot-butterfinger-cake/

Posted by Chop Secrets on Tuesday, January 22, 2019

Drink

Fluffernutter Shake

Fluffernutter Shake
It’s impossible to describe the heaven I entered while sipping my first taste of our Fluffer Nutter Shake. This dessert isn’t just delicious — it’s simply DIVINE! And the best part is, it’s super easy to make! Prepare to have your taste buds blown away, this Fluffer Nutter Shake is unlike anything you’ve ever experienced!
Author:
Cuisine: American
Recipe type: Drinks
Ingredients
  • 2 cups vanilla ice cream
  • ¼ CUP Milk
  • 2 Tbsp Creamy peanut butter
  • 2 Tbsp Marshmallow creme
  • 4 Nutter Butter cookies, broken up
Instructions
  1. Place all ingredients in a blender and puree on medium speed until smooth and creamy.
  2. Pour into glasses, top with whipped cream and additional Nutter Butter cookies, if desired.
  3. Enjoy immediately!

Watch the recipe video here:

Fluffernutter ShakeFULL RECIPE: http://chopsecrets.com/fluffernutter-shake/

Posted by Chop Secrets on Tuesday, January 22, 2019

Dessert

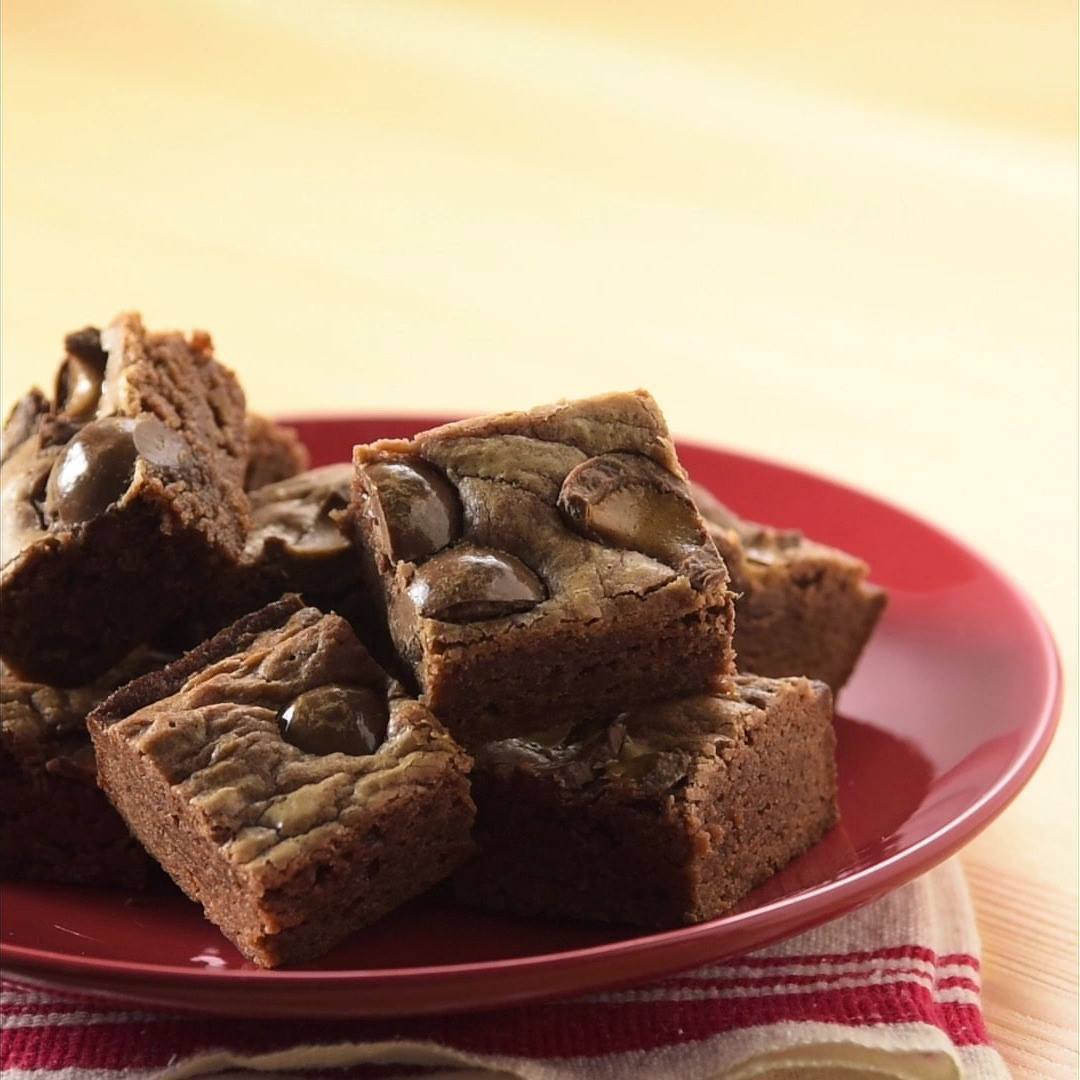
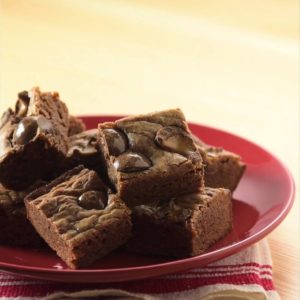
Milk Chocolate-Malt Brownies

Milk Chocolate-Malt Brownies
A luscious chocolate dessert with just a hint of malted milk flavor, everything you love about a chocolate shake in a brownie.
Author:
Cuisine: American
Recipe type: Dessert
Ingredients
  • 1 package (11.5 ounces) milk chocolate chips
  • ½ cup butter or margarine
  • ¾ cup sugar
  • 1 teaspoon vanilla
  • 3 eggs
  • 1¾ cups Gold Medal™ all-purpose flour
  • ½ cup instant malted milk powder
  • 1/ teaspoon baking powder
  • ¼ teaspoon salt
  • 1 cup malted milk balls, coarsely chopped
Instructions
  1. Heat oven to 350ºF. Grease bottom and sides of rectangular pan, 13x9x2 inches.
  2. Melt milk chocolate and butter in 3-quart saucepan over low heat, stirring frequently; remove from heat. Cool slightly. Mix in sugar, vanilla and eggs. Stir in remaining ingredients except malted milk balls.
  3. Spread batter in pan. Sprinkle with malted milk balls.
  4. Bake 30 to 35 minutes or until toothpick inserted in center comes out clean; cool. For 48 brownies, cut into 8 rows by 6 rows.

Watch the recipe video here:

Everything you love about a chocolate shake in a brownie.Milk Chocolate-Malt Brownies recipe:…

Posted by Betty Crocker on Tuesday, January 22, 2019
Main dish

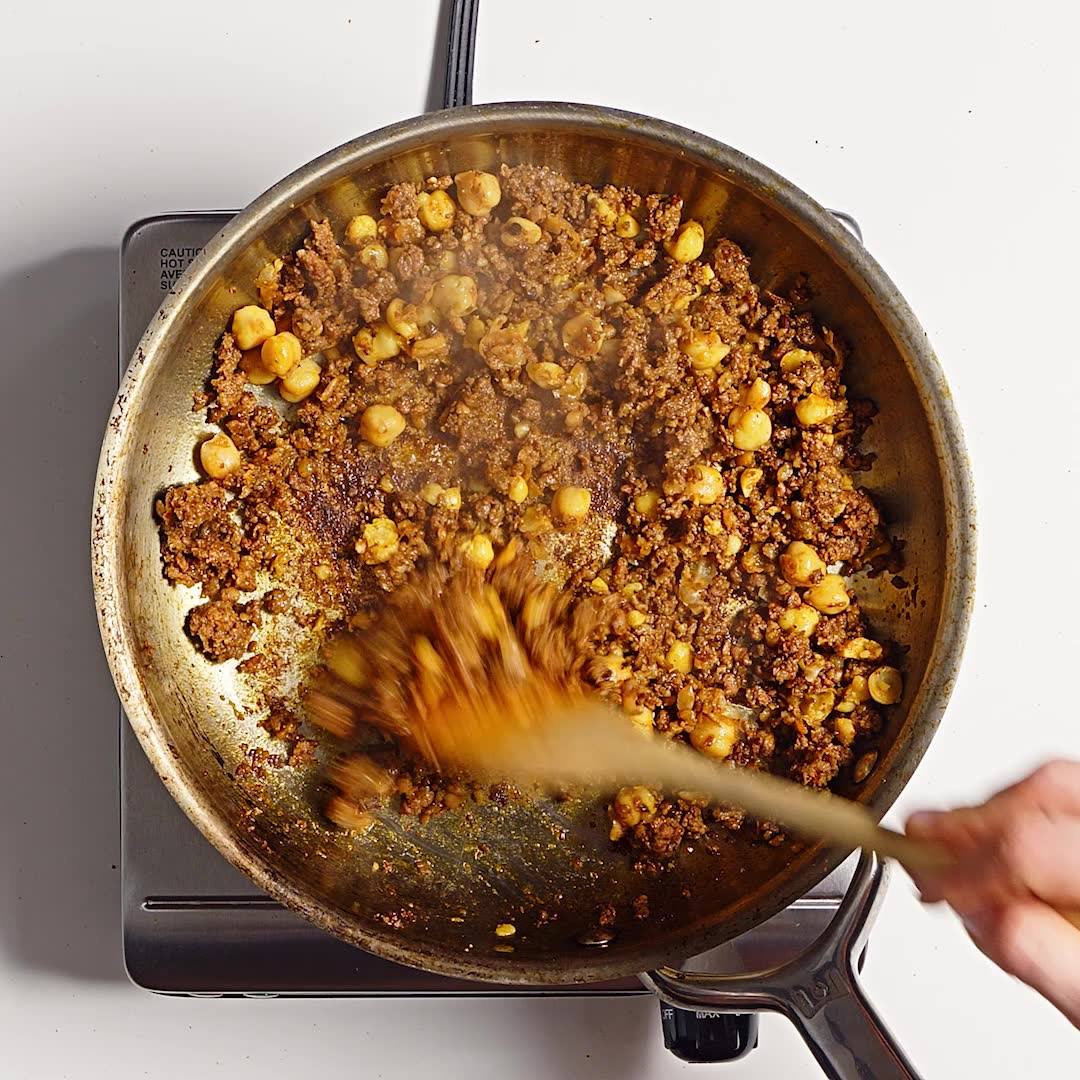
Chickpea and Chorizo Tostadas

Chickpea and Chorizo Tostadas
Crunchy, creamy, chorizo-y—these quick tostadas hit all the notes. If you normally throw the stems from a bunch of cilantro or parsley straight into the garbage...DON'T! They're delicious, and can be diced finely and stirred into all kinds of things—like the lime yogurt in this recipe—to add herb-y flavor and crunch.
Author:
Cuisine: American
Recipe type: Main dish
Ingredients
  • 1 15-oz. can chickpeas
  • 1 lime
  • ¼ cup plain whole milk Greek yogurt
  • 1 tsp. kosher salt, divided
  • 8 sprigs cilantro
  • 2 links fresh chorizo (about 8 oz. total)
  • 4 tostada shells
Instructions
  1. Rinse and drain 15 oz. chickpeas in a colander. Measure out ½ cup; reserve remaining chickpeas for another use.
  2. Finely grate zest of 1 lime with a microplane or grater into a small bowl.
  3. Cut lime in half and squeeze juice from one half into bowl with zest. Cut remaining half into 2 wedges; set aside for serving.
  4. Gather 8 cilantro sprigs on cutting board. Starting at the stem end, finely chop stems until you get to the leaves; reserve leaves for serving. Add stems to bowl with lime.
  5. Add ¼ cup yogurt and ½ tsp. salt to bowl and mix with a spoon to combine.
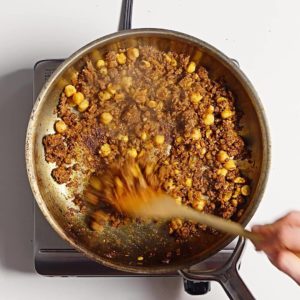
  6. Remove casing from 2 chorizo links; discard. Heat a medium nonstick skillet over medium-low. Cook chorizo, breaking it up with a wooden spoon, until partially cooked, about 3 minutes.
  7. Add reserved chickpeas and remaining ¼ tsp. salt and mash together with back of spoon until chorizo is cooked through and crispy, 7–10 minutes. Remove from heat.
  8. Spread reserved crema over 4 tostada shells.
  9. Top crema with chorizo mixture.
  10. Top with reserved cilantro leaves and serve with reserved lime wedges alongside.

Watch the recipe video here:

Crunchy, creamy, chorizo-y—these quick tostadas hit all the notes.Make it: http://bonap.it/o9rK8lz

Posted by Bon Appétit Magazine on Monday, January 21, 2019

Main dish

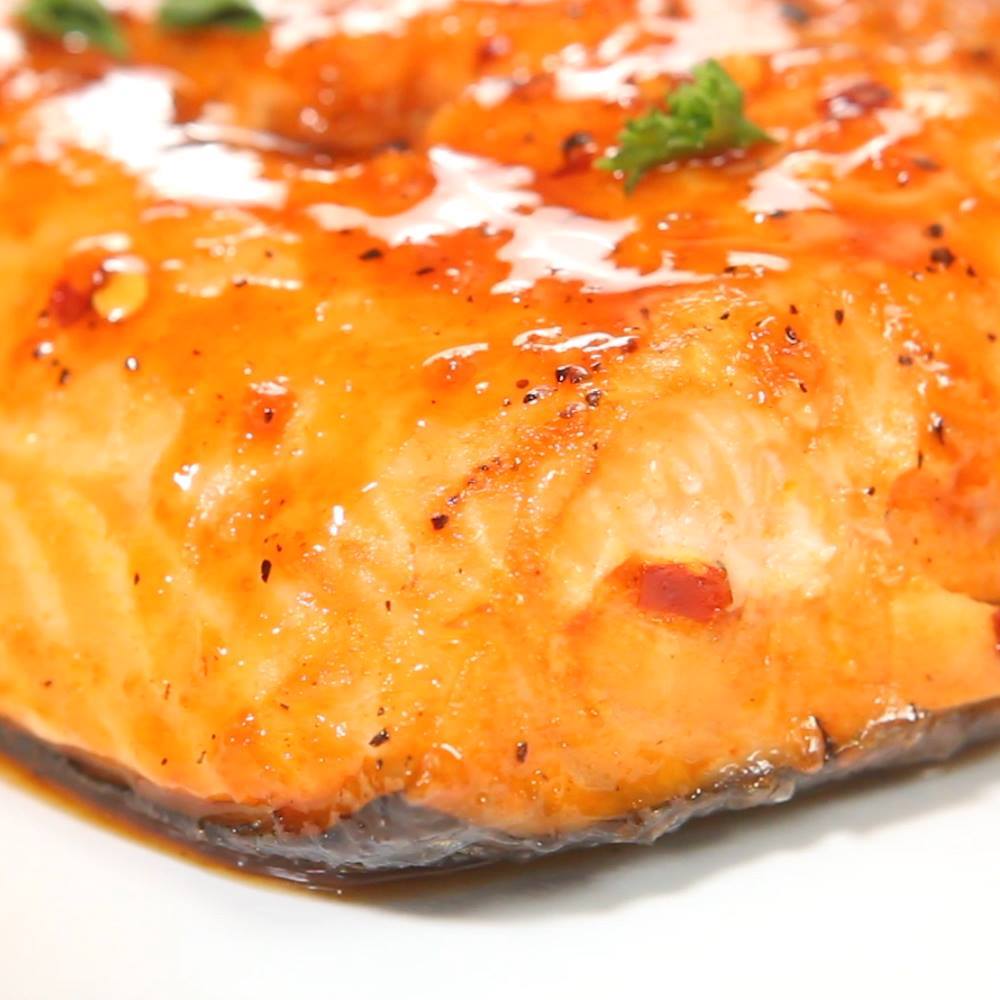
Firecracker Baked Salmon

Firecracker Baked Salmon
Finding a great sauce for any kind of fish can take some time. Trust me when I say THIS firecracker sauce is SOOO delicious. The brown sugar mixed with all the spices creates the perfect combination of sweet and spicy. Pretty thrilled to have this recipe in the books! It’s pretty AND delicious!
Author:
Cuisine: American
Recipe type: Main dish
Ingredients
  • 1¼ lb Salmon
  • ¼ tsp Salt + ¼ tsp black pepper
  • 2 Tbsp Chopped parsley, optional
Firecracker Sauce
  • ¼ CUP Franks hot sauce
  • ½ CUP Brown sugar
  • 1 Tbsp Apple cider vinegar
  • ¼ tsp Salt
  • ¼ tsp Red pepper flakes
  • 2 tsp Minced garlic
  • ½ tsp Onion powder
Instructions
  1. Position a rack in the center of the oven and preheat the oven to 375ºF.
  2. In a saucepan, combine the ingredients of the firecracker sauce over medium-high heat, allow to come to a boil, reduce the heat so it simmers.
  3. Let simmer for 8-10 minutes.Remove from heat and allow the sauce to cool for 3-5 minutes. The sauce will thicken as it cools so don’t worry if it looks a little thin.
  4. While the sauce is simmering, place the salmon filet in a piece of foil large enough to fold over and seal. I used multiple pieces to keep the sauce from leaking in the baking tray to make clean up easier.
  5. Place the salmon with foil on a baking tray.
  6. Season the salmon filet with salt and pepper.
  7. Using a brush or spoon, brush the salmon with the firecracker sauce.
  8. Cover with foil so that all sides are properly closed so the sauce does not leak. Bake the salmon for 12-14 minutes or until the salmon is firm to the touch in the thickest portion of the fish.
  9. Open the foil and allow the fish to broil under the broiler for 2-3 minutes, keeping a close eye on it so the fish does not burn.
  10. Remove from oven, top with chopped parsley. Serve immediately.
  11. Enjoy!

Watch the recipe video here:

Firecracker Baked SalmonFULL RECIPE: http://chopsecrets.com/firecracker-baked-salmon/

Posted by Chop Secrets on Monday, January 21, 2019

Main dish

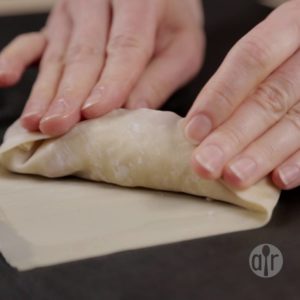
Egg Roll Reuben Wraps

Egg Roll Reuben Wraps
Deli-fusion: egg roll meets the Reuben. These are really good. We had them at the Tula Restaurant in Monroe, Connecticut, and I had to copy theirs. Serve with Thousand Island salad dressing as a dipping sauce.
Author:
Cuisine: American
Recipe type: Main dish
Ingredients
  • 1 (16 ounce) package egg roll wrapperswater in a small bowl
  • ½ cup drained sauerkraut
  • ½ pound thinly sliced corned beef (from deli), chopped
  • 1 cup shredded Gruyere cheese
  • 1 quart oil for frying, or as needed
Instructions
  1. Arrange egg roll wrappers, water, sauerkraut, corned beef, and Gruyere cheese in an assembly line in a work space large enough to easily accommodate everything without being crowded.
  2. Take one wrapper and place in front of you with one corner pointing at you. Dip fingers into water and use them to wet the side of the wrapper facing upwards.
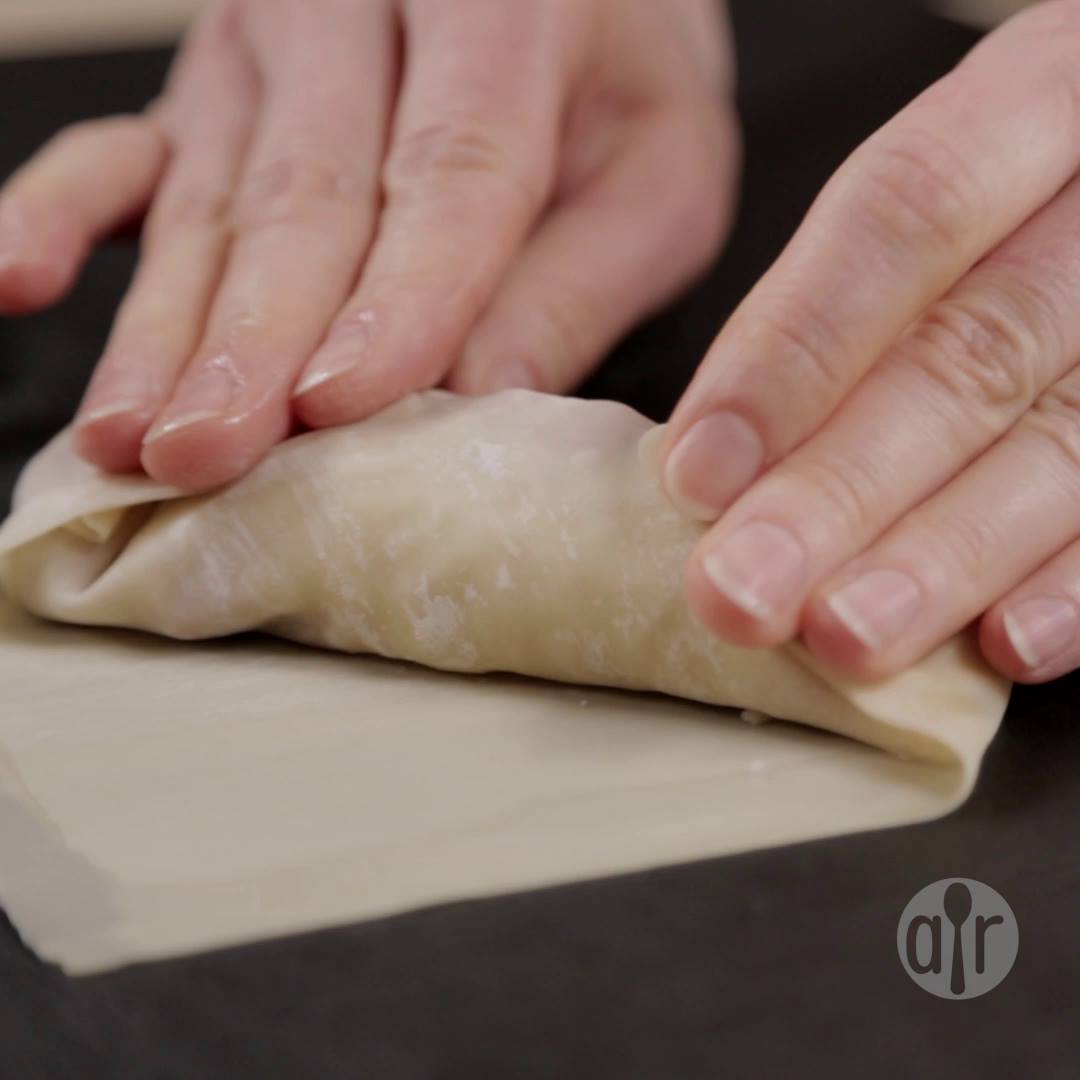
  3. Place small, even amounts of sauerkraut, corned beef, and Gruyere cheese, respectively, onto the third of the wrapper nearest you. Fold the corner opposite you over the fillings and roll slightly to surround the filling with wrapper. Fold the sides to enclose the fillings completely, rolling to seal completely. Put completed rolls on a tray. Repeat until all ingredients are used. Refrigerate rolls until oil is heated.
  4. Heat oil in a deep-fryer or large saucepan to 350 degrees F (175 degrees C).
  5. Fry chilled egg rolls in hot oil in batches until golden brown, about 5 minutes per batch.

Watch the recipe video here:

Egg Roll Reuben Wraps: https://trib.al/4cwGJ62

Posted by Allrecipes on Monday, January 21, 2019

Main dish

Instant Pot Apple Butternut Squash Soup

Instant Pot Apple Butternut Squash Soup
This seasonal favorite stars tangy, sweet apples and velvety butternut squash.
Author:
Cuisine: Main dish
Recipe type: The Chef
Ingredients
  • 1 tsp olive oil
  • ½ onion, finely diced
  • 2 apples, peeled and cubed
  • 2 tsp salt
  • 1½ tsp cumin
  • ½ tsp ground coriander
  • ¼ tsp cayenne (optional)
  • 2 cups chicken (or vegetable) broth
  • 1½ lb butternut squash, peeled and cubed
  • ¼ cup heavy cream
  • 1 tbsp maple syrup
  • Sour cream or plain yogurt for serving
  • Additional cubed apples tossed in lemon juice for garnish (optional)
Instructions
  1. Add olive oil to the Instant Pot. Using the display panel select the SAUTE function.
  2. When oil gets hot, add onion to the pot and saute until soft, 2-3 minutes. Add apple, salt, and spices and stir to combine.
  3. Add broth to the pot and deglaze by using a wooden spoon to scrape any brown bits from the bottom of the pot.
  4. Add squash and stir. Turn the pot off by selecting CANCEL, then secure the lid, making sure the vent is closed.
  5. Using the display panel select the MANUAL function*. Use the +/- keys and program the Instant Pot for 5 minutes.
  6. When the time is up, quick-release the remaining pressure, then select CANCEL to turn off the pot.
  7. Use an immersion blender (we love this one: https://amzn.to/2yBqLSB) to blend the soup until smooth.
  8. Cool slightly, then stir in cream and maple syrup.
  9. Serve warm with a dollop of sour cream or plain yogurt. Garnish with additional cubed apples as needed.

Watch the recipe video here:

Look ma' no cream!Make it: http://bonap.it/eGCEjDe

Posted by Bon Appétit Magazine on Monday, January 21, 2019

Main dish

Instant Pot Chicken Soup

Instant Pot Chicken Soup
This chicken noodle soup may be simple, but nothing's wrong with that. Your Instant Pot or pressure cooker of choice makes this comforting and savory classic in just an hour.
Author:
Cuisine: American
Recipe type: Main dish
Ingredients
  • 2 tablespoons unsalted butter
  • 1 cup diced yellow onion (from 1
  • medium onion)
  • 1 cup sliced carrots (from 3 medium
  • carrots)
  • ¾ cup sliced celery (from 2 stalks)
  • 2 garlic cloves, nely chopped
  • 2 teaspoons kosher salt, divided
  • 1 teaspoon black pepper, divided
  • 1 teaspoon chopped fresh thyme
  • 1 bay leaf
  • 1 (3-lb.) whole chicken
  • 4 cups water
  • 2 cups chicken broth
  • 6 ounces wide egg noodles
  • 2 tablespoons chopped fresh atleaf parsley
Instructions
  1. Press the sauté setting on the Instant Pot, and add butter. Add onion, carrots, celery, garlic, 1½ teaspoons of the salt and ½ teaspoon of the pepper to melted butter. Cook, stirring often, until onions begin to turn translucent, about 3 minutes.
  2. Stir in thyme and bay leaf. Place chicken on top of vegetables, and sprinkle with remaining ½ teaspoon salt and pepper. Add water, and secure lid. Cook on high pressure for 17 minutes. Carefully release pressure using the manual release method; carefully remove lid. Press “cancel”, and transfer chicken to a platter.
  3. Set Instant Pot to sauté. Add chicken broth to cooked vegetables, and bring mixture to a boil. Stir in egg noodles. Cook, stirring occasionally, until pasta is al dente, about 8 minutes. While pasta cooks, shred the meat; discard chicken skin and bones. Discard bay leaf. When noodles are cooked, turn Instant Pot off, and stir in shredded chicken and parsley.

Watch the recipe video here:

This'll warm you up fast ?(via Well Done)GET THE RECIPE: https://trib.al/xm7ZNTj

Posted by MyRecipes on Monday, January 21, 2019

Dessert

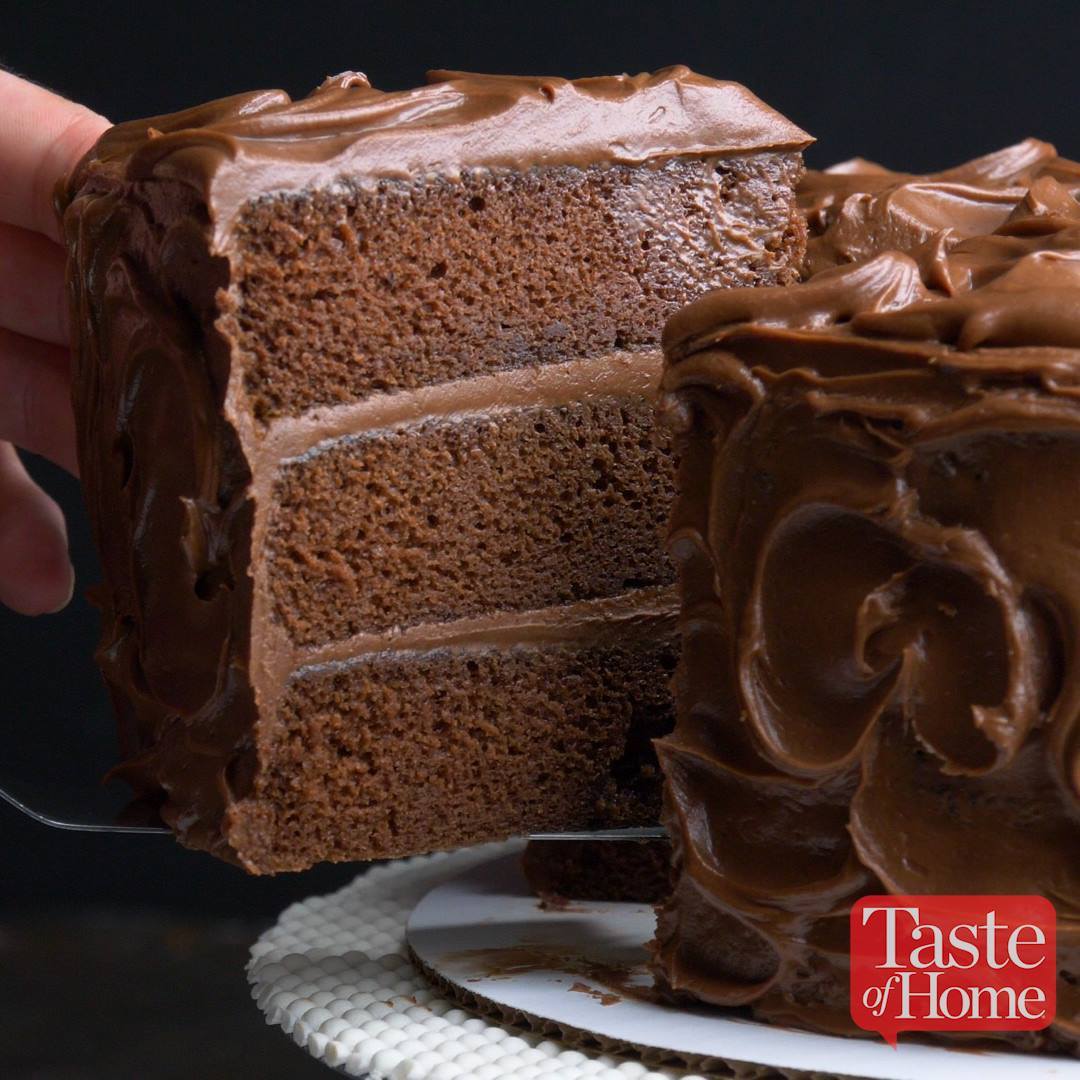
Sandy’s Chocolate Cake

Sandy’s Chocolate Cake
Years ago, I drove 4-1/2 hours to a cake contest, holding my entry on my lap the whole way. But it paid off. One bite and you'll see why this velvety beauty was named the best chocolate cake recipe won first prize. —Sandra Johnson, Tioga, Pennsylvania
Author:
Cuisine: American
Recipe type: Dessert
Ingredients
  • 1 cup butter, softened
  • 3 cups packed brown sugar
  • 4 large eggs
  • 2 teaspoons vanilla extract
  • 2-2/3 cups all-purpose flour
  • ¾ cup baking cocoa
  • 3 teaspoons baking soda
  • ½ teaspoon salt
  • 1-1/3 cups sour cream
  • 1-1/3 cups boiling water
FROSTING:
  • ½ cup butter, cubed
  • 3 ounces unsweetened chocolate, chopped
  • 3 ounces semisweet chocolate, chopped
  • 5 cups confectioners' sugar
  • 1 cup sour cream
  • 2 teaspoons vanilla extract
Instructions
  1. Preheat oven to 350°. Grease and flour three 9-in. round baking pans.
  2. In a large bowl, cream butter and brown sugar until light and fluffy. Add eggs, one at a time, beating well after each addition. Beat in vanilla. In another bowl, whisk flour, cocoa, baking soda and salt; add to creamed mixture alternately with sour cream, beating well after each addition. Stir in water until blended.
  3. Transfer to prepared pans. Bake until a toothpick comes out clean, 30-35 minutes. Cool in pans 10 minutes; remove to wire racks to cool completely.
  4. For frosting, in a metal bowl over simmering water, melt butter and chocolates; stir until smooth. Cool slightly.
  5. In a large bowl, combine confectioners' sugar, sour cream and vanilla. Add chocolate mixture; beat until smooth. Spread frosting between layers and over top and sides of cake. Refrigerate leftovers.

Watch the recipe video here:

This prize winning cake is irresistible!> Get the recipe for Sandy's Chocolate Cake: https://trib.al/AhmQMYg

Posted by Taste of Home on Monday, January 21, 2019

Main dish

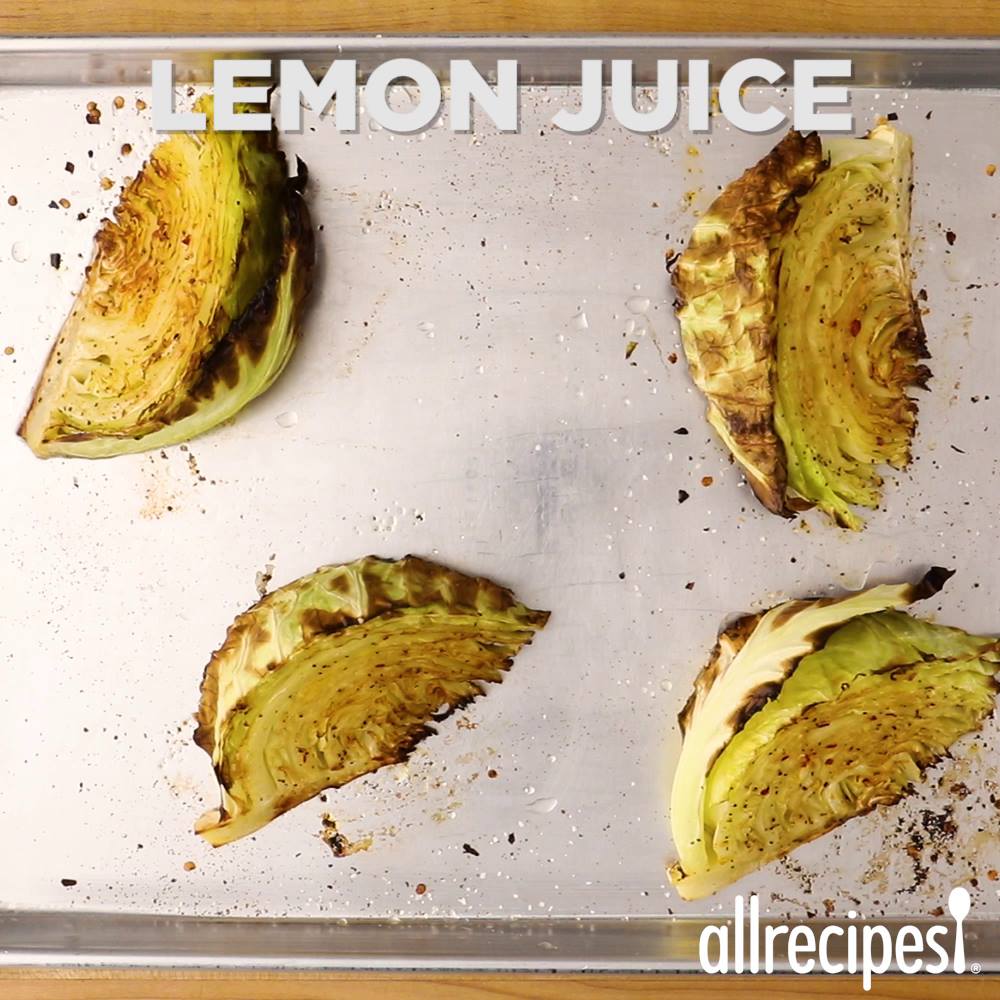
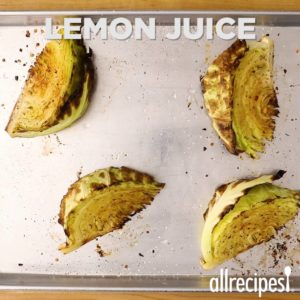
Roasted Cabbage

Roasted Cabbage
Delicious, roasted cabbage! I apologize for not having a measurement for you! I do not typically measure. If anybody tries this and would like to give tips on measurements, please feel free!
Author:
Cuisine: American
Recipe type: Main dish
Ingredients
  • 2 tablespoons extra-virgin olive oil
  • ½ head green cabbage, cut into 4 wedges
  • 1 pinch garlic powder, or to taste
  • 1 pinch red pepper flakes, or to taste
  • salt and ground black pepper to taste
  • 2 lemons, halved
Instructions
  1. Preheat oven to 450 degrees F (230 degrees C).
  2. Brush both sides of each cabbage wedge with olive oil. Sprinkle garlic powder, red pepper flakes, salt, and pepper over each wedge. Arrange wedges on a baking sheet.
  3. Roast in the preheated oven for 15 minutes; flip cabbage and continue roasting until browned and charred in some areas, about 15 minutes more. Squeeze lemon over each wedge.

Watch the recipe video here:

Roasted Cabbage Wedges: https://trib.al/nPUOXQ4

Posted by Allrecipes on Saturday, January 19, 2019