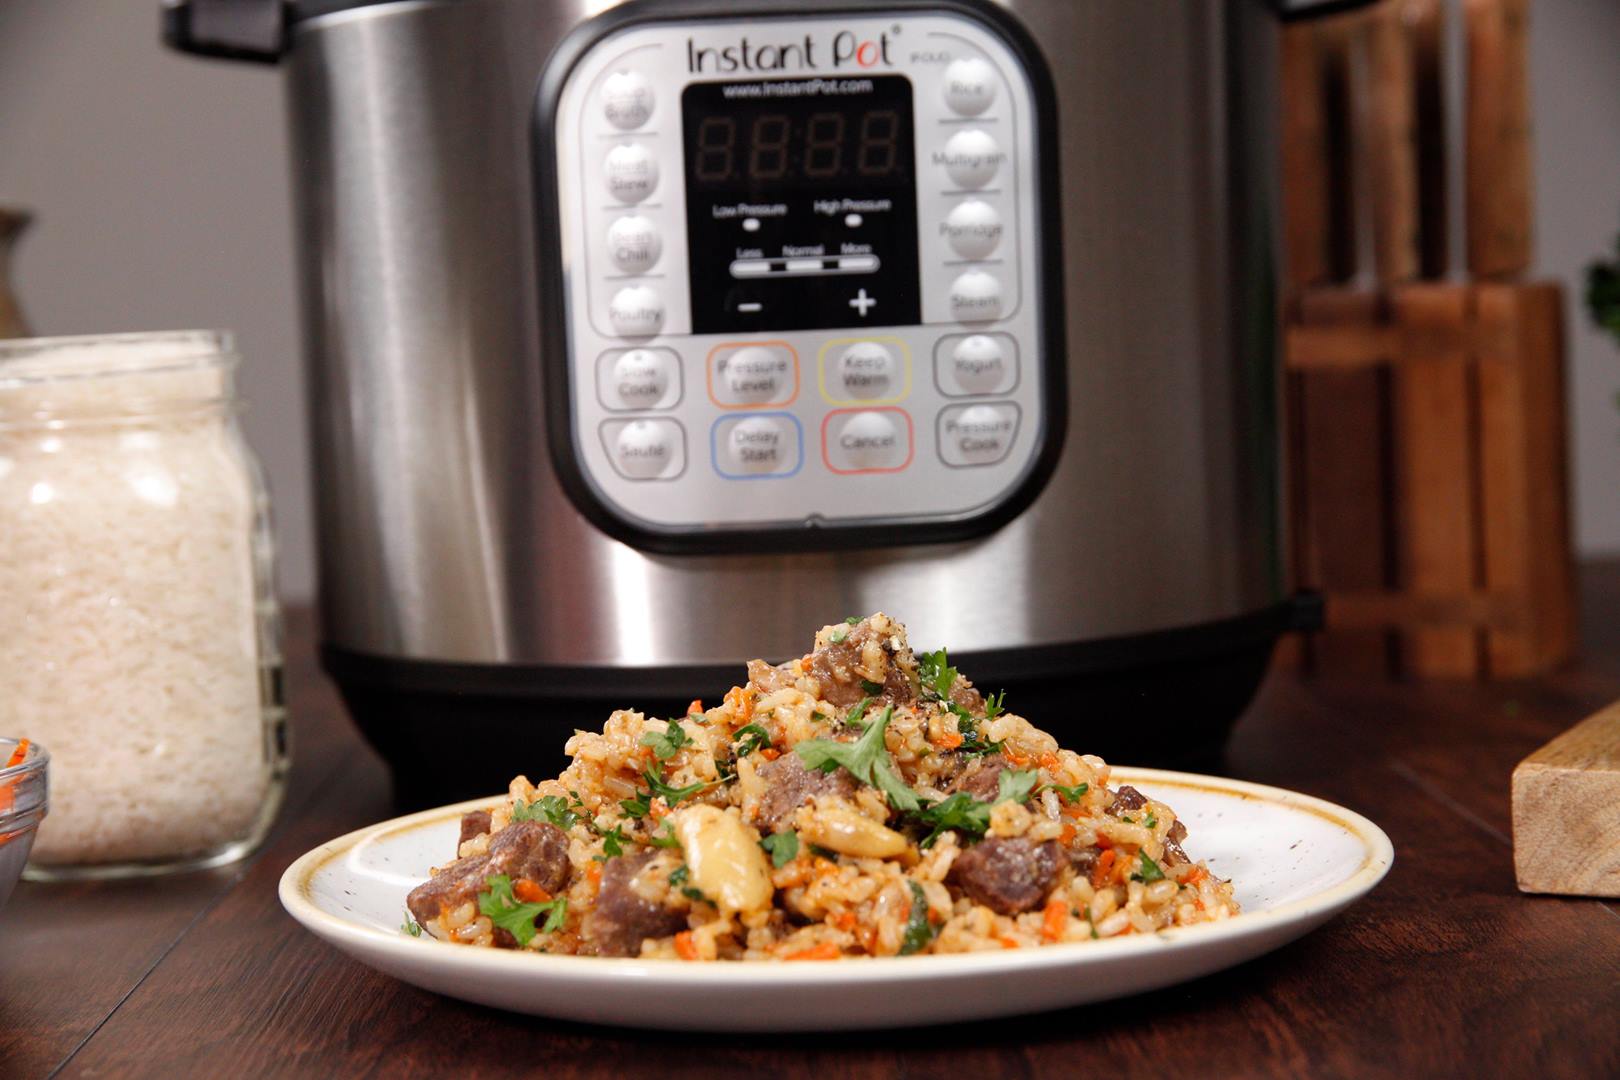
Instant Pot Russian Garlicky Beef and Rice
Instant Pot Russian Garlicky Beef and Rice
An extra helping of roasted garlic is the magic of this dish.
Author: The Chef
Cuisine: American
Recipe type: Main dish
Ingredients
- ¼ cup olive oil
- 1 lb beef stew meat cut into ¾″ pieces
- 4 tbsp butter
- 1 large onion, finely diced
- 1½ cups shredded carrots
Seasoning Mixture:
- 1 tbsp kosher salt
- ½ tsp black pepper
- ½ tsp each cumin, paprika, coriander
- 2 bay leaves
- 2½ cups brown rice, rinsed
- 2 whole heads garlic, unpeeled, top ⅓ removed to expose cloves
- 3 cups hot water
- ½ cup chopped italian parsley (optional)
Instructions
- Add olive oil to the Instant Pot. Using the display panel select the SAUTE function and adjust to HIGH or MORE.
- When oil gets hot, brown the meat for 5 minutes.
- Add butter and onion to the pot and saute until onion is soft, 3-4 minutes.
- Add carrots and Seasoning Mixture ingredients and cook for 5 minutes more, using a wooden spoon to scrape the brown bits from the bottom of the pot.
- Add bay leaves, then spread rinsed rice in an even layer over the top of the vegetables–do not stir.
- Push garlic heads, cut side down, into the rice until they are halfway submerged.
- Slowly pour the hot water directly over the garlic cloves to soften.
- Turn the pot off by selecting CANCEL, then secure the lid, making sure the vent is closed.
- Using the display panel select the MANUAL function*. Use the +/- keys and program the Instant Pot for 30 minutes.
- When the time is up, let the pressure naturally release for 10 minutes, then quick-release the remaining pressure.
- Carefully remove the garlic heads and set aside. Remove bay leaves bay leaves and discard. Stir rice mixture to combine.
- Squeeze the garlic cloves back into the pot, add chopped parsley (optional) and stir to combine. Serve warm
Watch the recipe video here:
An extra helping of roasted garlic is the magic of this dish.RECIPE: http://chopsecrets.com/instant-pot-russian-garlicky-beef-and-rice/
Posted by Chop Secrets on Tuesday, April 16, 2019