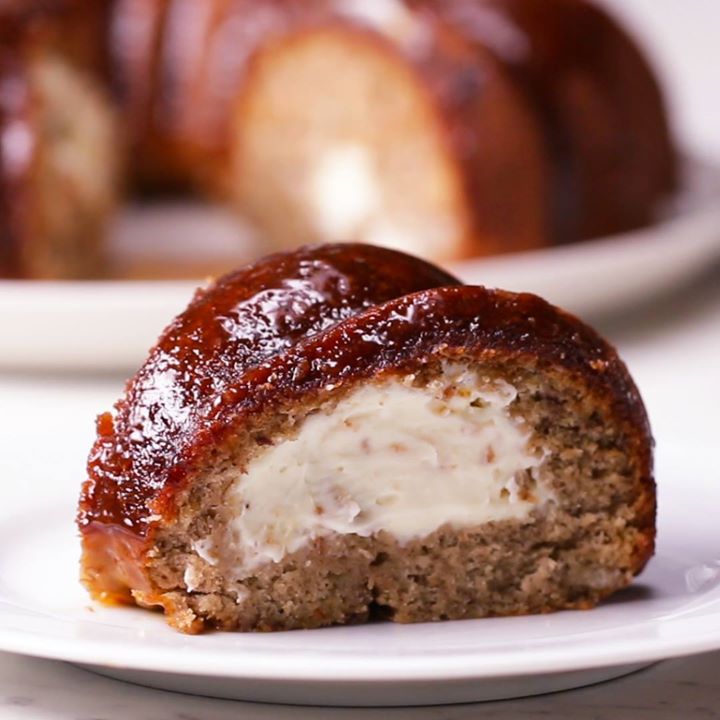

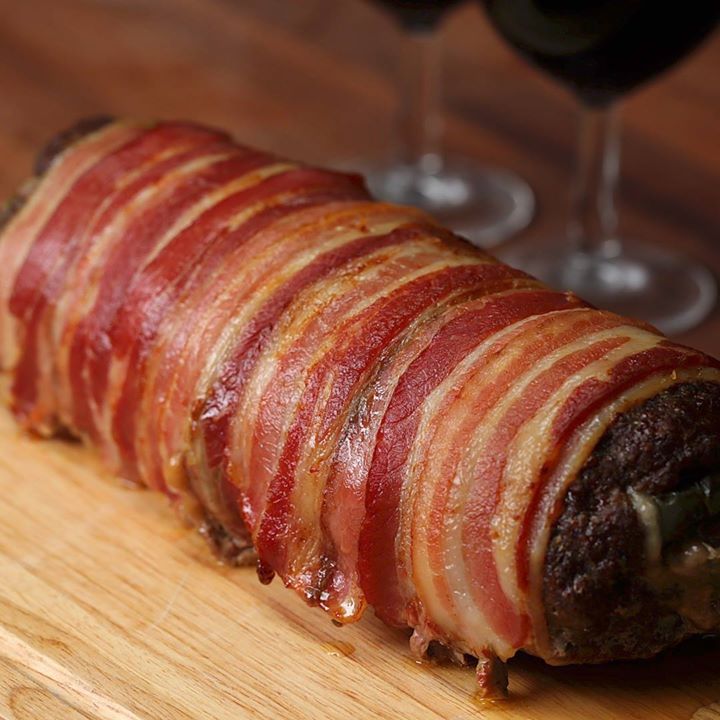
Bacon Wrapped Cheesesteak Meatloaf
Bacon Wrapped Cheesesteak Meatloaf
Bacon Wrapped Cheesesteak Meatloaf
Author: The Chef
Cuisine: American
Recipe type: Main dish
Ingredients
- 2 green peppers, chopped into strips
- 1 white onion, thinly sliced
- 1 tsp salt
- 1k beef mince
- 2 tbsp dried oregano
- 1 tsp cayenne pepper
- 1 tsp salt
- 1 tsp pepper
- 15 slices provolone
- 20 rashers of streaky bacon
Instructions
- Preheat the oven to 180°C/360°F.
- Sauté the peppers and onions with the salt on a medium heat until the peppers have softened and the onions have turned a dark golden colour. Leave to cool in a bowl.
- Mix the beef mince with the dried oregano, cayenne, salt and pepper. On a sheet of tin foil press the beef into an even rectangle.
- Lay slices of provolone across the middle and top with the peppers and onion mix.
- Gently roll the meat up from the smaller end of the rectangle, using the foil to push it into a large sausage shape.
- Lay the strips of bacon across another sheet of tin foil and repeat, making sure the meat roll is tightly wrapped up in a lovely bacon jacket.
- Bake, covered, for 20 minutes, then uncover and bake for a further 30 minutes.
Watch the recipe video here:
Bacon Wrapped Cheesesteak Meatloaf
Posted by Twisted on Friday, October 13, 2017