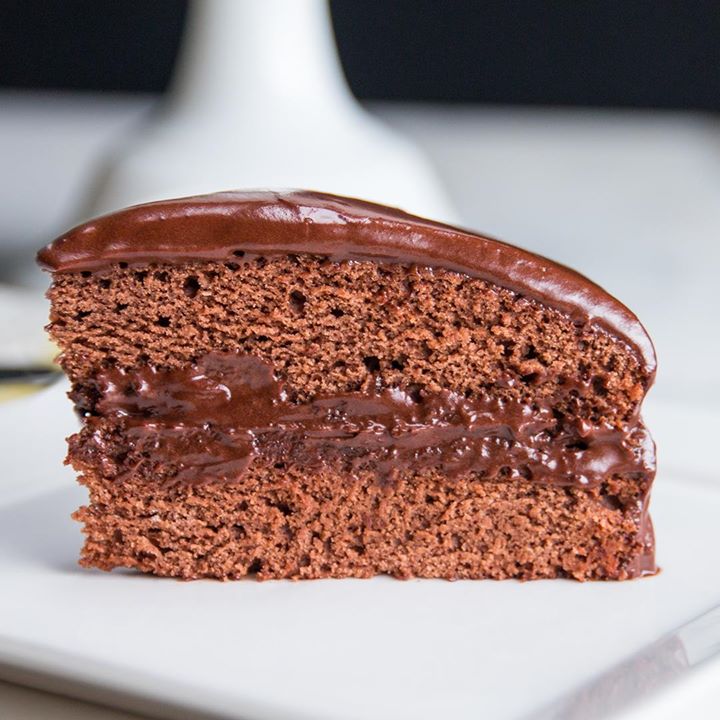
Chocolate-Butterscotch Swirl Cheesecake
Chocolate-Butterscotch Swirl Cheesecake
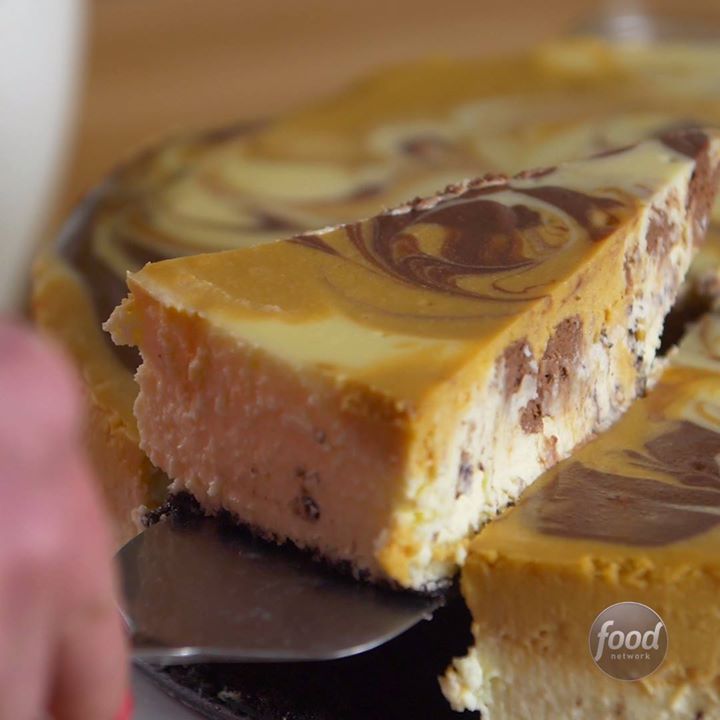
Blondie lovers, take note -- you're going to flip for this cheesecake. The impressive-looking chocolate and butterscotch swirls are easy to make with a wooden skewer.
Author: The Chef
Cuisine: American
Recipe type: Cake
Ingredients
Crust:
- 2 cups chocolate wafer cookie crumbs (from about 40 whole cookies)
- 1 stick (8 tablespoons) unsalted butter, melted
- 2 tablespoons sugar
- Pinch fine salt
Filling:
- Three 11.5-ounce containers whipped cream cheese
- 1¼ cups sugar
- One 16-ounce container sour cream, at room temperature
- 1 cup heavy cream
- 4 large eggs, at room temperature
- 4 ounces bittersweet chocolate chips
- 6 ounces butterscotch chips
- 1 teaspoon pure vanilla extract
Instructions
- Special equipment: a 10-inch springform pan and a wooden skewer
- Position a rack in the middle of the oven and preheat to 325 degrees F.
- For the crust: Toss together the cookie crumbs, butter, sugar and salt in a medium bowl. Press into the bottom of a 10-inch springform pan. Bake until golden brown, 15 to 18 minutes. Cool completely. Wrap the bottom and sides of the pan with a large piece of foil and put in a large roasting pan.
- For the filling: Beat together the cream cheese and sugar in a large bowl with an electric mixer on medium speed for 1 minute. Add the sour cream and beat until just combined. Add the heavy cream and beat until just combined. Mix in the eggs by hand, 1 at time. Mix in the vanilla by hand until just combined. (Take care not to overmix, or the cheesecake will turn into a souffle!).
- Put the chocolate and butterscotch chips in 2 separate small microwave-safe bowls. Microwave until melted, stirring every 30 seconds, about 1 minute 30 seconds.
- Ladle 2 cups of cheesecake batter into a medium bowl and 2 cups into a second medium bowl. Fold the melted butterscotch into one of the bowls until completely combined. Fold the melted chocolate into the other bowl until completely combined. Leave the remaining batter white.
- Use an ice cream scoop or large spoon and drop scoopfuls of the batter onto the crust, alternating between the different flavors until all the batter is gone. Use a long wooden skewer and drag it through the batter, making sure the skewer reaches down to the bottom of the pan to marble the colors for a tie-dye effect. Add enough hot water to the roasting pan to come about halfway up the side of the springform pan.
- Bake until the outside of the cake is set, but the center is still slightly loose, about 1 hour 20 minutes. Turn the oven off and leave the cheesecake in the oven for another hour. Remove the cheesecake from the roasting pan to a cooling rack. Run a knife around the edge and cool to room temperature. Cover and refrigerate at least 8 hours.
- Run a knife around the edge of the pan one more time, unmold the cheesecake and transfer to a serving plate or cake stand. Smooth the edges of the cake with a knife just before serving.
Watch the recipe video here:
How To Make Chocolate-Butterscotch Swirl Cheesecake
Recipe of the Day: Chocolate-Butterscotch Swirl Cheesecake
Posted by Food Network on Thursday, September 28, 2017