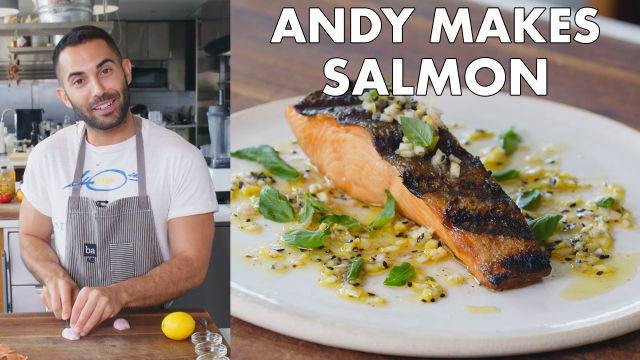
Grilled Salmon with Lemon-Sesame Sauce
Grilled Salmon with Lemon-Sesame Sauce
For this lemony grilled salmon recipe, you absolutely want to cook fish that still has its skin on. It protects the fish while it grills and, despite what you think or have been told, will help it release from the grill grates more easily.
Author: The Chef
Cuisine: American
Recipe type: Main dish
Ingredients
- 4 6-oz. skin-on salmon fillets, pin bones removed, patted dry
- 2 Tbsp. plus ⅓ cup extra-virgin olive oil, plus more for grill
- Kosher salt
- 1 small lemon
- 1 small shallot, finely chopped
- 2 tsp. black sesame seeds
- 1 tsp. honey
- ½ tsp. toasted sesame oil
- Freshly ground black pepper
- 1 cup torn basil leaves
Instructions
- Prepare a grill for medium heat. Rub salmon with 2 Tbsp. olive oil; season both sides with salt.
- Cut ends off lemon and discard. Place lemon upright and slice off outer lobes in 4 sections, leaving a square-shaped core and seeds behind. Finely chop lobes (flesh, pith, and all) and transfer to a small bowl (you should have about ⅓ cup). Squeeze out juice from core over bowl. Add shallot, sesame seeds, honey, sesame oil, and remaining ⅓ cup olive oil; season with salt and lots of pepper. Toss to combine.
- Clean and oil grate, then immediately place salmon on grill skin side down. Cover grill and cook, skin side down the entire time, until skin is lightly charred and fish is opaque, 6–8 minutes. Transfer salmon to a plate and let cool slightly.
- Divide salmon among plates. Top with basil. Spoon lemon-sesame sauce over.
Watch the recipe video here:
Very much here for the whole lemon-sesame sauce. Make it: http://bonap.it/x2e5zE2
Posted by Bon Appétit Magazine on Friday, January 4, 2019