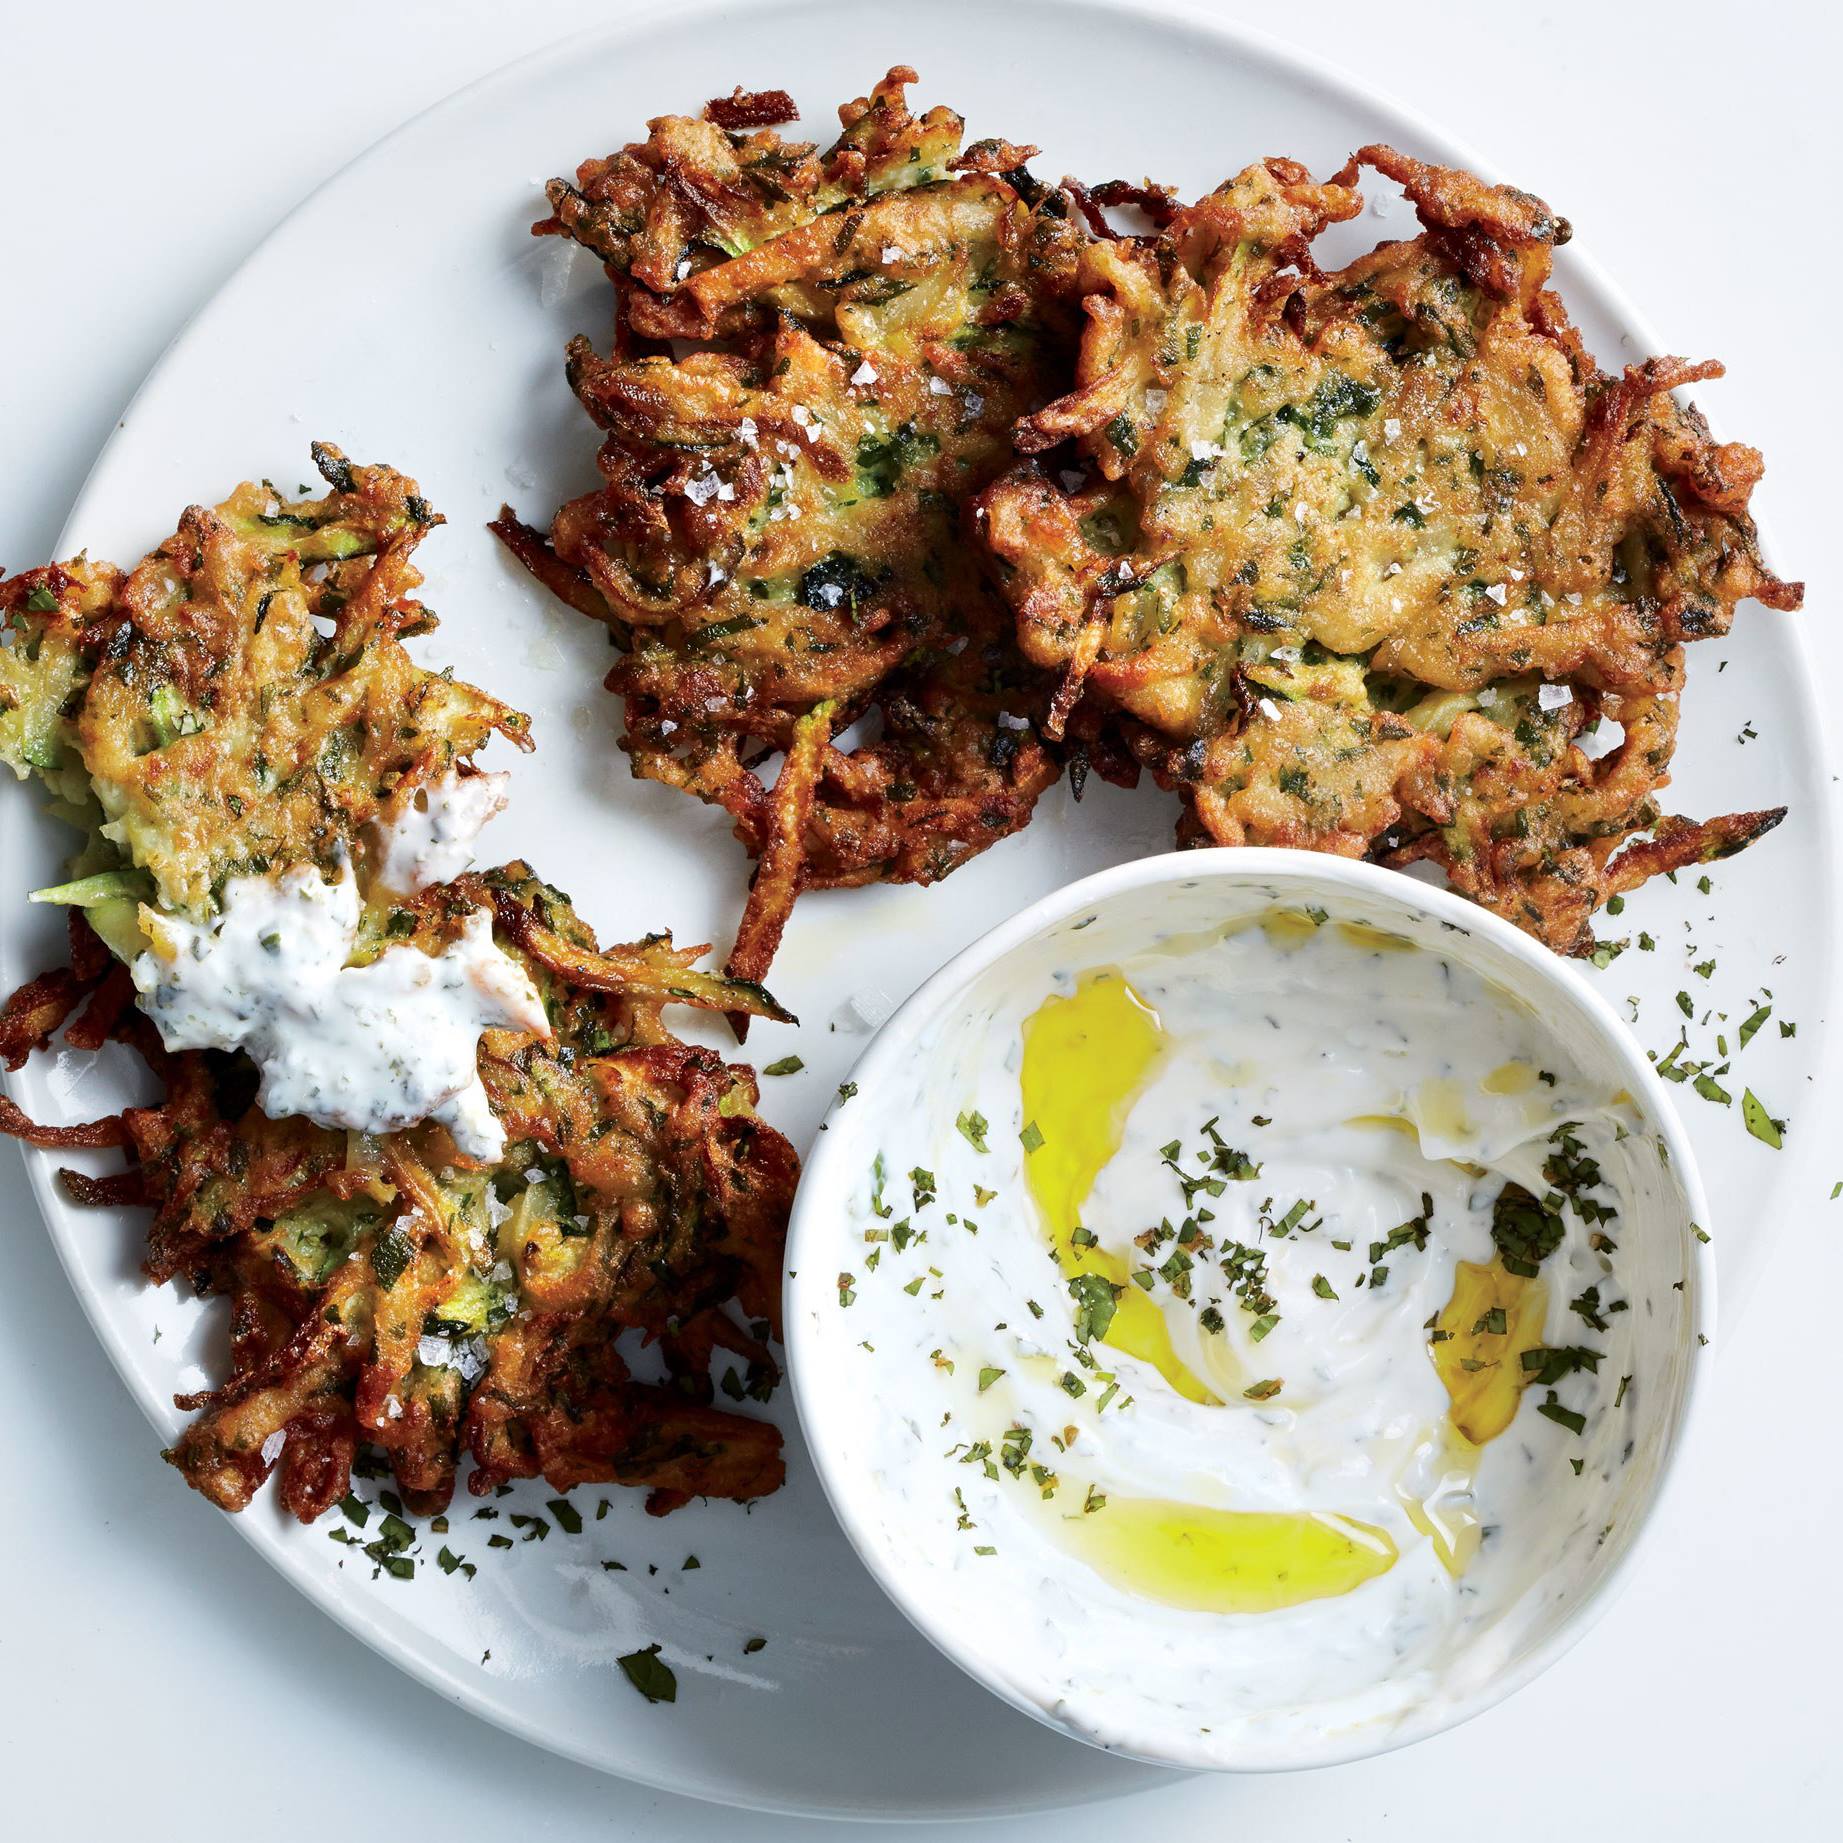
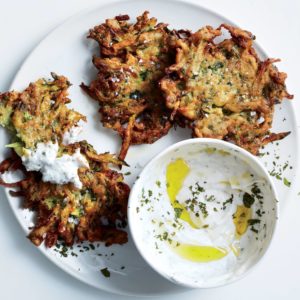
Zucchini-Herb Fritters with Garlic Yogurt
Zucchini-Herb Fritters with Garlic Yogurt
Squeezing the liquid out of the zucchini is the secret to crisp fritters. (The potato helps, too.)
Author: The Chef
Cuisine: American
Recipe type: Main dish
Ingredients
Garlic Yogurt
- ½ cup plain yogurt (not Greek)
- 2 tablespoons finely chopped fresh mint
- 2 tablespoons fresh lemon juice
- 2 tablespoons olive oil
- 1 teaspoon honey
- 1 garlic clove, finely grated
- Kosher salt and freshly ground black pepper
Fritters and Assembly
- 2 small zucchini, ends trimmed
- 1 small russet potato, peeled
- ½ medium onion
- 2 teaspoons kosher salt, plus more
- 2 large eggs, beaten to blend
- 1 garlic clove, finely grated
- ½ teaspoon ground cumin
- 3 tablespoons finely chopped fresh parsley, plus more for serving
- 2 tablespoons finely chopped fresh mint, plus more for serving
- Freshly ground black pepper
- ⅓ cup all-purpose flour
- ½ teaspoon baking powder
- ½ cup vegetable oil
- Olive oil (for serving)
Instructions
Garlic Yogurt
- Mix yogurt, mint, lemon juice, oil, honey, and garlic in a small bowl; season with salt and pepper. Cover; chill.
Fritters and Assembly
- Grate zucchini, potato, and onion on the large holes of a box grater. Transfer to a mesh sieve set over a bowl and toss with 2 tsp. salt. Let vegetables sit until they release their liquid, 30−40 minutes.
- Mix eggs, garlic, cumin, 3 Tbsp. parsley, and 2 Tbsp. mint in a medium bowl; season with salt and pepper. Gather up half of zucchini mixture in a kitchen towel; squeeze out excess liquid. Add to bowl with egg mixture and repeat with remaining zucchini mixture. Sprinkle flour and baking powder over; mix gently.
- Heat vegetable oil in a large skillet over medium-high. Working in batches, spoon scoops of mixture into skillet, flattening gently with a spatula. Cook until golden brown and crisp, about 3 minutes per side. Transfer to a wire rack; season with salt. Drizzle yogurt sauce with olive oil and top with more herbs; serve alongside warm fritters.
Watch the recipe video here:
There's literally never a bad time to make these.Recipe: http://bonap.it/CeIRRoh
Posted by Bon Appétit Magazine on Tuesday, January 1, 2019