Showing 879 Result(s)
Dessert

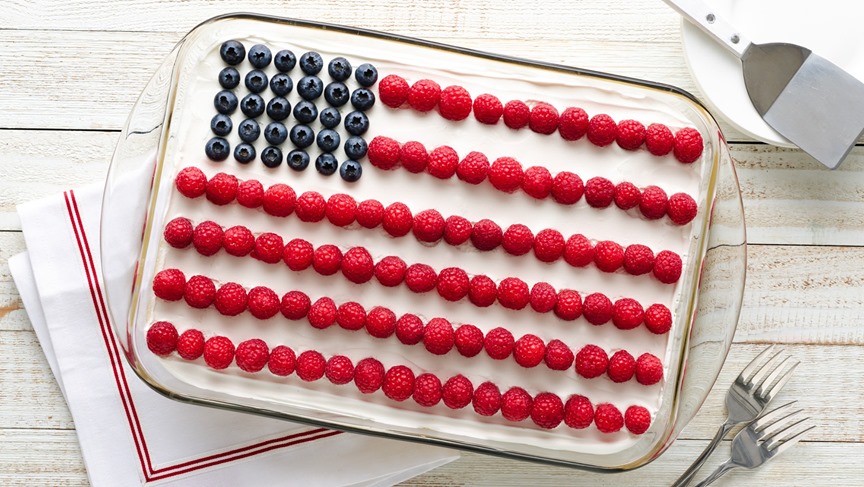
Lemon Icebox Pie Flag
Lemon Icebox Pie Flag
Wave your American flag and eat it too! This easy spin on the classic lemon icebox pie is perfect for your Fourth of July festivities!
Author:
Cuisine: American
Recipe type: Dessert
Ingredients
  • 1 roll (16.5 oz) Pillsbury™ refrigerated sugar cookies
  • 6 egg yolks
  • 2 cans (14 oz each) sweetened condensed milk (not evaporated)
  • 1 cup lemon juice
  • 1container (8 oz) frozen whipped topping, thawed
  • ⅓ cup blueberries, patted dry
  • 2 cups raspberries, patted dry
Instructions
  1. Heat oven to 350°F. Thoroughly grease or spray 13x9-inch (3-quart) baking dish; press cookie dough in even layer in bottom and 1½ inches up sides of dish. Bake 22 minutes. Cool 10 minutes.
  2. Meanwhile, in large bowl, beat egg yolks with whisk. Add condensed milk; beat until combined. Add lemon juice; beat until thickened, about 2 minutes. Pour egg mixture in cookie crust; bake 20 to 25 minutes or until set on edges but slightly jiggly in center.
  3. Cool 30 minutes at room temperature, then refrigerate until firm, at least 2 hours but no longer than 8 hours. Spread whipped topping over top. Arrange blueberries in top left corner to create blue field of stars section of flag. Make 6 red stripes with the raspberries. Carefully cover with plastic wrap; refrigerate at least 1 hour but no longer than 8 hours. Cut into 5 rows by 4 rows.

Watch the recipe video here:

The classic lemon icebox pie got all dressed up for the holiday. Lemon Icebox Pie Flag recipe:…

Posted by Pillsbury on Saturday, June 29, 2019
Dessert

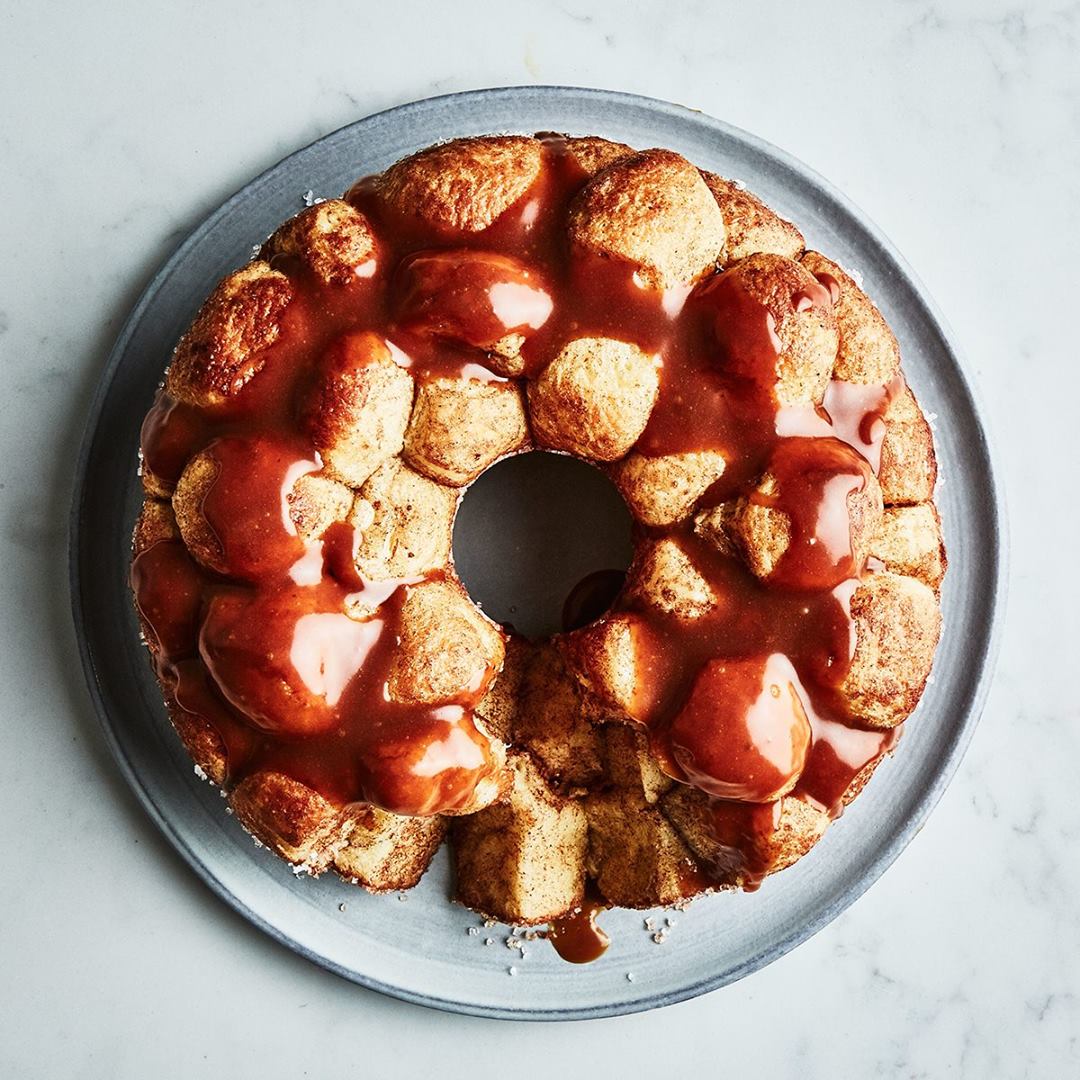
Monkey Bread

Monkey Bread
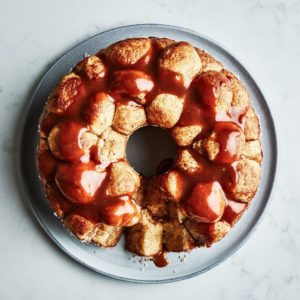
No secrets here—the key to the buttery flavor and signature texture of monkey bread is the brioche dough.
Author:
Cuisine: American
Recipe type: Dessert
Ingredients
Dough
  • 1 cup (2 sticks) chilled unsalted butter, cut into 1-inch pieces, plus more for bowl
  • ⅓ cup whole milk
  • 1 ¼-ounce envelope active dry yeast (about 2¼ teaspoons)
  • 3 cups (or more) all-purpose flour
  • 3 tablespoons sugar
  • 1 teaspoon kosher salt
  • 4 large eggs, room temperature
Assembly
  • ¾ cup granulated sugar
  • 1 tablespoon ground cinnamon
  • 6 tablespoons unsalted butter, melted, slightly cooled, plus more for pan
  • Sanding or granulated sugar (for pan)
  • Prepared caramel sauce (for serving)
Special Equipment
  • A 10-inch tube pan or 10-cup Bundt pan
Instructions
Dough
  1. Beat 1 cup butter in the bowl of a stand mixer fitted with the paddle attachment on medium-low speed until butter is smooth and pliable but still cold, about 1 minute. Scrape into a medium bowl; set aside. Save mixer bowl because you’re going to use it again in a minute (no need to wash).
  2. Gently heat milk in a small saucepan over low until warm to the touch but not steaming hot. It should be 110°–115°. Whisk milk and yeast in a small bowl to dissolve yeast, then let sit until foamy, about 5 minutes.
  3. Meanwhile, whisk flour, sugar, and salt in reserved mixer bowl to combine. Add yeast mixture and eggs, fit bowl back onto mixer, and beat on low speed with dough hook, gradually increasing mixer speed to medium as dry ingredients are incorporated, until dough comes together around hook. Continue to mix on medium speed until dough is smooth, elastic, and no longer sticking to the sides of the bowl, about 5 minutes. Add more flour by the tablespoonful as needed if dough isn’t pulling away from bowl cleanly.
  4. With motor running, gradually add reserved butter about a tablespoonful at a time, waiting until it is absorbed before adding more. This process can take several minutes, so be patient. When you’re done adding the butter, the dough will be extremely smooth, soft, and supple but not sticky. Place dough in a large buttered bowl and cover. Let sit in a warm, draft-free spot until nearly doubled in size, 55–65 minutes.
  5. Uncover dough and punch down several times to deflate. Line a 13x9" baking dish with plastic wrap, leaving generous overhang on all sides. Place dough in pan and press into an even layer, working all the way to the sides of the pan. Fold plastic up and over dough, eliminating air pockets between dough and plastic. Chill dough in freezer until firm to the touch, 20–30 minutes.
Do Ahead:
  1. Dough can be made 1 day ahead. After punching down, pat into plastic-lined pan and chill in refrigerator instead of freezer.
Assembly
  1. Mix granulated sugar and cinnamon in a medium bowl to combine. Lightly brush tube pan with butter. Sprinkle with sanding sugar, tapping out excess; set aside. Remove dough from freezer and peel back plastic. Brush entire surface with melted butter and sprinkle generously with some cinnamon sugar. Shake excess sugar back into bowl, then invert baking pan and turn out dough onto work surface sugar side down. Remove plastic; discard. Brush other side of dough with butter and sprinkle with more cinnamon sugar. Use a pizza cutter or a chef’s knife to cut dough into a 12x6 grid.
  2. Working relatively quickly so dough doesn’t become too soft, separate pieces and, working one at a time, roll lightly between your palms into balls, dusting with more cinnamon sugar as needed to prevent sticking. Place in prepared tube pan as you go. Cover pan with plastic wrap and let sit in a warm, draft-free spot until pieces have swelled to nearly doubled in size, 40–50 minutes. Preheat oven to 350° a little before monkey bread is ready to bake.
  3. Remove plastic from pan and bake monkey bread until golden brown, 25–35 minutes. Let cool 10 minutes, then use a small offset spatula to loosen monkey bread from sides of pan. Pull bottom out from pan and use spatula to loosen bread from bottom. Slide bread back into pan; invert onto a plate and remove pan. Place a wire rack over bread and invert right side up onto rack. If using a Bundt pan, just invert directly onto wire rack. Let cool at least 15 minutes before serving.
  4. Pour about ½ cup caramel sauce over monkey bread if desired. Serve with more sauce alongside for dipping.

Watch the recipe video here:

Nothing brings people together quite like a warm, gooey monkey bread.Make it: http://bonap.it/nfrbYll

Posted by Bon Appétit Magazine on Saturday, June 29, 2019
Dessert

Chocolate Ripple Cheesecake

Chocolate Ripple Cheesecake
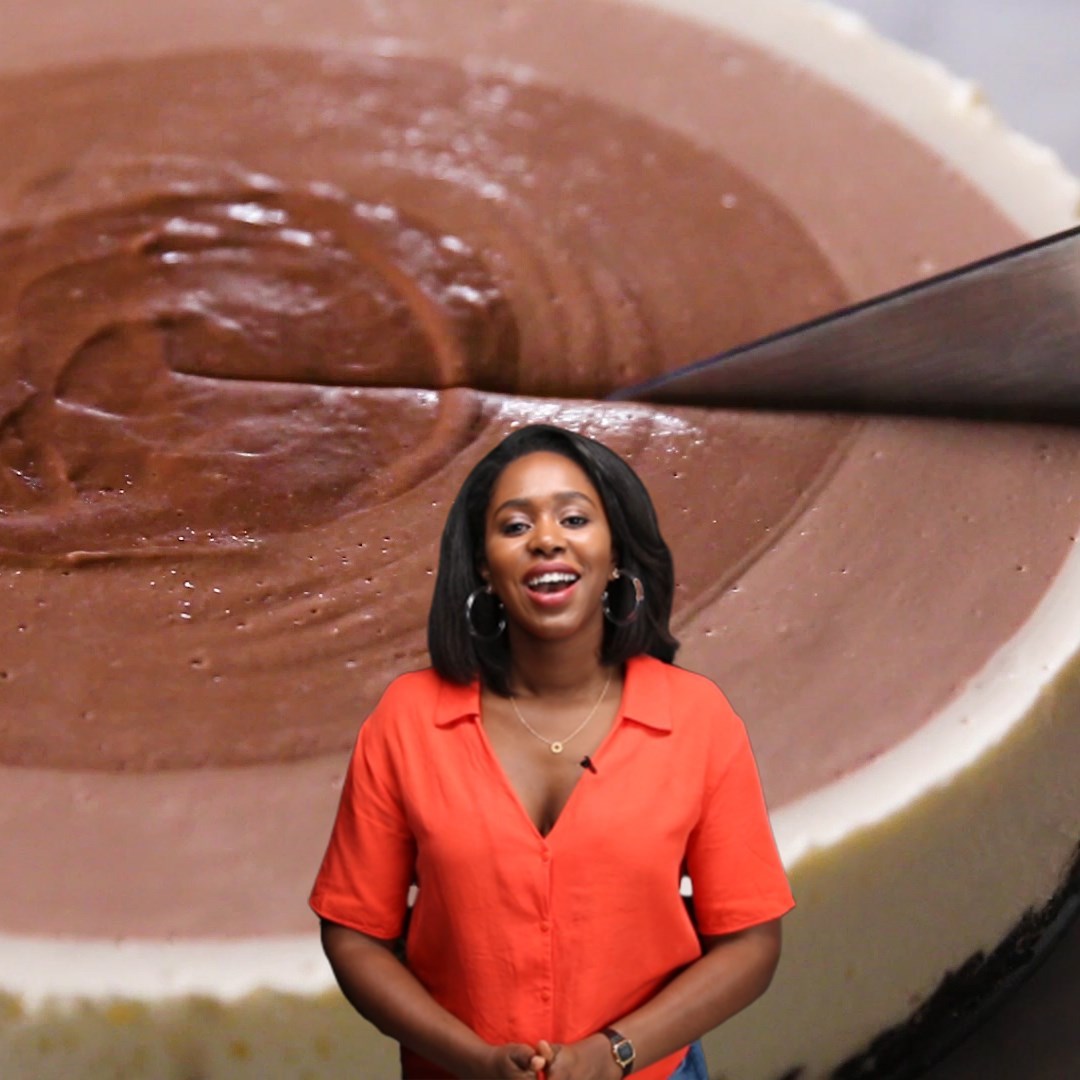
Learn how Kiano mastered her ripple chocolate cheesecake, then try it yourself!
Author:
Cuisine: American
Recipe type: Dessert
Ingredients
  • 24 chocolate sandwich cookies
  • 4 tablespoons unsalted butter, melted
  • 32 oz cream cheese (900 g), 4 packages
  • ¾ cup sugar (150 g)
  • 1 teaspoon vanilla extract
  • 4 cups heavy cream (960 mL)
  • 1 ½ tablespoons gelatin powder
  • 2 cups semi sweet chocolate (340 g), melted, divided
Instructions
  1. Place cookies into a ziplock bag and crush using a rolling pin until fine crumbs form.
  2. Pour cookie crumbs into a bowl with melted butter and mix until well combined.
  3. Pour crust mixture into a 9-inch (23 cm) springform cake pan. Use a measuring up to press the cookies to form an even base. Cover and chill in the refrigerator for at least 20 minutes.
  4. In a large bowl, whisk together cream cheese, sugar and vanilla until smooth.
  5. Heat the heavy cream until hot, then add the gelatin and let it rest for 1 minute.
  6. Slowly whisk in the heavy cream into the cream cheese until smooth.
  7. Working quickly, divide the cheesecake batter in 4 bowls with 3 cups (720 ml) in one bowl, 2 cups (480 ml) in a second, 2½ cups (600 ml) in the third, and 1 cup (240 ml) in the fourth.
  8. In the second bowl, whisk in 1 tablespoon of melted chocolate. In the third bowl, whisk in 3 tablespoons of melted chocolate, and in the fourth bowl, whisk in 2 tablespoons of chocolate. Each bowl should vary in color from one another.
  9. To assemble the cheesecake, slowly pour the contents of bowl 1 into the center of the pan. Once batter has spread repeat with the remaining bowls in numerical order. If your bowls have sat out too long, and aren't liquidy, microwave for 30 seconds before pouring.
  10. Cover the top of the pan tightly with plastic wrap and chill for 4 hours or overnight in the fridge before serving.
  11. Enjoy!

Watch the recipe video here:

Learn how Kiano mastered her ripple chocolate cheesecake, then try it yourself! Get the recipe: https://tasty.co/recipe/chocolate-ripple-cheesecake

Posted by Tasty on Thursday, June 20, 2019

Dessert

Fudgiest Dairy-Free Chocolate Cake

Fudgiest Dairy-Free Chocolate Cake
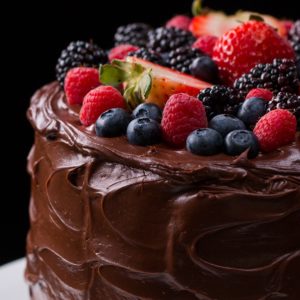
Fudgiest Dairy-Free Chocolate Cake recipe.
Author:
Cuisine: American
Recipe type: Dessert
Ingredients
FROSTING
  • 30 oz full-fat coconut milk (880 mL), 2 cans
  • 3 cups dairy-free chocolate chunk (510 g)
  • ¼ cup coconut oil (60 g), melted
  • 2 cups powdered sugar (240 g)
CAKE
  • 3 cups whole wheat flour (390 g)
  • 1 ½ cups dark cocoa powder (180 g)
  • 1 cup sugar (200 g)
  • 1 tablespoon baking soda
  • 1 ½ teaspoons baking powder
  • 1 pinch salt
  • 3 cups almond milk (710 mL)
  • 1 cup coconut oil (240 g), melted
  • 1 ½ cups applesauce (380 g)
  • 1 ½ cups maple syrup (505 g)
  • 1 tablespoon apple cider vinegar
  • 1 tablespoon vanilla extract
  • berry, of choice, for garnish
Instructions
  1. In a microwave-safe measuring cup, or in a small pot on the stove, heat the coconut milk until hot, but not boiling (about 2 minutes in the microwave).
  2. Place the dairy-free chocolate in a large bowl and pour the hot coconut milk over it, allowing the milk to melt the chocolate. Mix well to combine.
  3. Once the chocolate is melted, add the coconut oil and powdered sugar. Beat with a hand mixer or whisk until smooth.
  4. Cover and refrigerate overnight.
  5. Preheat the oven to 350°F (180°C). Grease 3 separate 8-inch (20-cm) round cake pans and set aside.
  6. In a large bowl, add the whole wheat flour, dark cocoa powder, sugar, baking soda, baking powder, and salt. Whisk to combine and set aside.
  7. In a separate large bowl, add the almond milk, coconut oil, applesauce, maple syrup, apple cider vinegar, and vanilla extract. Whisk to combine.
  8. In two batches, add the dry mixture to the wet mixture, folding with a spatula until combined. Some clumps are okay.
  9. Divide the batter evenly between the 3 pre-greased cake pans and bake for 35–45 minutes, or until a toothpick comes out almost entirely clean. Cool completely.
  10. Remove the frosting from the fridge and mix it up well.
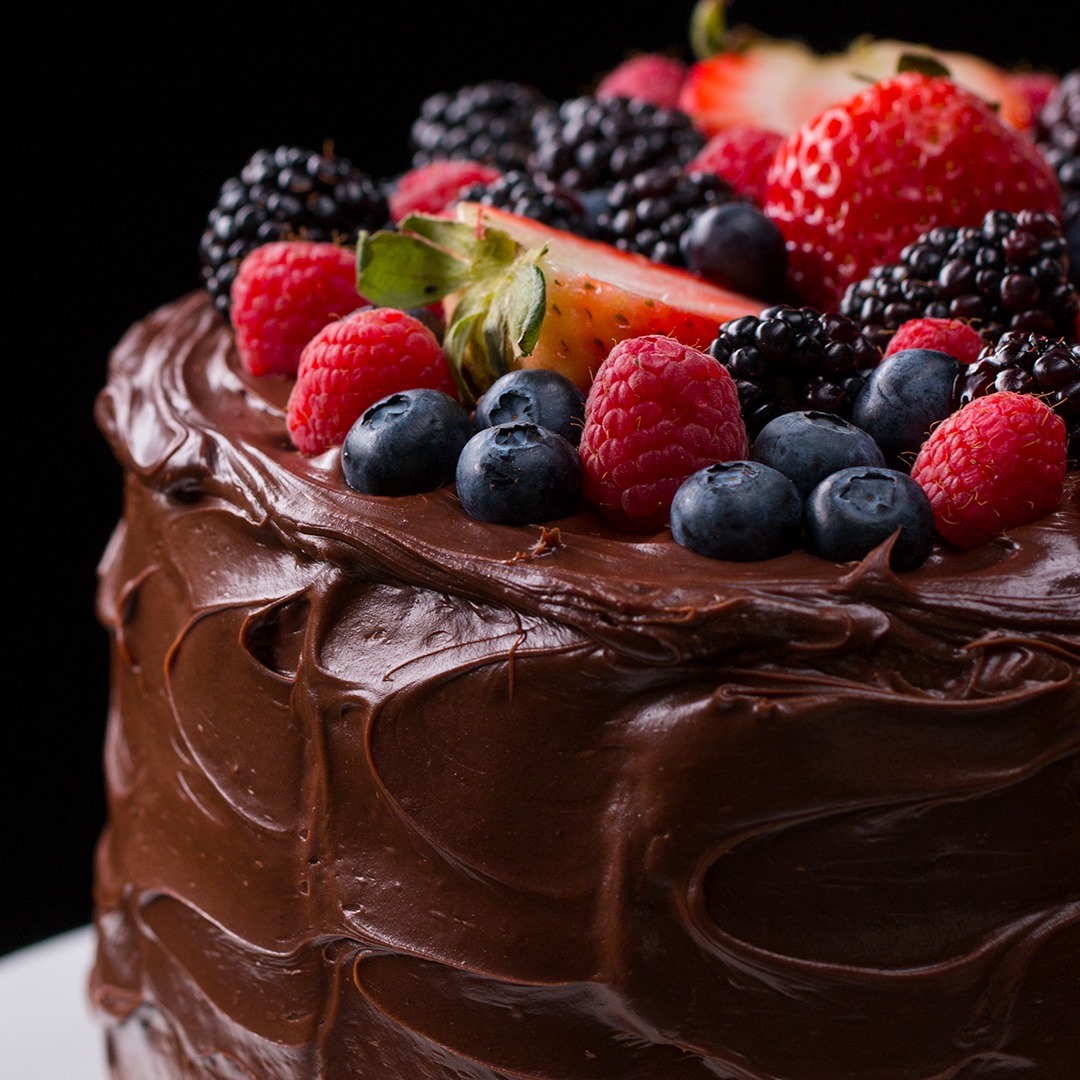
  11. Choose which cake will be your bottom layer and cover evenly with about 1 cup (115 G) of frosting. Top with the second layer, frosting evenly again. Add the final layer and frost the top and the sides of the cake generously, topping with berries of choice for garnish.
  12. Enjoy!

Watch the recipe video here:

This is the FUDGIEST non-dairy chocolate cake ?FULL RECIPE: https://tasty.co/recipe/fudgiest-dairy-free-chocolate-cake

Posted by BuzzFeed Food on Thursday, June 20, 2019

Dessert

Instant Pot Bourbon Sticky Toffee Pudding

Instant Pot Bourbon Sticky Toffee Pudding
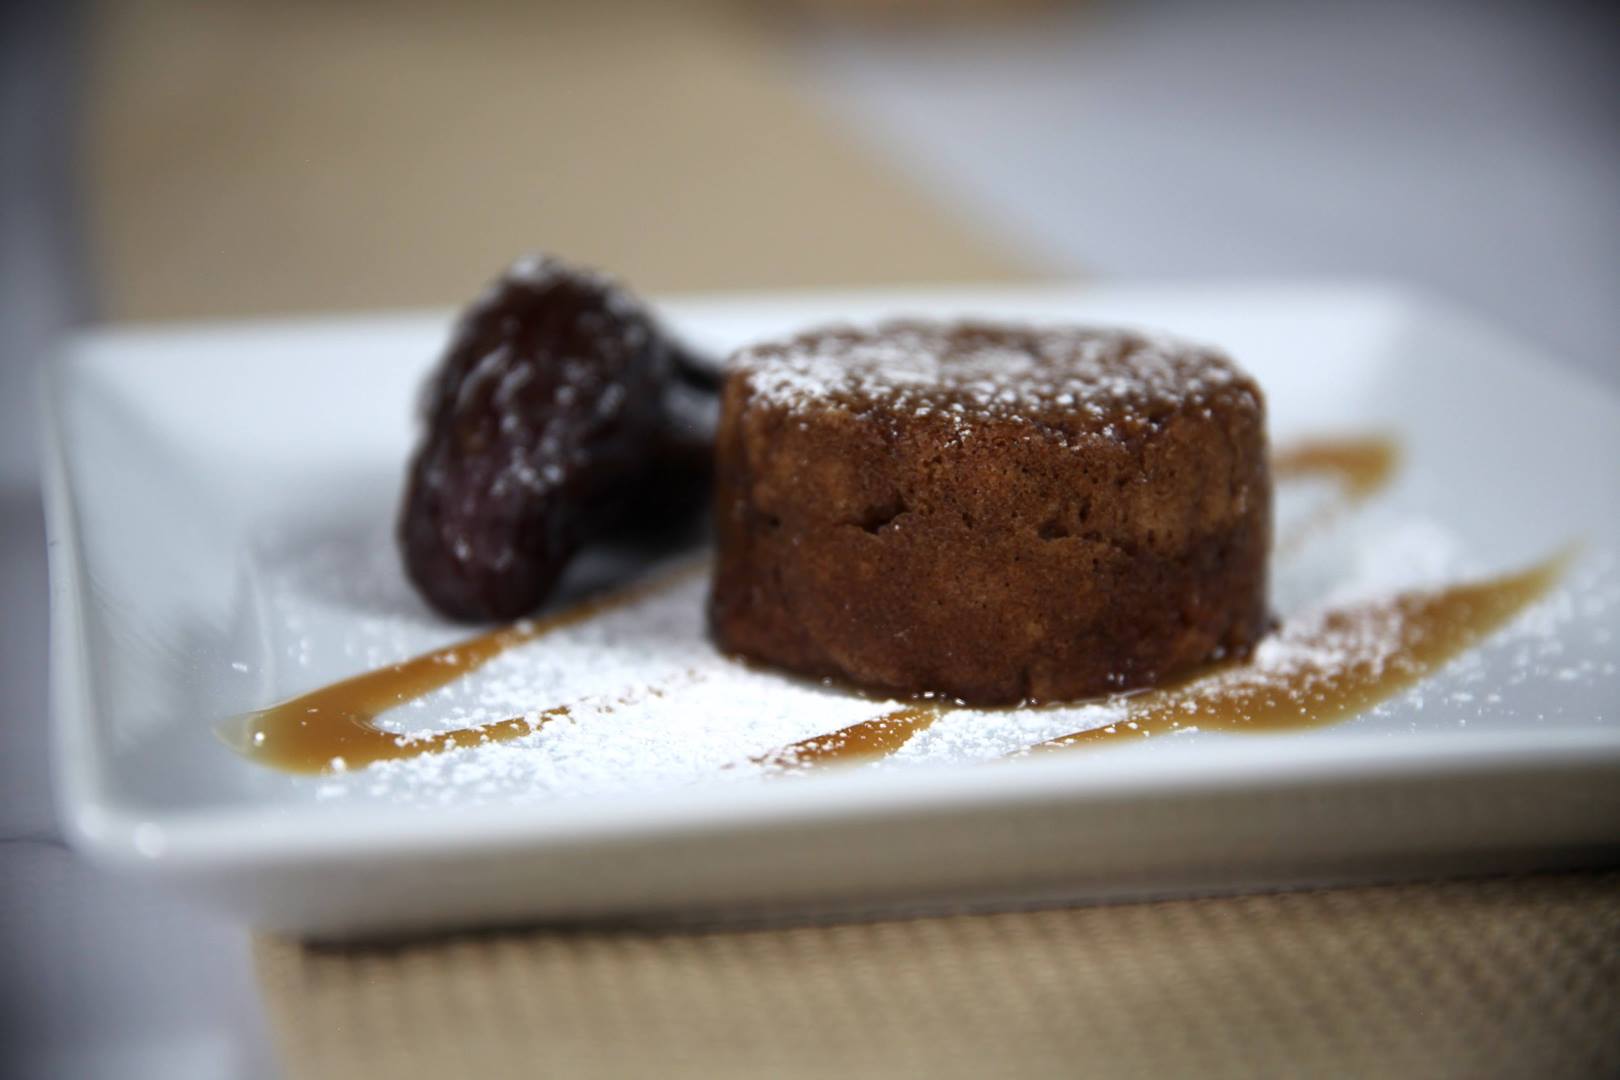
Sophisticated enough to serve at your next dinner party.
Author:
Cuisine: American
Recipe type: Dessert
Ingredients
  • ¾ cup chopped Medjool dates (about 7 dates)
  • 6 tbsp hot water
  • 2 tbsp bourbon
  • ½ tsp baking soda
  • 3 tbsp butter
  • 2 tbsp milk
  • ⅔ cup flour
  • 1 tsp baking powder
  • ½ tsp cinnamon
  • ¼ tsp salt
  • Pinch of nutmeg
  • 1 egg, beaten
  • 1½ cups water
  • ¼ cup caramel sauce, warmed
Instructions
  1. In a small bowl, combine dates, hot water, bourbon and baking soda,. Set aside.
  2. In a medium bowl, combine butter and milk. Microwave on low until butter is melted.
  3. Add flour, baking powder, cinnamon, salt and nutmeg to the milk mixture. Stir until uniform.
  4. Stir in beaten egg and bourbon-date mixture.
  5. Coat the insides of four ramekins with nonstick spray and divide batter evenly amongst the ramekins.
  6. Cover each ramekin with foil coated in nonstick spray (sprayed-side down).
  7. Place the steam rack in the Instant Pot followed by 1½ cups water. Arrange the ramekins on the steam rack. You may have to stack three on the bottom and one on the top. Secure the lid, making sure the vent is closed.
  8. Using the display panel select the STEAM function*. Use the +/- keys and program the Instant Pot for 20 minutes.
  9. When the time is up, let the pressure naturally release for 10 minutes, then quick-release the remaining pressure.
  10. Carefully remove the ramekins from the pot. Run a knife around the edges to loosen, then invert onto a serving dish.
  11. Drizzle each pudding with caramel sauce. Serve warm.

Watch the recipe video here:

Sophisticated enough to serve at your next dinner party.RECIPE: http://chopsecrets.com/instant-pot-bourbon-sticky-toffee-pudding/

Posted by Chop Secrets on Thursday, June 20, 2019

Dessert

Salted Caramel Chocolate Chip Cookies

Salted Caramel Chocolate Chip Cookies
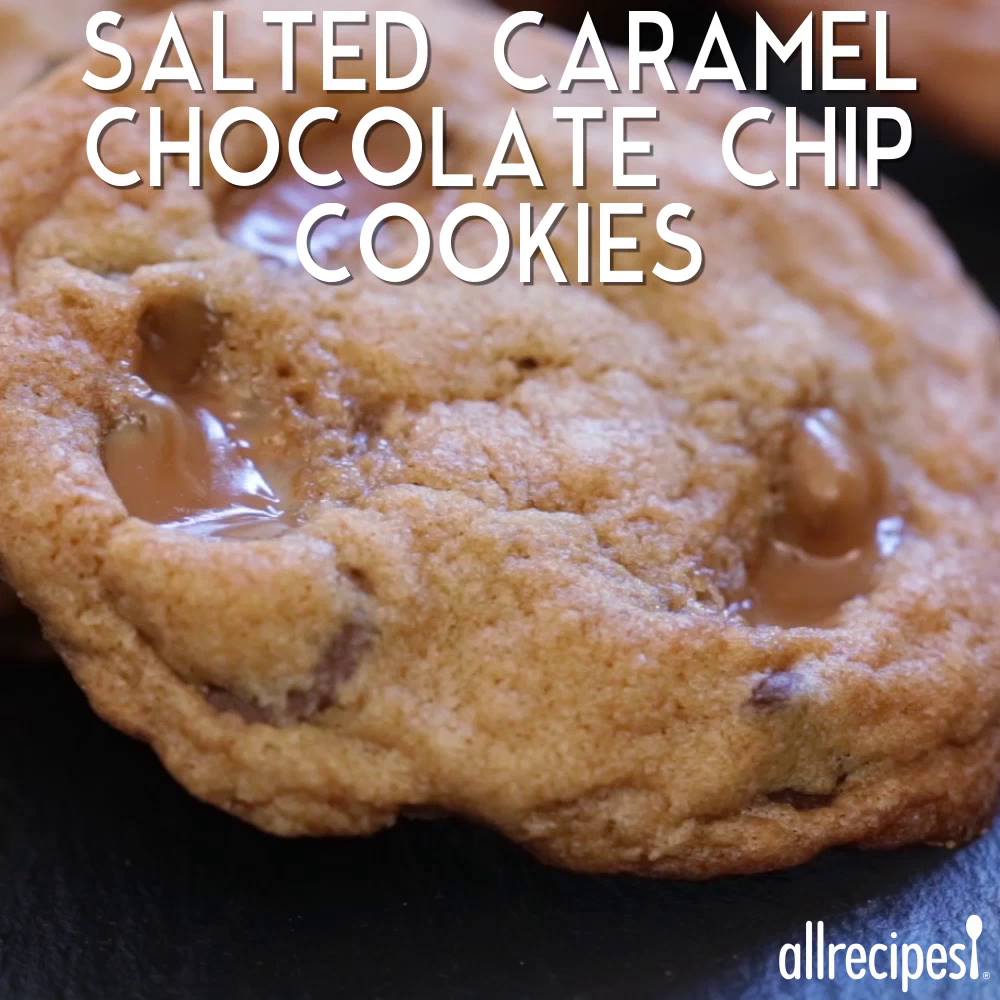
I had a craving for chocolate chip cookies with caramel chunks. All I had on hand for salt was coarse salt and, much to my surprise, the result was delicious.
Author:
Cuisine: American
Recipe type: Dessert
Ingredients
  • 3 cups all-purpose flour
  • 1 teaspoon baking soda
  • 1 teaspoon coarse salt
  • 1¾ cups brown sugar
  • 1 cup unsalted butter, softened
  • ¼ cup white sugar
  • 2 eggs
  • 2 teaspoons vanilla extract
  • 2 cups chocolate chips
  • 18 unwrapped caramel candies (such as Werther's®), each cut into 6 pieces
Instructions
  1. Preheat oven to 350 degrees F (175 degrees C).
  2. Whisk flour, baking soda, and salt together in a bowl.
  3. Beat brown sugar, butter, and white sugar together in a bowl using an electric mixer until creamy. Beat eggs, 1 at a time, into butter mixture until blended; beat in vanilla extract. Stir flour mixture into butter mixture until dough is just combined; fold in chocolate chips.
  4. Divide dough into thirty six 2 tablespoon-size balls; arrange on a baking sheet. Press 3 caramel pieces into each dough ball.
  5. Bake in the preheated oven until edges are golden brown, 13 to 15 minutes. Transfer cookies to a wire rack to cool.

Watch the recipe video here:

Salted Caramel Chocolate Chip Cookies: https://trib.al/74jVUIg

Posted by Allrecipes on Monday, March 25, 2019

Dessert

Instant Pot Elvis-Style Steel Cut Oatmeal

Instant Pot Elvis-Style Steel Cut Oatmeal
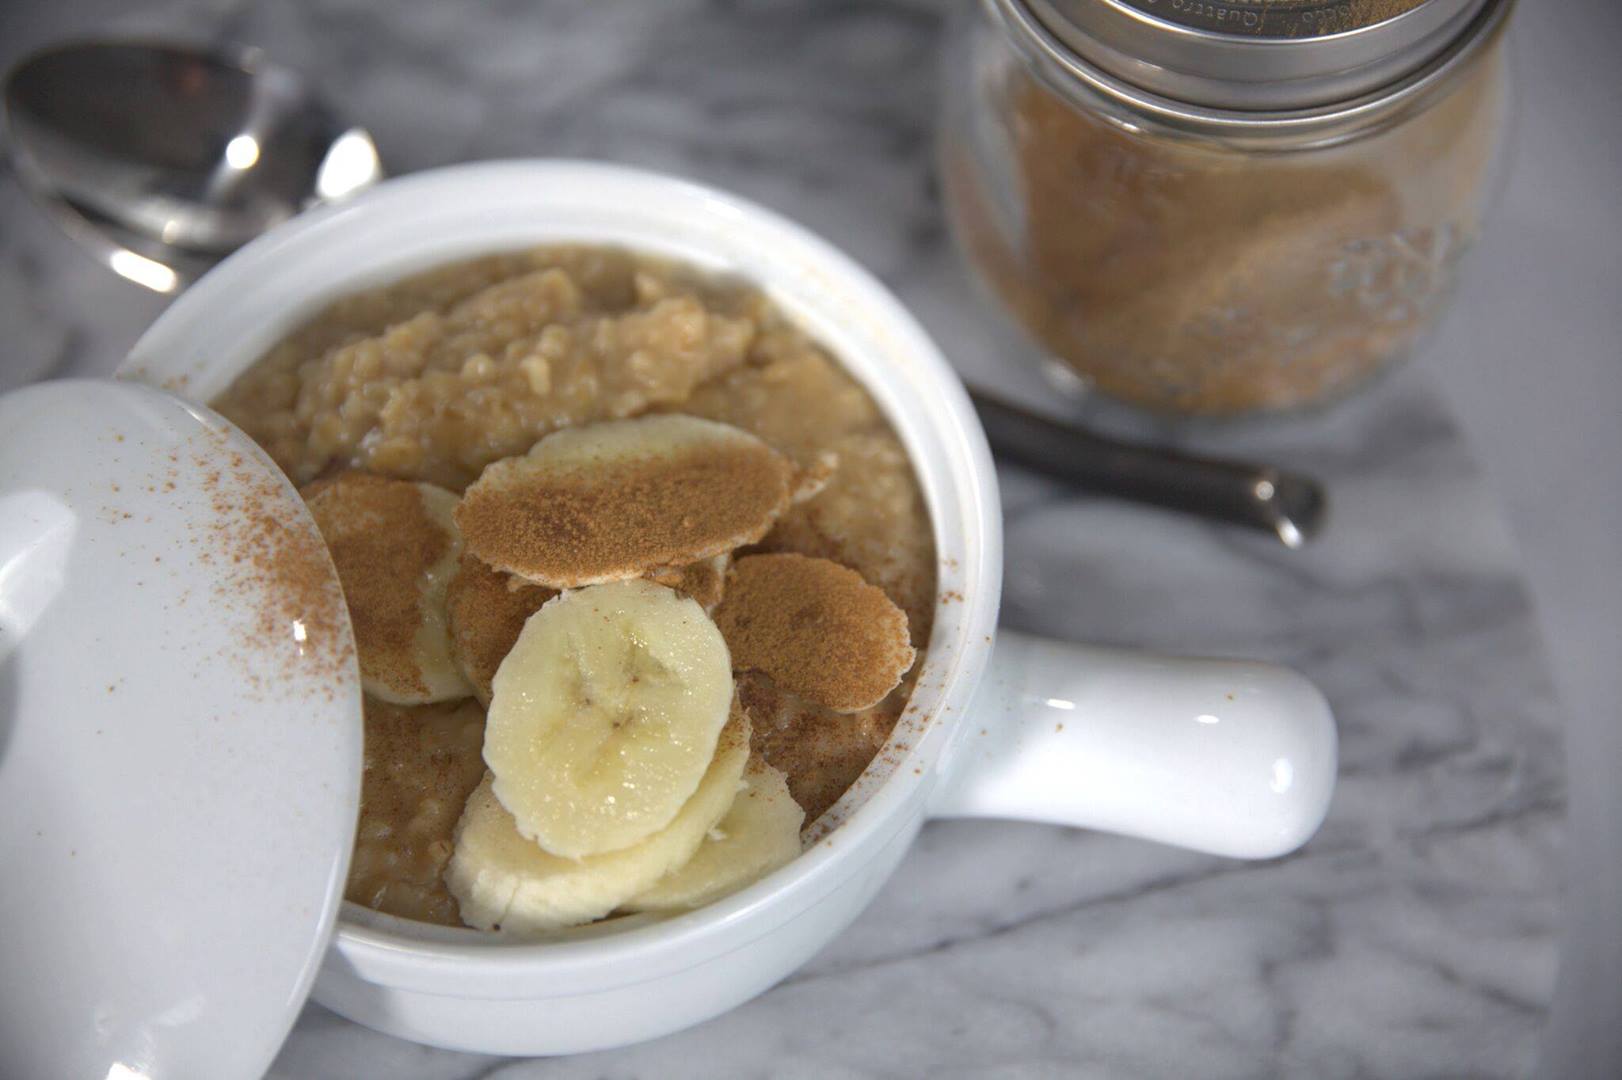
This creamy confection would make The King proud.
Author:
Cuisine: Italian
Recipe type: Dessert
Ingredients
  • 2 tbsp butter
  • 1½ cups steel-cut oats
  • 4½ cups water
  • ½ tsp kosher salt
  • ⅓ cup brown sugar
  • ⅓ cup peanut butter
  • 2 bananas, sliced
  • Cinnamon, for serving
  • Half and half or cream, for serving (optional)
Instructions
  1. Add butter to the Instant Pot. Using the display panel select the SAUTE function.
  2. When butter melts, add the oats and saute, stirring often, for about 5 minutes or until lightly toasted and fragrant.
  3. Add the water and salt and stir to combine, ensuring all oats are submerged.
  4. Turn the pot off by selecting CANCEL, then secure the lid, making sure the vent is closed.
  5. Using the display panel select the MANUAL function*. Use the +/- keys and program the Instant Pot for 12 minutes.
  6. When the time is up, let the pressure naturally release for 10 minutes, then quick-release the remaining pressure.
  7. Stir the oatmeal to incorporate remaining liquid, then stir in brown sugar and peanut butter until combined.
  8. Serve hot topped with bananas, a sprinkle of cinnamon and a drizzle of half and half or cream (optional).

Watch the recipe video here:

This creamy confection would make The King proud.RECIPE: http://chopsecrets.com/instant-pot-elvis-style-steel-cut-oatmeal/

Posted by Chop Secrets on Sunday, May 12, 2019

Dessert

Rhubarb Upside-Down Cake

Rhubarb Upside-Down Cake
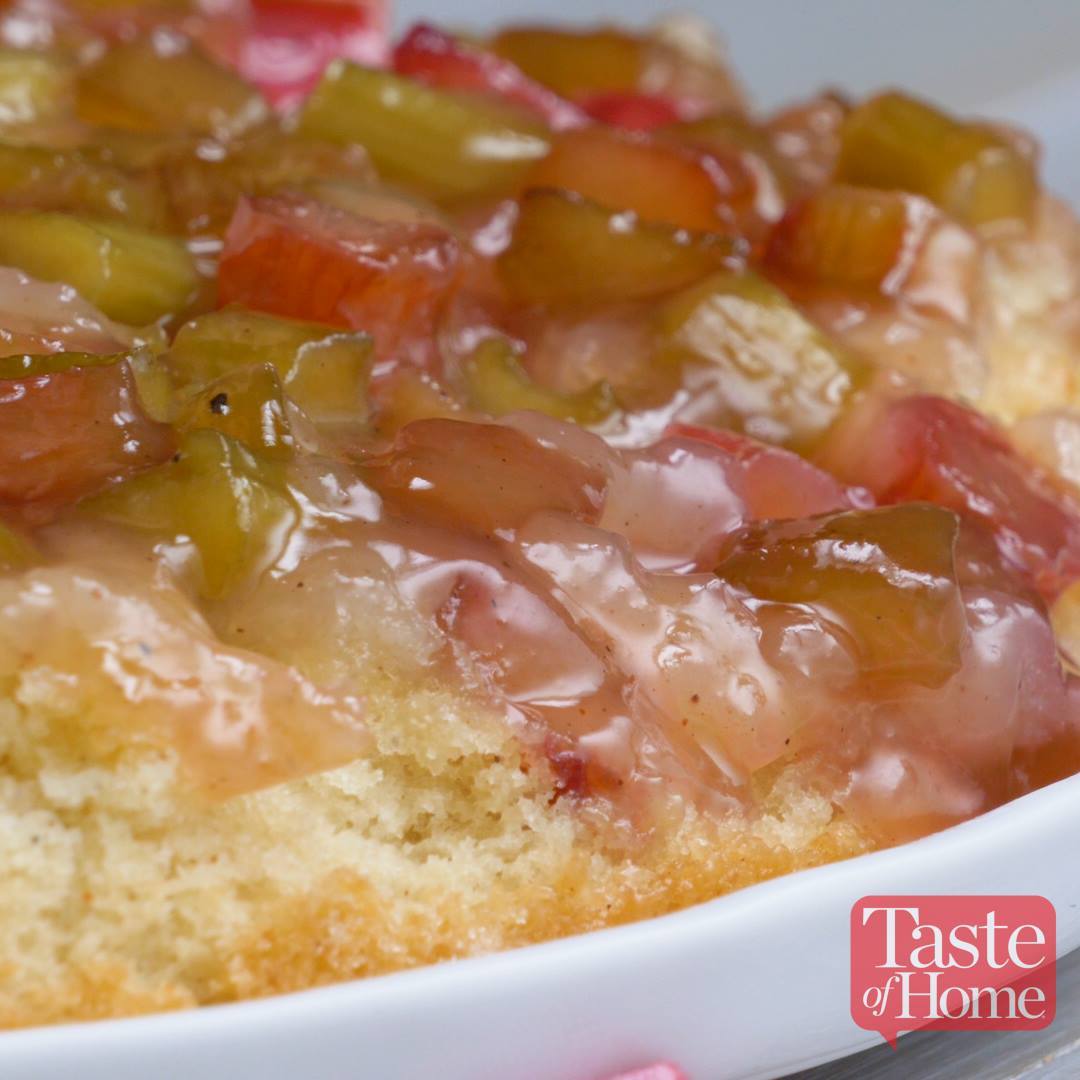
I’ve baked this cake every spring for many years, and my family loves it! At potlucks it gets eaten up quickly, even by folks who don’t normally go for rhubarb. Use your own fresh rhubarb, hit up a farmers market or find a neighbor who will trade stalks for the recipe!
Author:
Cuisine: American
Recipe type: Dessert
Ingredients
  • 3 cups sliced fresh or frozen rhubarb
  • 1 cup sugar
  • 2 tablespoons all-purpose flour
  • ¼ teaspoon ground nutmeg
  • ¼ cup butter, melted
BATTER
  • ¼ cup butter, melted
  • ¾ cup sugar
  • 1 large egg, room temperature
  • 1-1/2 cups all-purpose flour
  • 2 teaspoons baking powder
  • ½ teaspoon ground nutmeg
  • ¼ teaspoon salt
  • ⅔ cup whole milk
  • Sweetened whipped cream, optional
Instructions
  1. Place rhubarb in a greased 10-in. heavy ovenproof skillet. Combine sugar, flour and nutmeg; sprinkle over rhubarb. Drizzle with butter; set aside. For batter, in a large bowl, beat the butter and sugar until blended. Beat in the egg. Combine the flour, baking powder, nutmeg and salt. Gradually add to egg mixture alternately with milk, beating well after each addition.
  2. Spread over rhubarb mixture. Bake at 350° for 35 minutes or until a toothpick inserted in the center comes out clean. Loosen edges immediately and invert onto a serving dish. Serve warm. Serve with whipped cream if desired.

Watch the recipe video here:

This dessert will convert rhubarb haters into rhubarb lovers!> Get the recipe for Rhubarb Upside-Down Cake: https://trib.al/153P6YQ

Posted by Taste of Home on Thursday, May 9, 2019

Dessert

Brownie Monster Cookies

Brownie Monster Cookies
Monster cookies meet brownies in this mash-up of the classics. Perfect for after school or anytime you need a chocolaty, crunchy treat.
Author:
Cuisine: American
Recipe type: Dessert
Ingredients
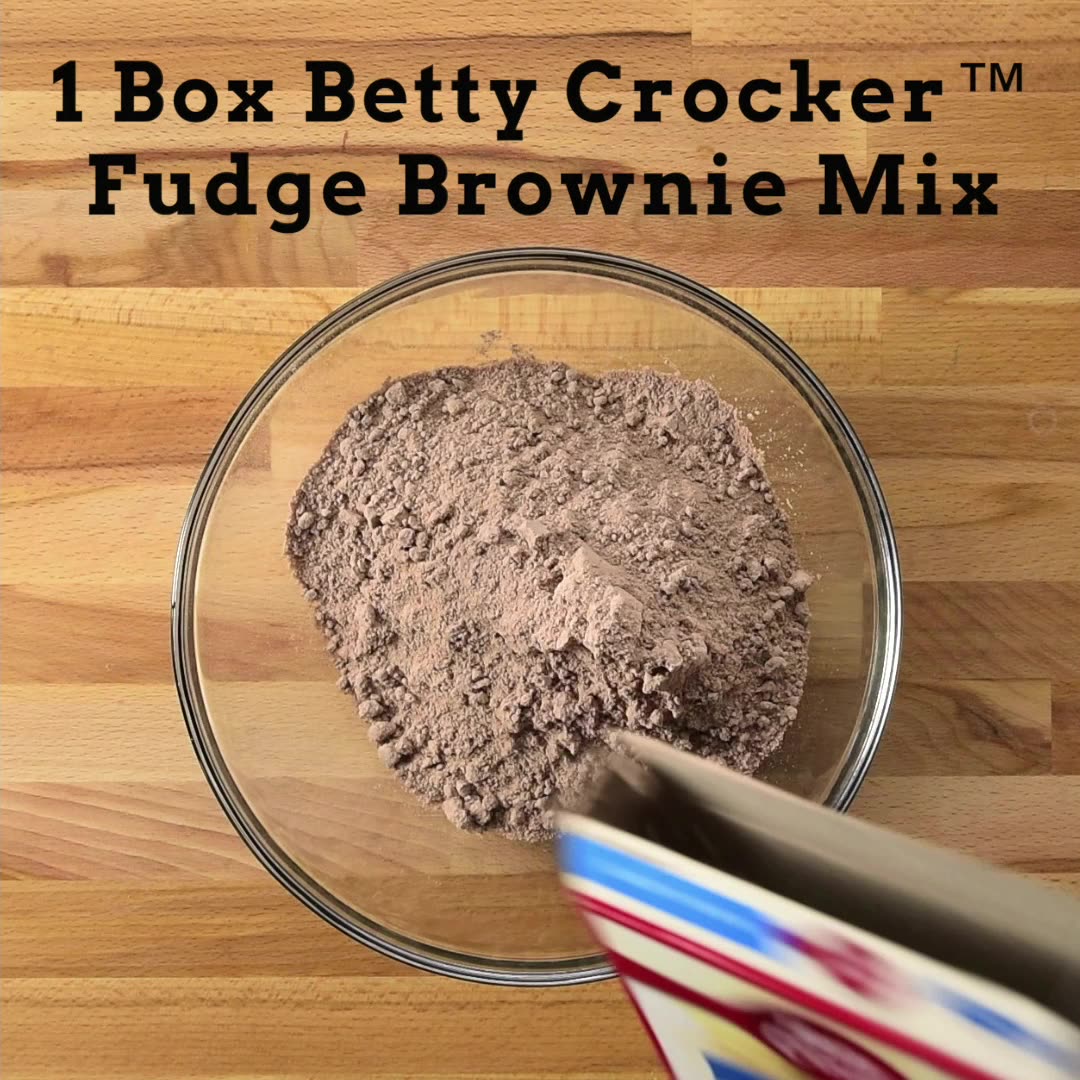
  • 1 box (1 lb 2.3 oz) Betty Crocker™ fudge brownie mix
  • ½ cup quick-cooking oats
  • ½ cup butter, melted
  • 1 tablespoon water
  • 1 egg
  • ¾ cup M&M's® chocolate candies
  • ½ cup peanut butter chips
  • ½ cup semisweet chocolate chips
Instructions
  1. Heat oven to 350°F. Line cookie sheets with cooking parchment paper.
  2. In large bowl, stir together brownie mix and oats. Add melted butter, water and egg; stir until well blended. Stir in candies and chips.
  3. Shape dough into 2-inch balls. Place on cookie sheet 3 inches apart. Press each ball slightly to flatten.
  4. Bake 12 to 14 minutes or until tops of cookies are no longer wet looking. Cool 5 minutes; remove from cookie sheets to cooking racks.

Watch the recipe video here:

Monster cookies meet brownies in this mash-up of the classics.Brownie Monster Cookies recipe:…

Posted by Betty Crocker on Wednesday, May 29, 2019

Dessert

Surprise Inside Independence Cake

Surprise Inside Independence Cake
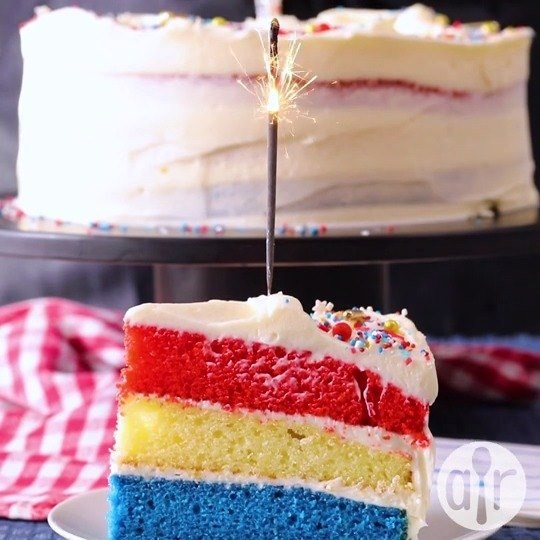
This extra-moist cake with buttercream icing is sure to get firework-worthy oohs and aahs!
Author:
Cuisine: American
Recipe type: Dessert
Ingredients
  • cooking spray
  • 1 (18.25 ounce) package white cake mix
  • 1 (3.5 ounce) package instant French vanilla pudding mix
  • ¾ cup water
  • ¾ cup vegetable oil
  • 4 eggs
  • 1 drop red food coloring, or as needed
  • 1 drop blue food coloring, or as needed
  • 1 cup butter-flavored shortening
  • 1 cup unsalted butter at room temperature
  • 1 teaspoon salt
  • 1 tablespoon clear imitation vanilla extract
  • 8 cups confectioners' sugar
  • 1 cup heavy cream
Instructions
  1. Preheat oven to 350 degrees F (175 degrees C). Spray 3 9-inch cake pans with cooking spray.
  2. In a large bowl, beat the cake mix, instant pudding mix, water, vegetable oil, and eggs together with an electric mixer to form a smooth batter. Divide the batter equally into 3 smaller bowls; tint one bowl to your desired shade of red, and one to your desired shade of blue. Pour each bowl into a prepared cake pan.
  3. Bake in the preheated oven until the cakes are set and a toothpick inserted in the center of the cake comes out clean, 10 to 15 minutes. The cakes will start to pull away from the sides of the pans when done. Remove the cakes, allow to cool for about 10 minutes in the pans, and then turn out onto 3 separate pieces of plastic wrap set onto a work surface to finish cooling.
  4. While the cakes are cooling, beat the butter-flavored shortening, butter, salt, and imitation vanilla extract in a large bowl with an electric mixer until creamy. Mix in 1 cup of confectioners' sugar at a time, beating in each cup well before adding the next. Mix in the cream, 1 or 2 tablespoons at a time, until the frosting is smooth and spreadable.
  5. To decorate, lift the red layer using the plastic wrap, and gently turn over and place onto a cake plate. Remove plastic wrap. Generously frost the top of the red cake, then place the blue cake on top. Frost the blue layer, then top with the white cake; use remaining frosting to frost the top and sides of the cake.

Watch the recipe video here:

Make THE dessert to celebrate July 4th this summer. Get the Recipe: https://trib.al/zs8YmmG

Posted by Allrecipes on Wednesday, June 19, 2019