Instant Pot Cherry Chocolate Pudding Cake
Instant Pot Cherry Chocolate Pudding Cake
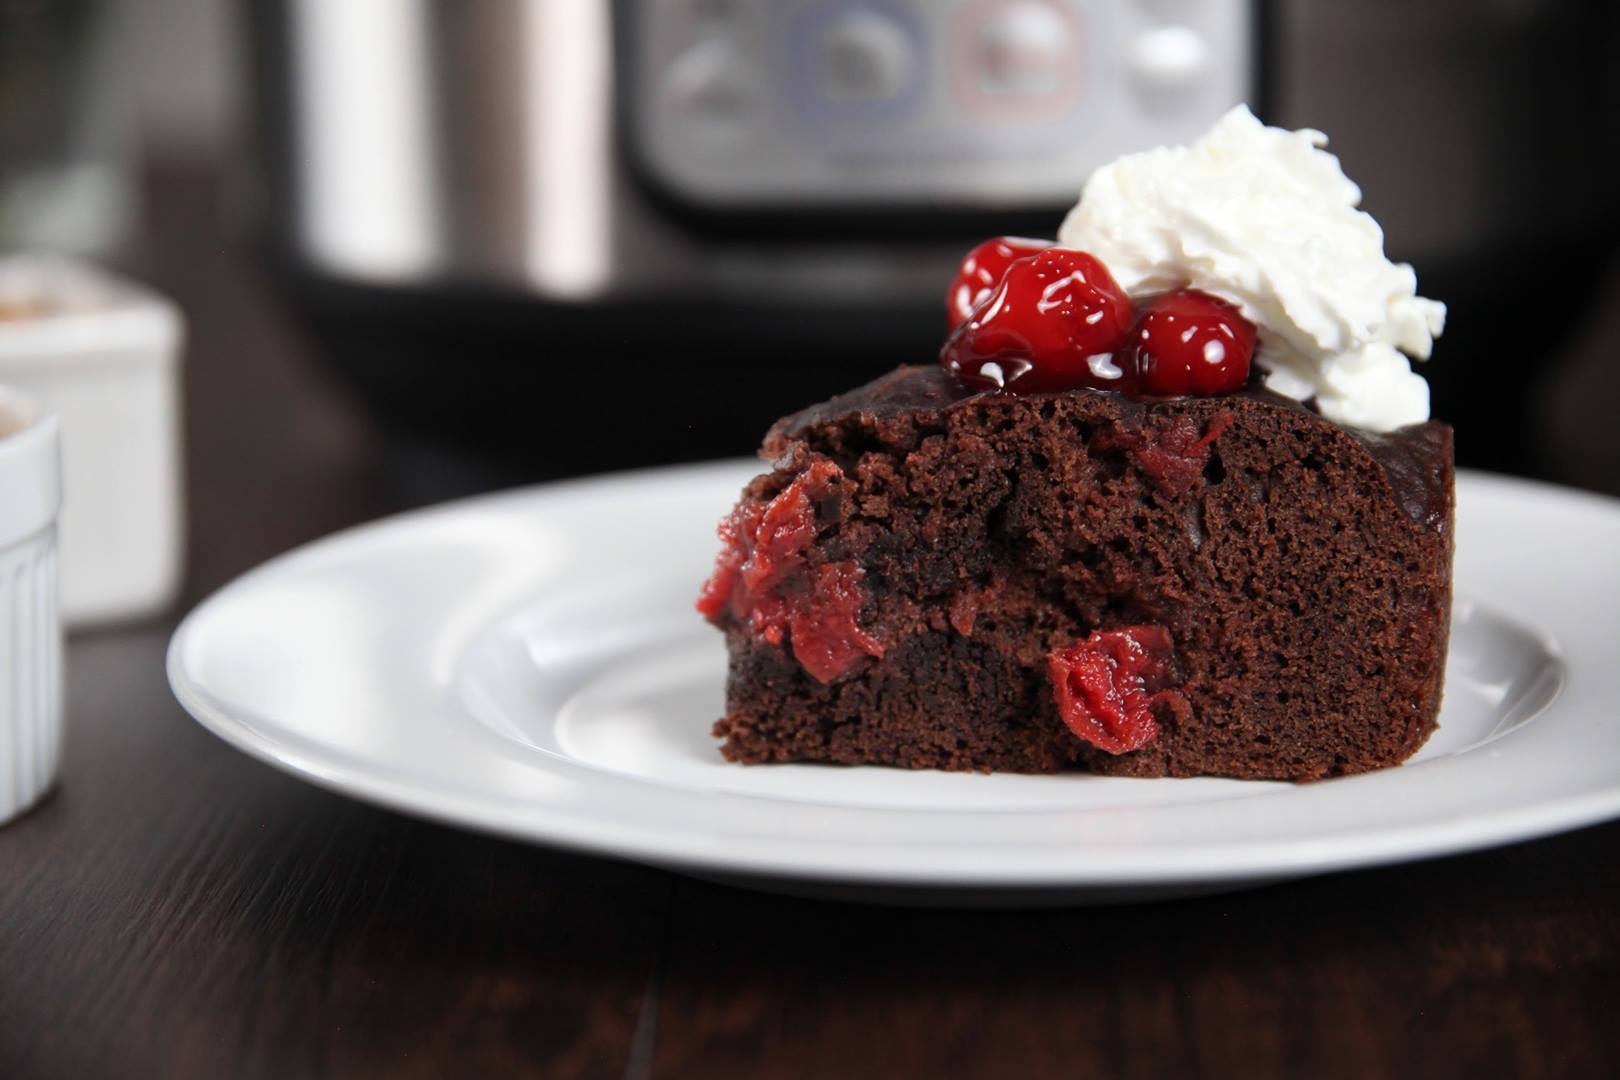
This cake is easy and elegant and has only FOUR ingredients!
Author: The Chef
Cuisine: American
Recipe type: Dessert
Ingredients
- 7.5 oz devils food cake mix (about half the package)
- 1 egg
- 1 tbsp butter, melted
- 21 oz can cherry pie filling, divided
- 1½ cups water
Instructions
- In a medium bowl, combine cake mix, egg and melted butter until most of the dry mix is incorporated.
- Fold in 1½ cups of cherry pie filling (reserve the remaining ½ cup for topping).
- Coat the inside of a 1.5 qt casserole (these fit perfectly: https://amzn.to/2DtfXM4) with non-stick spray. Pour batter evenly into the casserole. Cover the dish loosely with foil – do not seal.
- Pour 1½ cups of water in the Instant Pot and insert the steam rack. Carefully lower the casserole on to the steam rack.
- Secure the lid, making sure the vent is closed.
- Using the display panel select the MANUAL function*. Use the +/- keys and program the Instant Pot for 25 minutes.
- When the time is up, let the pressure naturally release for 10 minutes, then quick-release the remaining pressure.
- Serve topped with remaining cherry pie filling (warmed if desired).
Watch the recipe video here:
This cake is easy and elegant and has only FOUR ingredients!RECIPE: http://chopsecrets.com/instant-pot-cherry-chocolate-pudding-cake/
Posted by Chop Secrets on Wednesday, May 1, 2019