Dessert

Giant Whoopie Pie

Giant Whoopie Pie
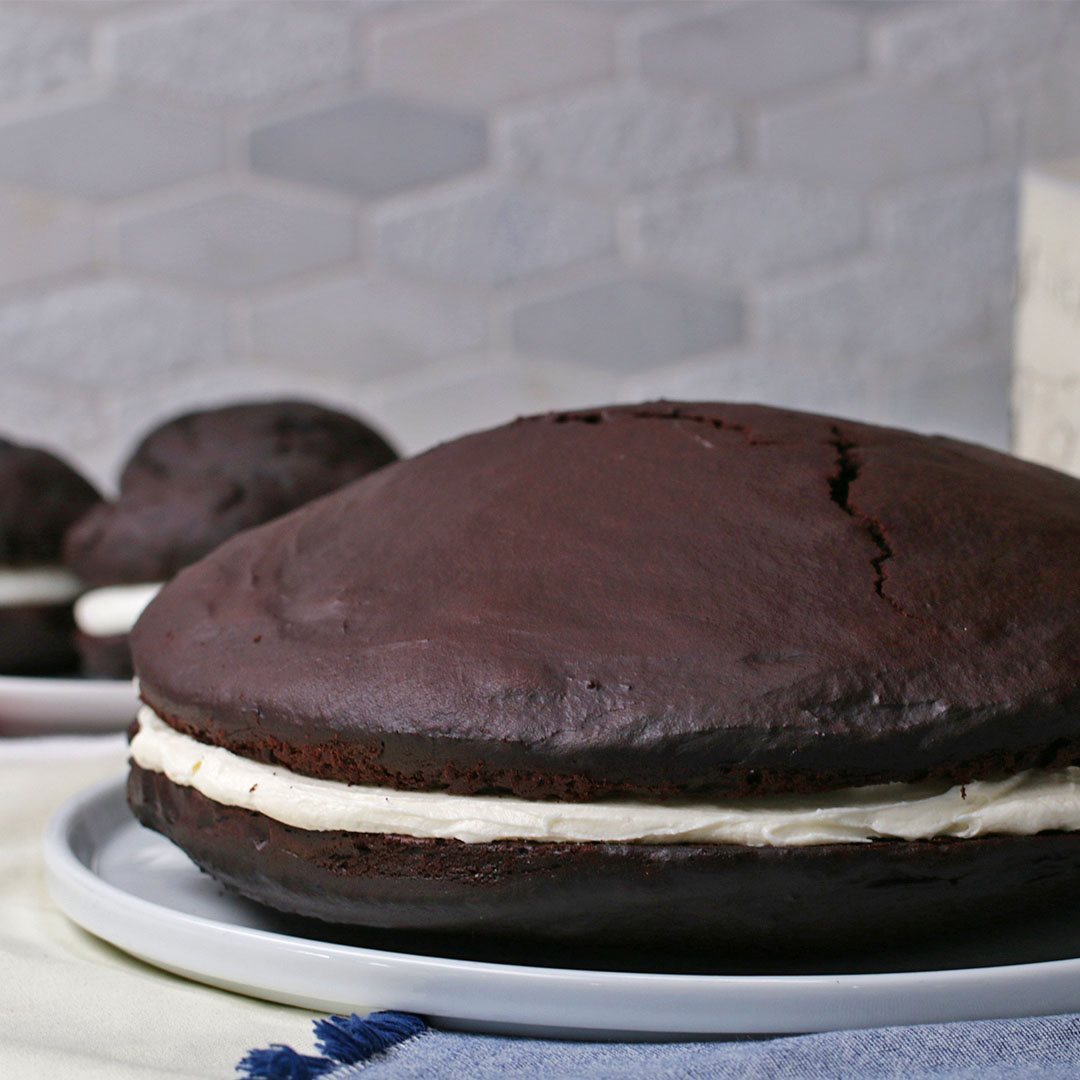
Your favorite chocolate cookie sandwich, now in giant form! When transferring the cake batter to the pans, spread a thinner layer toward the edges, keeping the center thicker. The domed tops will replicate the classic whoopie pie shape. After the pillowy cake rounds cool, sandwich with the fluffy marshmallow filling, then slice and serve!
Author:
Cuisine: American
Recipe type: Dessert
Ingredients
WHOOPIE PIE
  • nonstick cooking spray, for greasing
  • 4 ½ cups all purpose flour (560 g)
  • 1 cup cocoa powder (120 g)
  • 1 teaspoon espresso powder
  • 1 ½ teaspoons kosher salt
  • 1 tablespoon baking soda
  • 2 cups brown sugar (440 g)
  • 2 cups water (480 mL)
  • 1 tablespoon white vinegar
  • 1 tablespoon vanilla extract
  • 1 cup vegetable oil (240 mL)
MARSHMALLOW FILLING
  • 16 tablespoons unsalted butter, softened
  • 13 oz marshmallow fluff (370 g)
  • 2 cups powdered sugar (240 g)
Instructions
  1. Preheat the oven to 350˚F (180˚C). Grease and line 2 10-inch (25 cm) round cake pans with parchment paper.
  2. Make the whoopie pie: In a large bowl, whisk together the flour, cocoa powder, espresso powder, salt, baking soda, and brown sugar, making sure there are no lumps.
  3. Make a well in the center of the dry ingredients, then pour in the water, vinegar, vanilla and oil to the well. Whisk to combine, working slowly to avoid clumps.
  4. Scoop 2½ cups (600 g) of batter into the center of each cake pan. Use an offset spatula or a knife to spread the edges of the batter just to the edges of the pans. Do not level the top of the cake, to help create a domed shape.
  5. Bake for 30 minutes, or until a toothpick inserted in the center of the cakes comes out clean. Let cool in the pans for 10 minutes, then carefully transfer to a wire rack to cool completely.
  6. Make the filling: In a large bowl, combine the butter and marshmallow fluff and cream with an electric hand mixer for 2–3 minutes, until fully combined. Sift in the powdered sugar, then beat for another 2–3 minutes, until light and fluffy. Transfer the filling to a piping bag or zip-top bag. Cut a 2-inch (5 cm) wide opening on a corner.
  7. Invert a cake onto a serving platter so the domed side is facing down. Pipe a thick spiral of filling onto the cake, leaving a ¼-inch (½ cm) border around the edge, and smooth with an offset spatula. Place the remaining cake on top of the filling, domed side up, and push down slightly to attach.
  8. Slice and serve.
  9. Enjoy!

Watch the recipe video here:

Your favorite nostalgic chocolate cookie sandwich, now in giant form!Get the recipe: https://tasty.co/recipe/giant-whoopie-pie

Posted by Tasty on Friday, August 30, 2019
Main dish

Chocolate-Caramel Revel Bars

Chocolate-Caramel Revel Bars
These indulgent bars are where ooey-gooey meets chewy--with the tastiest results! Betty Crocker™ chocolate chip cookie mix (with oats added for a perfectly chewy texture) gets dolloped with fudgy chocolate and caramel, and baked into a classic bar that no one will be able to resist.
Author:
Cuisine: American
Recipe type: Main dish
Ingredients
  • 1 pouch (17.5 oz) Betty Crocker™ chocolate chip cookie mix
  • Butter and egg called for on cookie mix pouch
  • ½ cup old-fashioned oats
  • ½ cup Kraft™ caramel bits
  • 1 cup semisweet chocolate chips
  • ¾ cup canned sweetened condensed milk (not evaporated)
Instructions
  1. Heat oven to 350°F. Spray 9-inch square pan with cooking spray.
  2. In large bowl, mix cookie mix, butter and egg until soft dough forms. Stir in oats and caramel bits until blended. Remove ¾ cup of the cookie dough; set aside. Press remaining dough evenly in bottom of pan.
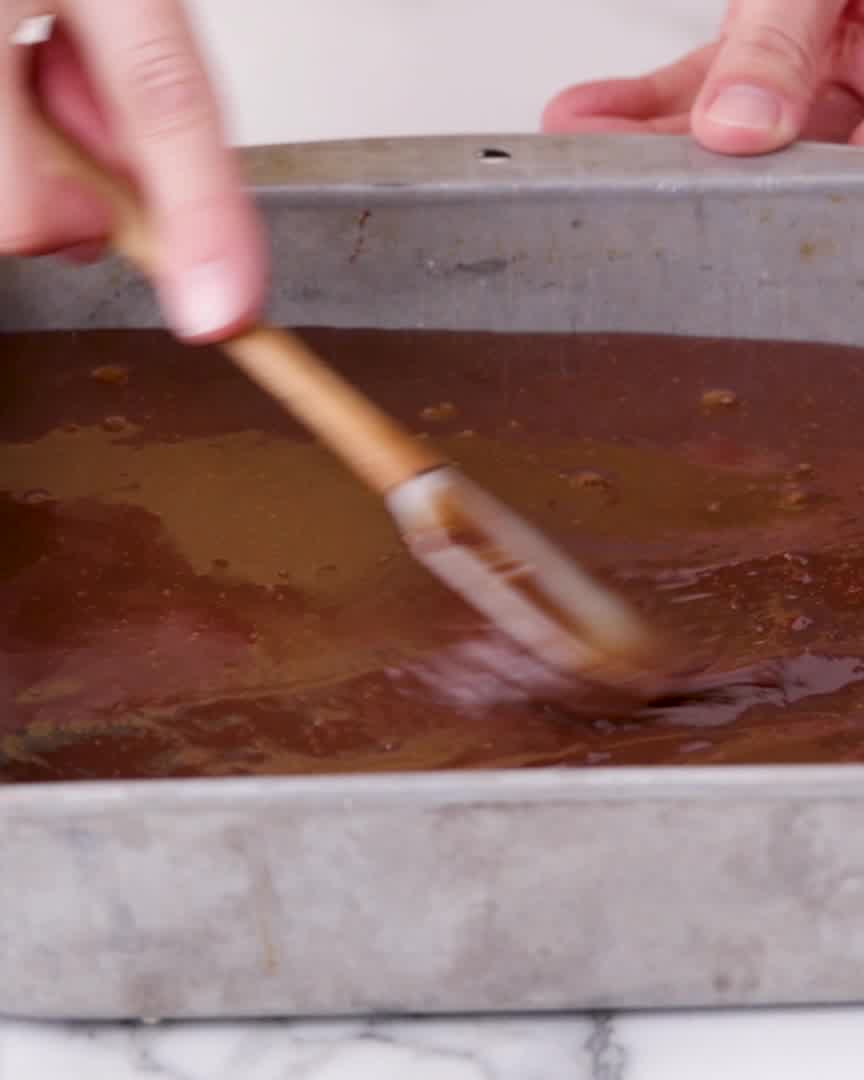
  3. In 1-quart saucepan, heat chocolate chips and condensed milk over low heat 2 minutes, stirring frequently, until chocolate is melted and mixture is smooth. Spread mixture on top of cookie base. Break remaining cookie dough into small pieces, and sprinkle over top.
  4. Bake 34 to 38 minutes or until golden brown. Cool completely, about 2½ hours.
  5. Cut into 4 rows by 4 rows. Store covered in airtight container at room temperature.

Watch the recipe video here:

These indulgent bars are where ooey-gooey meets chewy–with the tastiest results! Get the recipe:…

Posted by Betty Crocker on Friday, August 30, 2019
Main dish

Tabitha Brown’s Healthy Vegan Pizza Bagels

Tabitha Brown’s Healthy Vegan Pizza Bagels
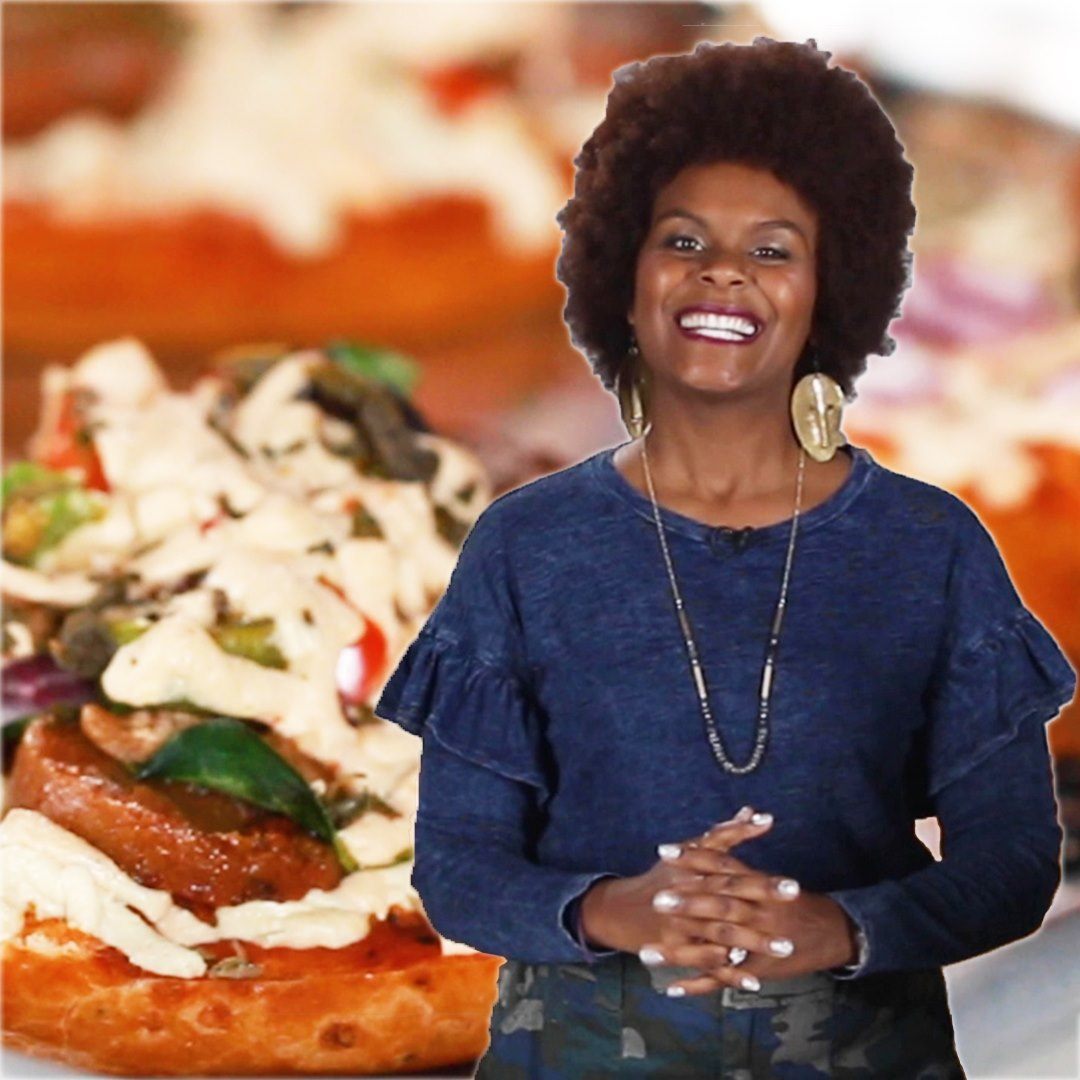
Tabitha Brown’s Healthy Vegan Pizza Bagels recipe.
Author:
Cuisine: Italian
Recipe type: Main dish
Ingredients
  • 6 onion bagels, halved
  • ⅓ cup olive oil (80 mL)
  • 25 oz marinara sauce (705 g), 1 jar, with basil
  • 2 tablespoons garlic, minced
  • 8 oz shredded vegan mozzarella cheese (225 g), 1 bag
  • 8 oz shredded vegan pepper jack cheese (225 g), 1 bag
  • 12 oz vegan italian sausage (340 g), sliced for pepperoni or ground for sausage
  • 1 ½ cups red onion (225 g), chopped
  • 2 cups button mushroom (150 g), sliced
  • ½ cup bell pepper (50 g), red and green, diced
  • ½ cup black olive (65 g), sliced
  • 2 tablespoons dried oregano
  • fresh herb, torn, for garnish
Instructions
  1. Preheat the oven to 400˚F (200˚C).
  2. Arrange the bagels cut-side up on a baking sheet. Brush with olive oil.
  3. Spread the marinara sauce over the pizzas, then sprinkle with a bit of garlic. Top with the vegan mozzarella and pepper Jack cheeses.
  4. Add your toppings of choice, such as pepperoni or ground sausage, spinach, red onion, mushrooms, bell peppers, and olives. Sprinkle a bit more cheese on top and finish with a pinch of oregano.
  5. Bake for 15 minutes until the cheese is completely melted.
  6. Enjoy!

Watch the recipe video here:

Make pizza at home with Tabitha Brown's vegan pizza bagel recipe!Recipe: https://tasty.co/recipe/tabitha-browns-healthy-vegan-pizza-bagels

Posted by Tasty on Saturday, August 31, 2019

Dessert

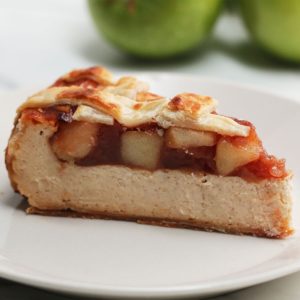
Apple Pie Cheesecake

Apple Pie Cheesecake
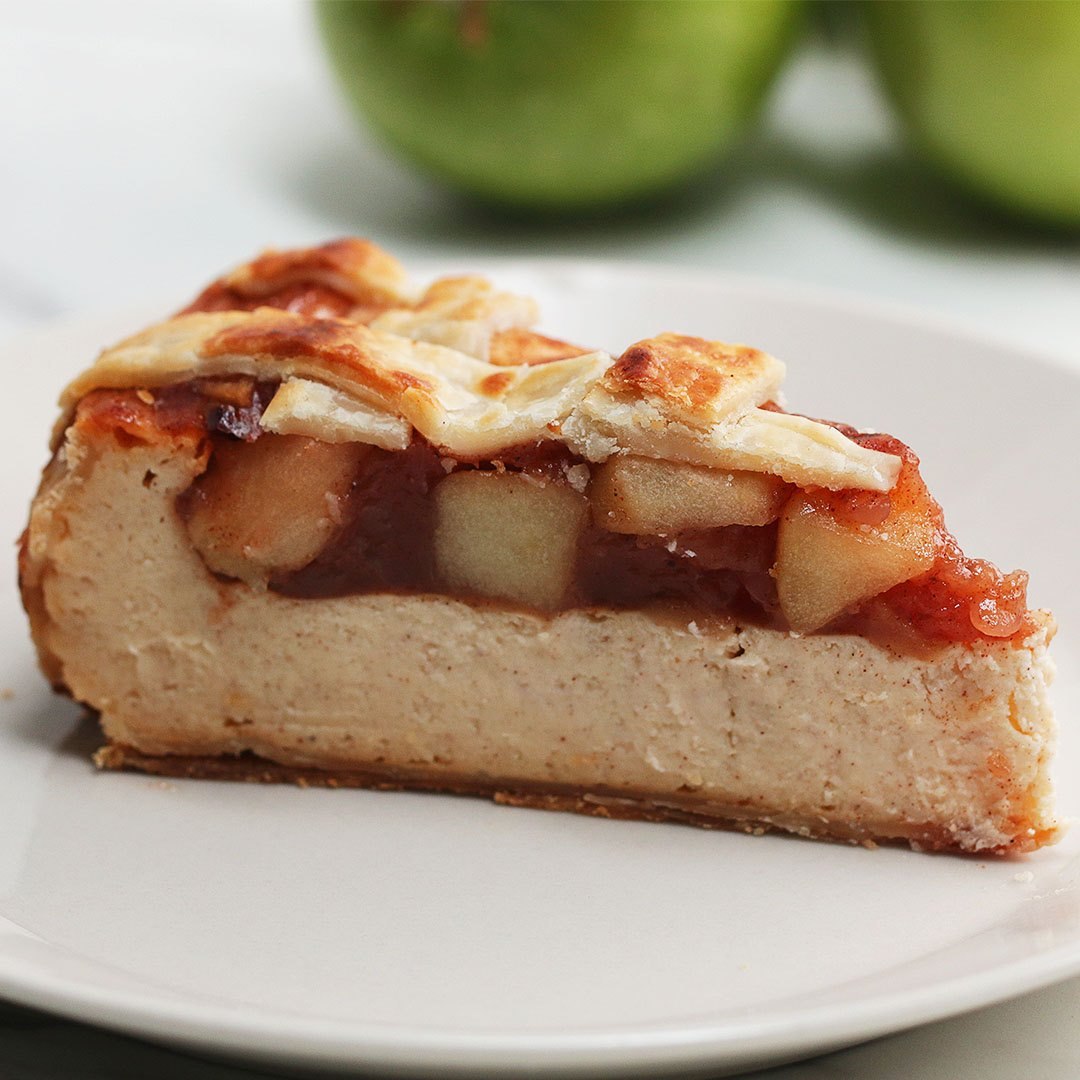
Apple Pie Cheesecake recipe.
Author:
Cuisine: American
Recipe type: Dessert
Ingredients
CHEESECAKE
  • 2 pie crusts
  • 24 oz cream cheese (680 g)
  • 1 cup sugar (200 g)
  • 1 cup sour cream (230 g)
  • ½ teaspoon vanilla extract
  • ½ teaspoon ground cinnamon
  • ½ teaspoon ground nutmeg
  • 3 eggs
APPLE PIE FILLING
  • 3 medium apples, peeled, cored and cubed
  • 1 cup water (240 mL)
  • ⅓ cup sugar (65 g)
  • 1 teaspoon ground cinnamon
  • ½ teaspoon ground nutmeg
  • 2 tablespoons cornstarch
Instructions
  1. Preheat oven to 300˚F (150˚C).
  2. Line a springform pan with a pie crust, pressing it around the sides of the pan until smooth.
  3. In a medium bowl, beat the cream cheese, sugar, vanilla, cinnamon, and nutmeg until smooth.
  4. Add the sour cream and mix together. Add in one egg at a time, whisking until smooth.
  5. Pour mixture into the springform pan and bake for 1 hour and 15 minutes.
  6. After baking, turn off the oven and let the cheesecake cool inside for 1 hour without opening the oven door.
  7. Turn up the oven temperature to 425˚F (220˚C).
  8. In a saucepan, add the apples, sugar, cinnamon, nutmeg, cornstarch, and water over medium-low heat. Stir occasionally until apples are soft (about 10 minutes), then remove from heat. Let cool.
  9. Once cool, spread apple pie filling over cheesecake.
  10. Cut the other pie crust in to ¼-inch (6 mm) strips and make a lattice pattern across the top.
  11. Brush with egg wash.
  12. Bake for 25 minutes, until golden brown.
  13. Chill until set then serve.
  14. Enjoy!

Watch the recipe video here:

This apple pie cheesecake is the best of both worlds ?FULL RECIPE: https://tasty.co/recipe/apple-pie-cheesecake

Posted by Proper Tasty on Tuesday, September 3, 2019

Dessert

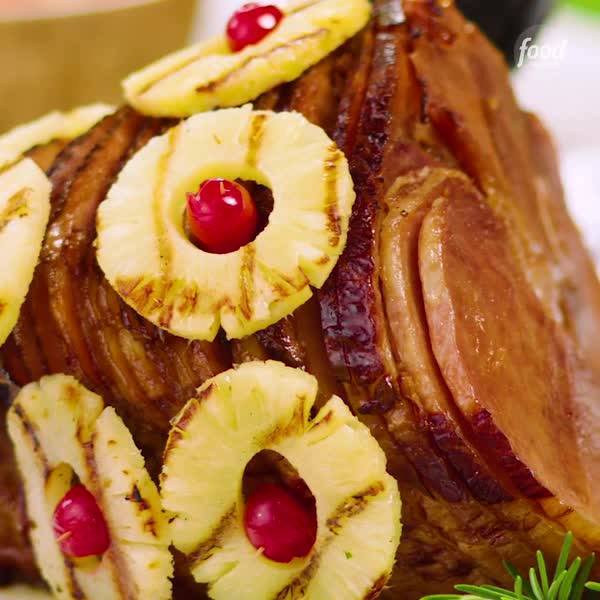
Grilled Glazed Ham

Grilled Glazed Ham
This method of grilling and glazing ham can be used with any glaze. Just make sure to heat your ham up over medium indirect heat before brushing it on. (Grill times will be affected by the temperature outside and the wind.)
Author:
Cuisine: American
Recipe type: Dessert
Ingredients
  • One 8- to 10-pound bone-in spiral-cut smoked ham
  • One 20-ounce can pineapple rings, rings and juice separated
  • 1 packed cup dark brown sugar
  • Kosher salt
  • 2 tablespoons apple cider vinegar
  • 10 maraschino cherries, stems removed
Instructions
Special equipment: heavy-duty foil; a small disposable aluminum roaster
  1. Prepare a grill for medium indirect heat. For gas grills (with 3 or more burners), turn all the burners to medium-high heat; after about 15 minutes turn off one of the middle burners and turn the remaining burners down to medium. For charcoal grills, bank one chimney starter-full of lit and ashed-over charcoal briquettes to one side of the grill. Set up a drip pan on the other side to avoid flare-ups. (Be sure to consult the grill manufacturer's guide for best results.)
  2. Cut three 12-inch pieces of heavy-duty foil. Working one piece at a time, fold in half lengthwise. Fold in half again and fold in half one more time; you should have a long strip of foil about 1½ inches wide. Twist the two ends of the strip in opposite directions making a twisted rope of foil. Repeat with the remaining two pieces of foil. Set all three ropes in the center of a small disposable aluminum roaster about 1 inch apart and place the ham on top. (The ropes will prevent the bottom of the ham from burning.) Cover tightly with foil and place over indirect heat (if your grill has a thermometer, it should be at around 325 degrees F). Cover the grill and cook until just warmed through, 35 to 45 minutes.
  3. Meanwhile, boil the pineapple juice, brown sugar and 1 teaspoon salt in a medium saucepan over medium-high heat until the glaze is very thick and has the consistency of honey, 8 to 10 minutes. Stir in the vinegar and remove from the heat.
  4. Carefully remove the foil cover from the ham and discard; baste with the glaze, making sure to get in between each slice. Increase the heat to medium-high and move the ham over direct heat. Cover the grill and cook until the glaze begins to bubble, about 5 minutes. Baste again with the remaining glaze, then cover and cook until the glaze bubbles, 5 minutes more. Continue basting and cooking until the ham is shiny and the glaze begins to brown, about 10 more minutes. Remove from the grill and let sit 10 minutes, uncovered, before serving.
  5. Meanwhile, grill the pineapple rings over direct heat until charred on one side, 4 to 5 minutes. Let cool. Arrange the pineapple rings on the uncut portion of the ham, grill marks facing up, and use toothpicks to secure them in place. Place a cherry in the center of each ring and secure with a toothpick.
  6. Serve the ham with any accumulated juices, remaining pineapple rings and cherries on the side.

Watch the recipe video here:

Make this year's holiday ham on the GRILL for smoky goodness! #ChristmasInJulySave the Recipe of the Day: https://foodtv.com/302aNNu!

Posted by Food Network on Monday, July 8, 2019

Main dish

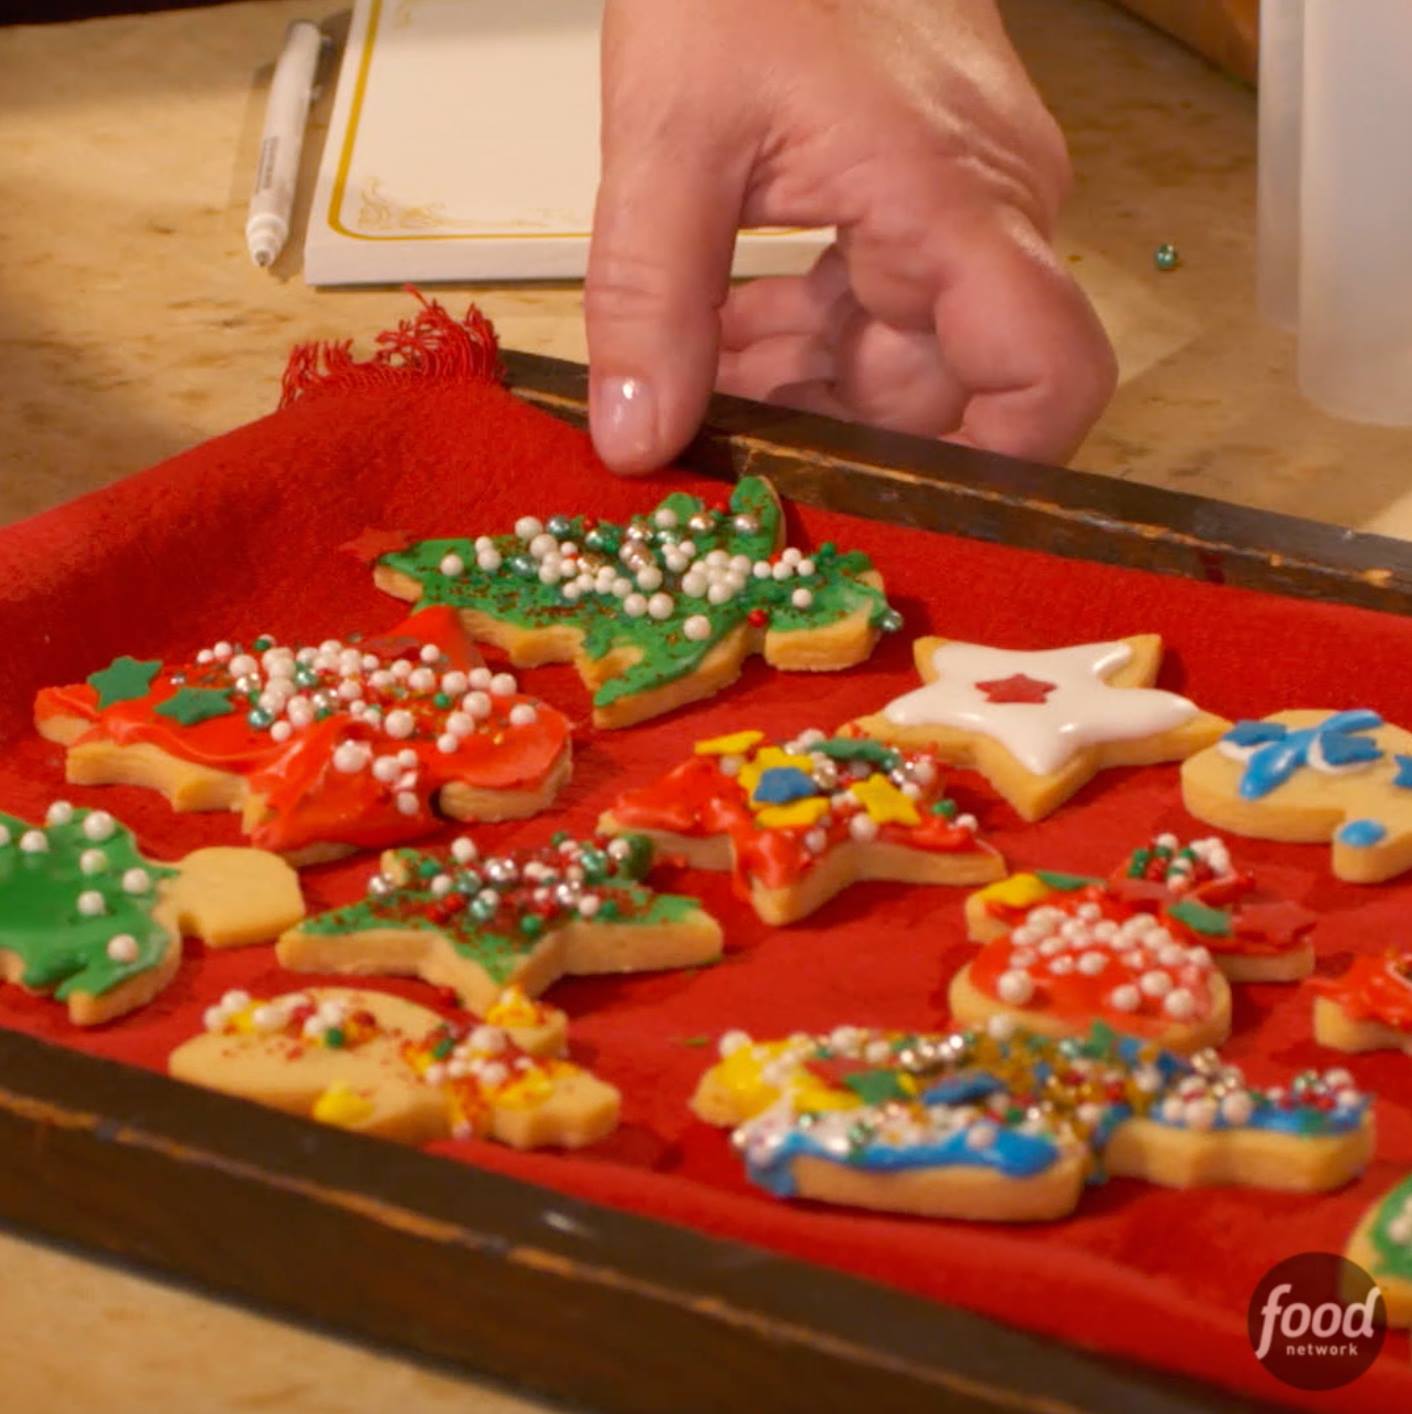
Santa’s Christmas Cookies

Santa's Christmas Cookies
Santa's Christmas Cookies recipe.
Author:
Cuisine: American
Recipe type: Main dish
Ingredients
  • 3½ cups all-purpose flour
  • ½ teaspoon salt
  • ¼ teaspoon baking powder
  • 1½ sticks (12 tablespoons) unsalted butter, softened
  • 1½ cups granulated sugar
  • 2 large eggs
  • 2 teaspoons vanilla extract
  • Gel-paste food coloring, optional
  • Royal Icing, recipe follows
  • Edible decorations, such as sprinkles or candy balls, optional
Royal Icing:
  • ¼ cup meringue powder
  • 8 cups sifted confectioner's sugar
Instructions
Special equipment: a squeeze bottle for easy decorating
  1. In a large bowl, use a whisk to combine the flour, salt and baking powder. In the bowl of a stand mixer fitted with the paddle attachment, beat the butter and sugar together on medium speed until light and fluffy, 3 to 5 minutes. Add the eggs and vanilla extract and beat until completely combined.
  2. Reduce the mixer speed to low and add the flour mixture slowly, about ½ cup at a time until finished, mixing until just combined. Form the dough into 2 disks and wrap in plastic. Refrigerate until slightly firm, about 1 hour, or up to overnight.
  3. Preheat the oven to 350 degrees F. Line 2 baking sheets with parchment paper, or spray with cooking spray.
  4. Roll the dough out onto a floured work surface and use cookie cutters to cut out shapes, then transfer to the prepared baking sheets, leaving about a 2-inch space between each cookie.
  5. Chill the cut-out cookies on the baking sheets for about 15 minutes before baking for a more precise shape. Bake until just starting to become crisp and golden around the edges, about 15 minutes. Remove the cookies to a rack and let cool completely.
  6. Use food coloring to tint Royal Icing into different colors. To decorate, cover the cookies with the Royal Icing, then sprinkle on decorations while the icing is still wet. Let the icing set completely.
Royal Icing:
  1. Yield: 4 cups icing
  2. Add the meringue powder to ½ cup water in the bowl of a stand mixer fitted with the whisk attachment and whip for about 30 seconds. Slowly add the confectioner's sugar, and continue to beat until medium peaks form. If the icing is too stiff, add water a tablespoon at a time. Keep covered until ready to use. Transfer to a squeeze bottle for easier decorating.

Watch the recipe video here:

We're ringing in the holiday season (in July!!) with Christmas Sugar Cookies! ?#ChristmasInJulyWatch Nancy Fuller…

Posted by Food Network on Monday, July 8, 2019

Main dish

Grandma’s Divinity

Grandma’s Divinity
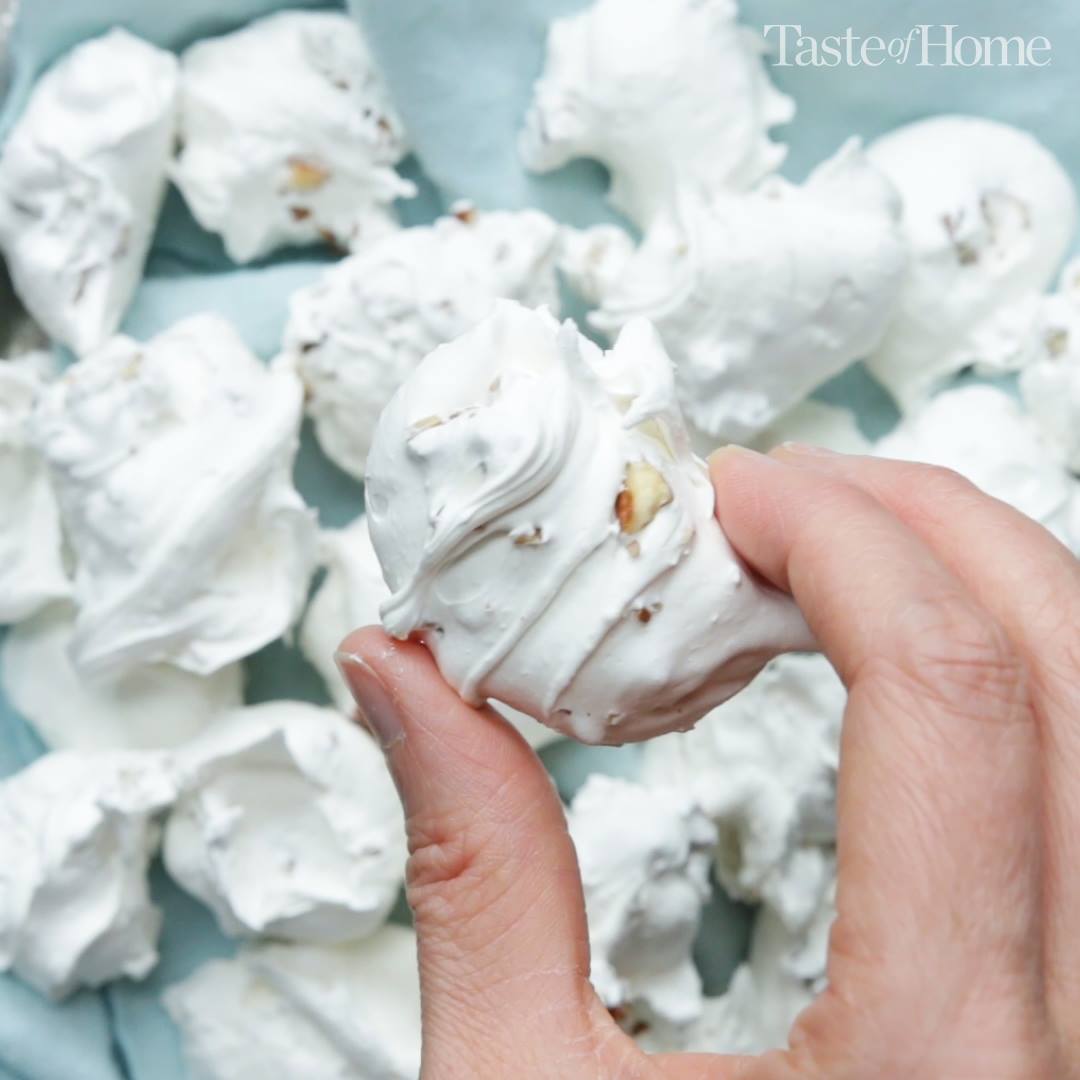
Every Christmas my grandmother and I made divinity, just the two of us. I still make it every year. —Anne Clayborne, Walland, Tennessee
Author:
Cuisine: American
Recipe type: Main dish
Ingredients
  • 2 large egg whites
  • 3 cups sugar
  • ⅔ cup water
  • ½ cup light corn syrup
  • 1 teaspoon vanilla extract
  • 1 cup chopped pecans
Instructions
  1. Place egg whites in the bowl of a stand mixer; let stand at room temperature for 30 minutes. Meanwhile, line three 15x10x1-in. pans with waxed paper.
  2. In a large heavy saucepan, combine the sugar, water and corn syrup; bring to a boil, stirring constantly to dissolve sugar. Cook, without stirring, over medium heat until a candy thermometer reads 252° (hard-ball stage). Just before the temperature is reached, beat egg whites on medium speed until stiff peaks form.
  3. Slowly add hot sugar mixture in a thin stream over egg whites, beating constantly and scraping sides of bowl occasionally. Add vanilla. Beat until candy holds its shape, 5-6 minutes. (Do not overmix or candy will get stiff and crumbly.) Immediately fold in pecans.
  4. Quickly drop by heaping teaspoonfuls onto prepared pans. Let stand at room temperature until dry to the touch. Store between waxed paper in an airtight container at room temperature.

Watch the recipe video here:

Every Christmas my grandmother and I made divinity, just the two of us. I still make it every year. —Anne Clayborne, Walland, Tennessee> Get the recipe for Grandma’s Divinity: https://trib.al/mLQqvjF

Posted by Taste of Home on Thursday, July 18, 2019

Main dish

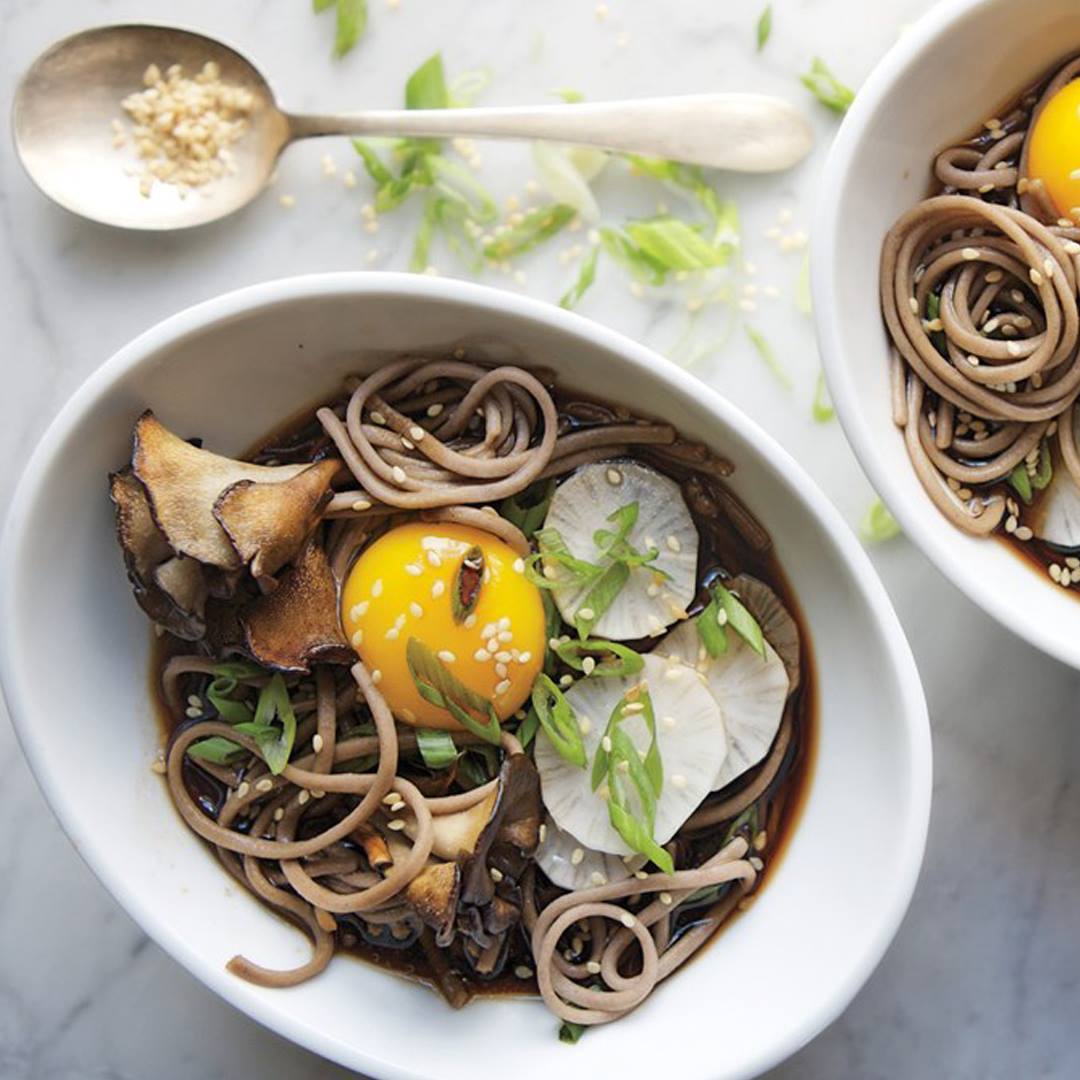
Soba and Maitake Mushrooms in Soy Broth

Soba and Maitake Mushrooms in Soy Broth
This soup is trendy ramen’s healthier sibling: The buckwheat in soba is nutritious and a good source of fiber (in a flavorful maitake mushroom soy broth, too).
Author:
Cuisine: American
Recipe type: Main dish
Ingredients
  • 2 garlic cloves, peeled, crushed
  • 1 1” piece peeled ginger, thinly sliced
  • ½ cup reduced-sodium soy sauce
  • ¼ cup dried wakame (optional)
  • 2 tablespoons vegetable oil
  • ½ pound maitake mushrooms, torn into large pieces
  • Kosher salt and freshly ground black pepper
  • 8 ounces soba (Japanese-style noodles)
  • 4 baby turnips or radishes, trimmed, thinly sliced
  • 4 large egg yolks
  • 4 scallions, thinly sliced
  • 1 tablespoon toasted sesame seeds
Instructions
  1. Bring garlic, ginger, and 4 cups water to a boil in a small saucepan; reduce heat and simmer 10 minutes. Add soy sauce and wakame, if using. Set broth aside.
  2. Heat oil in a large skillet over medium-high heat. Add mushrooms; season with salt and pepper. Cook, tossing occasionally, until golden brown and crisp, 10–12 minutes. Transfer to a large plate.
  3. Meanwhile, cook soba in a large pot of boiling salted water, stirring occasionally, until al dente; drain. Return reserved broth to a simmer.
  4. Divide soba and broth among bowls; top with mushrooms, turnips, and egg yolks. Add scallions and sprinkle with sesame seeds.

Watch the recipe video here:

Noodle soup: never a bad idea.GET THE RECIPE: http://bonap.it/DRrZFlf

Posted by Bon Appétit Magazine on Wednesday, May 15, 2019