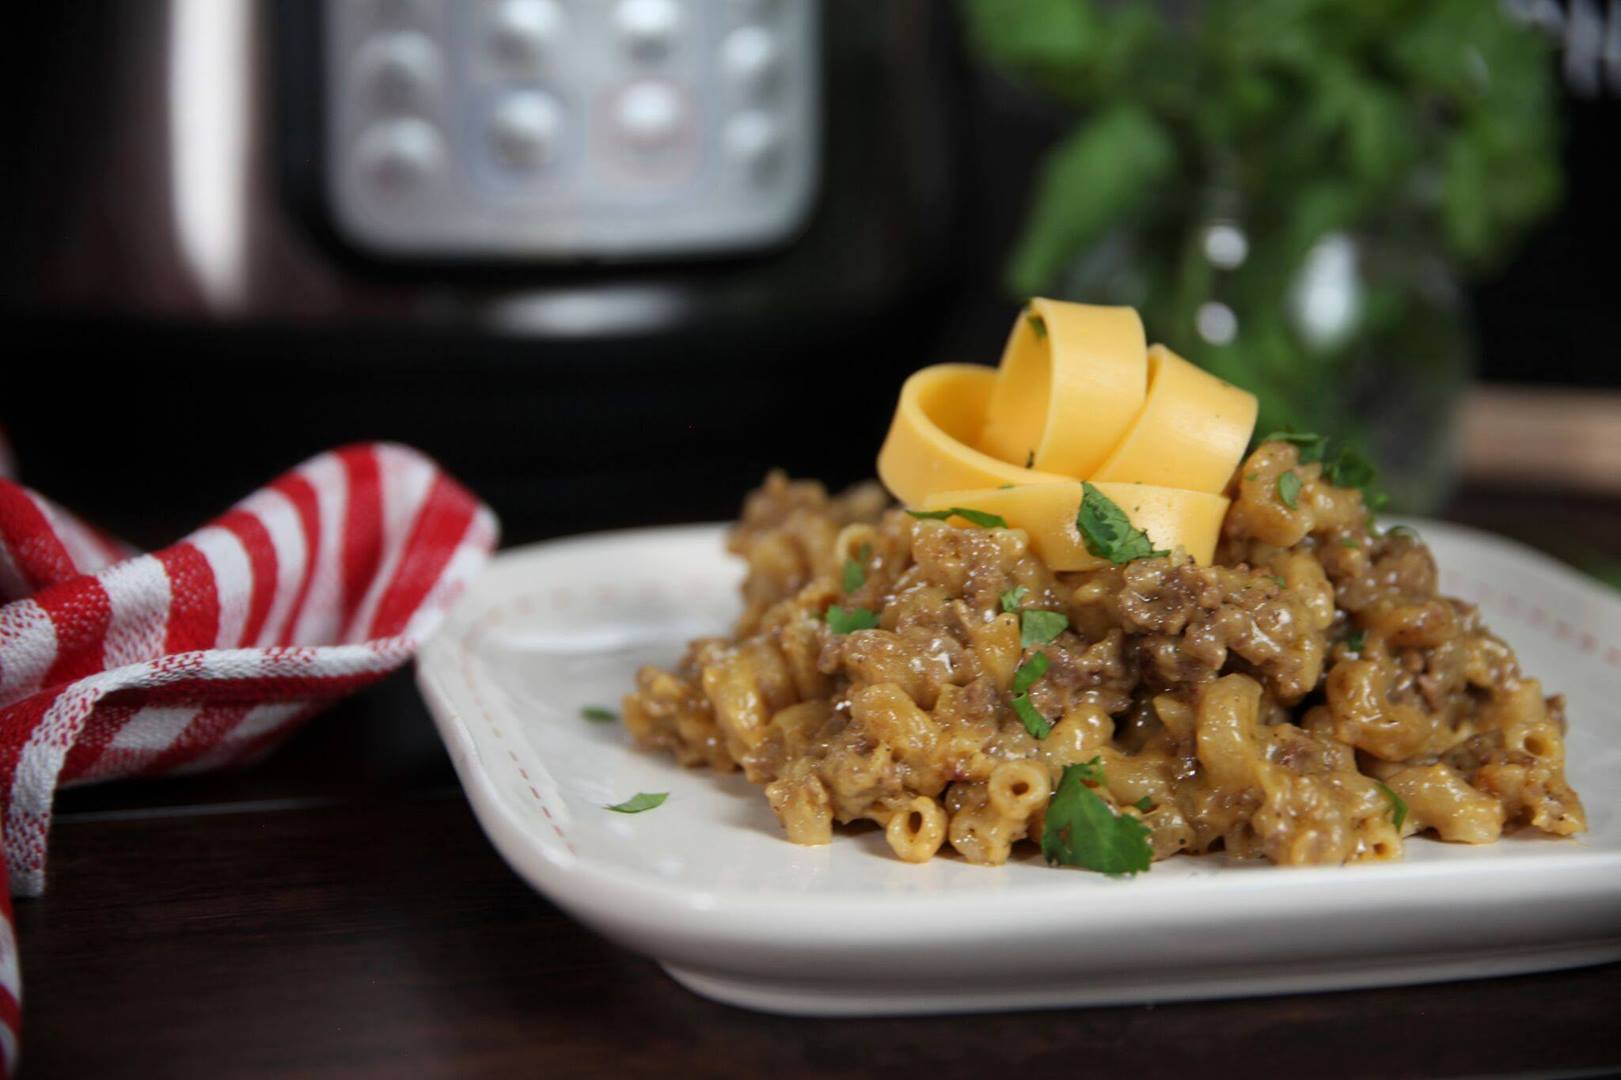
Instant Pot Homemade Hamburger Helper
Instant Pot Homemade Hamburger Helper
It tastes even better than the classic flavor we all know and love.
Author: The Chef
Cuisine: American
Recipe type: Main dish
Ingredients
For pot:
- 1 lb ground beef (preferably 93% lean)
- 1 tbsp onion powder
- 1 tbsp garlic powder
- 2 cups beef broth
- 16 oz elbow macaroni
For sauce:
- 1 cup half and half
- 10 oz cheddar cheese, shredded
- 3 oz American cheese, cut into strips (from the deli, not the kind that comes in cellophane!)
- 2 cups fresh spinach, finely chopped (optional)
- 2 tsp kosher salt, or to taste
- ½ tsp pepper, or to taste
- Additional shredded cheese for garnish, if desired
Instructions
- Using the display panel select the SAUTE function.
- Add ground beef, onion powder and garlic powder to the Instant Pot. Cook and stir until no pink remains.
- Stir in pasta and broth, then secure the lid, making sure the vent is closed. Select CANCEL to turn off the pot.
- Using the display panel select the MANUAL function*. Use the +/- keys and program the Instant Pot for 4 minutes.
- When the time is up, quick-release the remaining pressure.
- Stir in half and half, then stir in the cheese, a little at a time, until melted. Season with kosher salt and pepper.
- Just before serving, fold in chopped spinach, if using. Top with additional cheese for garnish, if desired.
Watch the recipe video here:
It tastes even better than the classic flavor we all know and love.RECIPE: http://chopsecrets.com/instant-pot-homemade-hamburger-helper/
Posted by Chop Secrets on Saturday, June 1, 2019