Piano Brownies
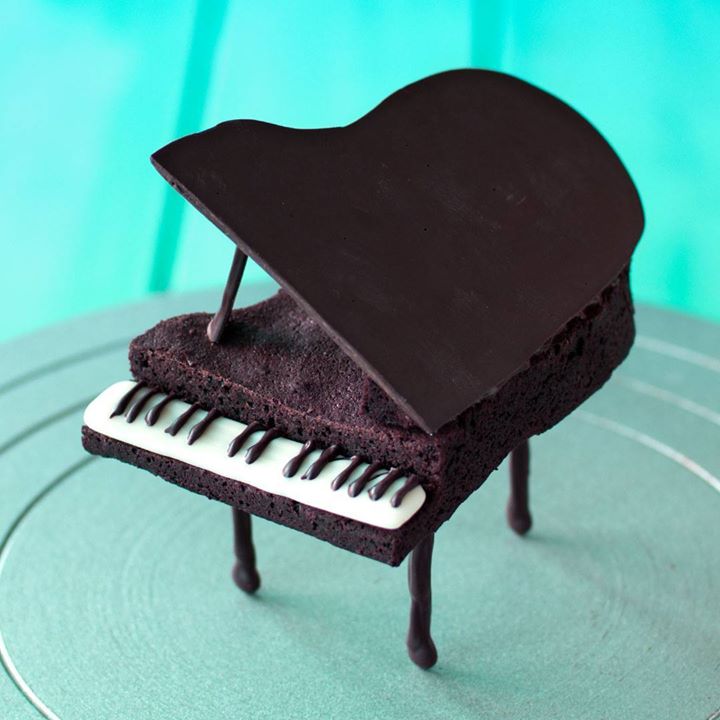
White and dark chocolate are "key" to decorating these piano-shaped brownies.
Author: The Chef
Cuisine: American
Recipe type: Dessert
Ingredients
- Brownies
- 75g plain flour
- 75g cocoa
- 300g castor sugar
- 300g butter
- 300g chocolate
- 6 eggs
- Chocolate shapes
- 200g white chocolate (melted)
- 500g dark chocolate (melted)
Instructions
- Method
- Preheat a fan forced oven to 175C (340F). Spray an 20cm by 30cm pan with non stick cooking spray and lay the bottom with parchment paper. Set aside.
- Add butter and chocolate to a microwave safe bowl. Microwave for 20 seconds at a time and repeat until it becomes smooth.
- Add flour, eggs, sugar to a large mixing bowl and mix on low speed using the paddle attachment or a wooden spoon until everything is combined.
- Slowly add chocolate and butter mixture while mixing on low speed.
- Add batter to baking tin lined with baking paper. Bake for 30 min or until a pick comes out with moist crumbs.
- While the brownies are baking and cooling draw a piano template on some paper. Place a piece of baking paper over it and draw a chocolate outline of the piano using a piping bag filled with melted dark chocolate.
- You’ll also want to make some dark chocolate legs for the piano too. Each piano should have 3 legs.
- To make the piano keys you’ll use the front of the piano template as a guide to make the white part in the shape of a long rectangle. Add some dark chocolate keys on top of that. If you don’t get it look neat, don’t worry you can come back with a sharp knife and carefully trim it all up.
- The last thing you need to prep is the brownies. Cut out the piano template and use that as a guide to cut out the brownies.
- You’ll need to cut out an indent at the front of the piano to make way for the keys.
- Add a dab of dark chocolate on the indent and use it to stick the chocolate keys. Let that set.
- To stick the legs on use the end of something small and round like the end of a small paint brush to make some shallow indents into the bottom of the pianos. Fill with chocolate and stick the chocolate legs on. The chocolate is now in the brownie which will help the, stay stable an strong.
- Lastly, cut out a long triangle of brownie the length of the side of the piano, add some dark chocolate and stick it to the top, side of the piano. That will help the piano lid stay on top which you’ll stick on with some more dark chocolate.
Watch the recipe video here:
This fudgy brownie is playing us a love song.Taste for Yourself: taste.md/2qaLRnx
Posted by Tastemade on Saturday, April 7, 2018
