Showing 3,071 Result(s)
Main dish

Instant Pot Bacon Cheeseburger Sloppy Joes
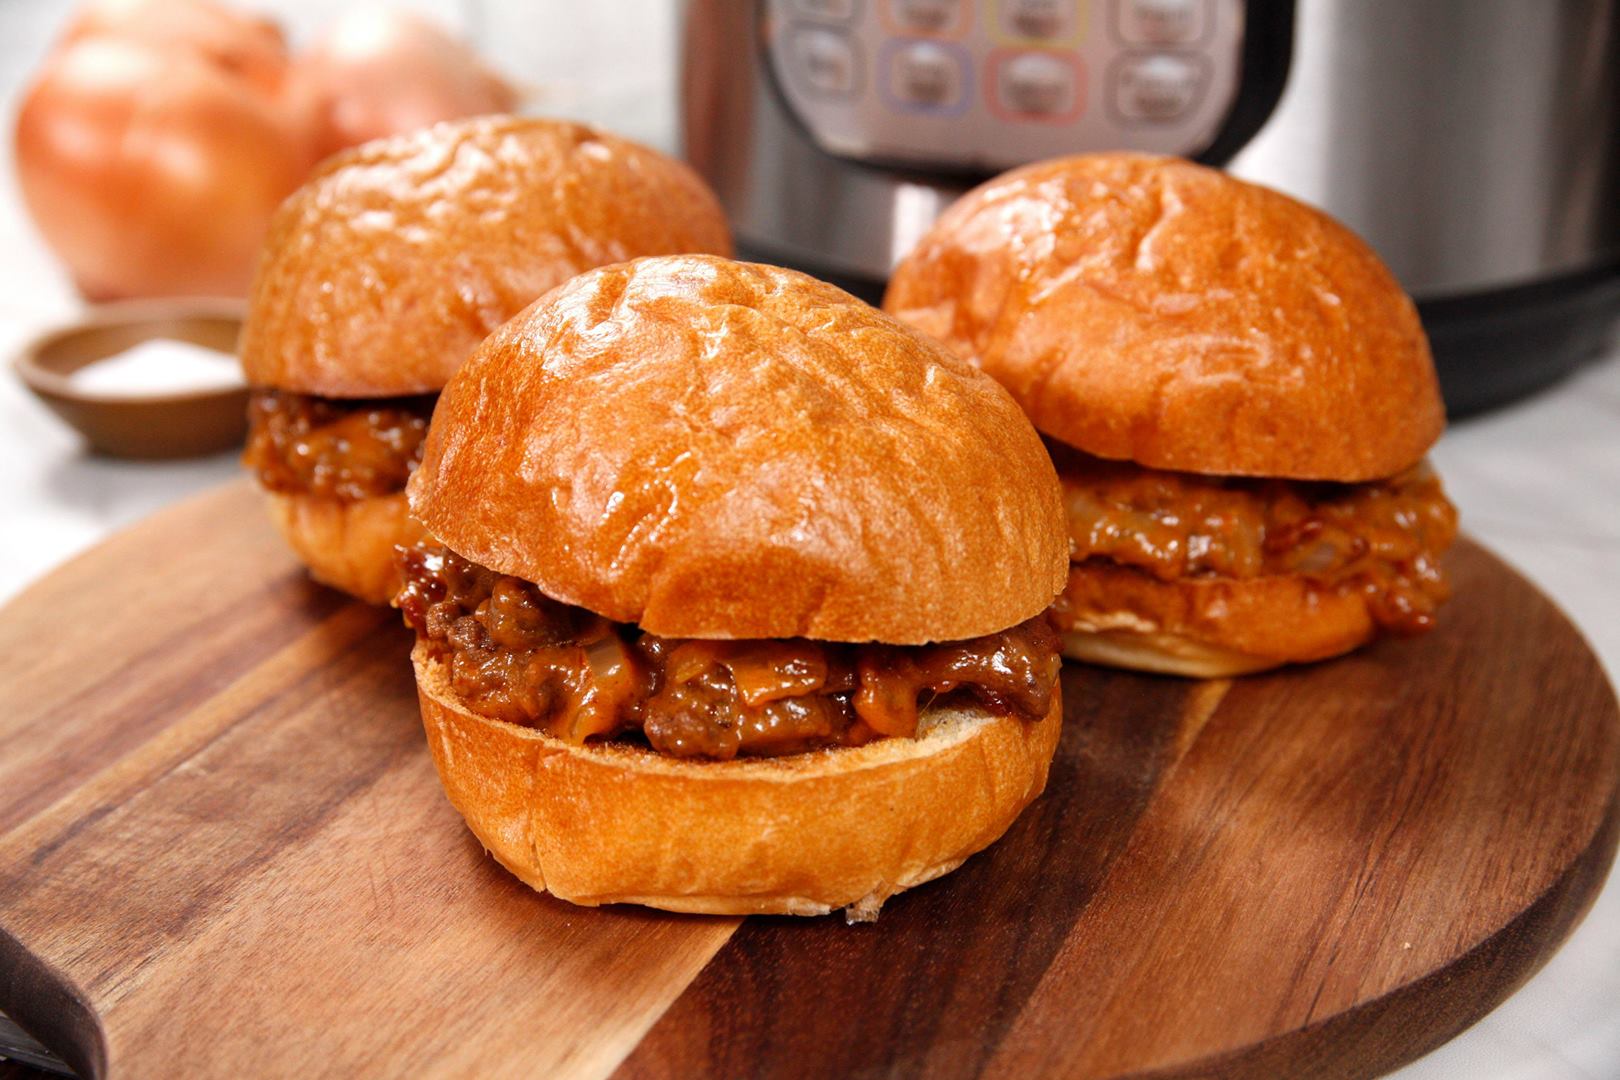
Instant Pot Bacon Cheeseburger Sloppy Joes
We’ve just stepped it up with two of our favorite flavors, BACON and CHEDDAR!
Author:
Cuisine: American
Recipe type: Main dish
Ingredients
  • 1 lb ground beef (preferably 93% lean)
  • 6 slices bacon, chopped into 1” pieces
  • 1 small onion, finely diced
  • ½ cup beef broth
  • ¼ cup ketchup
  • 2 tbsp worcestershire sauce
  • 1 tbsp yellow mustard
  • 2 tbsp cold water
  • 2 tbsp cornstarch
  • 1½ cup shredded cheddar
  • 6 toasted brioche hamburger buns
Instructions
  1. Add ground beef to the Instant Pot. Using the display panel select the SAUTE function and adjust to MORE or HIGH.
  2. Brown the meat until no pink remains. Drain fat. Transfer browned meat to a shallow dish and cover loosely with foil.
  3. Add bacon to the pot and cook until crisp. Remove bacon with a slotted spoon and set aside on a paper towel-lined plate.
  4. Add onion to the bacon drippings and saute until soft, about 3 minutes.
  5. Add broth to the pot and deglaze by using a wooden spoon to scrape the brown bits from the bottom of the pot.
  6. Put the ground beef back into to the pot and add the ketchup, worcestershire and mustard.
  7. Turn the pot off by selecting CANCEL, then secure the lid, making sure the vent is closed.
  8. Using the display panel select the MANUAL function*. Use the +/- keys and program the Instant Pot for 5 minutes.
  9. When the time is up, quick-release the pressure.
  10. In a small bowl, mix together cornstarch and cold water. Stir into the pot until thickened, returning to SAUTE mode as needed.
  11. Stir in bacon and cheese. Serve hot on toasted brioche buns.

Watch the recipe video here:

We’ve just stepped it up with two of our favorite flavors, BACON and CHEDDAR! RECIPE: http://chopsecrets.com/instant-pot-bacon-cheeseburger-sloppy-joes/

Posted by Chop Secrets on Monday, April 29, 2019
Main dish

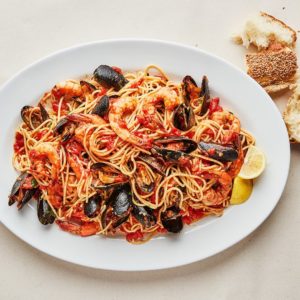
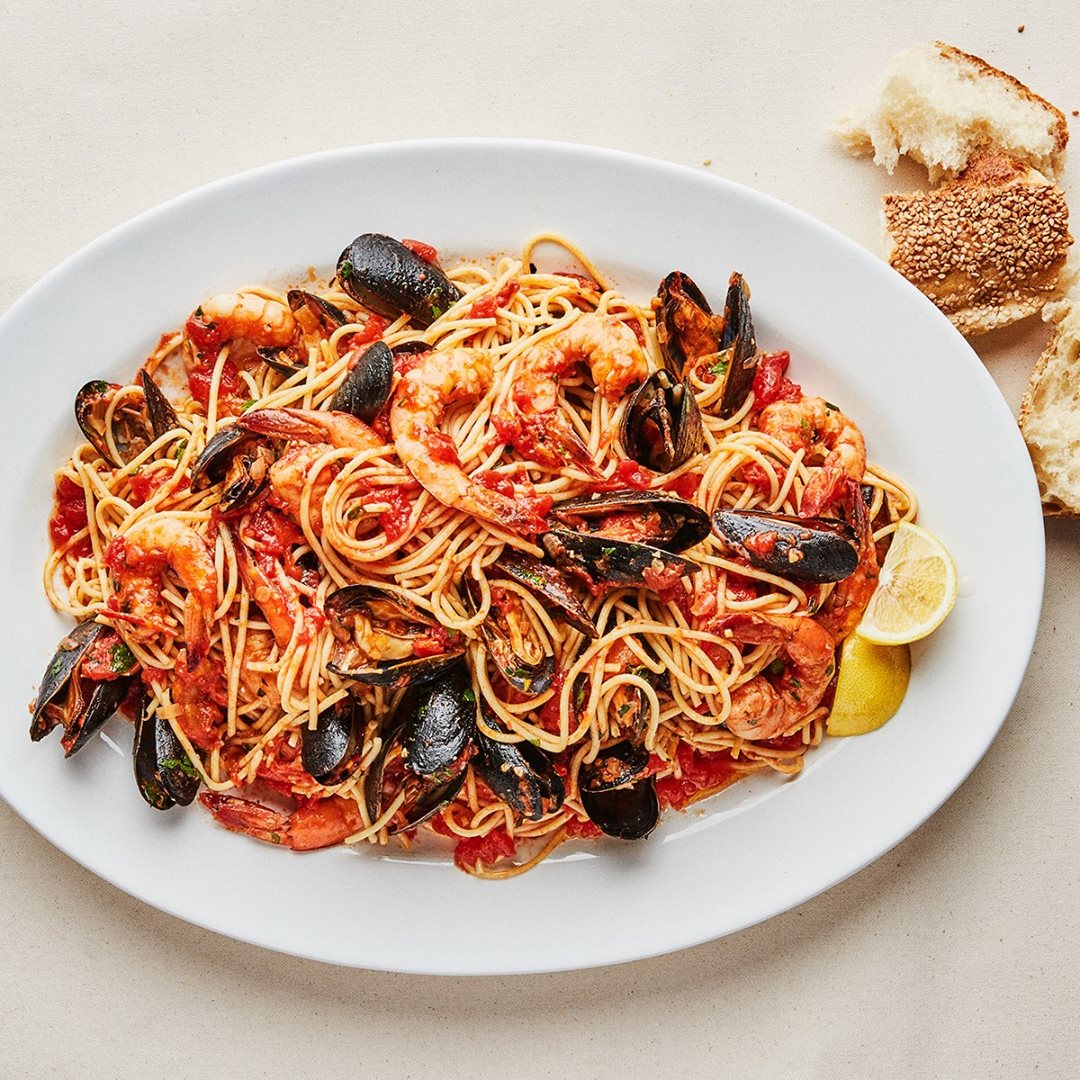
Seafood Spaghetti with Mussels and Shrimp

Seafood Spaghetti with Mussels and Shrimp
If you don’t have a large enough pot to toss all the shellfish and pasta together, you can always transfer everything to the largest bowl or platter you have, or go old-school and just pour the sauce over the pasta at the table.
Author:
Cuisine: American
Recipe type: Main dish
Ingredients
  • ¼ cup extra-virgin olive oil
  • 1 medium onion, finely chopped
  • 4 garlic cloves, sliced
  • ¾ teaspoon crushed red pepper flakes
  • 3 tablespoons tomato paste
  • 1 cup dry white wine
  • 1 28-ounce can whole peeled tomatoes
  • Kosher salt
  • 1 pound spaghetti
  • 2 pounds mussels, scrubbed, debearded
  • 2 pounds large shrimp, peeled, deveined
  • 3 tablespoons unsalted butter
  • 3 tablespoons finely chopped parsley
  • 1 tablespoon fresh lemon juice
  • Lemon wedges (for serving)
Instructions
  1. Heat oil in a large heavy pot over medium. Cook onion, stirring occasionally, until golden and softened, 8–10 minutes. Add garlic and red pepper flakes and season with salt. Cook, stirring often, until fragrant and garlic is softened, about 2 minutes. Add tomato paste and cook, stirring occasionally, until slightly darkened in color and starts sticking to bottom of pan, about 4 minutes. Add wine and cook, stirring often, until the smell of the alcohol is almost completely gone, about 4 minutes. Add tomatoes and juices, crushing with your hands, and increase heat to medium-high. Cook, stirring often, until sauce thickens slightly, 8–10 minutes. Taste and season sauce with salt.
  2. Meanwhile, cook pasta in a large pot of boiling salted water, stirring occasionally, until very al dente, about 3 minutes less than package directions. Drain, reserving 1 cup pasta cooking liquid.
  3. Add mussels, shrimp, and ¼ cup pasta cooking liquid to sauce. Cover and cook, shaking pot occasionally, until mussels open, about 4 minutes. Using tongs, pick out shrimp and mussels and transfer to a large bowl, discarding any mussels that have not opened. Loosely cover with foil to keep warm.
  4. Add pasta and another ¼ cup pasta cooking liquid to sauce and stir to coat. Reduce heat to medium, add butter, and continue to cook, stirring and adding more pasta cooking liquid as needed, until sauce coats pasta, about 4 minutes. Remove from heat, return shrimp and mussels to pot, and carefully toss to combine. Mix in parsley and lemon juice.
  5. Transfer pasta to a platter and serve with lemon wedges for squeezing over.

Watch the recipe video here:

Let this pasta be the star of your seven fishes menu. Make it: http://bonap.it/nZU6g0p

Posted by Bon Appétit Magazine on Sunday, April 28, 2019

Main dish

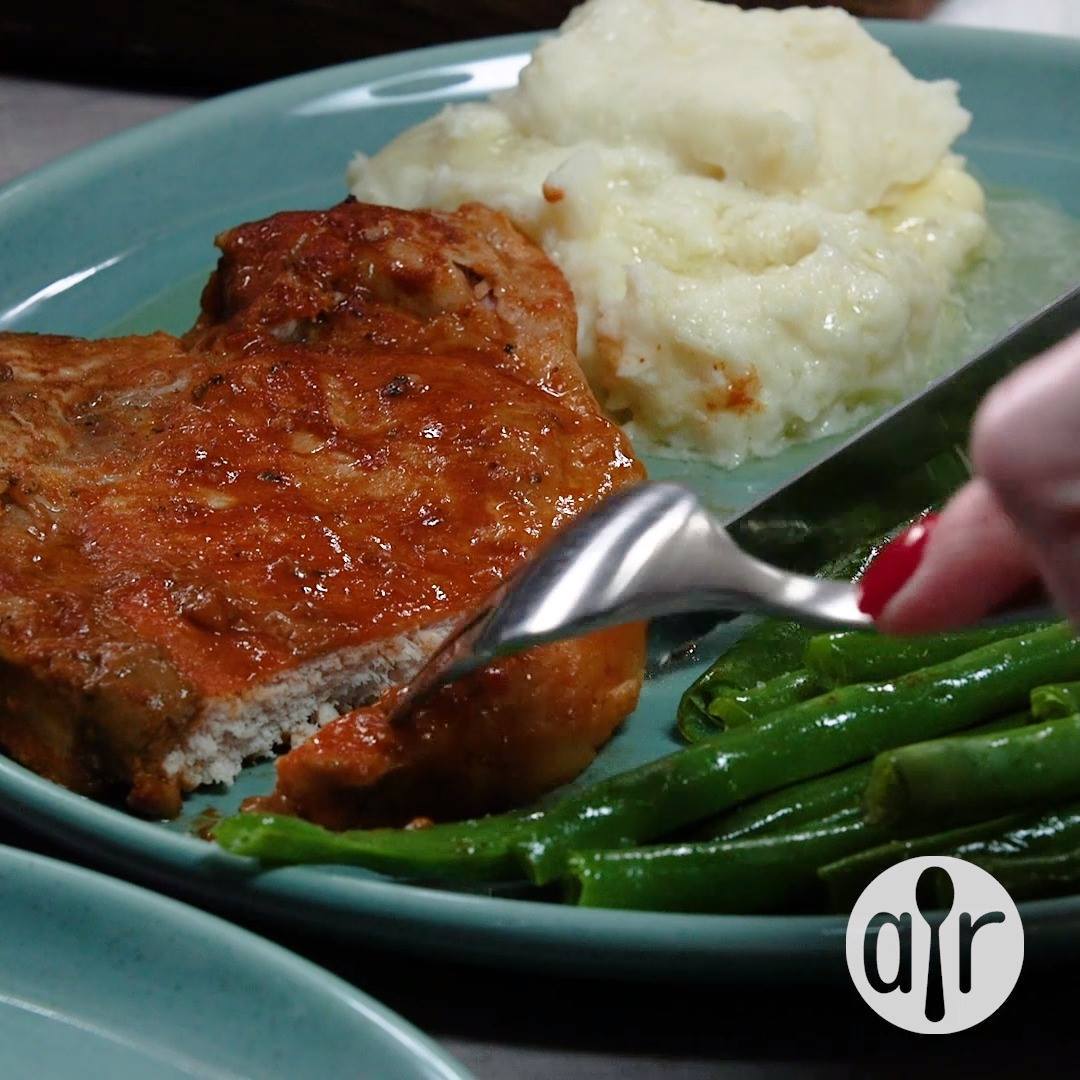
Slow Cooker BBQ Pork Chops

Slow Cooker BBQ Pork Chops
This is a no fuss slow cooker recipe that produces a very tender and flavorful pork chop.
Author:
Cuisine: American
Recipe type: Main dish
Ingredients
  • 8 pork chops
  • 1 (18 ounce) bottle barbecue sauce
Instructions
  1. Spread a thin layer of barbeque sauce on the bottom of a slow cooker. Alternately layer pork chops with barbeque sauce, pouring the remainder of the bottle over the top of the final layer of chops.
  2. Cook on HIGH setting for 3 to 4 hours, or all day on LOW setting.

Watch the recipe video here:

"Abosolutley no easier than this one!"Slow Cooker BBQ Pork Chops: https://trib.al/bDxUCiL

Posted by Allrecipes on Sunday, April 28, 2019

Main dish

French-style Lemon Tart

French-style Lemon Tart
Author:
Cuisine: American
Recipe type: Main dish
Ingredients
  • LEMON CURD
  • 4 egg yolks
  • 4 eggs
  • ⅔ cup sugar (150 g)
  • 1 cup lemon juice (200 mL)
  • 2 lemon zests
  • ¾ cup butter (170 g)
  • 1 pre-baked tart shell
Instructions
  1. Pre-heat the oven to 180°C (350°F).
  2. Prepare the lemon curd by whisking the egg yolks, whole eggs, sugar, lemon juice and lemon zest over a bain marie (a large bowl placed over a pan of simmering hot water).
  3. Once combined, mix in the butter and whisk the mixture for about 10 minutes, until thick.
  4. Pour into a pre-baked tart shell.
  5. Bake for 6 minutes.
  6. Whilst the tart is baking, prepare the raspberry chantilly by whipping the raspberries, sugar, vanilla extract and cream together.
  7. Leave the tart to cool before dusting with icing sugar.
  8. Serve with the raspberry chantilly, fresh raspberries and mint for garnish.
  9. Enjoy!

Watch the recipe video here:

6 terrific tarts from Proper Tasty. ✨FULL RECIPE: https://tasty.co/recipe/french-style-lemon-tart

Posted by BuzzFeed Food on Sunday, April 28, 2019

Main dish

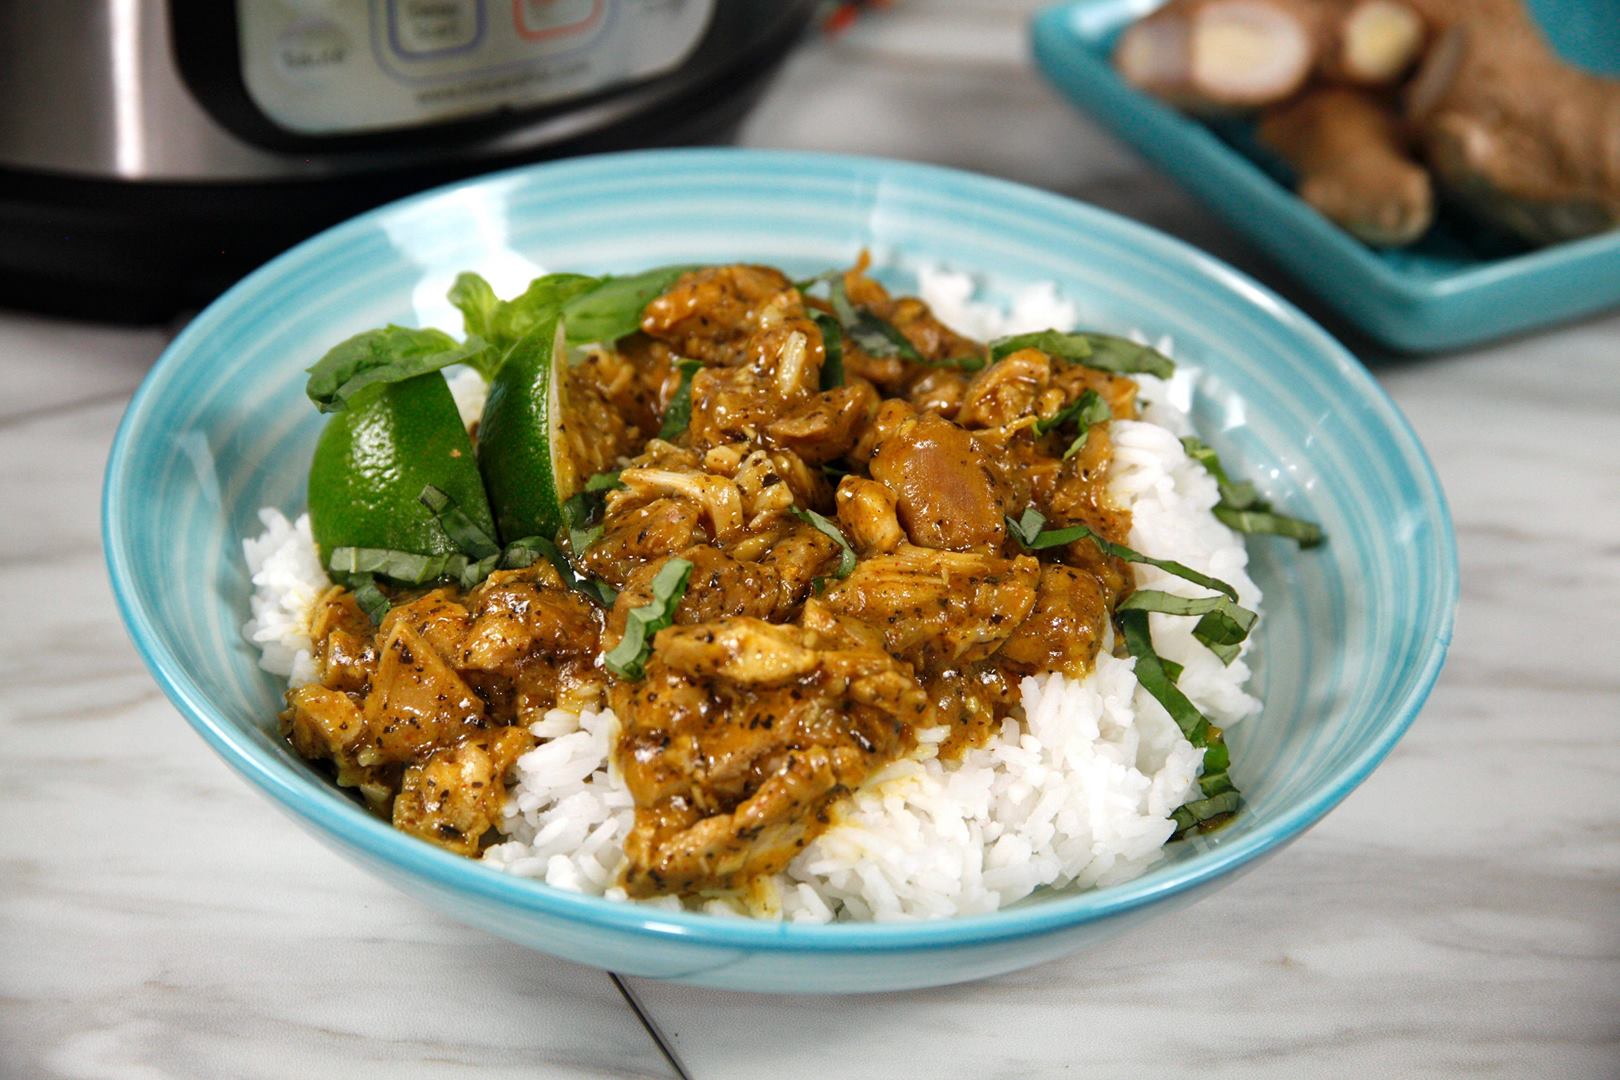
Instant Pot Coconut Chicken Curry

Instant Pot Coconut Chicken Curry
Creamy, decadent and delicious.
Author:
Cuisine: American
Recipe type: Main dish
Ingredients
  • 1 tbsp olive oil
  • 1.5 lbs boneless skinless chicken thighs
  • 1 small onion, finely diced
  • 4 cloves garlic, minced
  • 1 tsp grated ginger
Spice Mixture:
  • 1 tbsp curry powder
  • 1 tbsp dried basil
  • 2 tsp salt
  • ½ tsp chili powder
  • ¼ tsp pepper
  • ½ tsp cardamom
  • 1 13 oz can coconut milk, full fat
  • 1½ tbsp cornstarch
  • 2 cups cooked rice, for serving
  • ¼ cup chopped cilantro or fresh basil, for garnish
Instructions
  1. Add olive oil to the Instant Pot. Using the display panel select the SAUTE function.
  2. When oil gets hot, brown the chicken on both sides, 2-3 minutes per side. Meat will not be cooked through.
  3. Add onion, garlic and ginger to the pot and saute 2 minutes. Stir in the Spice Mixture ingredients and cook for 1 minute more.
  4. Add coconut milk to the pot and deglaze by using a wooden spoon to scrape the brown bits from the bottom of the pot.
  5. Turn the pot off by selecting CANCEL, then secure the lid, making sure the vent is closed.
  6. Using the display panel select the MANUAL function*. Use the +/- keys and program the Instant Pot for 5 minutes.
  7. When the time is up, quick-release the pressure.
  8. Remove the chicken, cut into bite-sized pieces and return to the pot.
  9. Carefully remove ¼ cup of the liquid from the pot and combine with the cornstarch. Stir into the pot until thickened.
  10. Serve warm over rice, garnished with chopped cilantro or basil.

Watch the recipe video here:

Creamy, decadent and delicious.RECIPE: http://chopsecrets.com/instant-pot-coconut-chicken-curry/

Posted by Chop Secrets on Sunday, April 28, 2019

Main dish

Classic Chickpea Hummus

Classic Chickpea Hummus
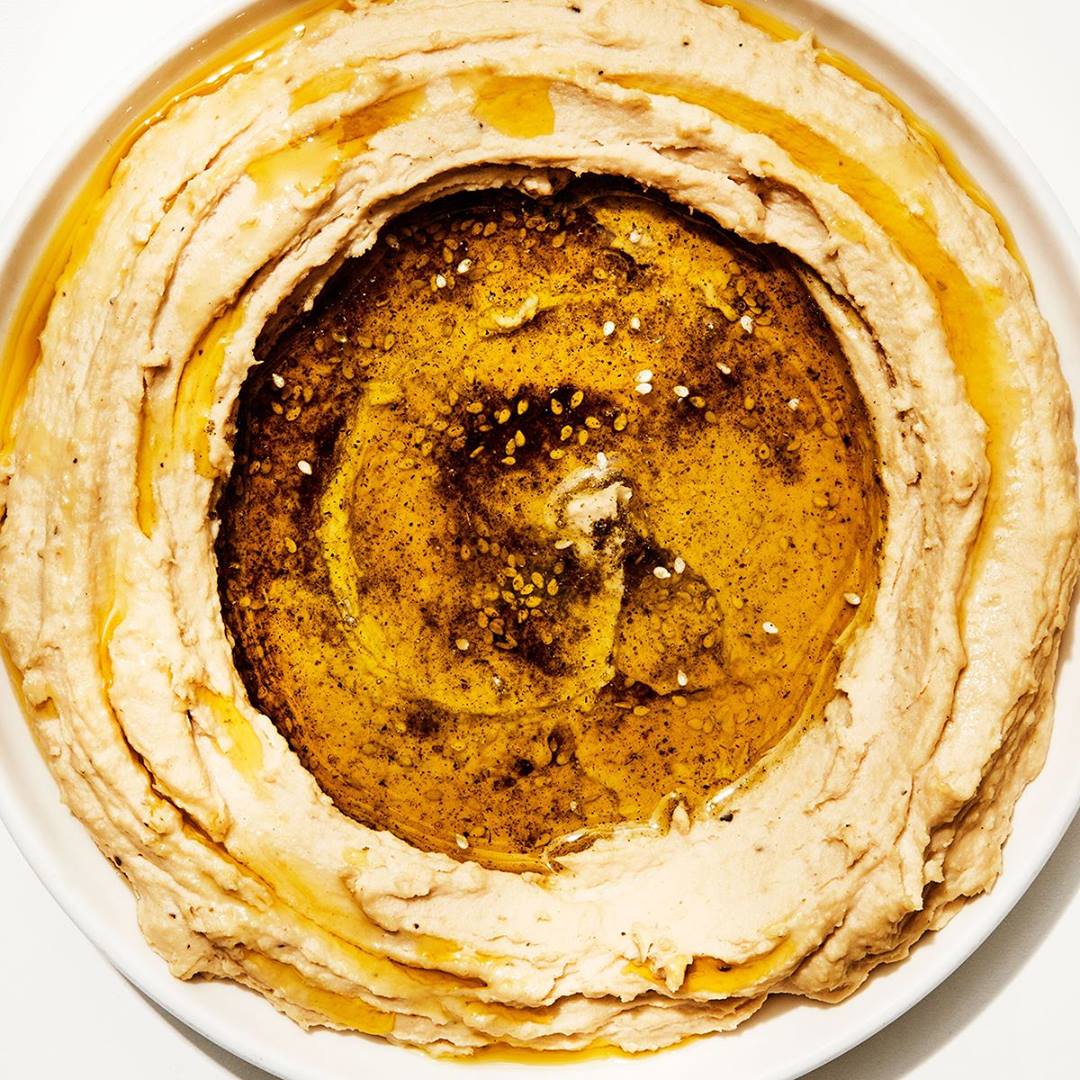
Za’atar, a Middle Eastern spice blend that usually contains a mix of dried thyme, sumac, and sesame seeds, is available at specialty stores or online. And while it's terrific on hummus, it's also totally optional—you can’t go wrong with a drizzle of good olive oil and a sprinkling of sesame seeds or just some flaky sea salt. Once you've got the base recipe down, here are four more ways to riff on it.
Author:
Cuisine: American
Recipe type: Main dish
Ingredients
  • 1 15½-oz. can chickpeas
  • 1 large lemon
  • 1 garlic clove
  • ½ cup tahini, well mixed
  • ¾ tsp. (or more) kosher salt
  • 10 cranks freshly ground black pepper
  • ¼ tsp. ground cumin
  • 3 Tbsp. extra-virgin olive oil, plus more for drizzling
  • Za’atar and/or sesame seeds (for serving)
Instructions
  1. Start by prepping all of your ingredients: Drain 15½ oz. chickpeas in a strainer or colander and rinse thoroughly. Let drain again while you do the other prep.
  2. Cut 1 lemon in half, remove any visible seeds, and squeeze juice into a small bowl. You should have 3–4 Tbsp.
  3. Smash 1 garlic clove with the flat side of your knife on a cutting board and remove peel. Continue to mash with side of knife until a paste forms. (You can also grate garlic on a microplane if you have one—you're just looking for a fine paste.)
  4. Combine drained chickpeas, 3 Tbsp. lemon juice, garlic, ½ cup tahini, ¾ tsp. salt, 10 cracks pepper, ¼ tsp. cumin, and 2 Tbsp. water in a food processor.
  5. Process until smooth, about 1 minute.
  6. With the motor running, stream in 3 Tbsp. oil, then continue to process until hummus is very light and creamy, about 1 minute longer. Taste and season with more salt, if needed.
  7. Transfer hummus to a shallow bowl, top with za’atar and/or sesame seeds, and drizzle with more oil.
Do Ahead: Hummus can be made 4 days ahead. Transfer to an airtight container and chill.

Watch the recipe video here:

So easy, you'll never buy hummus again. (via Basically)Make it: http://bonap.it/i988gjU

Posted by Bon Appétit Magazine on Saturday, April 27, 2019

Main dish

Taco Mac ‘N’ Cheese Garlic Bread Pie

Taco Mac 'N' Cheese Garlic Bread Pie
Author:
Cuisine: American
Recipe type: Main dish
Ingredients
  • 10 slices of white bread
  • 150g butter
  • 2 tbsp parsley, chopped
  • 2 cloves of garlic, chopped
  • 6 slices of mozzarella
  • 30g butter
  • 30g flour
  • ½ tbsp mustard
  • ½ tsp smoked paprika
  • 500ml whole milk
  • 200g macaroni, cooked
  • 150g cheddar, grated
  • 100g mozzarella, grated
  • 1 tsp salt
  • 1 tsp pepper
  • 1 onion, finely chopped
  • 1 clove of garlic, finely chopped
  • 3 tbsp taco seasoning
  • 500g beef mince
  • 1 tsp salt
  • 1 tsp pepper
  • 100g cheddar/mozzarella mix, grated
  • 2 tbsp chopped parsley, to serve
Instructions
  1. Cut the crusts off the bread and brush with garlic butter on both sides. Lay in a high sided s baking dish and bake for 15 mins at 180C/375F. Place the sliced mozzarella on top and bake for another 10 mins.
  2. Heat some oil in a large saute pan on a medium heat. Add your onion and peppers for 5 mins until soft and starting to caramelise. Add your garlic and taco seasoning and cook our for another 2 mins. Add your beef mince and turn up the heat, sautéing until it is browned but still tender, about 5 mins. Set aside.
  3. Melt your butter in a large pan. Add your flour, smoked paprika and mustard powder cook out for 2 mins. Gradually add your milk in small increments, beating all the while. Bring to a boil, then turn down and simmer for 2 mins. Add your cooked macaroni, cheddar, mozzarella, salt and pepper and stir to combine.
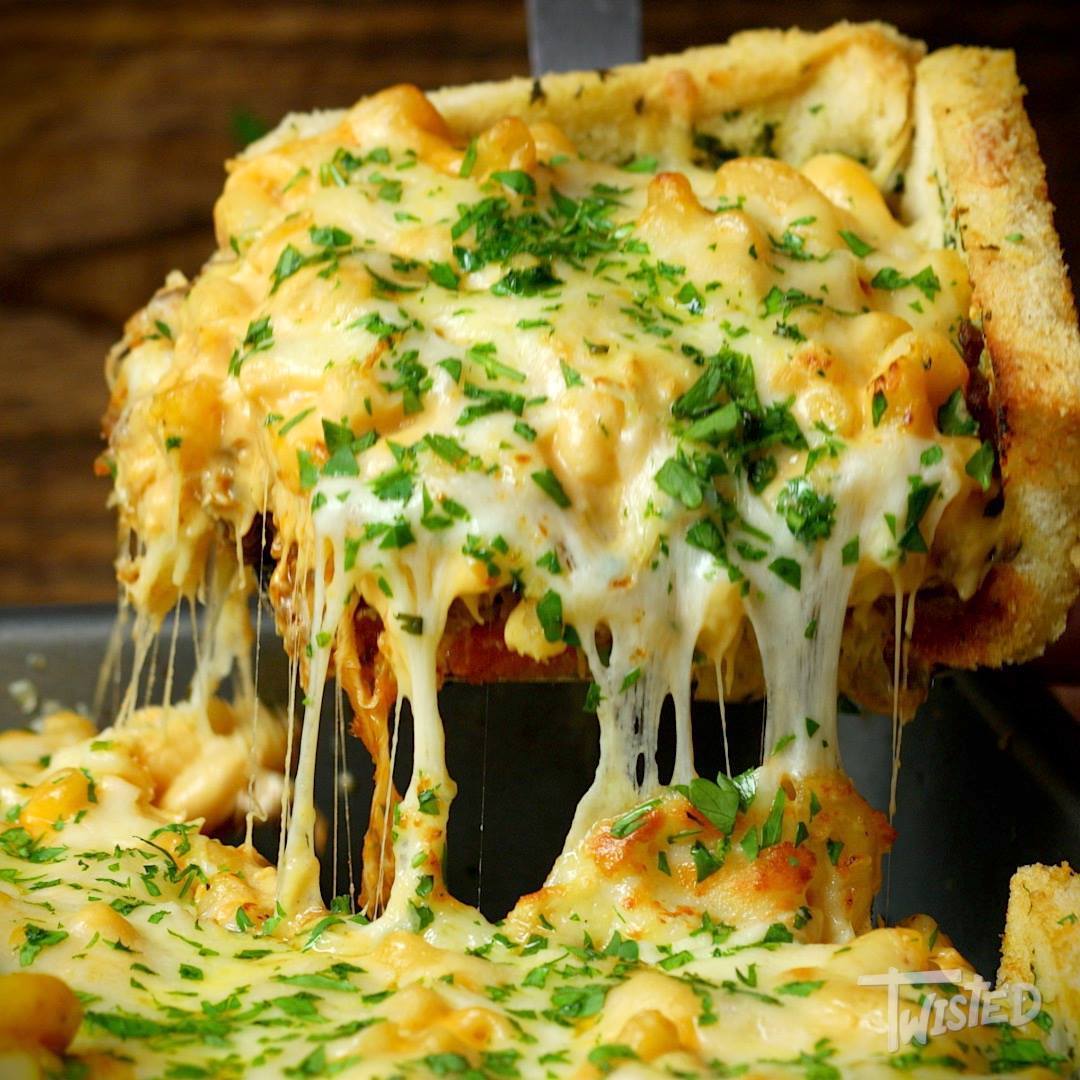
  4. Spoon your beef mix into your bread lined dish and top with your macaroni cheese. Finish with your cheddar mozzarella cheese mix and bake for 15 mins.
  5. Sprinkle with chopped parsley and serve!

Watch the recipe video here:

Taco Mac 'N' Cheese Garlic Bread Pie

Posted by Twisted on Saturday, April 27, 2019

Main dish

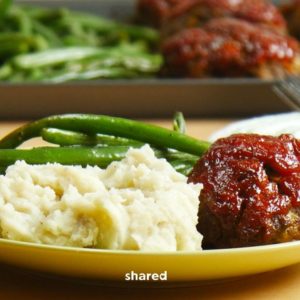
Whip up All the Fixings for the Ultimate in Comfort Food with This Amazing One Pan Meatloaf Dinner!

Whip up All the Fixings for the Ultimate in Comfort Food with This Amazing One Pan Meatloaf Dinner!
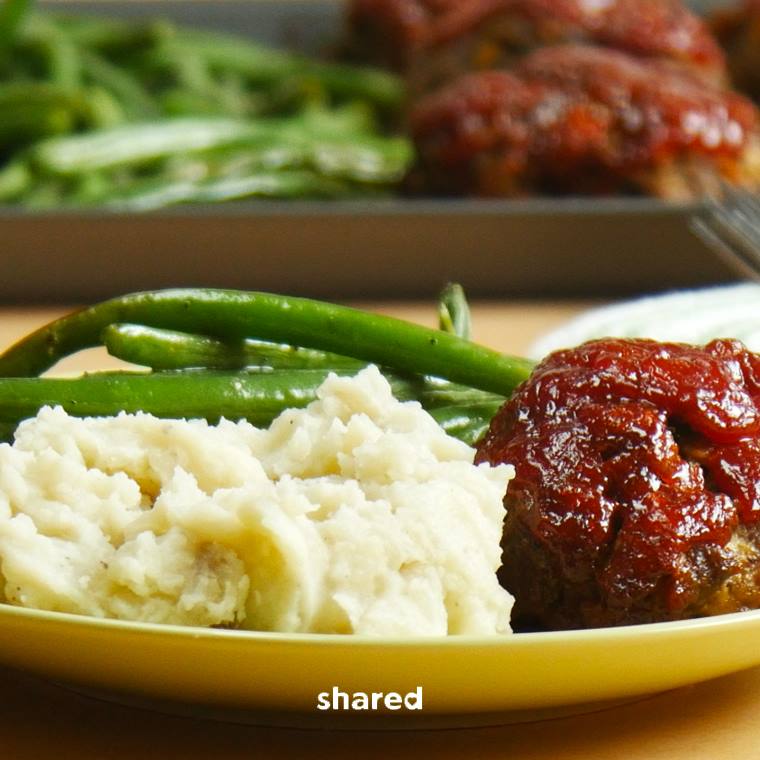
I’ve made many one pan dinners using my trusty baking sheets, but an entire classic Sunday dinner? This One Pan Meatloaf Dinner is perfect for a no-fuss delicious comfort food meal. You’ll be amazed at the fact that you can whip up everything from the mashed potatoes to the meatloaf to the green beans, all on one pan! Anything that leaves me with less dishes to clean is a winner in my book! You’ll love the flavors in this dish.
Author:
Cuisine: American
Recipe type: Main dish
Ingredients
For the mashed potatoes:
  • 1½ pounds russet potatoes, peeled and chopped into small pieces
  • ⅓ cup water
  • 1 tablespoon unsalted butter
  • ⅔ cup milk
  • 1 packet gravy mix and water, optional
For the mini meatloaves:
  • 17-20 saltine crackers, crushed fine (about ⅔ cup)
  • ¼ cup whole milk
  • ⅓ cup minced fresh parsley
  • 3 tablespoons Worcestershire sauce
  • 1 large egg
  • 1½ tablespoons Dijon mustard
  • 1 teaspoon onion powder
  • 1 teaspoon garlic powder
  • 1 teaspoon salt
  • ½ teaspoon pepper
  • 1½ pounds ground beef
For the meatloaf glaze:
  • ½ cup ketchup
  • ¼ cup packed light brown sugar
  • 4 teaspoons cider vinegar
For the roasted green beans:
  • 1 pound fresh green beans, trimmed
  • 1½ tablespoons olive oil
  • Salt and pepper, to taste
Instructions
  1. Start by preheating the oven to 425 degrees. Place a large sheet of regular foil on a large (13x18) sheet pan. Spray both the sheet pan and the foil generously with nonstick cooking spray.
  2. Place the peeled and chopped (into small pieces) potatoes along with a generous pinch of salt and pepper in the center of the foil.
  3. Fold the foil up around the potatoes and add in the water. Seal the potatoes into a packet. Do not use heavy duty foil or more than one piece of foil or the potatoes won't cook properly.
  4. Place in the oven for 10 minutes. Meanwhile, prepare the mini meatloaves.
  5. Stir cracker crumbs, milk, parsley, Worcestershire sauce, egg, mustard, onion powder, garlic powder, 1 teaspoon salt, and ½ teaspoon pepper together in a large bowl. Add ground beef and combine until well-mixed. Shape mixture into 6 oval loaves. Add to the tray with the potatoes. Mix the glaze ingredients and spread evenly over the top of the meatloaves.
  6. Place in the oven for 20-25 minutes. Remove from the oven, and add the trimmed green beans in the last section of the sheet pan. Drizzle with olive oil and about ½ teaspoon salt and ¼ teaspoon pepper. Toss and place in the oven for another 15-20 minutes or until the beans are roasted and the meatloaf is cooked to an internal temperature of 160 degrees.
  7. Remove from the oven, and carefully open the foil pack of potatoes. Transfer the potatoes to a large mixing bowl and add in the butter, milk, and salt and pepper to taste. Use a potato masher to mash the potatoes.
  8. If desired, prepare the gravy packet according to package directions to serve with the potatoes.
  9. Enjoy immediately.

Watch the recipe video here:

https://www.facebook.com/1000605023309848/posts/2185051284865210/

Main dish

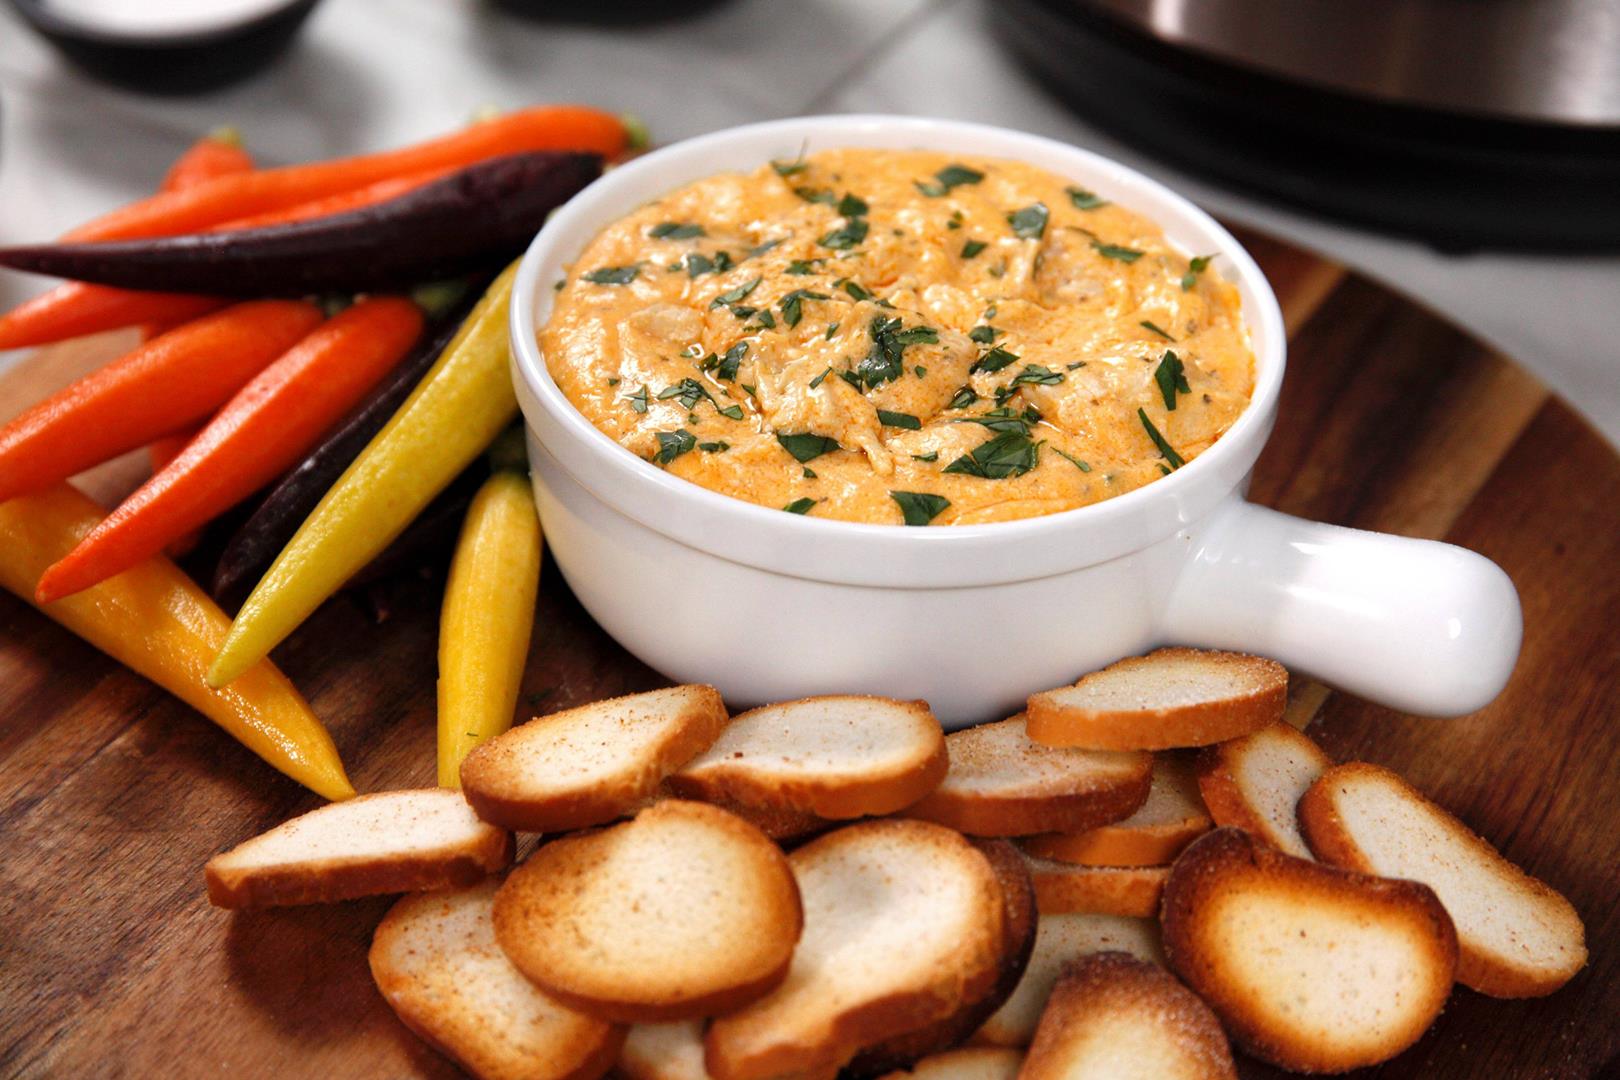
Instant Pot Buffalo Ranch Chicken Dip

Instant Pot Buffalo Ranch Chicken Dip
Buffalo Ranch Chicken Dip wows my guests, but takes only minutes to make!
Author:
Cuisine: American
Recipe type: Main dish
Ingredients
  • 1½ lbs boneless, skinless chicken breast, cut into 6 pieces
  • ¼ cup water
  • 1 cup Buffalo-style hot sauce
  • 1 1 oz package ranch seasoning mix
  • 4 tbsp butter, cut into 4-6 pieces
  • 8 oz cream cheese, softened
  • 1 cup shredded cheddar-jack cheese
  • Additional Buffalo hot sauce for garnish
Instructions
  1. Add chicken pieces, water and Buffalo sauce to the pot and stir to coat.
  2. Sprinkle ranch dip over the top, then dot with butter–do not stir.
  3. Secure the lid, making sure the vent is closed.
  4. Using the display panel select the MANUAL function*. Use the +/- keys and program the Instant Pot for 15 minutes.
  5. When the time is up, quick-release the remaining pressure.
  6. Carefully remove the chicken from the pot to a cutting board and shred thoroughly (a hand mixer works great for this job).
  7. Return chicken to pot along with softened cream cheese and shredded cheeses. Stir until well blended, returning to SAUTE mode as needed.
  8. Serve hot garnished with a swirl of additional hot sauce alongside chips, sliced baguette or veggies.

Watch the recipe video here:

Buffalo Ranch Chicken Dip wows my guests, but takes only minutes to make!RECIPE: http://chopsecrets.com/instant-pot-buffalo-ranch-chicken-dip/

Posted by Chop Secrets on Thursday, April 25, 2019

Main dish

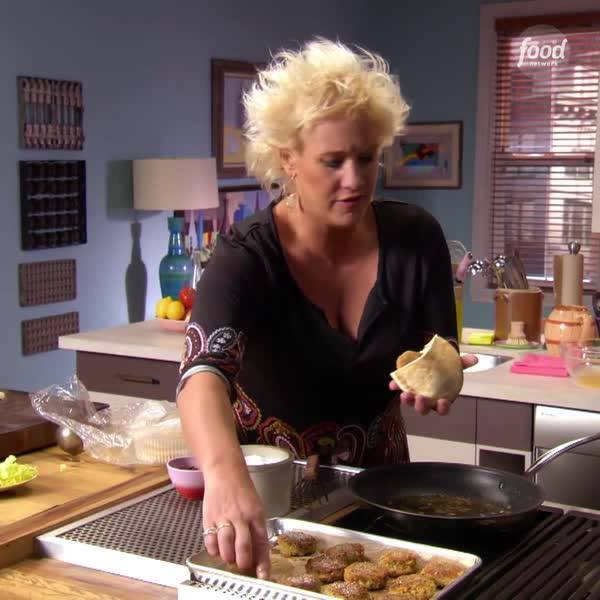
Falafel

Falafel
Falafel
Author:
Cuisine: American
Recipe type: Main dish
Ingredients
Chickpeas:
  • 1 cup dried chickpeas, soaked overnight
  • 2 cloves garlic
  • 1 bay leaf
  • 1 carrot, peeled
  • 1 rib celery
  • 1 bundle fresh thyme
  • ½ Spanish onion
  • Kosher salt
Falafel:
  • 1½ teaspoons coriander seeds
  • 1½ teaspoons cumin seeds
  • ½ cup finely chopped fresh cilantro
  • ½ cup finely chopped fresh Italian parsley
  • ¼ cup breadcrumbs
  • ½ teaspoon cayenne pepper
  • 2 cloves garlic, smashed and finely chopped
  • 2 to 3 grates lemon zest
  • ½ Spanish onion, small diced
  • Flour, for dusting
  • Kosher salt
Garnish:
  • Pita bread
  • Chopped lettuce
  • Diced tomatoes
  • Peeled, diced cucumbers
  • Tahini Sauce, recipe follows
Tahini Sauce:
  • 1 cup tahini
  • ⅓ cup fresh lemon juice
  • ¼ cup finely chopped fresh cilantro
  • 2 cloves garlic, smashed and finely chopped
  • Pinch cayenne pepper
  • 2 tablespoons olive oil
  • Kosher salt
Instructions
  1. Peanut or other neutrally flavored oil, for frying
  2. To cook the chickpeas: Drain the chickpeas from the soaking water and place in a medium saucepan. Toss in the garlic, bay leaf, carrot, celery, thyme and onion. Add water to the pan until it covers the chickpeas by about 2 inches of water.
  3. Put the pan on a high heat and bring the water to a boil, reduce to a simmer and simmer until the chickpeas are very soft and tender, 35 to 40 minutes. Turn the heat off.
  4. Season the water generously with salt and let sit for 15 minutes. Drain the chickpeas from the cooking liquid and remove the veggies, bay leaf and thyme and discard.
  5. To make the falafel: In a food processor, pulse the chickpeas until they look coarse and grainy but are NOT a puree.
  6. In a dry saute pan, toast the coriander and cumin seeds over medium heat until they are very aromatic, 3 to 4 minutes. Pulverize in a spice grinder until they are a powder.
  7. Transfer the pulsed chickpeas to a mixing bowl and add the cilantro, parsley, breadcrumbs, cayenne, garlic, lemon zest, onions and ground spices. Gently stir to combine. Taste the mixture to see if the mix needs seasoning, season with salt if needed.
  8. Form the mixture into balls the size of walnuts and gently press to make patties. Lightly dust with flour on both sides and pat off excess. Place the patties on a sheet tray and let hang out in the fridge for at least 1 hour.
  9. Add oil to a large straight-sided saute pan until the oil is about ½-inch deep. Bring the oil to a medium-high heat. Add the falafel to the pan and fry them on both sides until they are brown and crispy.
  10. Remove the falafel from the pan and dry on paper towels.
  11. Serve the falafel in pitas with lettuce, tomatoes, cucumbers and Tahini Sauce.
Tahini Sauce:
  1. In the food processor, combine the tahini, lemon juice, cilantro, garlic and cayenne. Puree until smooth. While the machine is running, add the olive oil and about ½ cup water. Season the sauce with salt. Taste and re-season, if needed. Refrigerate, covered, until ready to serve.

Watch the recipe video here:

Crispy, light falafel gets stuffed into pitas for a handheld dinner! ?Watch Anne Burrell on #WorstCooks Celebrity Edition > Sundays at 9|8cSave the recipe: https://foodtv.com/2GzVeoj!

Posted by Food Network on Thursday, April 25, 2019