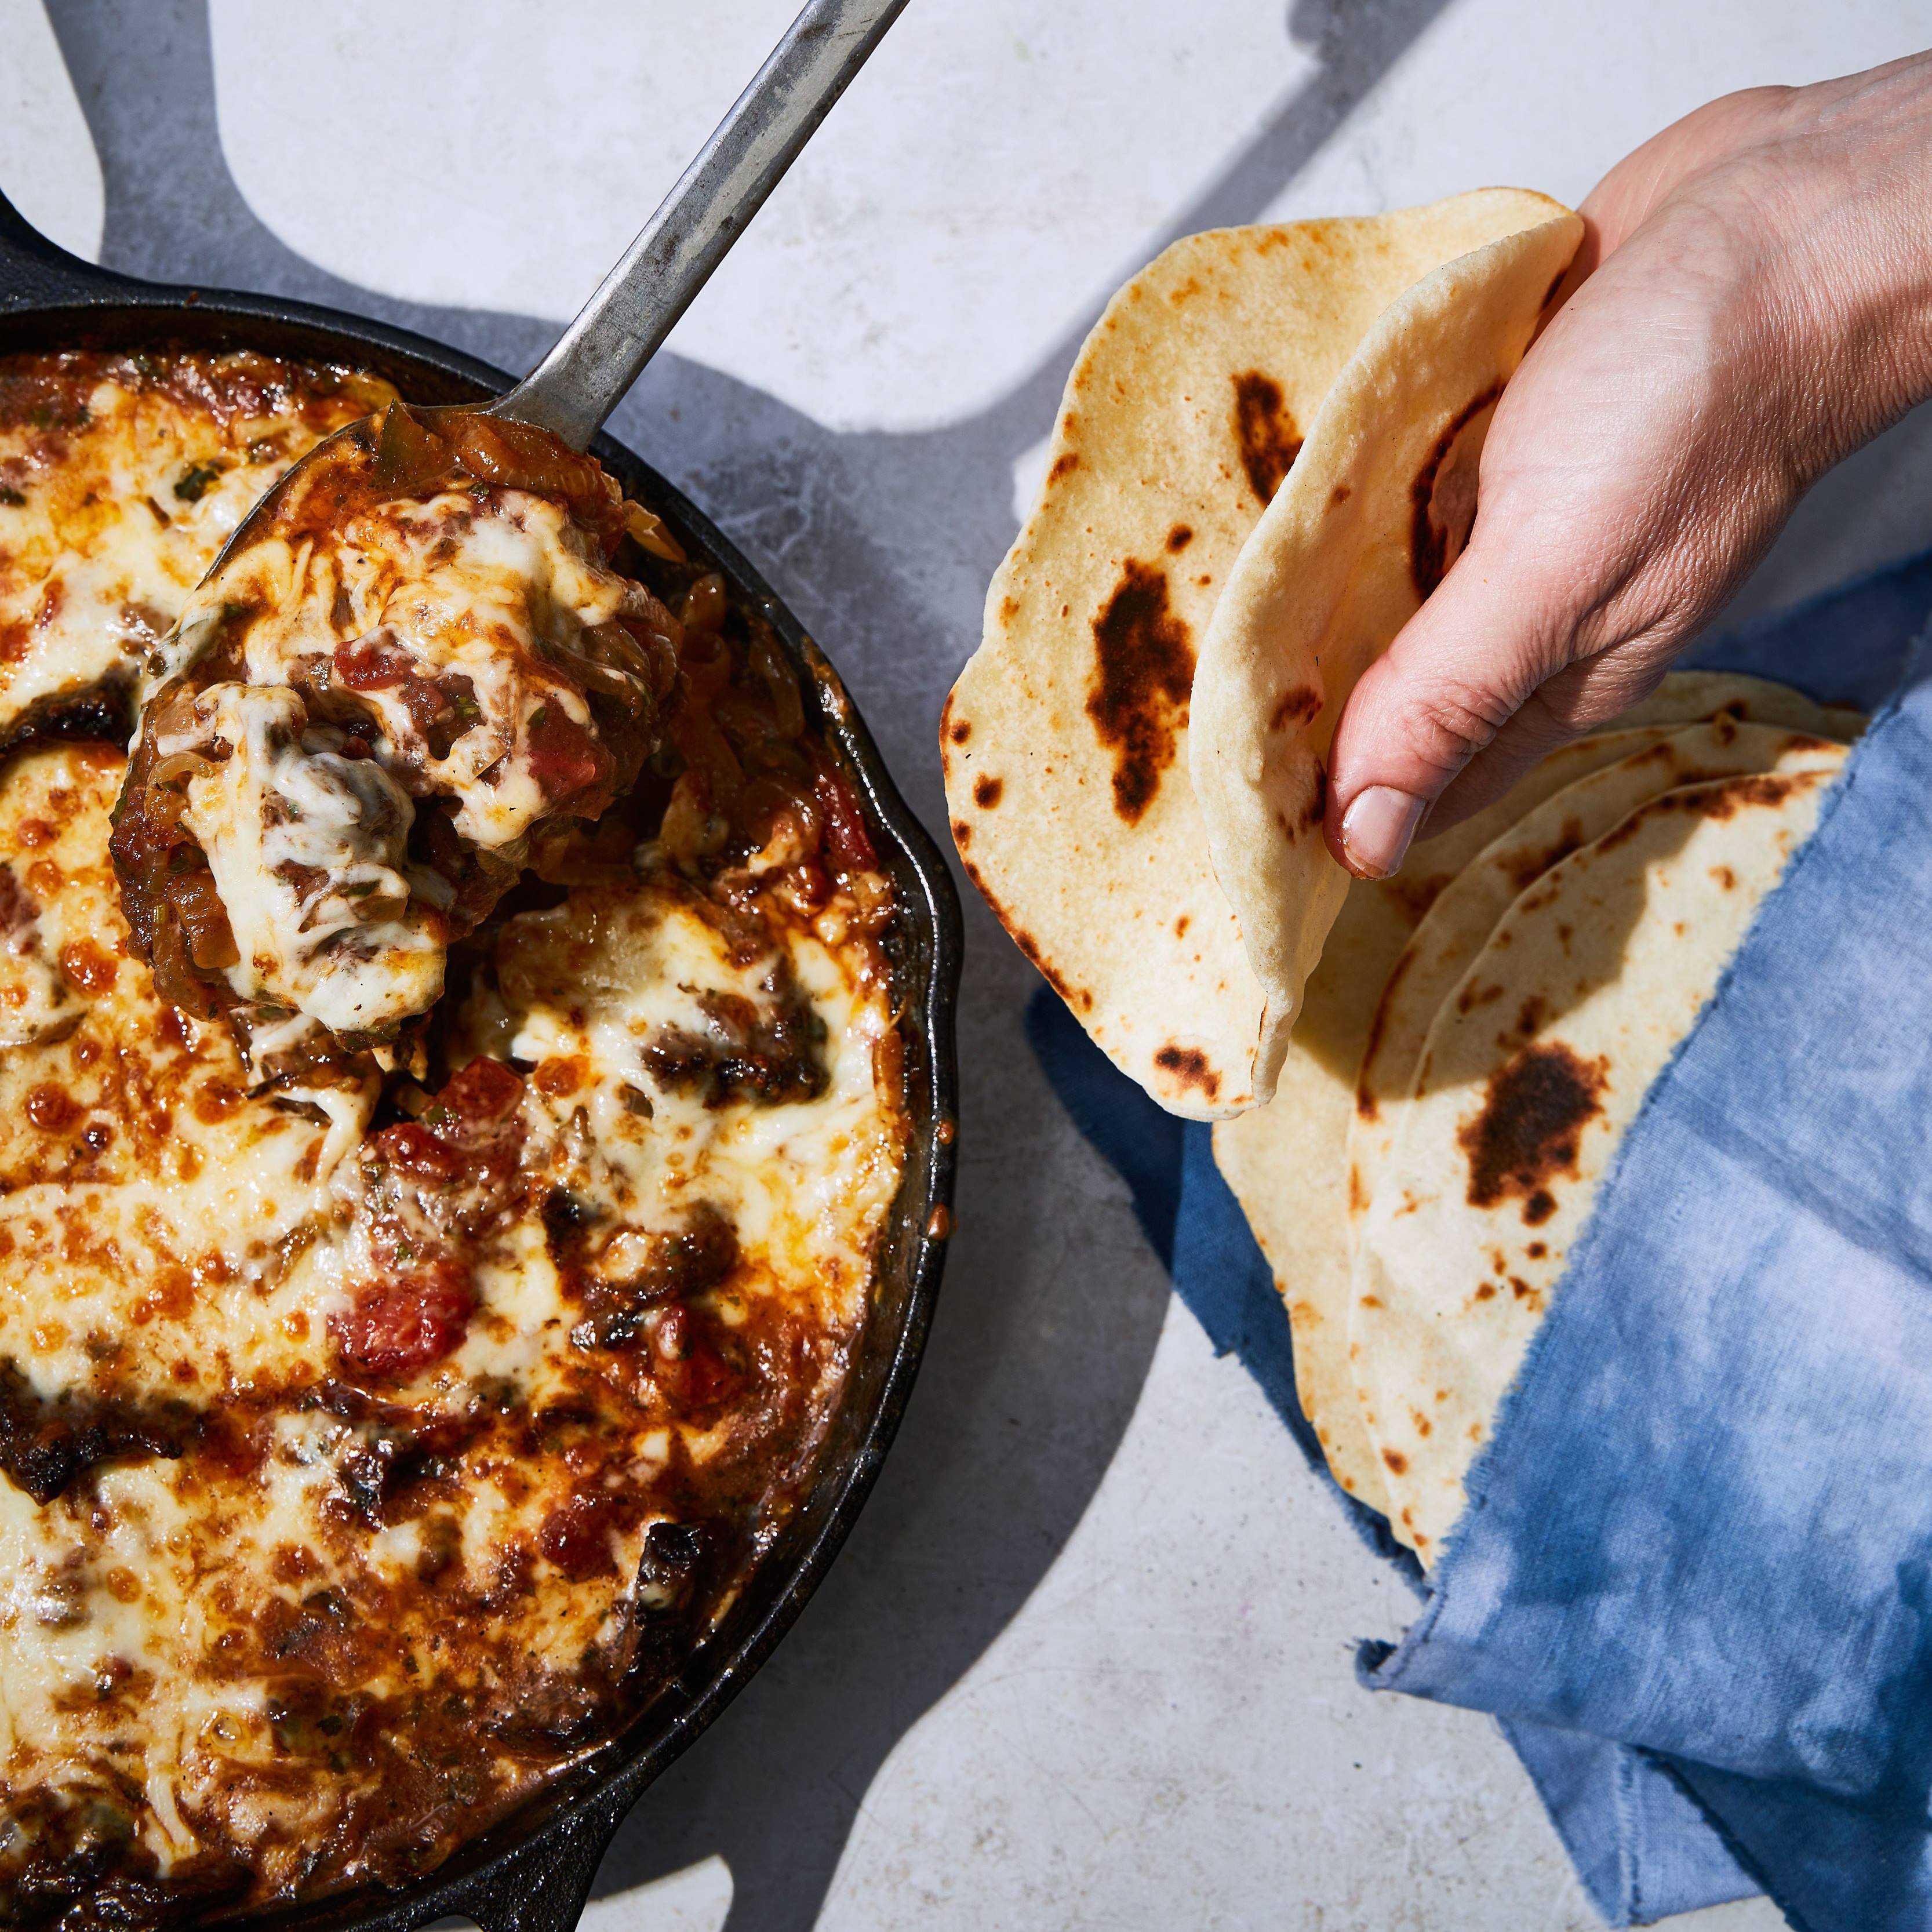
Taco Norteños with Bacon-Fat Flour Tortillas
Taco Norteños with Bacon-Fat Flour Tortillas
There’s no need to roll these superthin. In fact, a little heft keeps them moist. This recipe is from Fresa's in Austin, TX.
Author: The Chef
Cuisine: American
Recipe type: Main dish
Ingredients
Tortillas
- 8 ounces thin-cut smoked bacon, cut into ¼-inch pieces
- 2 tablespoons plus ½ teaspoon vegetable oil
- 1¼ cups whole milk, divided
- 2 teaspoons baking powder
- 1½ teaspoons kosher salt
- 3 cups all-purpose flour, plus more for surface
Filling and Assembly
- 2 pounds hanger steak, center membrane removed
- Kosher salt, freshly ground pepper
- 2 tablespoons olive oil
- 2 large onions, thinly sliced
- 10 garlic cloves, thinly sliced
- 4 serrano chiles or jalapeños, thinly sliced
- 4 beefsteak or vine-ripe tomatoes, cut into ½-inch pieces
- ½ cup chopped cilantro, plus leaves for serving
- 4 ounces Monterey Jack, coarsely grated (about 1 cup)
- Lime wedges (for serving)
Instructions
Tortillas
- Cook bacon in a large broilerproof skillet, preferably cast iron, over medium heat, turning occasionally, until brown and crisp, 8–10 minutes. Using tongs, transfer bacon to a small bowl and save for taco filling. Pour off 2 Tbsp. bacon fat from skillet; set aside for making tortillas. Set skillet with remaining fat aside for making taco filling.
- Bring oil, ¾ cup milk, and reserved 2 Tbsp. bacon fat to a simmer in a small saucepan (be careful not to boil); immediately remove from heat. Whisk baking powder, salt, and 3 cups flour in a medium bowl to combine. Pour in hot milk mixture and remaining ½ cup milk. Mix with your hands until a shaggy dough forms.
- Turn dough out onto a lightly floured work surface and knead until smooth and elastic, about 4 minutes. Wrap in plastic and let rest at room temperature 1 hour to relax dough.
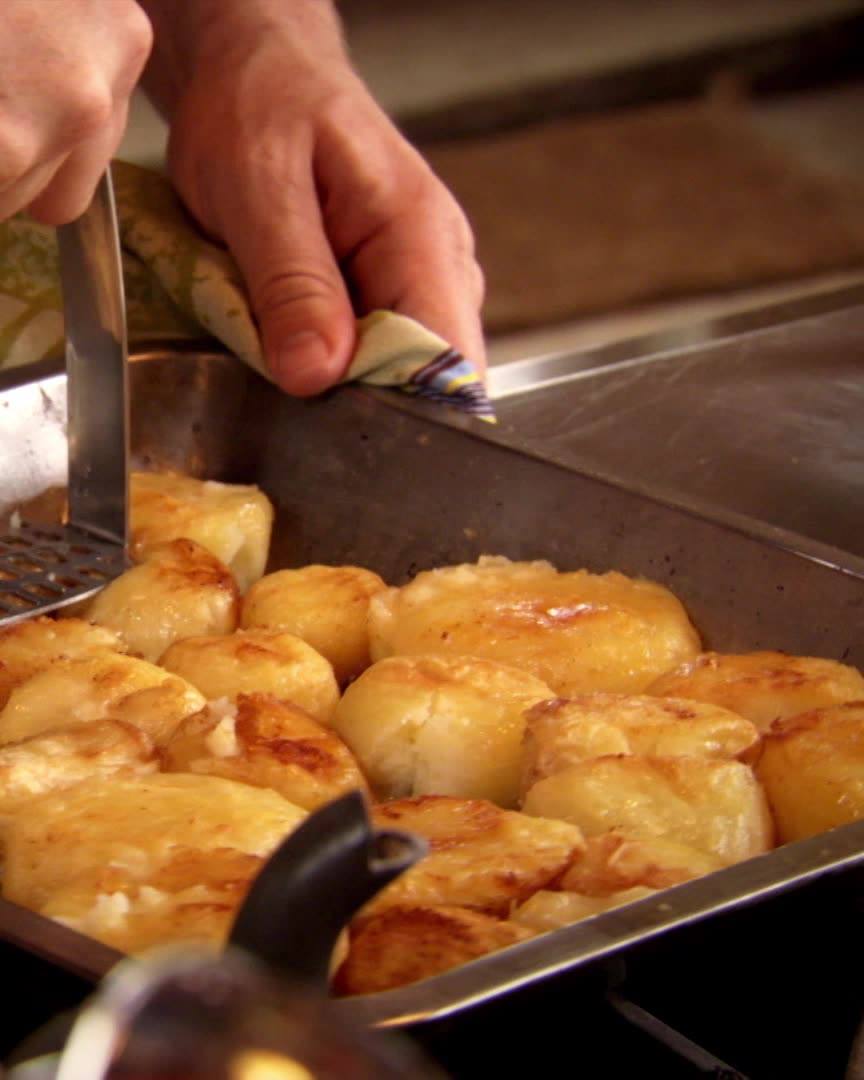
- Divide dough into 16 Ping-Pong–size balls (about 1½"). Working one at a time and keeping remaining balls covered with a kitchen towel, roll out on a lightly floured surface to 6" rounds.
- Heat a comal, griddle, or a clean large cast-iron skillet over medium. Working in batches, cook tortillas, reducing heat if they are getting dark too quickly, until brown in spots on bottom sides and air bubbles form on surface, about 2 minutes. Poke large bubbles with a fork to release steam, flip tortillas, and cook until brown in spots on second sides, 1–2 minutes. Stack and wrap tortillas in a kitchen towel as you go. This will keep them warm until you are ready to assemble your tacos.
Filling and Assembly
- Season steak with salt and pepper. Let sit uncovered at room temperature 1 hour.
- Prepare a grill for medium-high heat. Grill steak until nicely browned and an instant-read thermometer registers 120° for medium-rare, about 5 minutes per side. Transfer to a cutting board and let rest 10 minutes before slicing against the grain.
- Heat broiler. Heat oil in reserved skillet with bacon fat over medium-high and add onions and garlic; season with salt and pepper. Cook, stirring often, until just beginning to soften, about 5 minutes. Add chiles and cook, stirring often, until chiles are softened and onions are golden brown, about 5 minutes. Add tomatoes and cook until tomatoes are very soft and sauce is thick like ragù, 10–15 minutes. Mix in steak and any accumulated juices, reserved bacon, and chopped cilantro and cook until meat is heated through, about 1 minute; season with salt and pepper. Top with cheese and broil until cheese is melted and starting to brown, about 1 minute.
- Spoon filling into warm tortillas and top with cilantro leaves. Serve with lime wedges for squeezing over.
Watch the recipe video here:
Three words: bacon-fat tortillas.RECIPE: http://bonap.it/tkpVYfw
Posted by Bon Appétit Magazine on Saturday, December 15, 2018