Showing 126 Result(s)
Main dish

Crunchy Baked Saffron Rice with Barberries (Tachin)

Crunchy Baked Saffron Rice with Barberries (Tachin)
Also known as tachin, this crispy baked Persian rice is often layered with meat, dried fruit, spices, and presented in a rectangular shape. We omitted the meat to keep things simple and went with a round shape to change things up. Rinse the rice to keep it from getting gummy, and parboil it so it will be soft and tender after baking. The yogurt, eggs, and oil are what create the golden color and crispy texture, which will have you coming back for bite after bite.
Author:
Cuisine: American
Recipe type: Main dish
Ingredients
  • 2 teaspoons kosher salt, plus more
  • 2 cups basmati rice
  • 2 tablespoons unsalted butter
  • ½ cup dried barberries or 1 cup dried tart cherries
  • 1 teaspoon rose water (optional)
  • 1 teaspoon saffron threads, finely ground
  • 3 large egg yolks
  • 1 cup plain whole-milk yogurt (not Greek)
  • ½ cup grapeseed or vegetable oil, plus more for dish
Instructions
  1. Bring a large pot of water to a boil and add 2 large palmfuls of salt (about ½ cup). While you’re waiting for the water to boil, place rice in a strainer or sieve and rinse with lukewarm water, swishing rice around with your hands to get rid of excess starch. Continue to rinse until water from rice runs clear.
  2. Add rice to pot and give it a few stirs to prevent rice from sticking to the bottom. Cook, stirring occasionally, until rice begins to rise to the top and is tender but still has a slight bite to it, 6–8 minutes. Drain and rinse with cold water.
  3. Meanwhile, melt butter in a medium skillet over medium-low heat. Cook barberries, stirring often, until plumped slightly and warmed through, about 2 minutes. Remove from heat and stir in rose water, if using.
  4. Place rack in lower third of oven; preheat to 400°. Combine saffron and 2 Tbsp. hot water in a large bowl. Let sit 10 minutes to allow saffron to steep and draw out as much color as possible. Mix in egg yolks, yogurt, ½ cup oil, and 2 tsp. salt. Scatter rice over yogurt mixture and gently toss to ensure every grain is coated.
  5. Coat a 10"-diameter glass pie dish with oil (glass lets you check on the color from underneath). Add half of rice mixture and use the palms of your hands or a measuring cup to gently pack and compact rice into dish. Scatter half of barberries over and top with remaining rice. Press down again, this time more firmly (this helps with unmolding).
  6. Cover dish tightly with foil and bake until rice on the bottom and around edges is a deep golden brown, 65–80 minutes. Let cool 10 minutes; discard foil. Loosen the rice around the edges using the point of a knife. Place a large plate on top and invert rice onto plate like a cake. Scatter remaining barberries over top.

Watch the recipe video here:

This crunchy baked saffron rice is a total showstopper.Make it: http://bonap.it/tO7zneE

Posted by Bon Appétit Magazine on Wednesday, April 10, 2019

Dessert

Blackberry Icebox Cake

Blackberry Icebox Cake
This creamy, dreamy icebox cake—built in a bowl for maximum ease—is the no-bake dessert you'll be making all summer.
Author:
Cuisine: American
Recipe type: Dessert
Ingredients
  • 2 pints blackberries, divided
  • ½ cup blackberry jam
  • 1 lemon
  • 2 cups chilled heavy cream
  • ¼ cup powdered sugar
  • Pinch of kosher salt
  • 8 oz. vanilla wafers, divided
Instructions
  1. Measure out 2 cups blackberries from 2 pints. Slice berries in half lengthwise and transfer to a medium bowl. (Save remaining berries for decorating later.)
  2. Add ½ cup blackberry jam to bowl with berries. Using a citrus juicer, juice 1 lemon over berry mixture. Let sit 10 minutes.
  3. Using an electric mixer, beat 2 cups heavy cream in a large bowl, starting on low speed and increasing to high, until soft peaks form.
  4. Basically How To Alert
EVERYTHING YOU EVER WANTED TO KNOW ABOUT WHIPPED CREAM.
  1. Beat in ¼ cup powdered sugar and a pinch of salt just to combine.
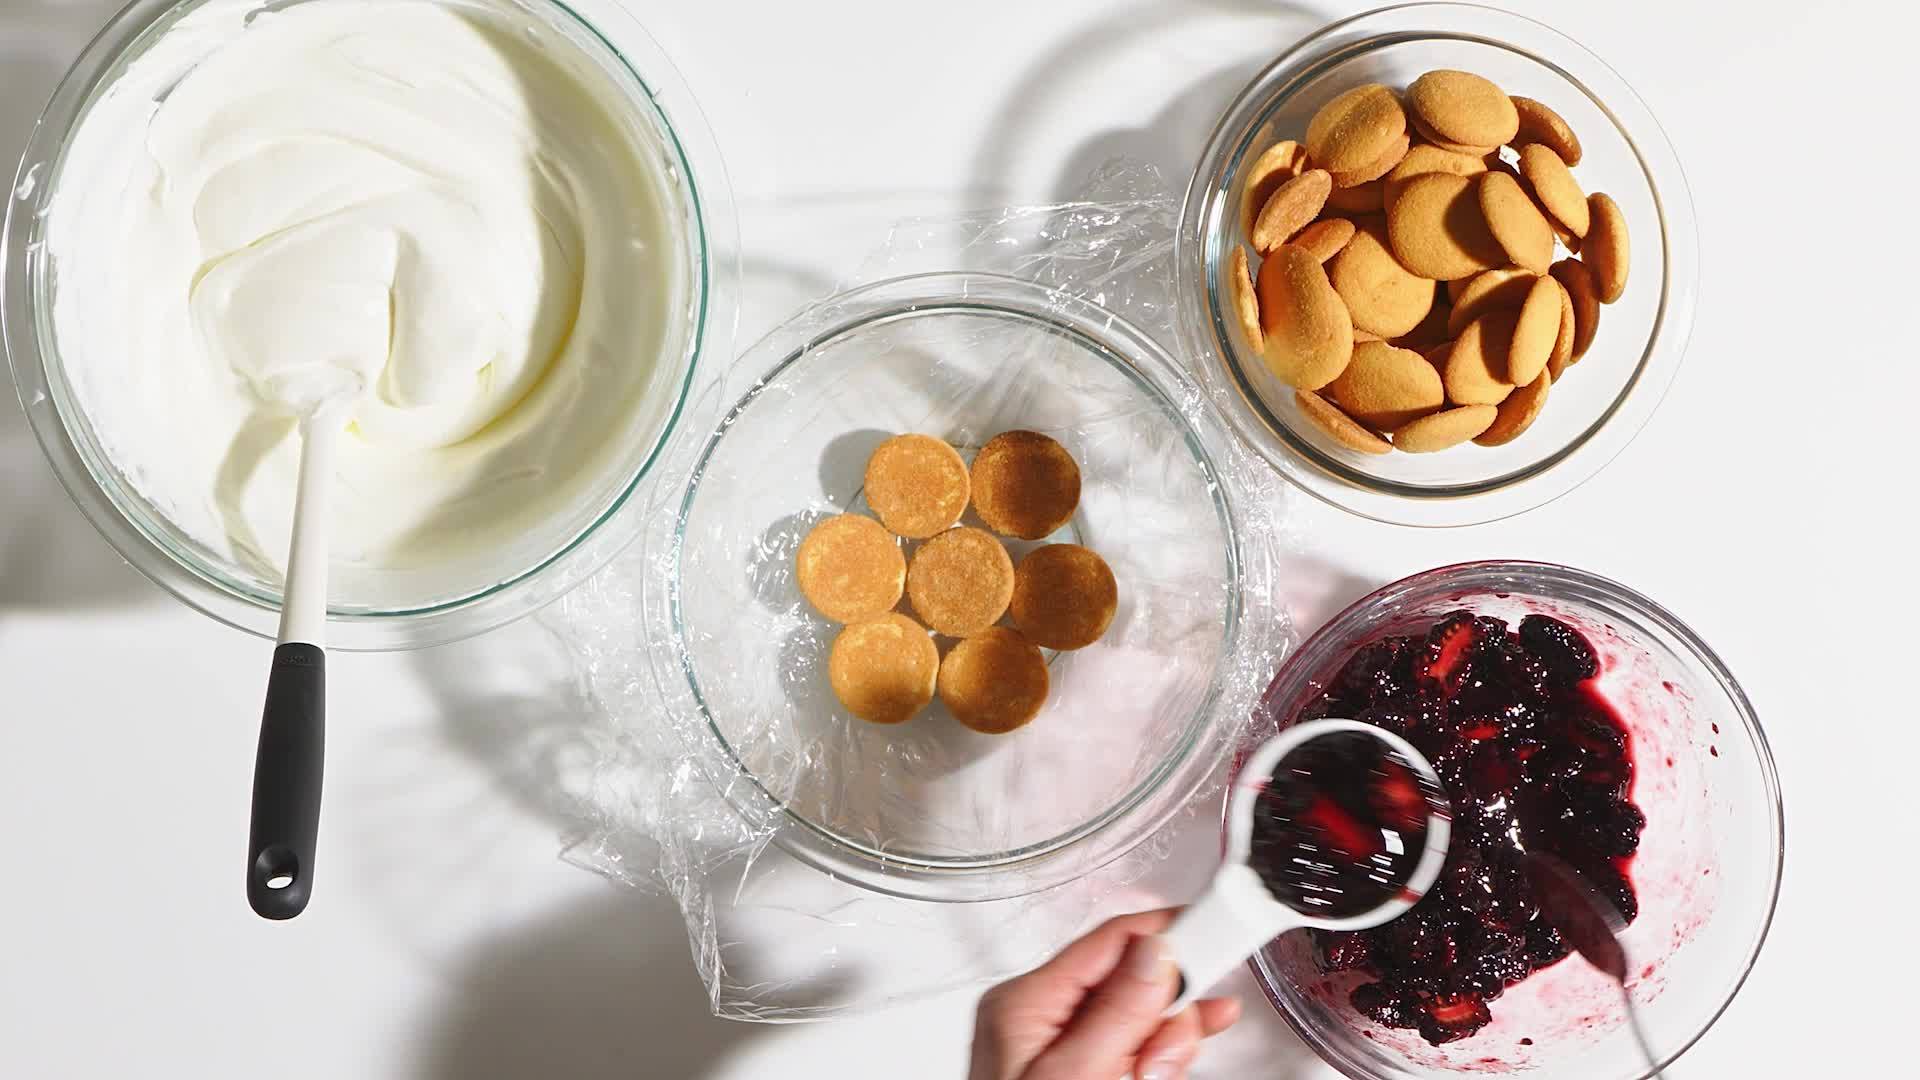
  2. Line a medium bowl (6-cup capacity) with plastic wrap, pressing into bottom and up sides and leaving plenty of overhang. Line the bottom of bowl with a layer of vanilla wafers.
  3. Spoon about ¼ cup berry mixture over wafers. Scoop 1½ cups whipped cream into a small bowl; cover and save in fridge for later. Spread ½ cup of the remaining whipped cream evenly over wafer and berry layers. Repeat layers with wafers (breaking to fit as needed—no one will know), blackberry mixture, and whipped cream, using more for each layer as the bowl gets wider, until you run out of all the components.
  4. Bring up plastic overhang to cover and chill at least 24 hours.
  5. Unwrap plastic from top of cake and place a large cake stand or platter firmly over it. Flip over and lift bowl away; peel away plastic wrap. (Ta-da!)
  6. Using a whisk, beat reserved whipped cream back to soft peaks, then use a spoon to dollop cream all over cake and spread around evenly.
  7. Cut reserved berries in half lengthwise and arrange them on top.
  8. Slice cake into 8 pieces to serve.
Do Ahead:
  1. Cake can be assembled 2 days ahead and can also be unmolded and covered in cream 1 hour ahead; either way, keep in the fridge until the last minute.

Watch the recipe video here:

This is the no-bake dessert you'll be making all summer.Make it: http://bonap.it/EJHnzze

Posted by Bon Appétit Magazine on Wednesday, April 10, 2019
Main dish

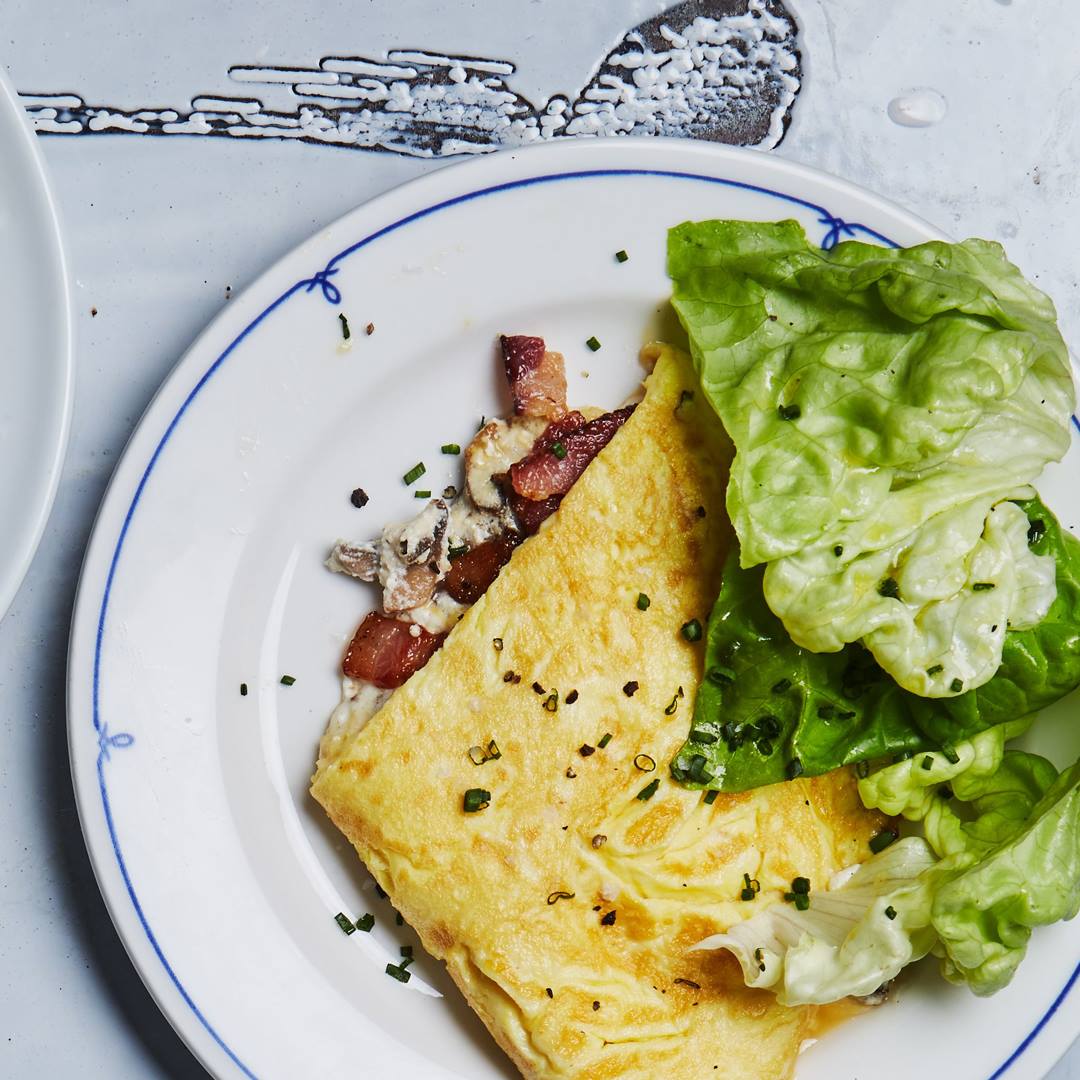
Omelet With Bacon, Mushrooms, and Ricotta

Omelet With Bacon, Mushrooms, and Ricotta
Don’t sweat rolling this into a perfect omelet; just top the cooked eggs with mushrooms and ricotta, and fold like a taco.
Author:
Cuisine: American
Recipe type: Main dish
Ingredients
Omelet
  • 3 slices thick-cut bacon
  • 4 ounces button mushrooms
  • Kosher salt, freshly ground pepper
  • 4 ounces fresh ricotta or cream cheese (about ½ cup)
  • ¼ ounce Parmesan, finely grated (about ¼ cup)
  • 6 large eggs
Salad
  • 2 tablespoons olive oil
  • 2 tablespoons white wine vinegar
  • 1 teaspoon Dijon or other mustard
  • 2 heads of Boston or Bibb lettuce, leaves separated
  • Handful of chopped chives
Instructions
Omelet
  1. Cut bacon crosswise into ½”-wide pieces. Cook in a large nonstick skillet over medium, stirring and turning occasionally, until starting to brown and crisp but not all of the fat is rendered, 6–8 minutes. Transfer to a small plate or bowl with a slotted spoon.
  2. While the bacon is cooking, finely chop the mushrooms.
  3. Add mushrooms to skillet with bacon drippings, season with salt and pepper, and increase heat to medium-high. Cook, tossing often, until browned and any liquid from mushrooms has cooked off, about 5 minutes. Use a slotted spoon to transfer to a small bowl; let skillet cool slightly. Add ricotta and Parmesan to mushrooms and stir well to combine; season with salt and pepper.
  4. Whisk eggs in a medium bowl until very smooth and a little frothy, about 1 minute; season with salt and pepper. Cook eggs in reserved skillet over medium, stirring constantly and making sure to scrape up eggs from bottom and around edge of pan, until large folded curds form. Shake pan to distribute uncooked eggs over surface and spoon mushroom mixture slightly off center. Top with bacon and cook until bottom of omelet takes on a light golden-brown color but surface is still slightly wet. Fold one side of omelet over filling (like a taco); slide omelet onto a cutting board or large plate.
Salad and Assembly
  1. Whisk oil, vinegar, and mustard in a large bowl to combine; season with salt and pepper. Add lettuce and half of chives and toss to coat.
  2. Top omelet with remaining chives cut in half and serve with salad.

Watch the recipe video here:

This is what brunch dreams are made of.Recipe: http://bonap.it/DWS0Zss

Posted by Bon Appétit Magazine on Sunday, April 7, 2019

Main dish

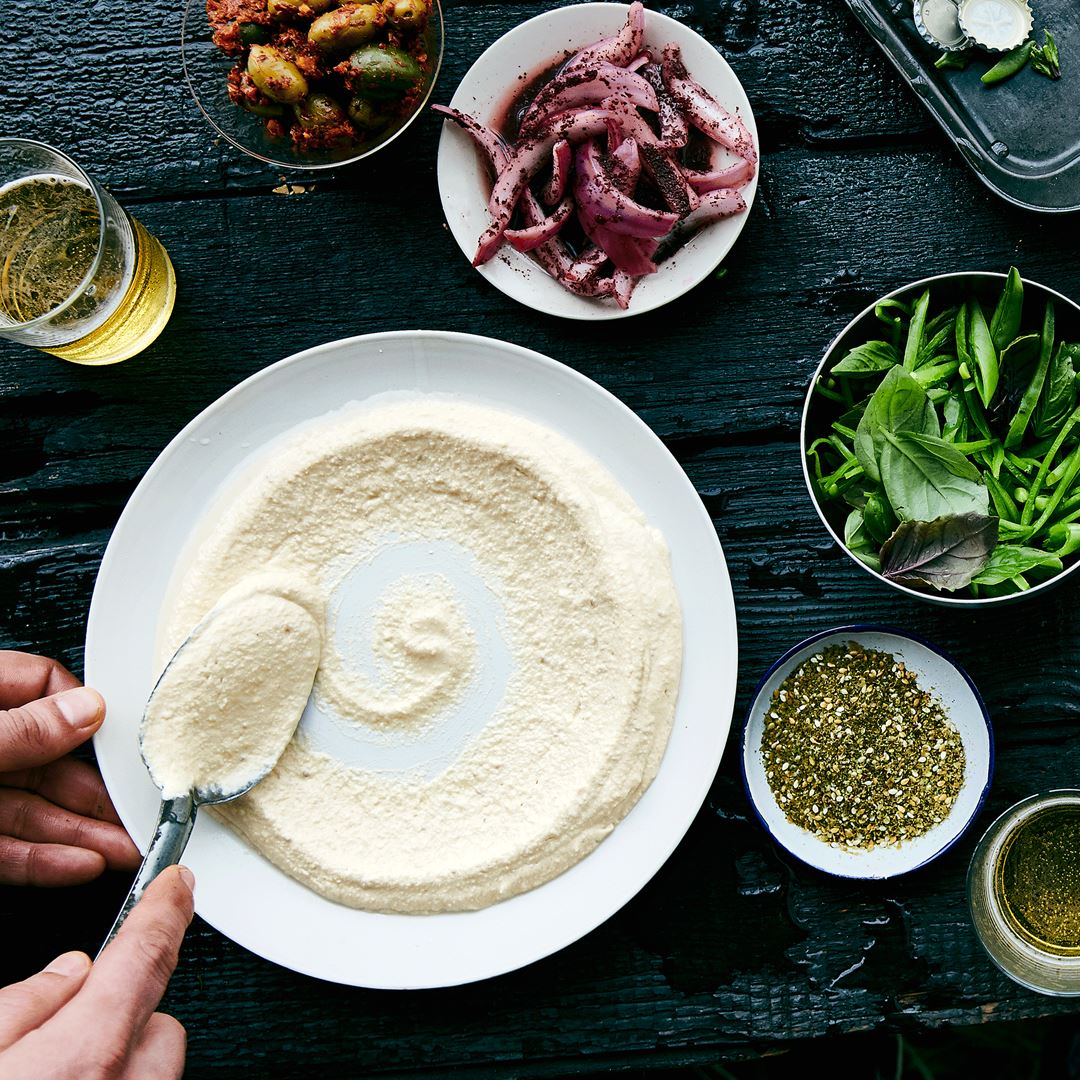
Creamy Hummus with Cumin

Creamy Hummus with Cumin
Don’t be afraid to let the food processor run the full 2 minutes. It’s one of the keys to supersmooth, aerated hummus. This recipe is from Tusk in Portland, OR.
Author:
Cuisine: American
Recipe type: Main dish
Ingredients
  • ¾ cup dried chickpeas
  • ½ teaspoon baking soda
  • 3 garlic cloves, 2 smashed, 1 finely grated
  • 1 dried red chile (such as chile de árbol)
  • 1 bay leaf
  • ⅓ cup (or more) fresh lemon juice
  • Kosher salt
  • 1 cup tahini
  • ⅓ cup olive oil
  • 1 teaspoon ground cumin
Instructions
  1. Combine chickpeas and baking soda in a medium bowl and pour in cold water to cover by 2". Cover and let sit 8–12 hours.
  2. Drain chickpeas, rinse, and place in a large saucepan along with smashed garlic, chile, and bay leaf. Pour in cold water to cover by 2". Bring to a boil over medium-high heat; reduce heat and simmer gently, skimming foam occasionally from surface, until chickpeas are falling apart, 35–45 minutes. Drain, reserving about 1 cup cooking liquid. Pluck out and discard garlic, chile, and bay leaf.
  3. Combine grated garlic, lemon juice, and a pinch of salt in a food processor and let sit until the bite in garlic mellows, about 5 minutes. Add tahini and ½ cup ice water and process until smooth. With the motor running, slowly stream in oil. Season with another large pinch of salt. Add chickpeas and cumin and process until hummus is very smooth, light, and creamy, about 2 minutes. It will tighten up as it cools, so it should be loose to the point of being pourable at this stage. If it looks thick, thin with chickpea cooking liquid, pulsing in by the tablespoonful until you reach the right consistency. Taste hummus and season with salt and more lemon juice if needed.
  4. Do Ahead: Hummus can be made 1 week ahead. Cover and chill. Bring to room temperature before serving.

Watch the recipe video here:

What's your hummus swooshing strategy? RECIPE: http://bonap.it/KMuBfvx

Posted by Bon Appétit Magazine on Monday, April 8, 2019

Main dish

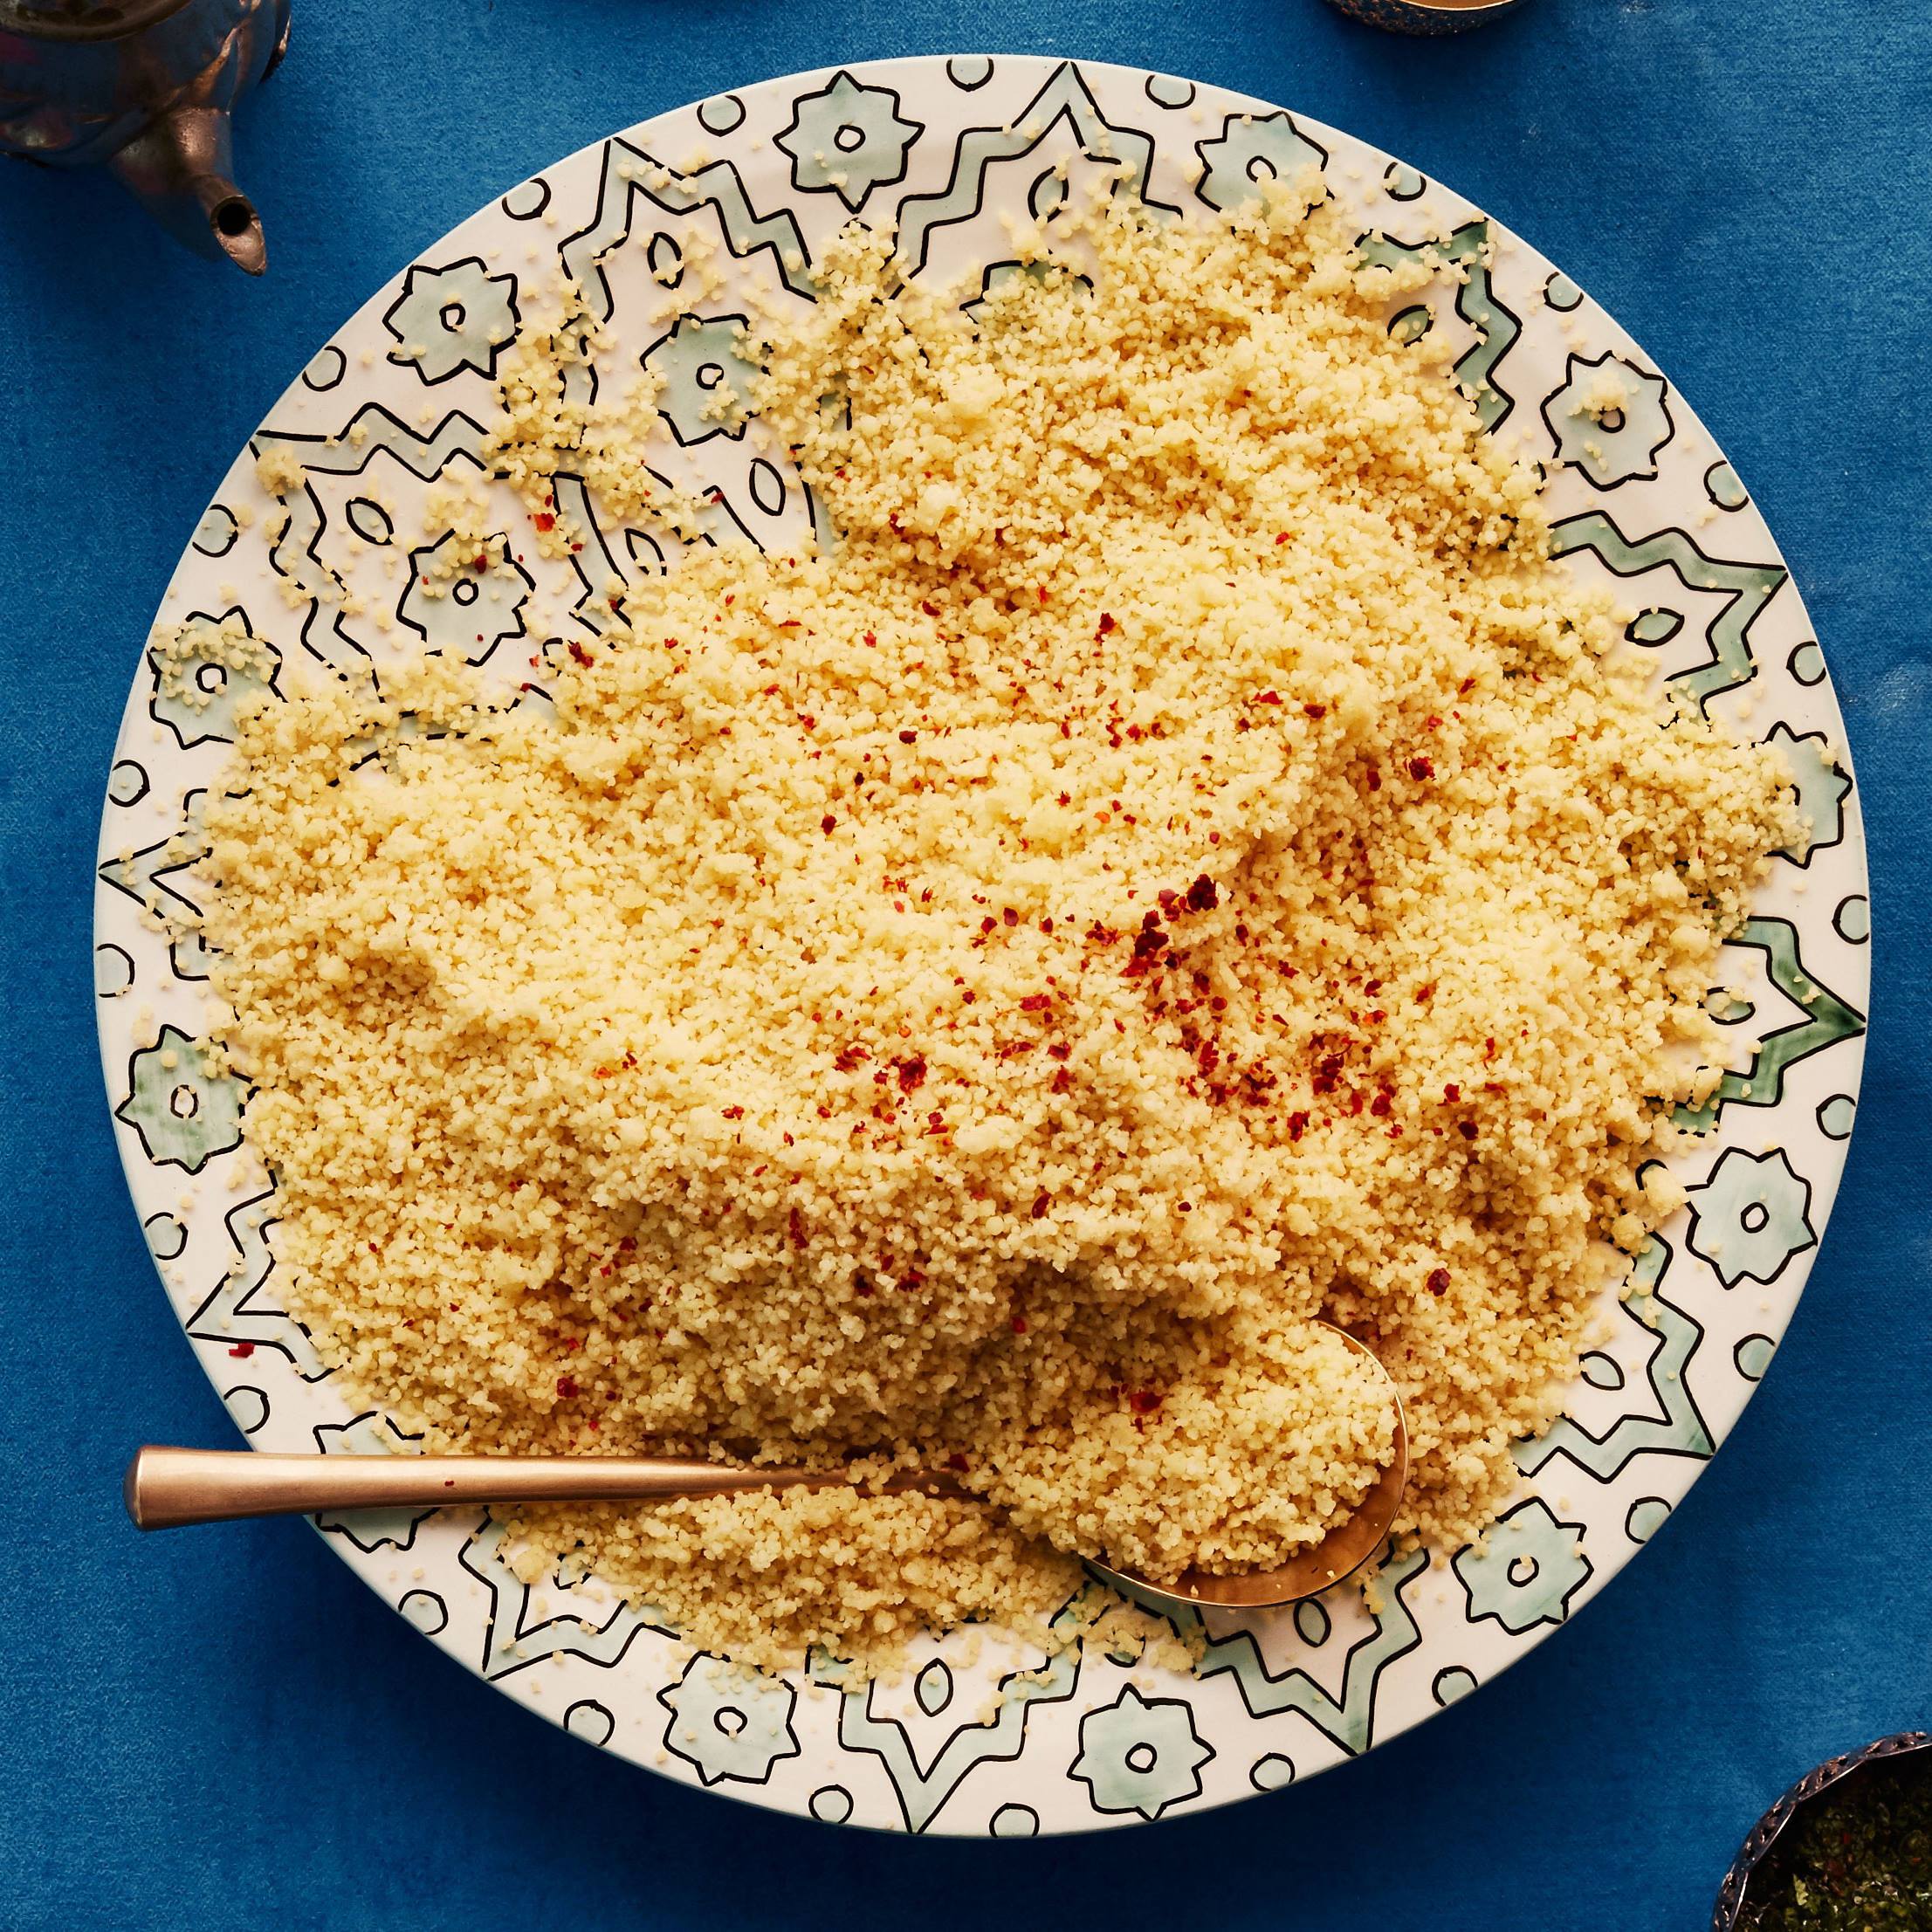
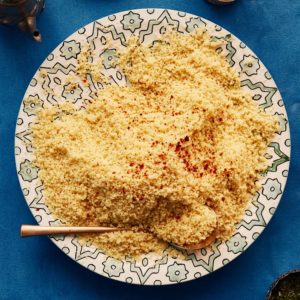
Spiced and Steamed Couscous with Brown Butter

Spiced and Steamed Couscous with Brown Butter
Steam, fluff; steam, fluff. This couscous recipe is time-consuming but worth it.
Author:
Cuisine: American
Recipe type: Main dish
Ingredients
  • 3 cups medium-grind couscous (not instant)
  • 2 cups chicken or vegetable stock
  • 1 3-inch cinnamon stick
  • 2 garlic cloves, crushed
  • 2 star anise pods
  • ½ teaspoon coriander seeds
  • ½ teaspoon cumin seeds
  • 2 teaspoons kosher salt, plus more
  • 6 tablespoons unsalted butter
  • Aleppo-style pepper (for serving)
Instructions
  1. Spread out couscous on a rimmed baking sheet. Bring stock, cinnamon stick, garlic, star anise pods, coriander seeds, cumin seeds, and 2 tsp. salt to a simmer in a small saucepan over medium heat, stirring occasionally, until salt is dissolved, about 4 minutes. Let cool. Strain stock over couscous; discard solids. Let sit, stirring occasionally, until liquid is absorbed and grains begin to swell, 10–15 minutes. Rake and rub couscous with your hands until no clumps remain.
  2. Pour water into a large pot to come 1" up sides. Bring to a gentle simmer. Transfer couscous to a steamer basket or a colander and set inside pot, making sure couscous is not touching water. The sides of the steamer basket should be in direct contact with the pot; this forces the steam up through the couscous instead of around the sides. (If there’s a gap between the steamer and the pot, fill it in with crumpled foil.) Steam, uncovered, gently tossing occasionally, until steam escapes through couscous, 15–20 minutes.
  3. Spread out couscous on a clean baking sheet, discarding any grains that may have stuck to steamer basket. Drizzle ¼ cup cold water over couscous to moisten. Let cool slightly, then rub couscous to break up any clumps.
  4. Pour fresh water into pot to come 1" up sides and steam couscous again, tossing occasionally, until tender and nearly tripled in size, 15–20 minutes.
  5. Meanwhile, melt butter in a small saucepan over medium, stirring often, and cook until it foams, then browns, 4–6 minutes.
  6. Transfer couscous back to rimmed baking sheet and toss with a slotted spoon to remove any remaining clumps. Drizzle with brown butter and toss to coat. Taste couscous and season with more salt if needed. Top with pepper before serving.
Do Ahead: Couscous can be steamed once 4 hours ahead. Store on baking sheet at room temperature. Steam the second time just before serving.

Watch the recipe video here:

Steam, fluff, steam, fluff. This couscous recipe is time-consuming but worth it.Recipe: http://bonap.it/yTtl7MH

Posted by Bon Appétit Magazine on Sunday, April 7, 2019

Main dish

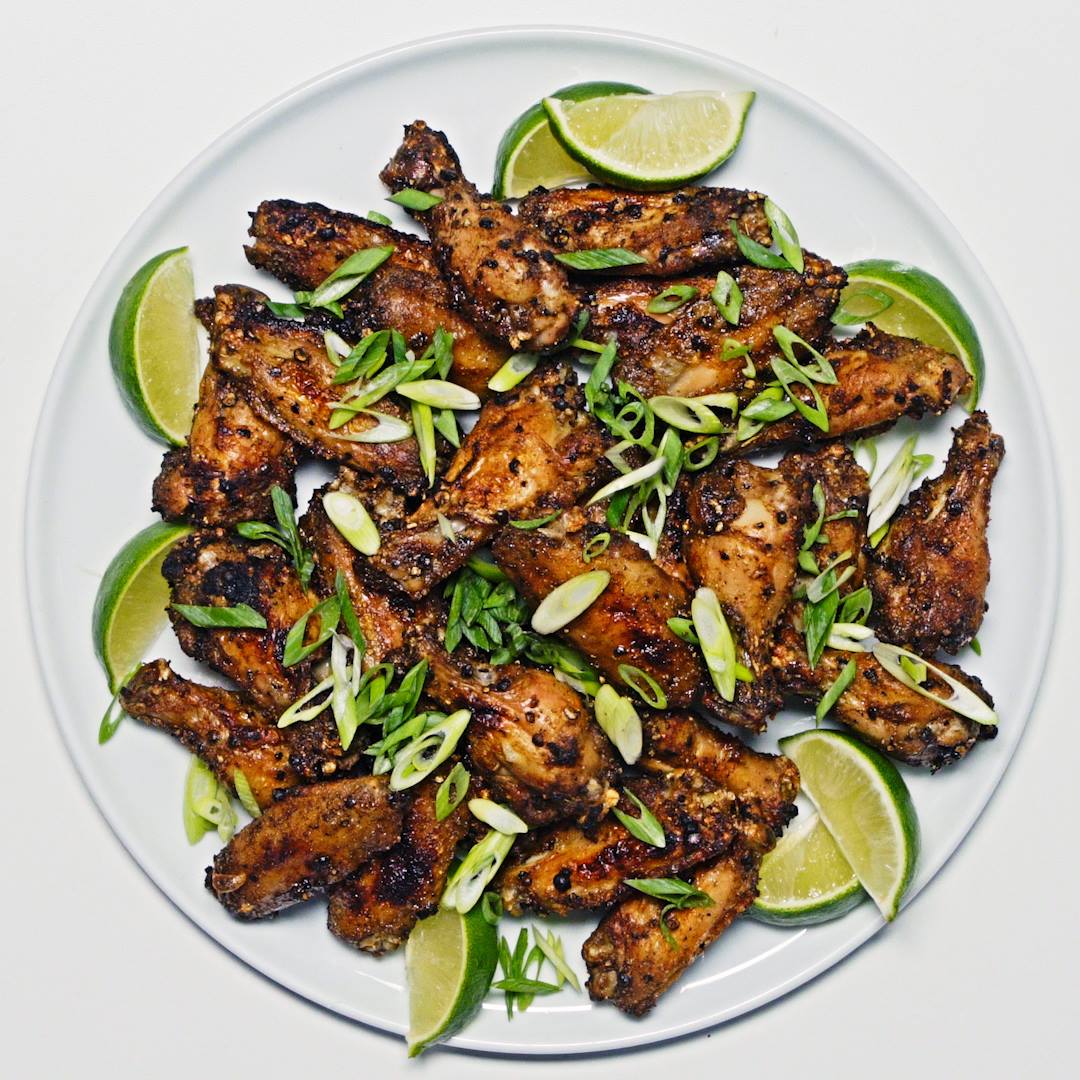
Crispy Peppercorn Chicken Wings

Crispy Peppercorn Chicken Wings
These super-flavorful, no-fry chicken wings turn out best when they’re seasoned ahead of time. You can do this as little as 1 hour in advance, but letting them hang out with salt and those spices overnight is a complete game changer.
Author:
Cuisine: American
Recipe type: Main dish
Ingredients
  • 2 tablespoons black peppercorns
  • 2 tablespoons Diamond Crystal or 1 tablespoon Morton kosher salt
  • 1 tablespoon ground coriander
  • 1 tablespoon ground cumin
  • 1½ teaspoons garam masala or Chinese five-spice powder
  • ½ teaspoon baking soda
  • ½ teaspoon sugar
  • 3 pounds chicken wings, flats and drumettes separated, patted dry with paper towels
  • 2 tablespoons olive oil
  • 2 scallions
  • 1 lime
Instructions
  1. Place peppercorns in the center of a large rimmed baking sheet. Crush peppercorns with bottom of a saucepan, working a few peppercorns at a time and pressing down firmly until you can hear and feel the crunch of peppercorns breaking apart. Transfer to a large bowl.
  2. Cover sheet you just used with a double layer of foil; set aside.
  3. Add salt, coriander, cumin, garam masala, baking soda, and sugar to bowl with peppercorns and mix with your hands to make sure all spices are intermingled.
  4. Add chicken wings and oil and toss with your hands until wings are evenly coated.
  5. Arrange wings on prepared sheet, spacing evenly apart. Chill, uncovered, at least 1 hour and up to 1 day.
  6. Remove wings from refrigerator and let sit until they’ve lost the chill of the fridge and are as close to room temperature as possible, at least 15 minutes. Meanwhile, place racks in the top third and center of oven; preheat to 425°. You’re going to bake and then broil the wings so they get extra crispy. If your broiler is in a drawer beneath your oven, ignore the part about the top rack.
  7. Bake wings on center rack, removing sheet halfway through and turning wings over with a pair of tongs, until browned and crisp in spots and cooked through, 30–40 minutes.
  8. Remove baking sheet from oven and turn on broiler; let heat at least 5 minutes. Broil wings on top rack (or in drawer) until browned and crisp all over and nubs on ends of drumettes are just a little charred, 3–4 minutes. Remove from oven and turn wings again.
  9. Broil until second side looks as crisp and lightly charred as the first, about 3 minutes. Let rest about 5 minutes.
  10. While the wings are resting, thinly slice scallions and cut lime into wedges.
  11. Arrange wings on a platter and scatter scallions over. Serve with lime wedges alongside.

Watch the recipe video here:

Yes, you need to make these wings this weekend. (via Basically)Recipe: http://bonap.it/tfExJvW

Posted by Bon Appétit Magazine on Saturday, April 6, 2019

Main dish

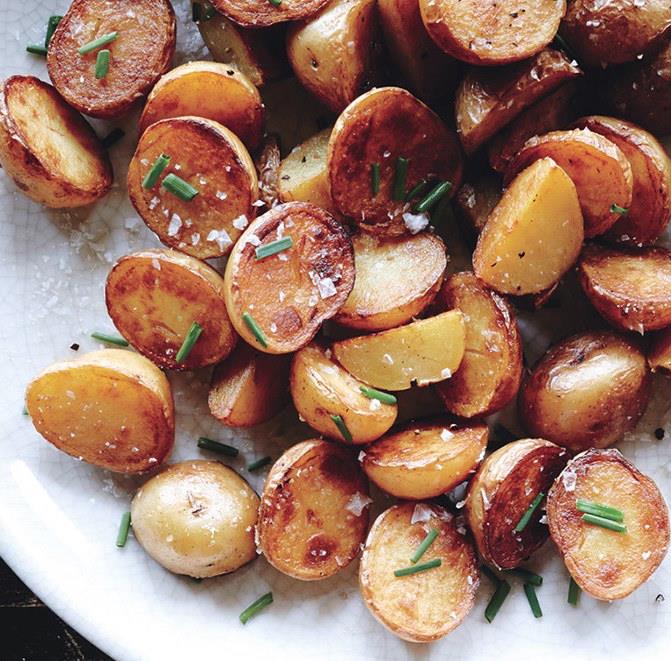
Crispy Salt-and-Vinegar Potatoes

Crispy Salt-and-Vinegar Potatoes
Cooking the potatoes in vinegar seasons them from within, and a final drizzle boosts the flavor.
Author:
Cuisine: American
Recipe type: Main dish
Ingredients
  • 2 pounds baby Yukon Gold potatoes, halved, quartered if large
  • 1 cup plus 2 Tbsp. distilled white vinegar
  • 1 tablespoon kosher salt, plus more
  • 2 tablespoons unsalted butter
  • Freshly ground black pepper
  • 2 tablespoons chopped fresh chives
  • Flaky sea salt (such as Maldon)
Instructions
  1. Combine potatoes, 1 cup vinegar, and 1 Tbsp. kosher salt in a medium saucepan; add water to cover by 1”. Bring to a boil, reduce heat, and simmer until potatoes are tender, 20–25 minutes; drain and pat dry.
  2. Heat butter in a large skillet over medium-high heat. Add potatoes; season with kosher salt and pepper. Cook, tossing occasionally, until golden brown and crisp, 8–10 minutes. Drizzle with remaining 2 Tbsp. vinegar. Serve topped with chives and sea salt.

Watch the recipe video here:

Make these crispy salt-and-vinegar potatoes ASAP. Recipe: http://bonap.it/Noj5oFD

Posted by Bon Appétit Magazine on Thursday, April 4, 2019

Main dish

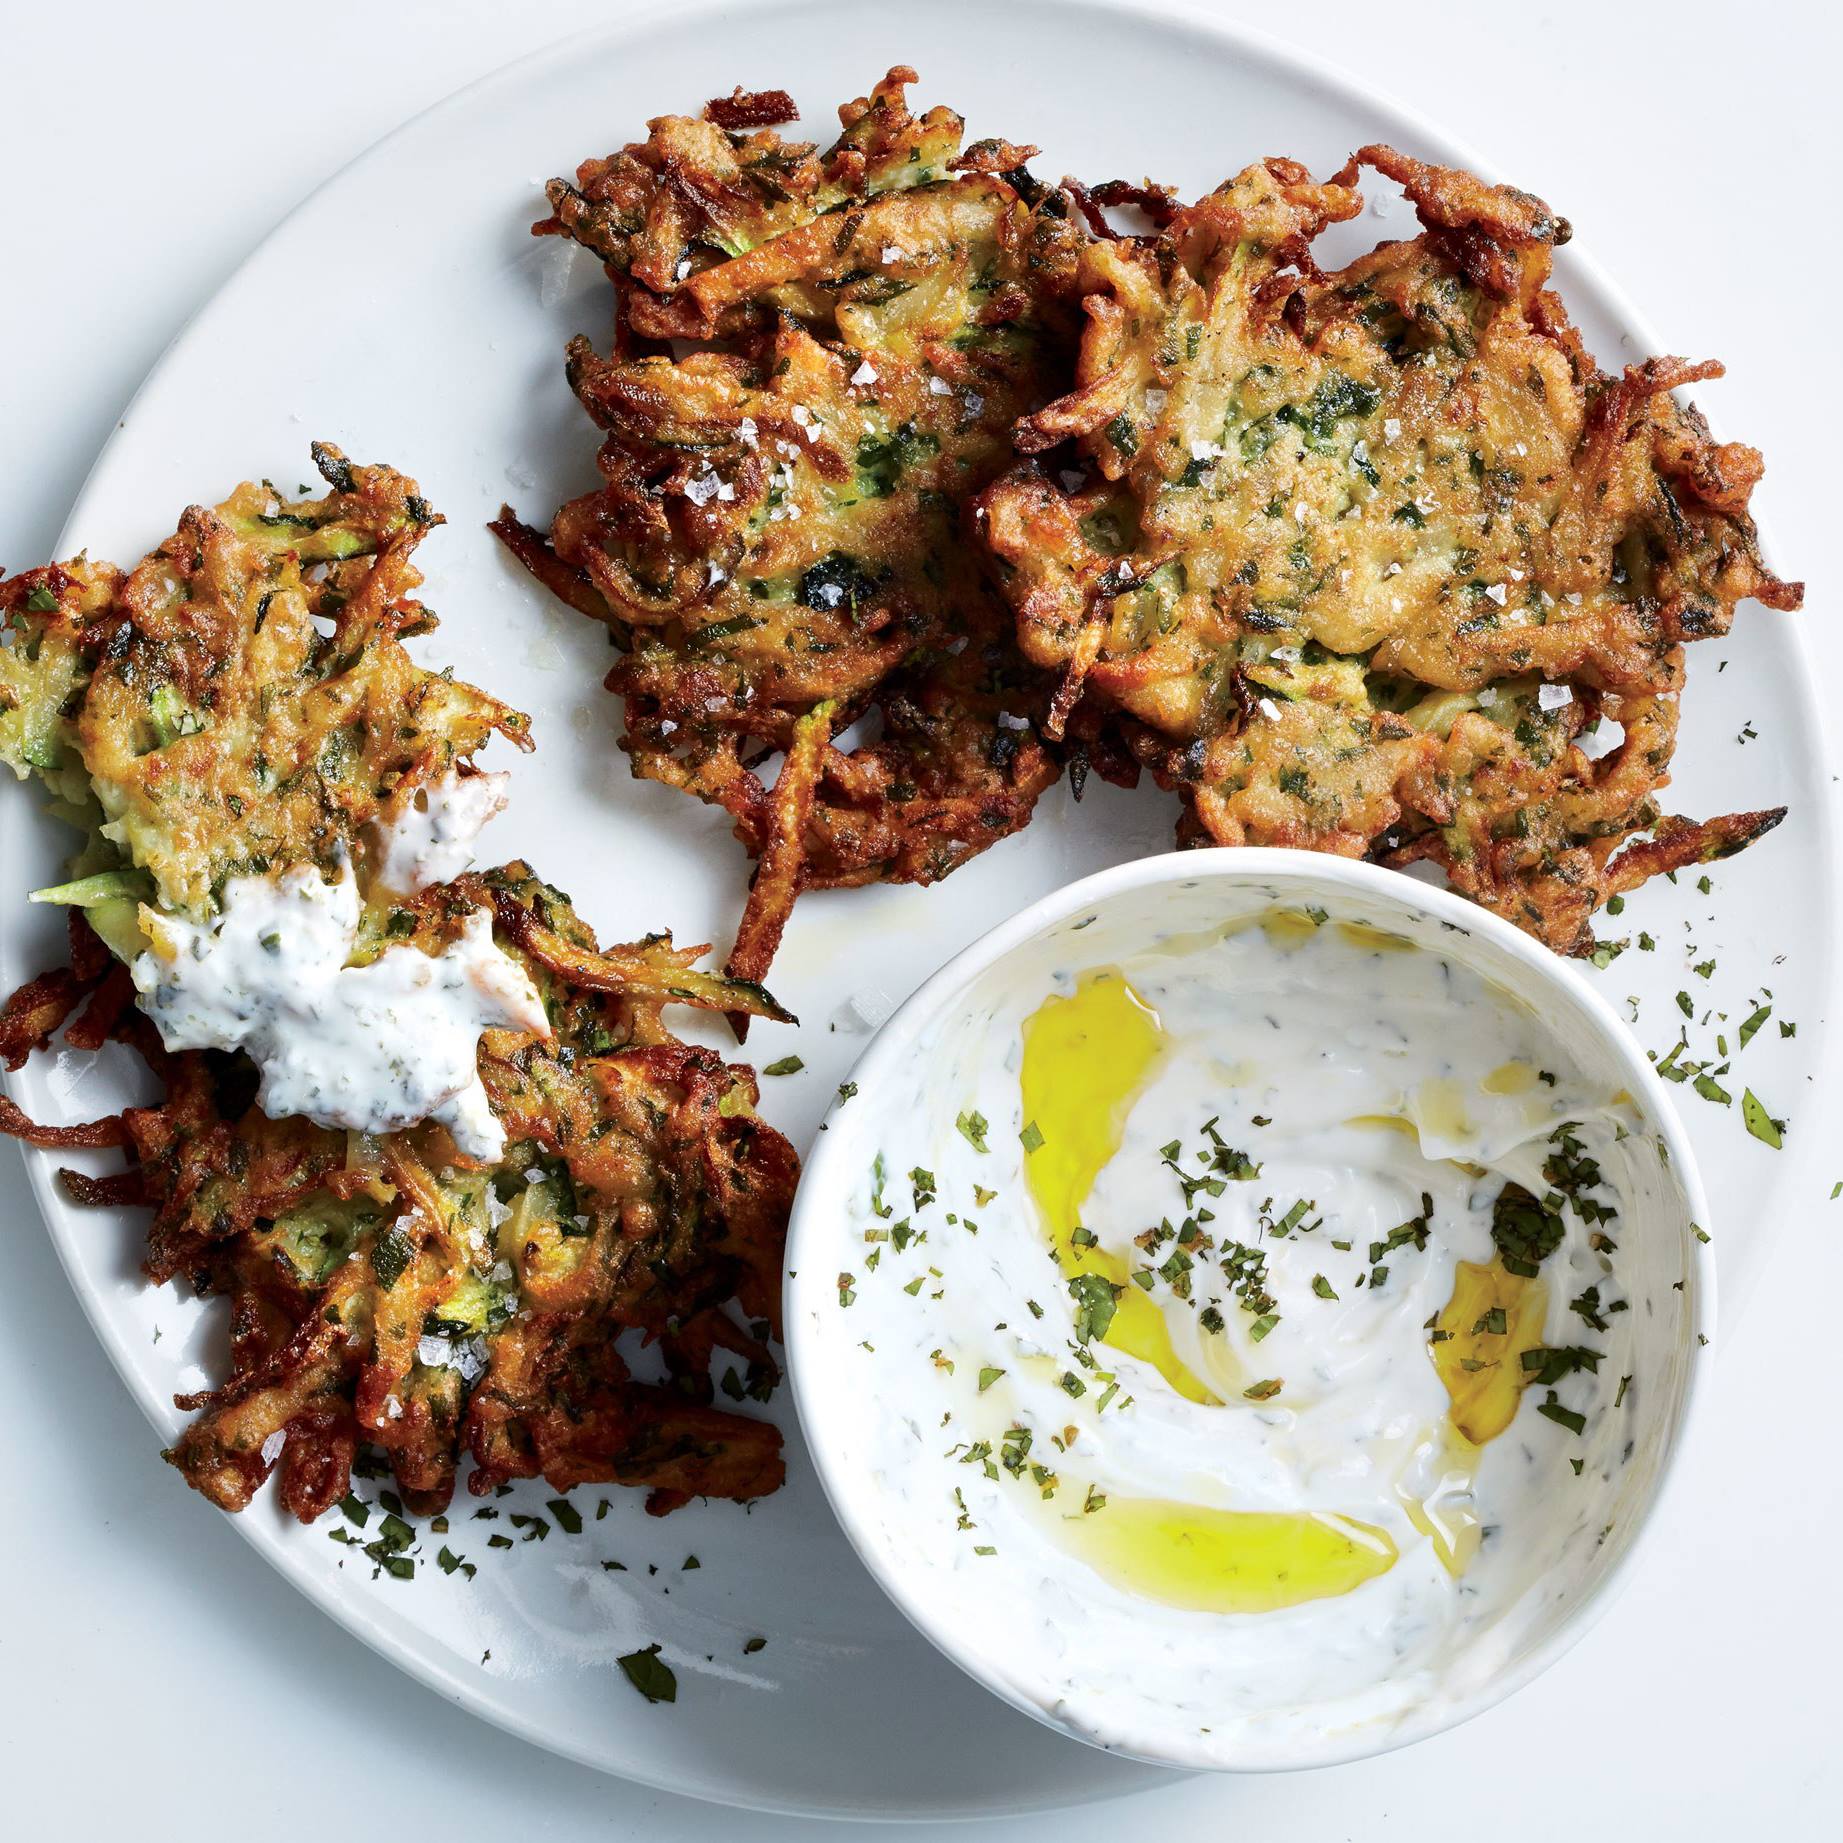
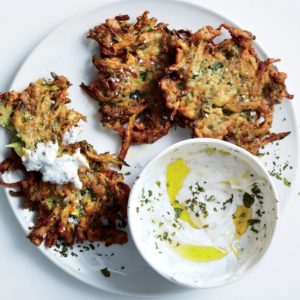
Zucchini-Herb Fritters with Garlic Yogurt

Zucchini-Herb Fritters with Garlic Yogurt
Squeezing the liquid out of the zucchini is the secret to crisp fritters. (The potato helps, too.)
Author:
Cuisine: American
Recipe type: Main dish
Ingredients
  • Garlic Yogurt
  • ½ cup plain yogurt (not Greek)
  • 2 tablespoons finely chopped fresh mint
  • 2 tablespoons fresh lemon juice
  • 2 tablespoons olive oil
  • 1 teaspoon honey
  • 1 garlic clove, finely grated
  • Kosher salt and freshly ground black pepper
  • Fritters and Assembly
  • 2 small zucchini, ends trimmed
  • 1 small russet potato, peeled
  • ½ medium onion
  • 2 teaspoons kosher salt, plus more
  • 2 large eggs, beaten to blend
  • 1 garlic clove, finely grated
  • ½ teaspoon ground cumin
  • 3 tablespoons finely chopped fresh parsley, plus more for serving
  • 2 tablespoons finely chopped fresh mint, plus more for serving
  • Freshly ground black pepper
  • ⅓ cup all-purpose flour
  • ½ teaspoon baking powder
  • ½ cup vegetable oil
  • Olive oil (for serving)
Instructions
Garlic Yogurt
  1. Mix yogurt, mint, lemon juice, oil, honey, and garlic in a small bowl; season with salt and pepper. Cover; chill.
Fritters and Assembly
  1. Grate zucchini, potato, and onion on the large holes of a box grater. Transfer to a mesh sieve set over a bowl and toss with 2 tsp. salt. Let vegetables sit until they release their liquid, 30−40 minutes.
  2. Mix eggs, garlic, cumin, 3 Tbsp. parsley, and 2 Tbsp. mint in a medium bowl; season with salt and pepper. Gather up half of zucchini mixture in a kitchen towel; squeeze out excess liquid. Add to bowl with egg mixture and repeat with remaining zucchini mixture. Sprinkle flour and baking powder over; mix gently.
  3. Heat vegetable oil in a large skillet over medium-high. Working in batches, spoon scoops of mixture into skillet, flattening gently with a spatula. Cook until golden brown and crisp, about 3 minutes per side. Transfer to a wire rack; season with salt. Drizzle yogurt sauce with olive oil and top with more herbs; serve alongside warm fritters.

Watch the recipe video here:

There's literally never a bad time to make these.Recipe: http://bonap.it/CeIRRoh

Posted by Bon Appétit Magazine on Wednesday, April 3, 2019

Main dish

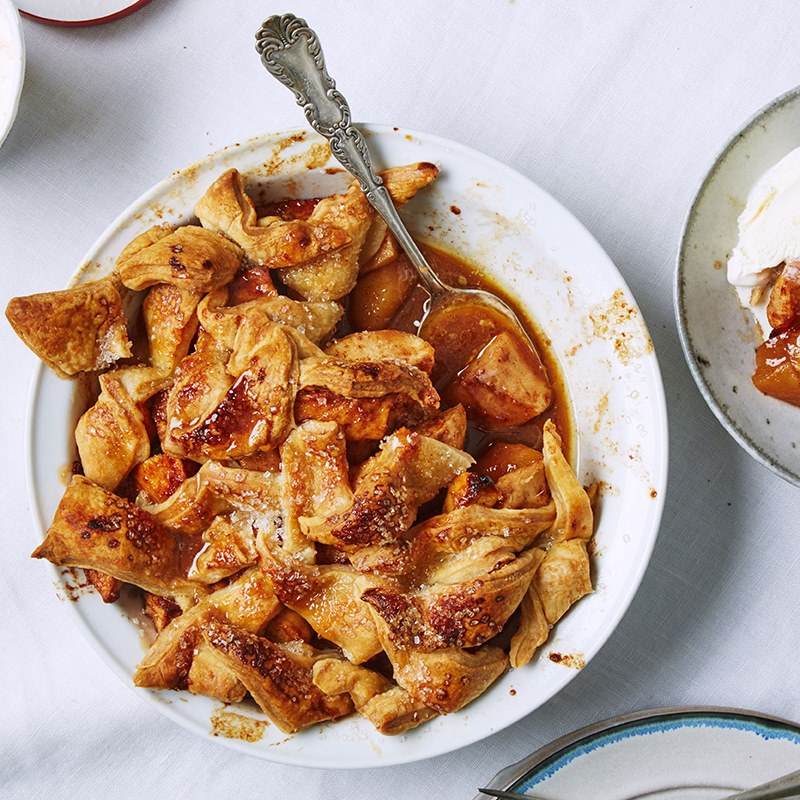
Apple Pandowdy

Apple Pandowdy
Funny name, serious—and seriously easy—dessert. This apple pandowdy recipe is so delicious that we're just going to have to say...cobbler: You’ve been warned.
Author:
Cuisine: American
Recipe type: Main dish
Ingredients
  • 6 tablespoons unsalted butter
  • 4 pounds Pink Lady and/or Granny Smith apples
  • ⅔ cup (packed) dark brown sugar
  • 3 tablespoons all-purpose flour, plus more for surface
  • 1 tablespoon vanilla extract
  • 2 teaspoons ground cinnamon
  • ½ teaspoon kosher salt
  • 1 lemon
  • 1 ½-inch piece ginger
  • 1 package frozen puff pastry (preferably Dufour), thawed by covering pastry sheet with plastic and leaving at room temperature 30 minutes
  • Granulated sugar (for sprinkling)
  • 2 pints vanilla ice cream
Instructions
  1. Preheat oven to 425°. Cook 6 Tbsp. butter in a small saucepan over medium heat, swirling often, until bubbling and golden, about 5 minutes; set aside.
  2. Prepare your apples: Using a vegetable peeler, remove peel from apples. Stand them upright and slice down along core, working all the way around to remove big lobes of flesh. Cut lobes lengthwise into 1" pieces (irregular shapes are fine). Discard peel and cores. Transfer apples to a large bowl.
  3. Add ⅔ cup dark brown sugar, 3 Tbsp. flour, 1 Tbsp. vanilla, 2 tsp. cinnamon, and ½ tsp. salt to bowl with apples.
  4. Using a microplane or fine rasp grater, grate zest of ½ lemon over apples. Cut lemon in half and squeeze juice from zested half over apples, catching any seeds. Using peeler, remove peel from ginger, then grate over apples.
  5. Toss apple mixture until combined, then transfer to a shallow 3-qt. baking dish. Drizzle all but 2 Tbsp. brown butter over apples.
  6. Dust cutting board with a light coating of flour and unfold puff pastry on floured surface. Dust top with flour. Cut puff pastry into irregular 1" pieces (any shape is fine).
  7. Arrange pieces of puff pastry over apples, overlapping but spreading to cover almost completely. Brush pastry with remaining brown butter. Sprinkle with granulated sugar.
  8. Bake pandowdy until pastry is puffed and golden around edges, 25–30 minutes. Reduce oven temperature to 350° and continue to bake until juices are thick and bubbling and pastry is brown all over, 30–35 minutes longer.
  9. Using a spoon, press pastry down into warm juices (but don’t submerge); let cool slightly.
  10. Serve pandowdy warm with ice cream.
Do Ahead: Pandowdy can be made 1 day ahead. Let cool. Cover loosely with foil and store at room temperature. Reheat uncovered in a 200° oven 20 minutes before serving.

Watch the recipe video here:

https://www.facebook.com/37940325366/posts/10161609520365367/

Main dish

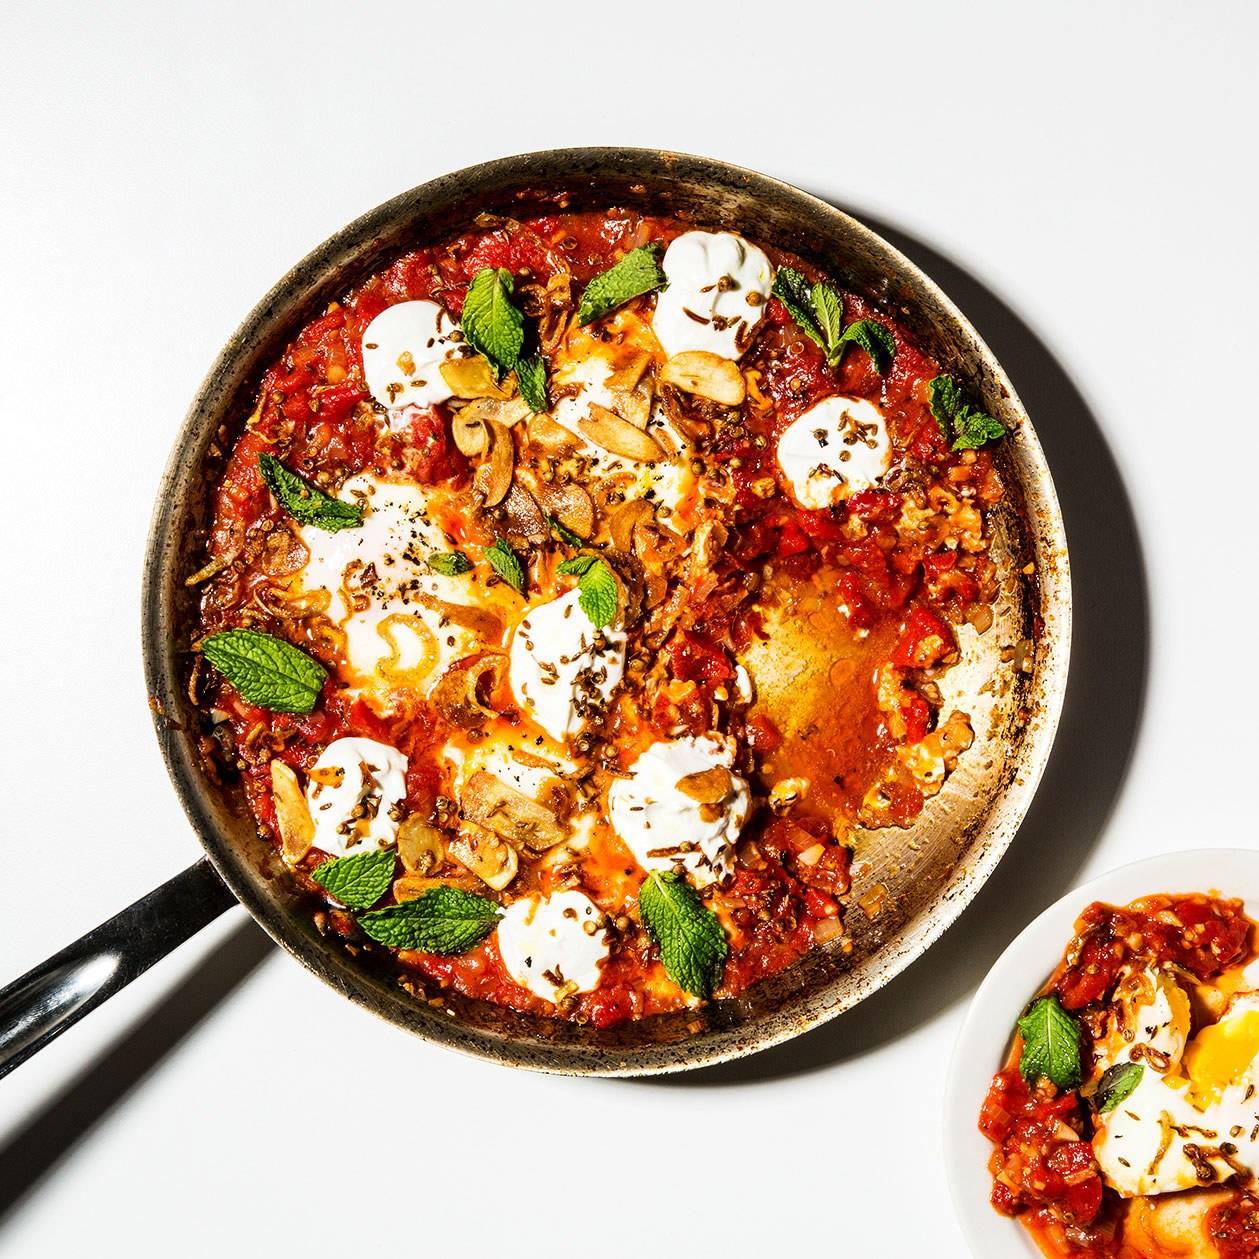
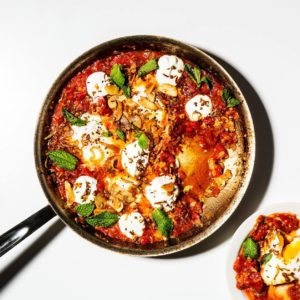
30-Minute Shakshuka with Yogurt

30-Minute Shakshuka with Yogurt
Shakshuka might just be the ultimate weeknight pantry meal. The trick is getting the eggs cooked so that the whites are set and the yolks are still jammy—starting with room temperature eggs is key, so soak them in hot water for a few minutes if they're cold from the fridge.
Author:
Cuisine: American
Recipe type: Main dish
Ingredients
  • 1 teaspoon coriander seeds
  • 1 teaspoon cumin seeds
  • 6 garlic cloves, divided
  • 2 medium shallots, divided
  • 1 12-ounce jar roasted red peppers
  • ¼ cup extra-virgin olive oil, plus more for drizzling
  • Kosher salt
  • Freshly ground black pepper
  • 1 28-ounce can whole peeled tomatoes
  • 4 large eggs
  • ½ cup plain Greek yogurt
  • Mint leaves and crusty bread (for serving)
Instructions
  1. Place 1 tsp. coriander seeds and 1 tsp. cumin seeds in little piles on a cutting board. Using the bottom of a medium skillet, crush seeds, pressing down firmly with even pressure. You’ll have to do this several times, repositioning skillet to break apart any whole seeds that remain. Transfer seeds to a small heatproof bowl.
  2. Slice 2 garlic cloves as thinly and evenly as you can; add to bowl with seeds. Finely chop remaining 4 garlic cloves.
  3. Cut half of 1 shallot into thin rounds and add to same bowl with seeds and garlic. Chop remaining shallots.
  4. Open jar of red peppers and pour off any liquid. Remove peppers and coarsely chop.
  5. Combine ¼ cup oil and seed/garlic/shallot mixture in skillet you used for crushing seeds. Heat over medium and cook, stirring constantly with a wooden spoon, until seeds are sizzling and fragrant and garlic and shallots are crisp and golden, about 3 minutes.
  6. Place a strainer over same heatproof bowl and pour in contents of skillet, making sure to scrape in seeds and other solids. Do this quickly before garlic or shallots start to burn. Reserve oil.
  7. Spread out seed mixture across paper towels to cool. Season with salt and pepper.
  8. Return strained oil to skillet and heat over medium. Add remaining chopped garlic and shallot and cook, stirring often, until shallot is translucent and starting to turn brown around the edges, about 5 minutes. Season with salt and lots of pepper.
  9. Add chopped peppers to skillet and stir to incorporate. Using your hands, lift whole peeled tomatoes out of can, leaving behind tomato liquid, and crush up with your hands as you add to skillet (beware squirting tomato juices). Discard leftover liquid. Season with more salt and pepper.
  10. Cook shakshuka, stirring often, until thickened and no longer runs together when a spoon is dragged through, 10–12 minutes.
  11. Reduce heat to low. Using the back of wooden spoon, create four 2"-wide divots in tomato sauce. Working one at a time, carefully crack an egg into each divot.
  12. Cover skillet and cook, simmering very gently and reducing heat if necessary, until whites of eggs are set while yolks are still jammy, 7–10 minutes. Uncover skillet and remove from heat. Season tops of eggs with salt and pepper.
  13. Top shakshuka with dollops of yogurt, sprinkle with seed mixture, then drizzle with more olive oil. Finish by scattering mint leaves over top.
  14. Serve shakshuka with crusty bread alongside.

Watch the recipe video here:

Shakshuka might just be the ultimate weeknight pantry meal. (via Basically)Recipe: http://bonap.it/pn9Us9J

Posted by Bon Appétit Magazine on Tuesday, April 2, 2019