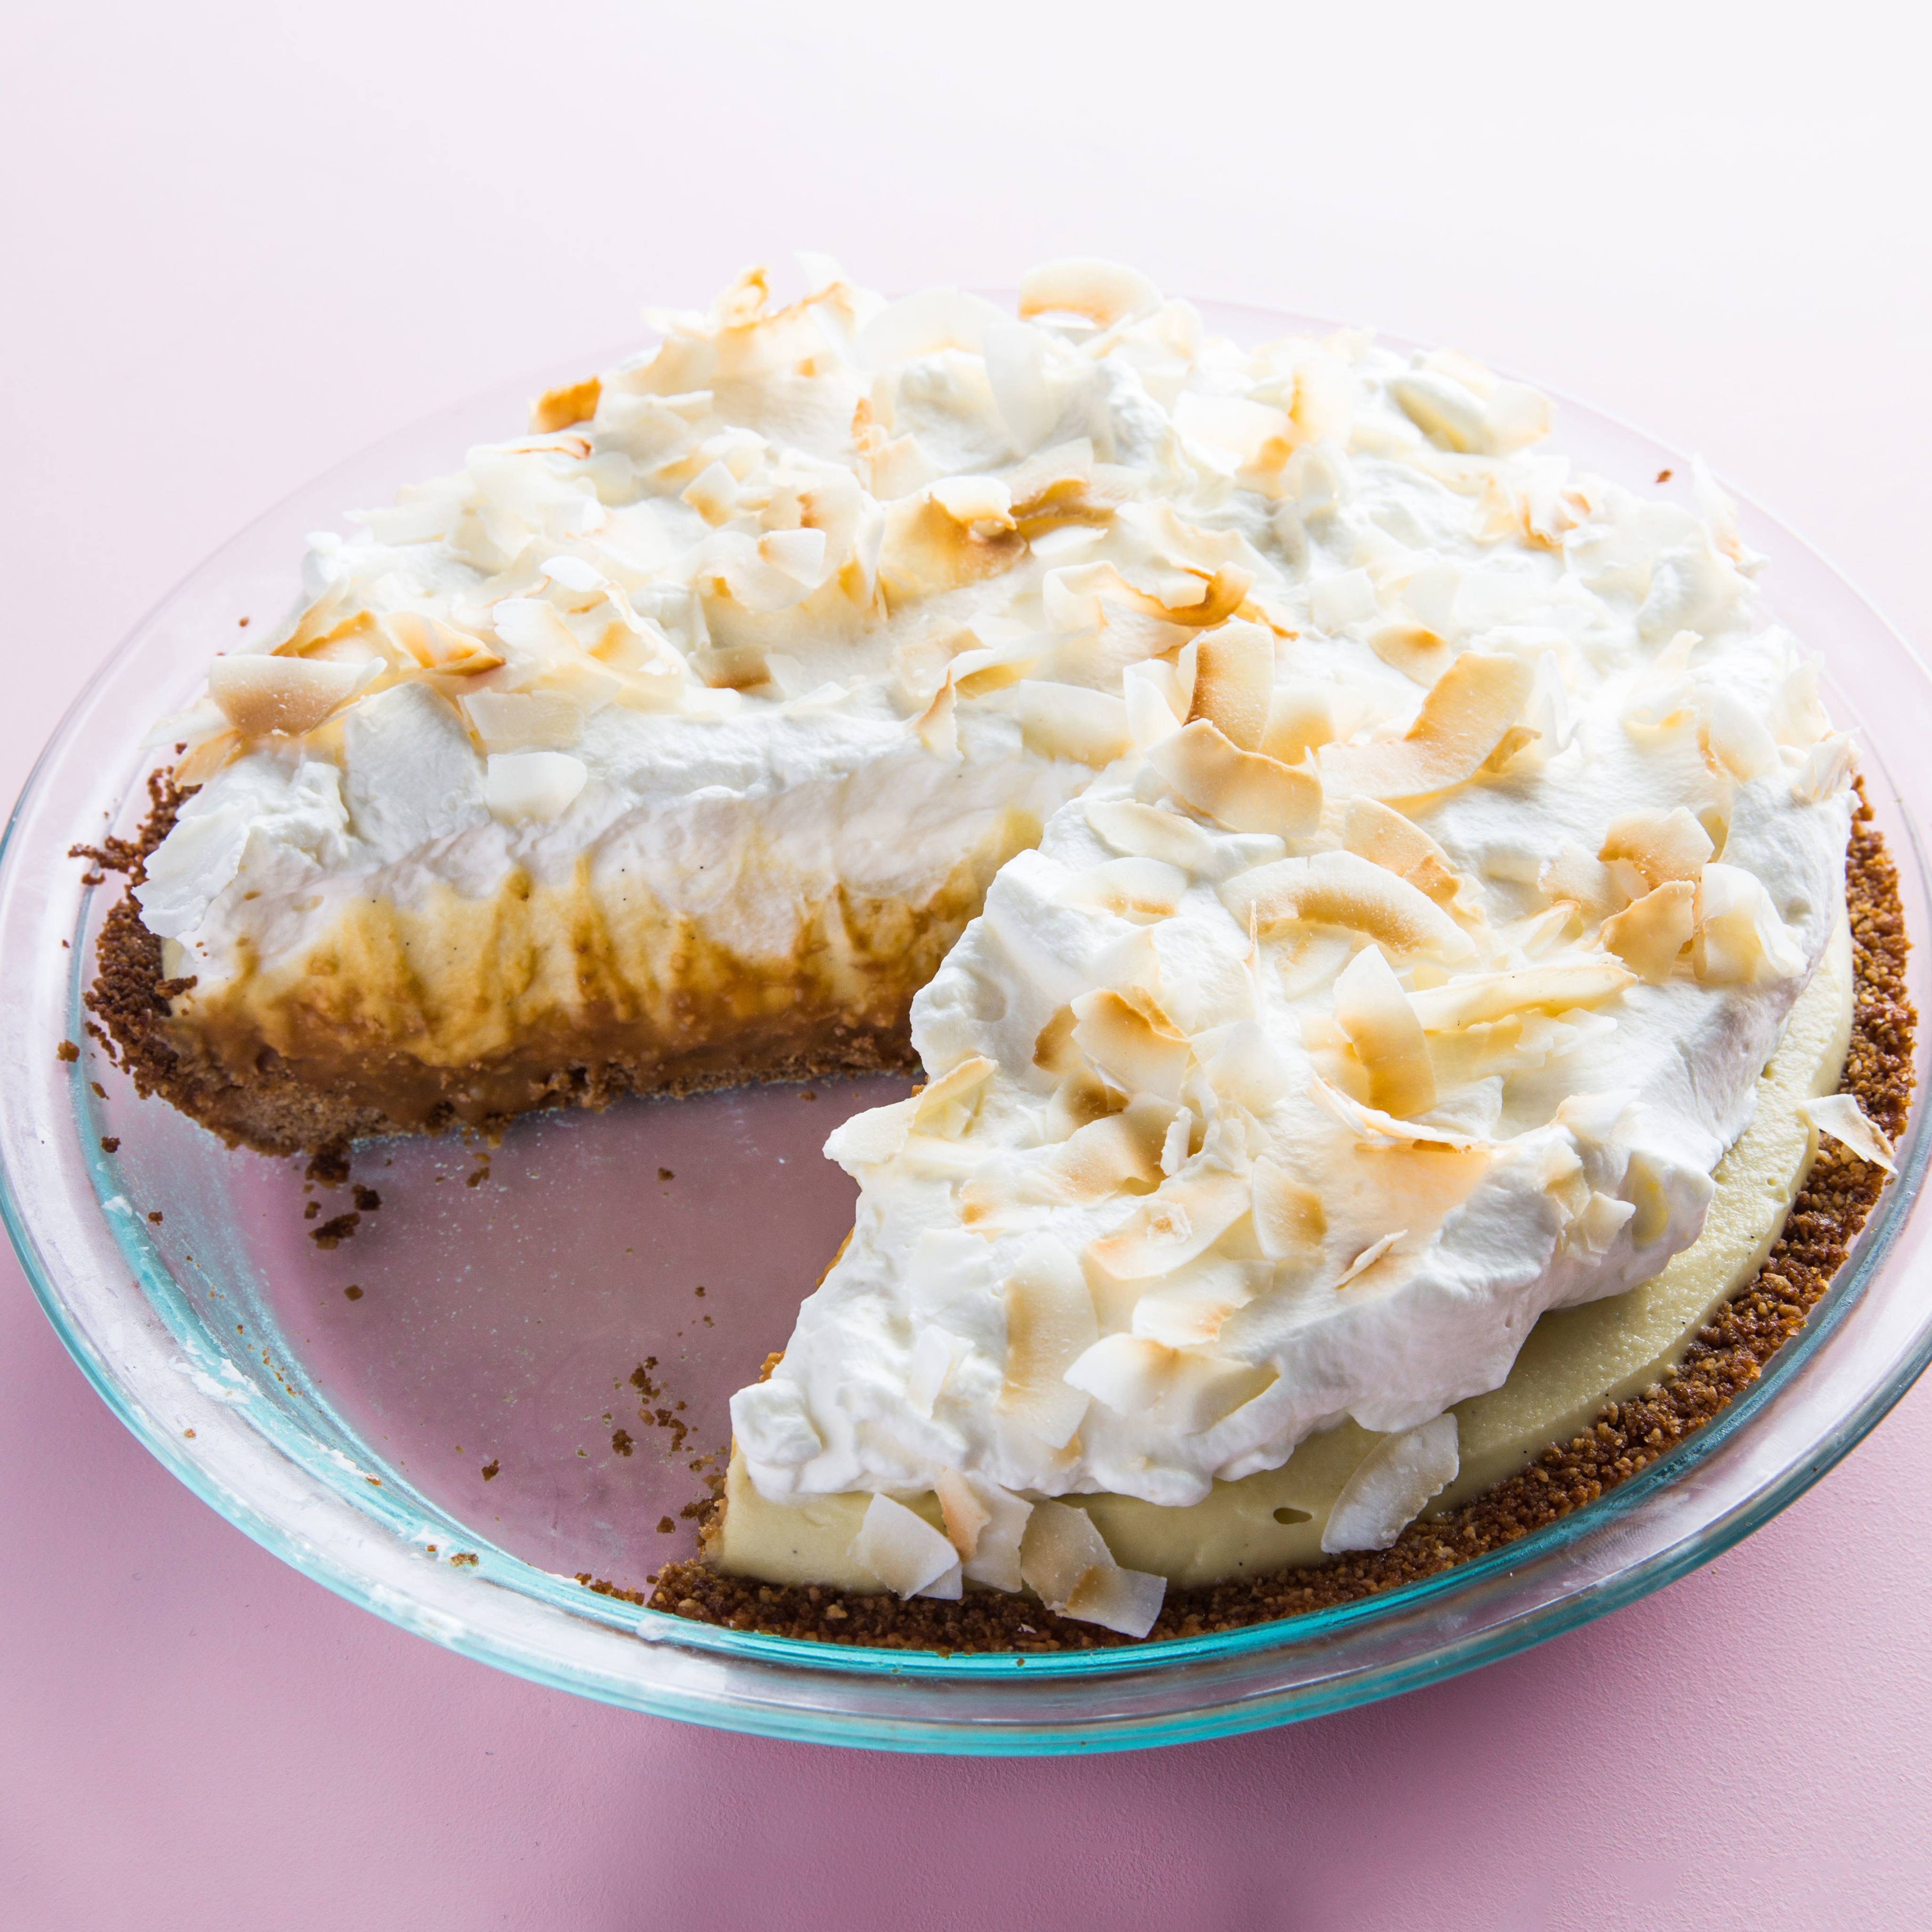
Jammy Eggs with Paprika Aioli
Jammy Eggs with Paprika Aioli
Like deviled eggs—but faster, easier, more delicious, and fancier-sounding. This recipe calls for peperoncini, but most pickle-y things (cornichons, olives, that jar of dilly beans you've had for years) will work just as well.

Author: The Chef
Cuisine: American
Recipe type: Main dish
Ingredients
- 4 large eggs, room temperature
- 2 jarred peperoncini in brine
- 4 sprigs parsley
- ¼ cup mayonnaise
- ½ tsp. smoked or hot paprika
- Kosher salt
Instructions
- Bring a small saucepan of water to a boil.
- Using a spider or slotted spoon, carefully lower 4 eggs into boiling water. Set timer for 8 minutes. Fill a large bowl with ice water.
- While eggs are boiling, do the rest of your prep: Drain 2 peperoncini. Remove stems and finely chop. Transfer to a small bowl.
- Pick off leaves from 4 parsley sprigs and finely chop (discard stems). Add to bowl with peperoncini.
- Mix ¼ cup mayonnaise and ½ tsp. paprika in another small bowl.
- When timer goes off, remove eggs from boiling water with spider or slotted spoon and transfer to ice bath. Let cool 5 minutes.
- Peel eggs, slice in half lengthwise, then sprinkle yolks with salt. Transfer eggs to a plate.
- Top each egg with paprika mayo and peperoncini salsa.
Watch the recipe video here:
Like deviled eggs—but faster, easier, more delicious, and fancier-sounding.Make them: http://bonap.it/3y4JAAq
Posted by Bon Appétit Magazine on Tuesday, March 19, 2019