Main dish

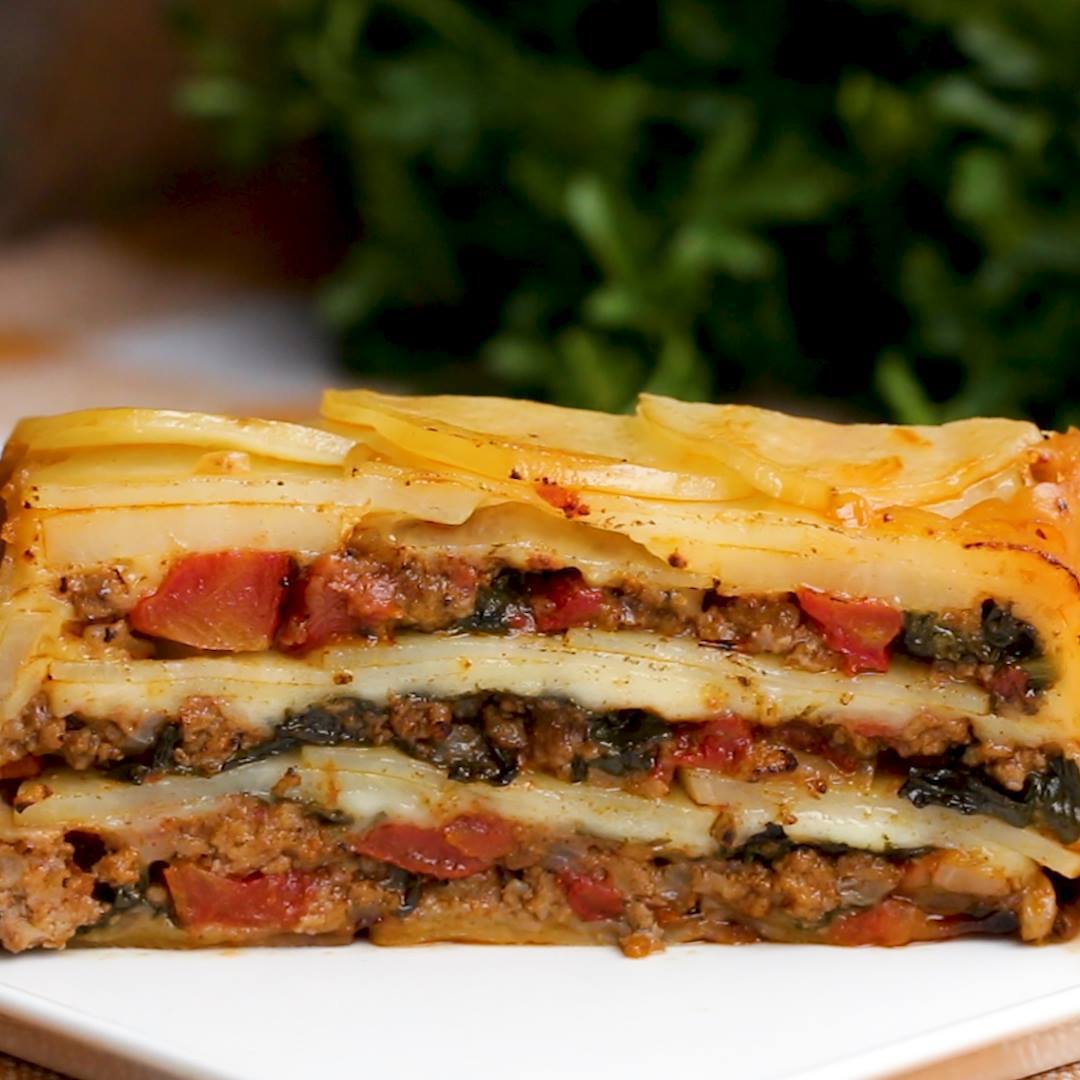
Scalloped Potato Loaf
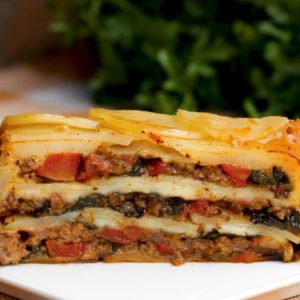
Scalloped Potato Loaf
Author:
Cuisine: American
Recipe type: Main dish
Ingredients
  • 1 tablespoon olive oil
  • 1 large white onion, chopped
  • 1 lb lean ground beef (455 g)
  • ½ teaspoon pepper
  • 1 teaspoon salt
  • 2 teaspoons garlic powder
  • 2 teaspoons paprika
  • 14 oz diced tomato, 1 can (395 g)
  • 6 cups fresh spinach (240 g)
  • 5 russet potatoes
  • 13 slices mozzarella cheese
  • 2 tablespoons fresh parsley, chopped, for garnish
Instructions
  1. In a large skillet, heat the olive oil over medium heat until shimmering. Add the onion and cook until golden, about 5 minutes.
  2. Add the ground beef and break apart, then cook for 3 minutes until the meat is no longer pink. Add the pepper, salt, garlic powder, paprika, and tomatoes. Mix thoroughly.
  3. Add the spinach and cook until just wilted, about 2 minutes. Remove the pan from the heat, cover, and set aside until ready to use.
  4. Preheat the oven to 350˚F (180˚C).
  5. Peel the potatoes and cut into ⅛-inch (3 mm) thick slices.
  6. In a 9x5-inch (23x13-cm) loaf pan, arrange overlapping potato slices on the bottom of the pan so the entire bottom is covered. Line the perimeter of the pan with overlapping potato slices.
  7. Place 2 slices of mozzarella over the bottom layer of potatoes. Cut 5 slices of mozzarella in half. Place 2 half slices of cheese against the potatoes on both of the longer sides of the pan and one half on both of the shorter sides. Place one half in each of the corners of the pan.
  8. Spread ⅓ of the beef mixture on top of the cheese. Arrange another layer of overlapping potato slices over the beef mixture. Place 2 more slices of cheese on top of the potatoes.
  9. Spread another third of the beef mixture over the cheese, then add another layer of potatoes. Place 2 more slices of cheese on top of the potatoes. Spread the rest of the beef mixture on top of the cheese.
  10. Tuck potato slices around the sides of the pan until all of the gaps are filled. Place the last 2 slices of cheese on top of the beef mixture. Cover the cheese with overlapping potato slices.
  11. Bake for 90 minutes, until the top is golden brown and crisp. Let cool a bit.
  12. Place a cutting board over the loaf pan and invert the loaf.
  13. Slice and garnish with parsley.
  14. Enjoy!

Watch the recipe video here:

The layers of this scalloped potato loaf are insane ?!Get the recipe: https://tasty.co/recipe/scalloped-potato-loaf

Posted by Tasty on Wednesday, April 3, 2019
Main dish

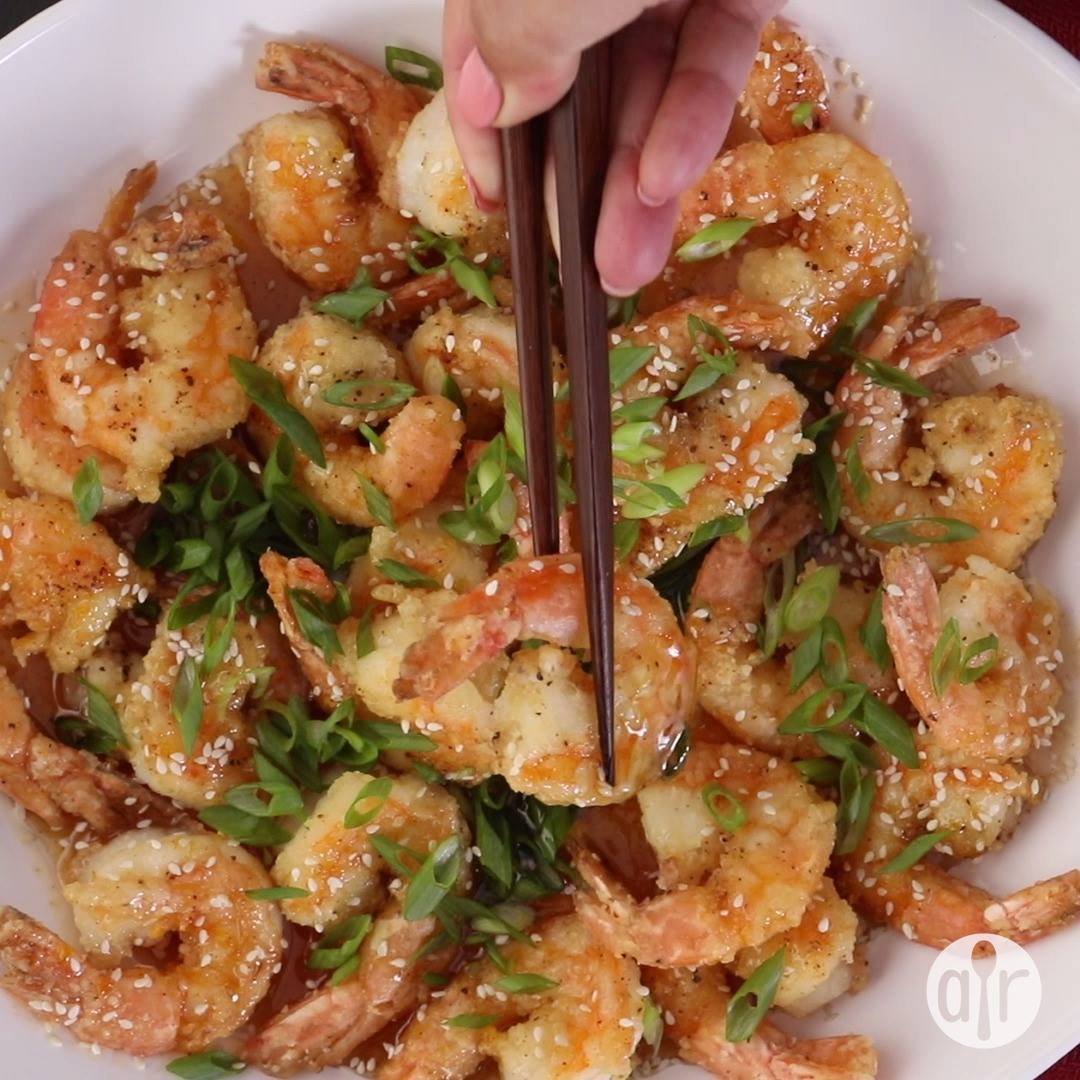
Honey Orange Firecracker Shrimp

Honey Orange Firecracker Shrimp
Colossal-size shrimp seasoned and fried crispy with honey, orange, garlic, and red pepper. You can dress this up with either orange, lemon, or lime zest and fresh thinly-sliced basil.
Author:
Cuisine: American
Recipe type: Main dish
Ingredients
  • 24 jumbo shrimp, peeled and deveined
  • 1 cup cornstarch
  • 1 tablespoon garlic powder
  • 1¼ teaspoons salt
  • 1 teaspoon ground black pepper
  • ½ cup canola oil
  • 1 cup tupelo honey
  • 1 tablespoon grated orange zest
  • 2 tablespoons fresh lemon juice1/4 teaspoon cayenne pepper, or to taste
Instructions
  1. Wash shrimp well and submerge in cold water in a bowl; set shrimp aside.
  2. Place cornstarch, garlic powder, salt, and black pepper in a large plastic bowl with a tight-fitting lid, close the lid, and shake several times to mix. Place half the wet shrimp into the container, cover, and shake to coat shrimp with cornstarch mixture. Remove shrimp to a platter and repeat with remaining shrimp.
  3. Heat canola oil in a large skillet over medium heat until the oil is hot and shimmering but not smoking. Tap excess cornstarch from the shrimp and pan-fry in batches until shrimp are opaque inside and brown and crisp outside, 2 to 3 minutes per side. Drain cooked shrimp on paper towels while you fry the remaining shrimp.
  4. Clean skillet and pour in honey; bring to a boil over medium heat and stir in orange zest, lemon juice, and cayenne pepper. Serve hot shrimp on a serving platter drizzled with honey sauce to taste.

Watch the recipe video here:

Honey Orange Firecracker Shrimp: https://trib.al/lamfDxM

Posted by Allrecipes on Wednesday, April 3, 2019
Main dish

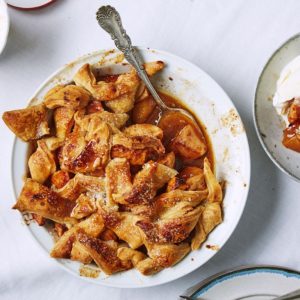
Apple Pandowdy

Apple Pandowdy
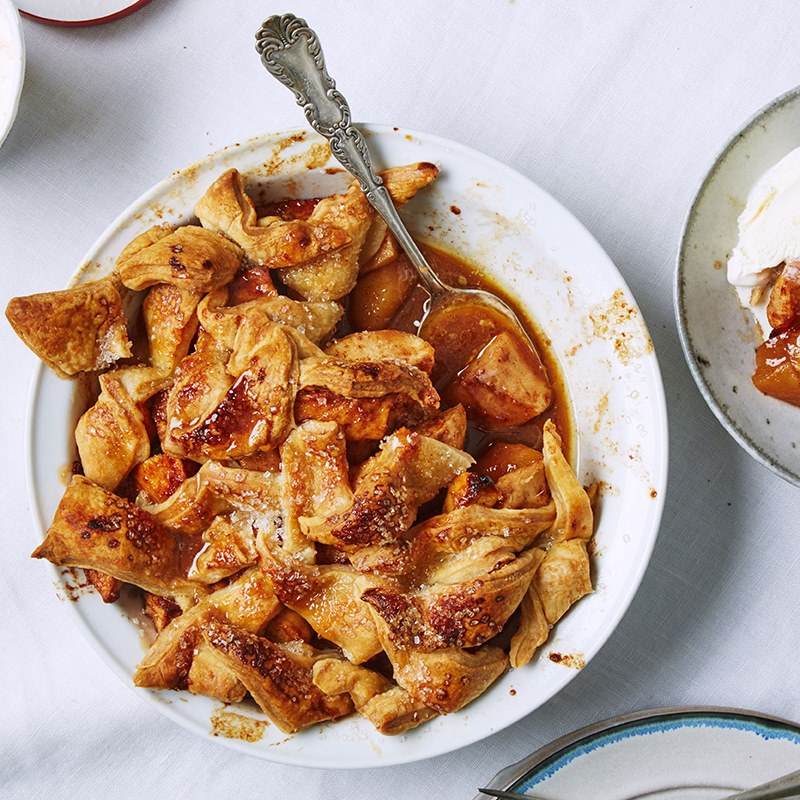
Funny name, serious—and seriously easy—dessert. This apple pandowdy recipe is so delicious that we're just going to have to say...cobbler: You’ve been warned.
Author:
Cuisine: American
Recipe type: Main dish
Ingredients
  • 6 tablespoons unsalted butter
  • 4 pounds Pink Lady and/or Granny Smith apples
  • ⅔ cup (packed) dark brown sugar
  • 3 tablespoons all-purpose flour, plus more for surface
  • 1 tablespoon vanilla extract
  • 2 teaspoons ground cinnamon
  • ½ teaspoon kosher salt
  • 1 lemon
  • 1 ½-inch piece ginger
  • 1 package frozen puff pastry (preferably Dufour), thawed by covering pastry sheet with plastic and leaving at room temperature 30 minutes
  • Granulated sugar (for sprinkling)
  • 2 pints vanilla ice cream
Instructions
  1. Preheat oven to 425°. Cook 6 Tbsp. butter in a small saucepan over medium heat, swirling often, until bubbling and golden, about 5 minutes; set aside.
  2. Prepare your apples: Using a vegetable peeler, remove peel from apples. Stand them upright and slice down along core, working all the way around to remove big lobes of flesh. Cut lobes lengthwise into 1" pieces (irregular shapes are fine). Discard peel and cores. Transfer apples to a large bowl.
  3. Add ⅔ cup dark brown sugar, 3 Tbsp. flour, 1 Tbsp. vanilla, 2 tsp. cinnamon, and ½ tsp. salt to bowl with apples.
  4. Using a microplane or fine rasp grater, grate zest of ½ lemon over apples. Cut lemon in half and squeeze juice from zested half over apples, catching any seeds. Using peeler, remove peel from ginger, then grate over apples.
  5. Toss apple mixture until combined, then transfer to a shallow 3-qt. baking dish. Drizzle all but 2 Tbsp. brown butter over apples.
  6. Dust cutting board with a light coating of flour and unfold puff pastry on floured surface. Dust top with flour. Cut puff pastry into irregular 1" pieces (any shape is fine).
  7. Arrange pieces of puff pastry over apples, overlapping but spreading to cover almost completely. Brush pastry with remaining brown butter. Sprinkle with granulated sugar.
  8. Bake pandowdy until pastry is puffed and golden around edges, 25–30 minutes. Reduce oven temperature to 350° and continue to bake until juices are thick and bubbling and pastry is brown all over, 30–35 minutes longer.
  9. Using a spoon, press pastry down into warm juices (but don’t submerge); let cool slightly.
  10. Serve pandowdy warm with ice cream.
Do Ahead: Pandowdy can be made 1 day ahead. Let cool. Cover loosely with foil and store at room temperature. Reheat uncovered in a 200° oven 20 minutes before serving.

Watch the recipe video here:

https://www.facebook.com/37940325366/posts/10161609520365367/

Main dish

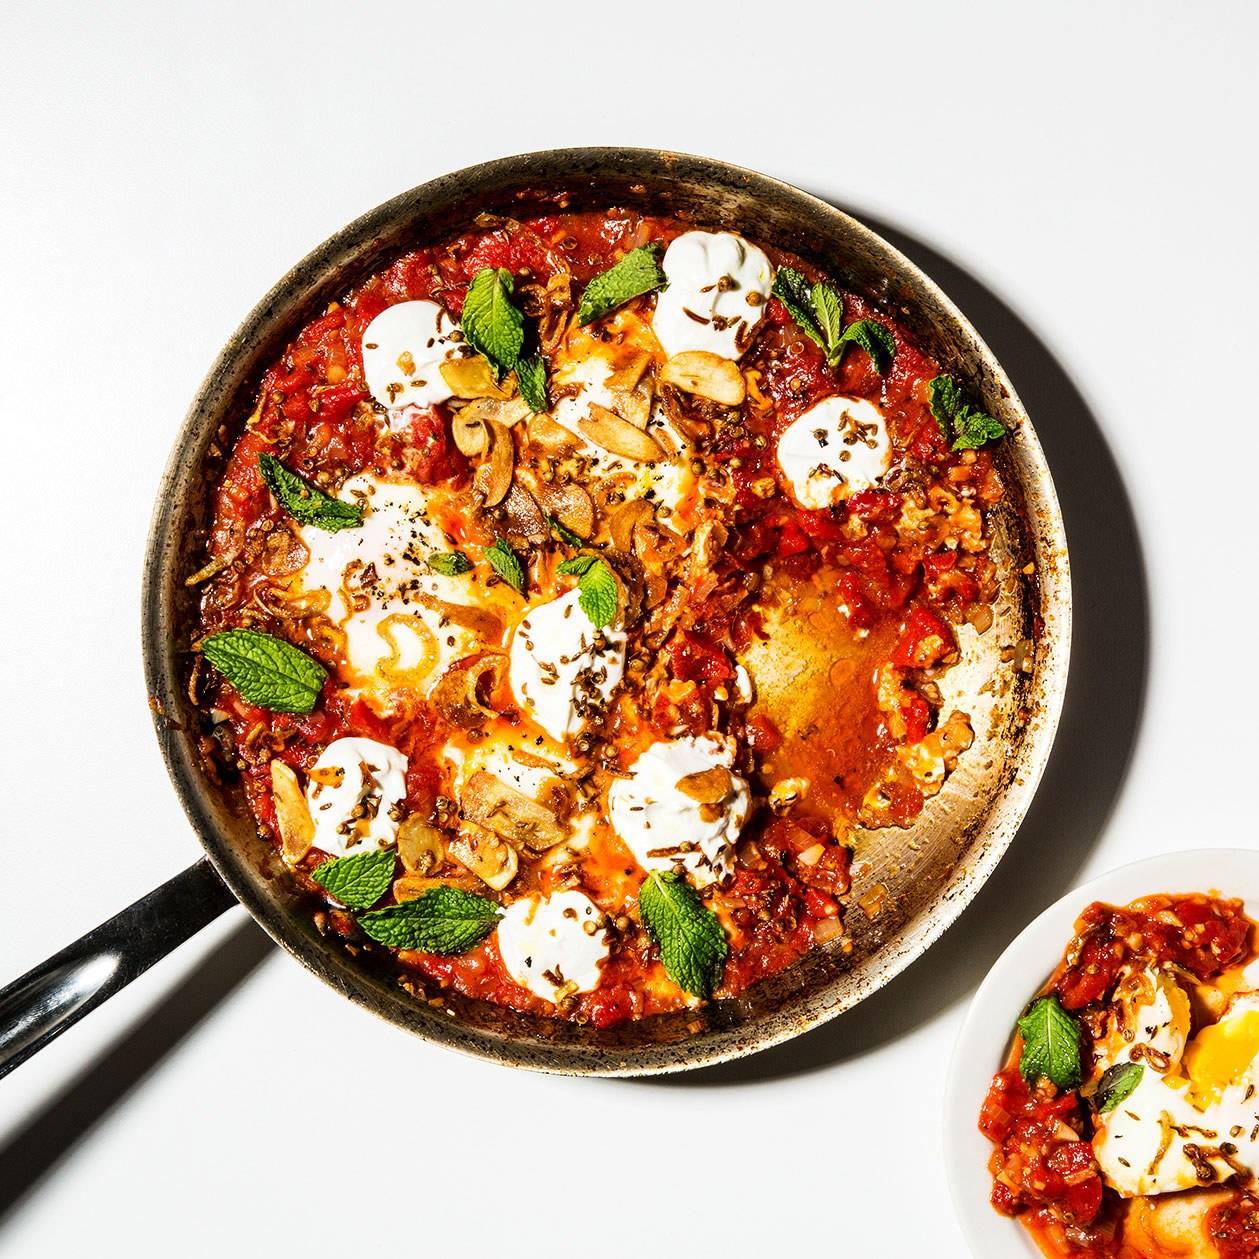
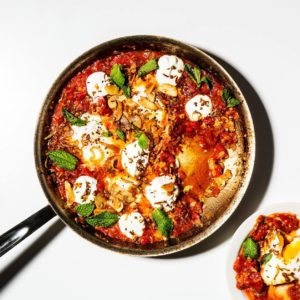
30-Minute Shakshuka with Yogurt

30-Minute Shakshuka with Yogurt
Shakshuka might just be the ultimate weeknight pantry meal. The trick is getting the eggs cooked so that the whites are set and the yolks are still jammy—starting with room temperature eggs is key, so soak them in hot water for a few minutes if they're cold from the fridge.
Author:
Cuisine: American
Recipe type: Main dish
Ingredients
  • 1 teaspoon coriander seeds
  • 1 teaspoon cumin seeds
  • 6 garlic cloves, divided
  • 2 medium shallots, divided
  • 1 12-ounce jar roasted red peppers
  • ¼ cup extra-virgin olive oil, plus more for drizzling
  • Kosher salt
  • Freshly ground black pepper
  • 1 28-ounce can whole peeled tomatoes
  • 4 large eggs
  • ½ cup plain Greek yogurt
  • Mint leaves and crusty bread (for serving)
Instructions
  1. Place 1 tsp. coriander seeds and 1 tsp. cumin seeds in little piles on a cutting board. Using the bottom of a medium skillet, crush seeds, pressing down firmly with even pressure. You’ll have to do this several times, repositioning skillet to break apart any whole seeds that remain. Transfer seeds to a small heatproof bowl.
  2. Slice 2 garlic cloves as thinly and evenly as you can; add to bowl with seeds. Finely chop remaining 4 garlic cloves.
  3. Cut half of 1 shallot into thin rounds and add to same bowl with seeds and garlic. Chop remaining shallots.
  4. Open jar of red peppers and pour off any liquid. Remove peppers and coarsely chop.
  5. Combine ¼ cup oil and seed/garlic/shallot mixture in skillet you used for crushing seeds. Heat over medium and cook, stirring constantly with a wooden spoon, until seeds are sizzling and fragrant and garlic and shallots are crisp and golden, about 3 minutes.
  6. Place a strainer over same heatproof bowl and pour in contents of skillet, making sure to scrape in seeds and other solids. Do this quickly before garlic or shallots start to burn. Reserve oil.
  7. Spread out seed mixture across paper towels to cool. Season with salt and pepper.
  8. Return strained oil to skillet and heat over medium. Add remaining chopped garlic and shallot and cook, stirring often, until shallot is translucent and starting to turn brown around the edges, about 5 minutes. Season with salt and lots of pepper.
  9. Add chopped peppers to skillet and stir to incorporate. Using your hands, lift whole peeled tomatoes out of can, leaving behind tomato liquid, and crush up with your hands as you add to skillet (beware squirting tomato juices). Discard leftover liquid. Season with more salt and pepper.
  10. Cook shakshuka, stirring often, until thickened and no longer runs together when a spoon is dragged through, 10–12 minutes.
  11. Reduce heat to low. Using the back of wooden spoon, create four 2"-wide divots in tomato sauce. Working one at a time, carefully crack an egg into each divot.
  12. Cover skillet and cook, simmering very gently and reducing heat if necessary, until whites of eggs are set while yolks are still jammy, 7–10 minutes. Uncover skillet and remove from heat. Season tops of eggs with salt and pepper.
  13. Top shakshuka with dollops of yogurt, sprinkle with seed mixture, then drizzle with more olive oil. Finish by scattering mint leaves over top.
  14. Serve shakshuka with crusty bread alongside.

Watch the recipe video here:

Shakshuka might just be the ultimate weeknight pantry meal. (via Basically)Recipe: http://bonap.it/pn9Us9J

Posted by Bon Appétit Magazine on Tuesday, April 2, 2019

Uncategorized

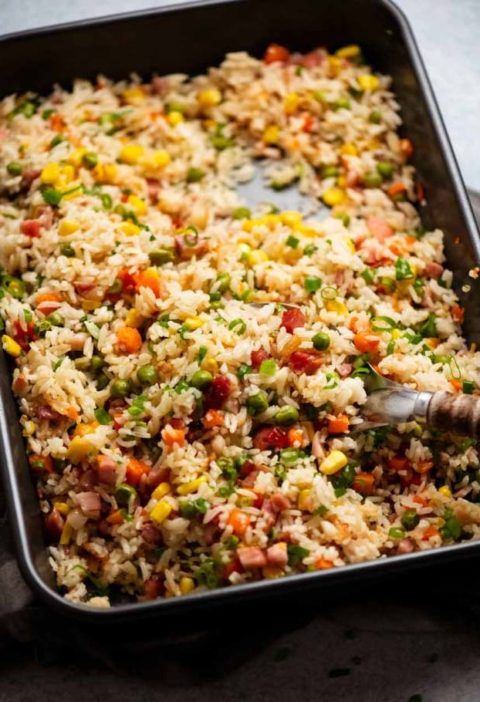
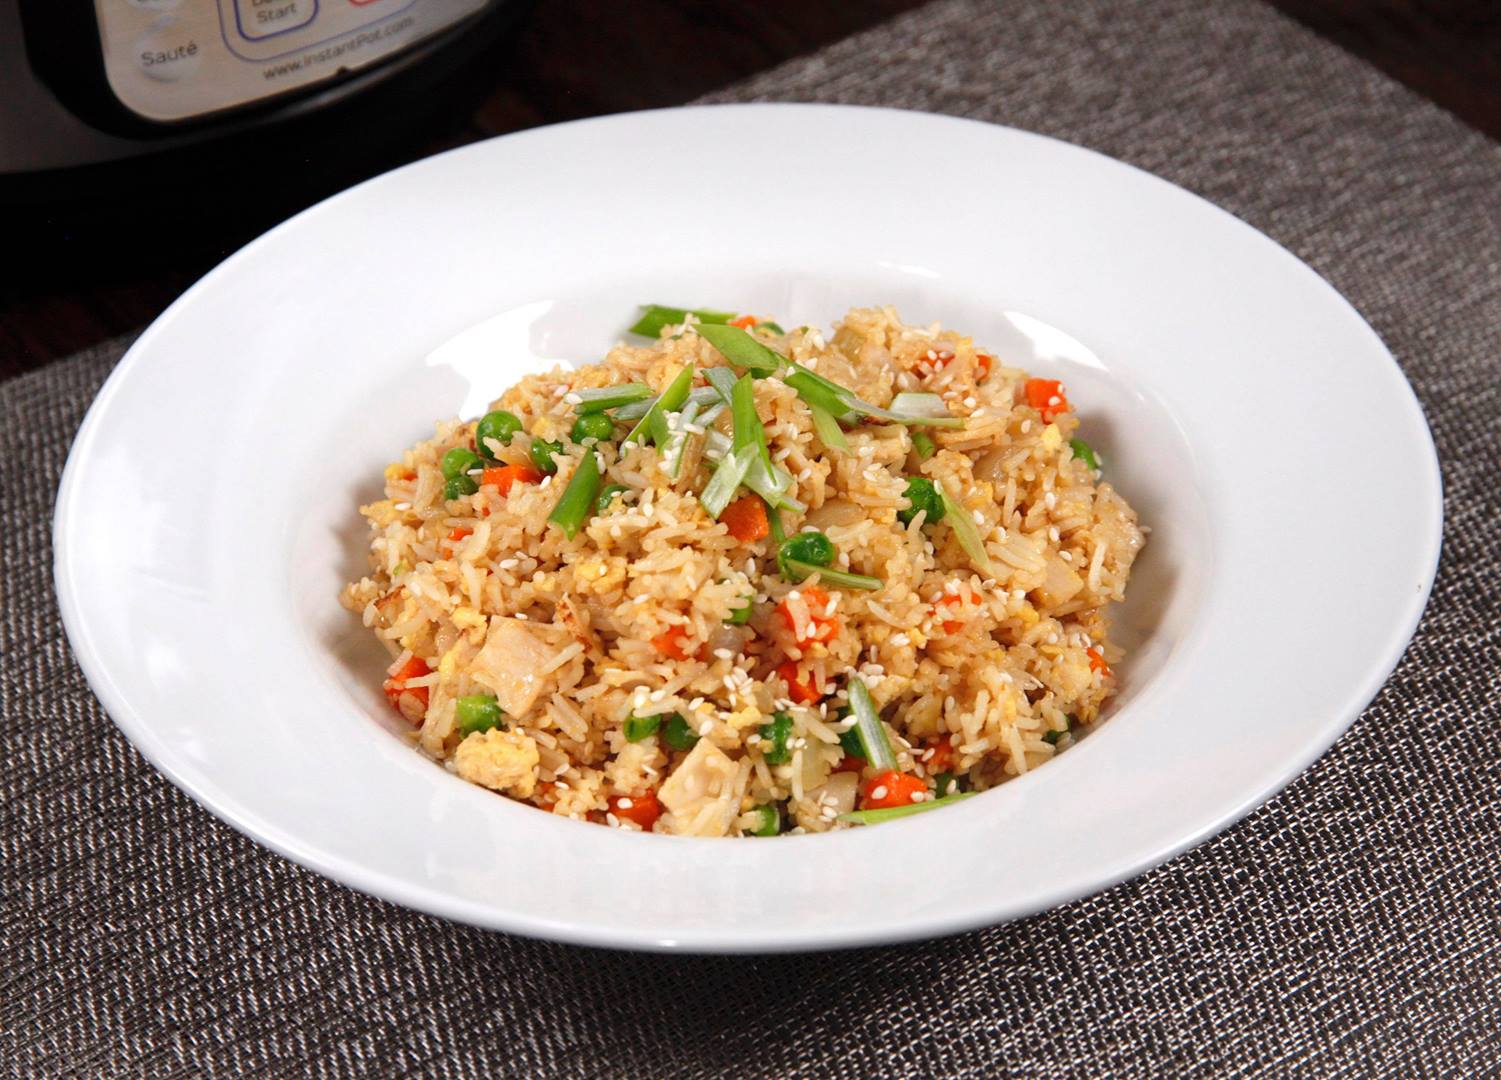
Instant Pot Better-Than-Takeout Chicken Fried Rice

Instant Pot Better-Than-Takeout Chicken Fried Rice
Leftovers are delicious the next day!
Author:
Cuisine: American
Recipe type: Main dish
Ingredients
  • 2 cups white rice, rinsed
  • 2 cups water
  • 3 tbsp toasted sesame oil
  • 1 small onion, finely diced
  • 10 oz frozen peas and carrots mixture
  • 6-8 oz diced cooked chicken (rotisserie works great)
  • 1 tbsp butter
  • 4 eggs, lightly beaten
  • 2 tbsp soy sauce
  • 1 tbsp sesame seeds
  • Salt and pepper to taste
  • Garnish with sliced green onion and additional sesame seeds (optional)
Instructions
  1. Add rinsed rice and water to the pot, then secure the lid, making sure the vent is closed.
  2. Using the display panel select the MANUAL function*. Use the +/- keys and program the Instant Pot for 4 minutes.
  3. When the time is up, let the pressure naturally release for 10 minutes, then quick-release the remaining pressure.
  4. Fluff the rice with a fork, remove to a separate bowl and cover loosely with foil. Rinse the pot liner (just get any stuck rice grains out–you don’t need to wash it out completely).
  5. Add toasted sesame oil to the Instant Pot. Using the display panel select CANCEL and then the SAUTE function.
  6. When oil gets hot, add onion to the pot and saute 2 minutes.
  7. Add peas, carrots, chicken and butter to the pot and cook and stir for another 2 minutes, scraping any brown bits from the bottom of the pot.
  8. Push ingredients to the side of the pot and add beaten eggs. Cook, stirring constantly, until the egg begins to set, then fold into the vegetable and chicken mixture until egg is cooked through.
  9. Turn the pot off by selecting CANCEL, then fold in the cooked rice, soy sauce and sesame seeds. Adjust seasonings to taste.
  10. Serve warm with sliced green onions and additional sesame seeds for garnish (optional)

Watch the recipe video here:

Leftovers are delicious the next day!RECIPE: http://chopsecrets.com/instant-pot-better-than-takeout-chicken-fried-rice/

Posted by Chop Secrets on Tuesday, April 2, 2019

Main dish

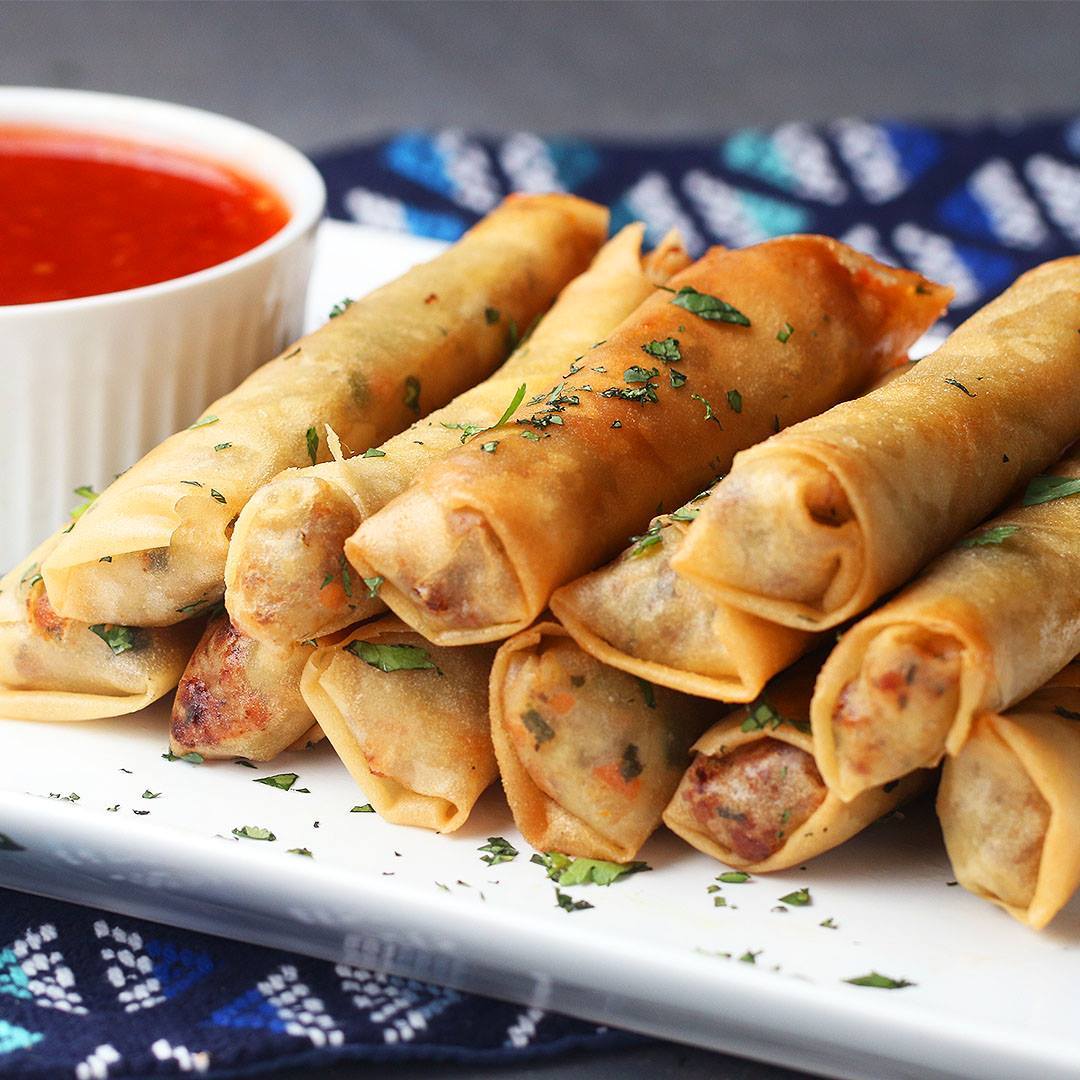
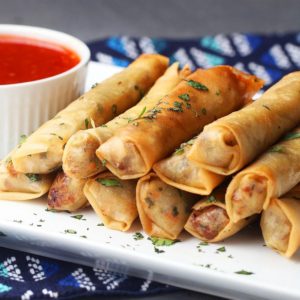
Homemade Lumpia

Homemade Lumpia
Homemade Lumpia
Author:
Cuisine: American
Recipe type: Main dish
Ingredients
  • 1 tablespoon vegetable oil
  • 1 medium yellow onion, minced
  • 2 cloves garlic, minced
  • 1 medium carrot, minced
  • 1 teaspoon fresh ginger, grated
  • 1 lb ground pork (455 g)
  • 12 oz water chestnuts, 1 can, minced (340 g)
  • 1 teaspoon salt
  • 1 teaspoon pepper
  • 2 teaspoons soy sauce
  • ¼ cup green onion, minced (35 g)
  • 2 tablespoons fresh cilantro, minced, plus more for garnish
  • 1 ½ cups canola oil, for frying (355 mL)
  • 25 lumpia wrappers, or spring roll wrappers
  • 1 egg, beaten
  • sweet chili sauce, for serving
Instructions
  1. Make the filling: Heat the oil in a medium pan over medium-high heat.
  2. Add the onion, garlic, ginger, and carrot. Cook for 4 minutes, or until the onion is slightly translucent.
  3. Add the ground pork and cook for about 6 minutes, or until cooked through.
  4. Add the water chestnuts, salt, pepper, and soy sauce. Stir for 2 minutes, then mix in the green onion and cilantro. Remove the pan from the heat and let cool.
  5. Heat about an inch (2 cm) of canola oil in a deep, medium frying pan until it reaches 300°F (150°C).
  6. Lay out one lumpia wrapper in a diamond shape and spoon 2 tablespoons of filling at the bottom of the wrapper, leaving about an inch and a half (3 cm) of space from the bottom point.
  7. Fold the bottom point over the filling, then fold in the edges to create an envelope shape. Roll the wrapper toward the top point. Brush the top point with egg wash and finish the roll to seal the end.
  8. Carefully place four to five lumpia at a time in the hot oil. Frying on each side for 1-2 minutes, or until golden brown. Note: If the lumpia are cooking too fast or burning, reduce the heat.
  9. Remove the lumpia from the oil and drain on a wire rack or paper towels.
  10. Sprinkle with a garnish of cilantro and serve with sweet chili dipping sauce. Optional: Cut lumpia in half.
  11. Enjoy!

Watch the recipe video here:

Mel made us her mom's lumpia recipe and it is SO DELICIOUS! ❤️FULL RECIPE: https://tasty.co/recipe/homemade-lumpia

Posted by Tasty on Tuesday, April 2, 2019

Breakfast

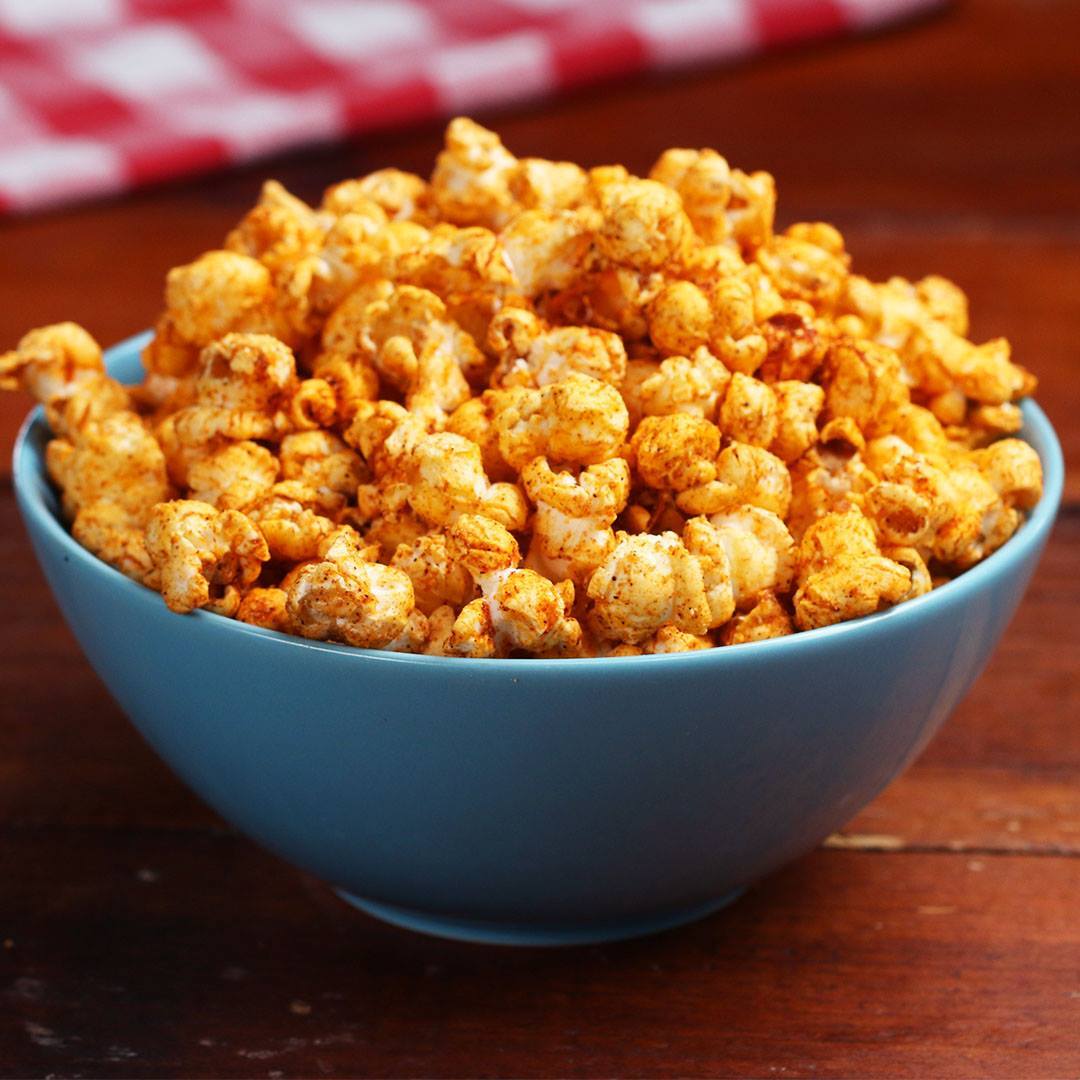
BBQ Popcorn

BBQ Popcorn
If you are looking for an under-30-minute snack, look no further! This BBQ-flavored popcorn is especially great to share with friends and family on a game day.
Author:
Cuisine: American
Recipe type: Breakfast
Ingredients
  • 2 teaspoons smoked paprika
  • ½ teaspoon chili powder
  • 1 teaspoon garlic powder
  • 1 teaspoon onion powder
  • 1 teaspoon kosher salt
  • 2 tablespoons brown sugar
  • 3 tablespoons olive oil
  • 1 ½ tablespoons coconut oil
  • ⅓ cup yellow popcorn kernals (55 g)
Instructions
  1. In a small bowl, mix together the paprika, chili powder, garlic powder, onion powder, and salt. Set aside.
  2. In a separate small bowl, mix together the brown sugar and olive oil. Set aside.
  3. Melt the coconut oil in a large pot over medium heat. Add 3-4 popcorn kernels and cover with the lid. Once they pop, add the rest of the kernels and cover, shaking every 10 seconds, until they begin pop. Once the pops are more than 3 seconds apart, turn off the heat and let sit for 15 seconds to allow any final kernels to pop.
  4. Uncover and drizzle the brown sugar mixture over the popcorn. Carefully toss to coat.
  5. Sprinkle the spice mixture over the popcorn and stir to coat evenly.
  6. Transfer to a bowl and eat immediately, or spread in a single layer on a baking sheet and let cool completely before storing in a sealed container for up to 2 days.
  7. Enjoy!

Watch the recipe video here:

Who's ready for THIS kind of movie night? ??Get the recipes:…

Posted by Tasty on Tuesday, April 2, 2019

Dessert

4-Flavor Cheesecake

4-Flavor Cheesecake
4-Flavor Cheesecake
Author:
Cuisine: American
Recipe type: Dessert
Ingredients
  • CRUST
  • 20 graham crackers, crushed, plus 4 whole
  • 2 tablespoons sugar
  • 10 tablespoons unsalted butter, melted
  • CHEESECAKE FILLINGS
  • 2 tablespoons gelatin powder, 2 packets
  • 4 tablespoons water
  • 24 oz cream cheese (680 mg)
  • 1 cup sugar (200 g)
  • 3 cups heavy whipping cream, divided (720 mL)
  • ½ teaspoon vanilla extract
  • ⅔ cup lemon curd, divided (165 g)
  • ½ cup dulce de leche, warmed, plus more for garnish (150 g)
  • ½ cup chocolate hazelnut spread (145 g)
  • 1 tablespoon raspberry jam
  • 8 fresh raspberries, for garnish
  • 5 chocolate hazelnut truffles, for garnish
  • 10 pecans, roughly charged, for garnish
  • 5 candied lemon slice, optional, halved, garnish
Instructions
  1. In a large bowl, mix together the graham cracker crumbs, sugar, and melted butter until combined.
  2. Pour the crust mixture into a 9-inch (23 cm) springform cake pan. Press crumbs down firmly with the bottom of a small ramekin or glass to form an even base.
  3. Carefully break the remaining graham crackers in half, so that you have 8 squares.
  4. Push the graham crackers into the crust with the split line facing upwards to form an X shape, dividing the crust into four equal sections.
  5. Press down on the crust one more time to ensure the graham crackers are secure. Cover and chill in the freezer for at least 10 minutes while preparing the fillings.
  6. In a small bowl, dissolve the gelatin in the water. Set aside to bloom.
  7. In a large bowl, beat together the cream cheese and sugar until smooth.
  8. Add 2½ cups (720 ml) whipping cream and beat until the batter is light and fluffy.
  9. Warm the gelatin in the microwave for about 15 seconds so that it’s fluid, and incorporate into the batter.
  10. Divide the cheesecake batter evenly between 4 medium bowls.
  11. In the first bowl, whisk in the vanilla extract and remaining whipping cream.
  12. In the second bowl, whisk in ⅓ cup (80 grams) lemon curd.
  13. In the third bowl, whisk in the dulce de leche.
  14. In the fourth bowl, whisk in the chocolate hazelnut spread.
  15. To assemble the cheesecake, slowly pour the contents of bowl #1 into a quarter of the pan. Repeat with remaining flavors. Use a spatula to smooth the tops.
  16. Carefully dollop the raspberry jam in small circles on top of the vanilla cheesecake. Use a toothpick or knife to carefully swirl it into the filling. Garnish the outer border with fresh raspberries.
  17. Garnish the outer border of the chocolate hazelnut cheesecake with the chocolate hazelnut truffles.
  18. Garnish the outer border of the dulce de leche cheesecake with the chopped pecans and drizzle with dulce de leche
  19. Pour the remaining lemon curd on top of the lemon cheesecake and smooth with an offset spatula or spoon. Garnish the outer border with candied lemon slices.
  20. Cover the top of the pan tightly with plastic wrap and chill for 4 hours or overnight in the fridge before slicing and serving.
  21. Enjoy!

Watch the recipe video here:

Watch how Kiano mastered her famous 4 flavor cheesecake! Get the recipe: https://tasty.co/recipe/4-flavor-cheesecake

Posted by Tasty on Wednesday, March 27, 2019

Main dish

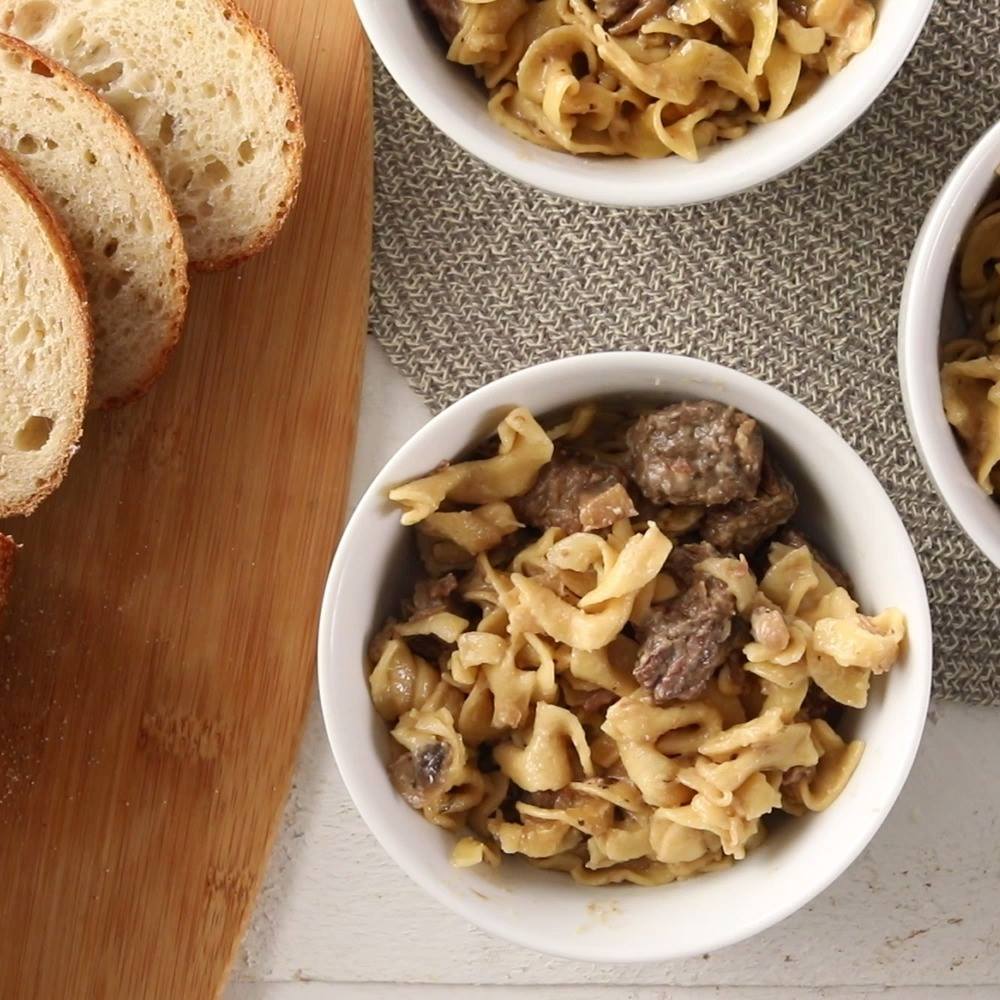
Beef Stroganoff for Instant Pot®

Beef Stroganoff for Instant Pot®
Serve this restaurant-quality chicken dish over rice or pasta to round out your meal.
Author:
Cuisine: American
Recipe type: Main dish
Ingredients
  • 1½ lbs boneless skinless chicken breasts, sliced into cutlets
  • 2 tablespoons olive oil
  • Salt and pepper, to taste
  • 1 cup heavy cream
  • ½ cup chicken broth
  • 1 teaspoon garlic powder
  • 1 teaspoon Italian seasoning
  • ½ cup parmesan cheese
  • 1 cup spinach, chopped
  • ½ cup sun dried tomatoes
Instructions
  1. ) Season chicken with salt and pepper, then saute in a large skillet on medium high heat for 3-5 minutes on each side, until browned and thoroughly cooked. Set chicken aside on a plate.
  2. ) Bring the heat down to medium. In the same skillet, whisk in the heavy cream, chicken broth, garlic powder, Italian seasoning, and parmesan cheese for a few minutes until mixture thickens slightly.
  3. ) Add spinach and sundried tomatoes. Simmer for a minute or two, until spinach wilts. Return chicken to pan and flip a few times, so that it is thoroughly coated in sauce.

Watch the recipe video here:

Beef Stroganoff for Instant Pot®: https://trib.al/qXrAAN5

Posted by Allrecipes on Wednesday, March 27, 2019

Main dish

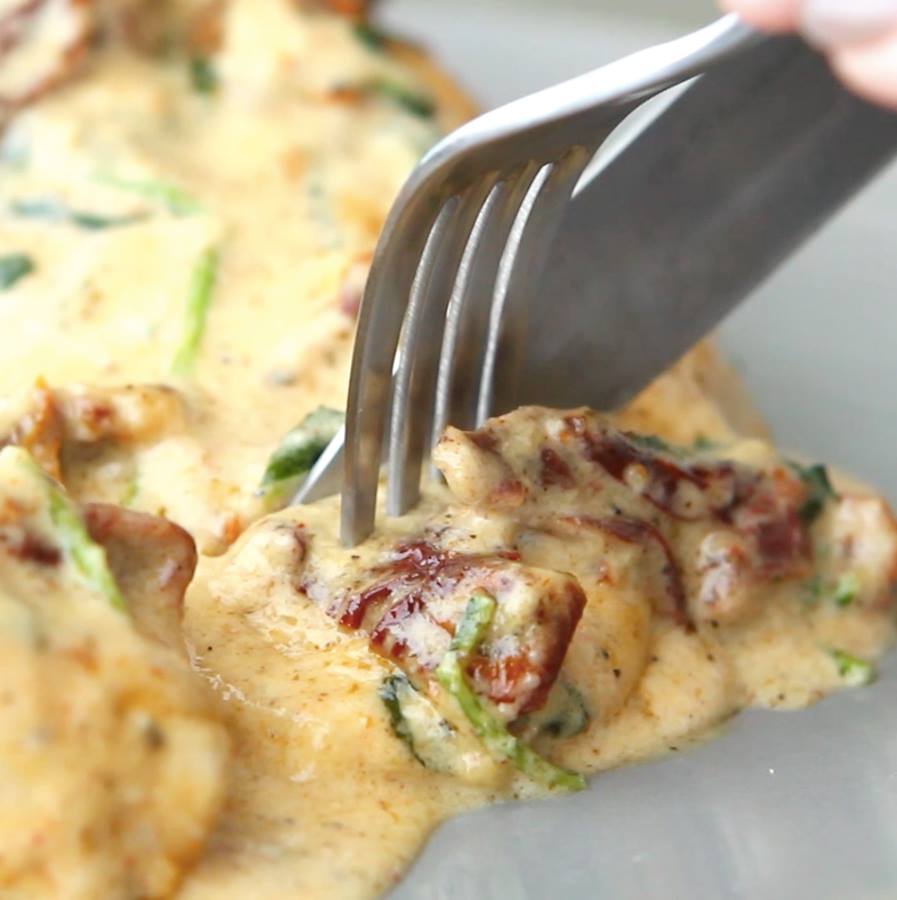
Creamy Tuscan Garlic Chicken

Creamy Tuscan Garlic Chicken
Serve this restaurant-quality chicken dish over rice or pasta to round out your meal.
Author:
Cuisine: American
Recipe type: Main dish
Ingredients
  • 1½ lbs boneless skinless chicken breasts, sliced into cutlets
  • 2 tablespoons olive oil
  • Salt and pepper, to taste
  • 1 cup heavy cream
  • ½ cup chicken broth
  • 1 teaspoon garlic powder
  • 1 teaspoon Italian seasoning
  • ½ cup parmesan cheese
  • 1 cup spinach, chopped
  • ½ cup sun dried tomatoes
Instructions
  1. ) Season chicken with salt and pepper, then saute in a large skillet on medium high heat for 3-5 minutes on each side, until browned and thoroughly cooked. Set chicken aside on a plate.
  2. ) Bring the heat down to medium. In the same skillet, whisk in the heavy cream, chicken broth, garlic powder, Italian seasoning, and parmesan cheese for a few minutes until mixture thickens slightly.
  3. ) Add spinach and sundried tomatoes. Simmer for a minute or two, until spinach wilts. Return chicken to pan and flip a few times, so that it is thoroughly coated in sauce.

Watch the recipe video here:

Creamy Tuscan Garlic Chicken is super easy and super tasty! Try it tonight!Get the written recipe here: http://bit.ly/2u5FqRQ

Posted by Cooking Panda on Wednesday, March 27, 2019