Low-Carb Pad Thai
Low-Carb Pad Thai
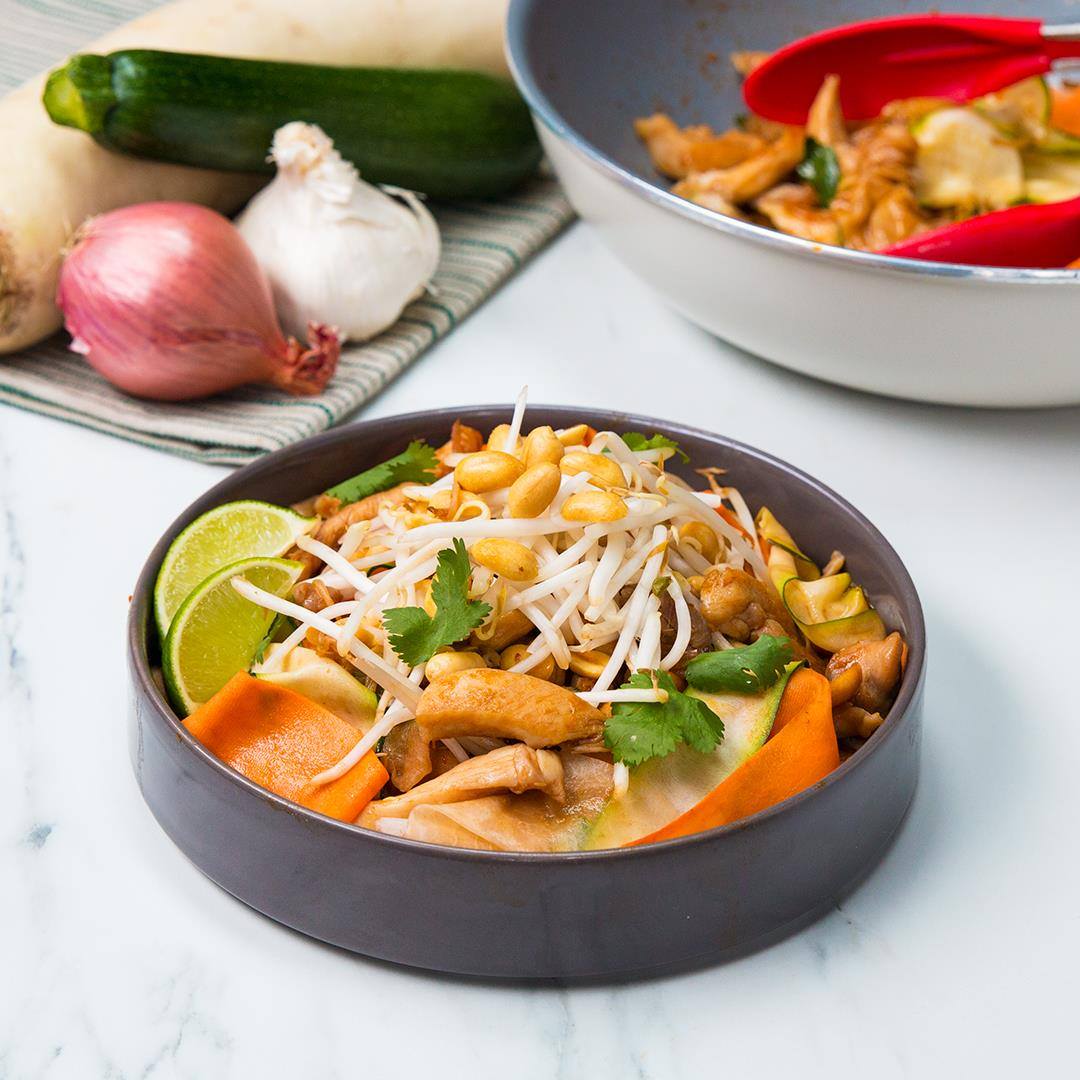
Noodle-free pad thai makes for the perfect comfort food to enjoy for dinner. ?
Author: The Chef
Cuisine: American
Recipe type: Main dish
Ingredients
- 2 small zucchinis
- 1 medium sweet potato, peeled
- 1 daikon radish, 6 inch (15 cm), peeled
- 2 tablespoons brown sugar
- 2 tablespoons fish sauce
- 2 tablespoons tamarind paste, or lime juice
- 6 cloves garlic, minced, divided
- ¼ cup water (60 mL)
- coconut oil, to taste
- 1 lb boneless, skinless chicken thighs (455 g), sliced
- 1 medium shallot, thinly sliced
- 2 teaspoons chili paste, or 1 diced jalapeño
- ⅓ cup roasted peanut (40 g), plus more for garnish
- ½ cup bean sprout (50 g), plus more for garnish
- ¼ cup fresh cilantro leaves (10 g), plus more for garnish
- lime wedge, for garnish
Instructions
- Trim the ends of the zucchini, then use a vegetable peeler to peel into thin, flat noodles. Repeat with the sweet potato and daikon radish. Set aside.
- In a wok or large pan over medium-high heat, combine the brown sugar, fish sauce, tamarind paste, 3 cloves of garlic, and the water. Cook until the sugar has dissolved and the sauce is slightly thickened, about 3 minutes. Remove the pan from the heat and transfer the pad thai sauce to a bowl until ready to use. Wipe out the pan.
- Heat a drizzle of coconut oil in the same pan over medium-high heat. Add the chicken thighs and cook for 4 minutes on each side, until browned and cooked through. Remove the chicken from the pan and set aside.
- Add a bit more coconut oil to the pan, if needed, then add the shallot, chili paste, and remaining 3 cloves of garlic. Cook until the shallots are softened and the aromatics are fragrant, 2 minutes.
- Add the peanuts and bean sprouts, and cook for 1 minute, until the sprouts are softened. Add half of the reserved pad thai sauce and cook until thickened, 3 minutes.
- Add the vegetable noodles and chicken, and stir to coat with the sauce, adding more as needed. Add the cilantro, toss, and cook for 30-60 seconds, until the noodles are just warmed through but not soggy.
- Serve immediately garnished with more cilantro, bean sprouts, peanuts, and lime wedges.
- Enjoy!
Watch the recipe video here:
Noodle-free pad thai makes for the perfect comfort food to enjoy for dinner. ?Get the recipe: https://tasty.co/recipe/low-carb-pad-thai
Posted by Tasty on Saturday, June 29, 2019