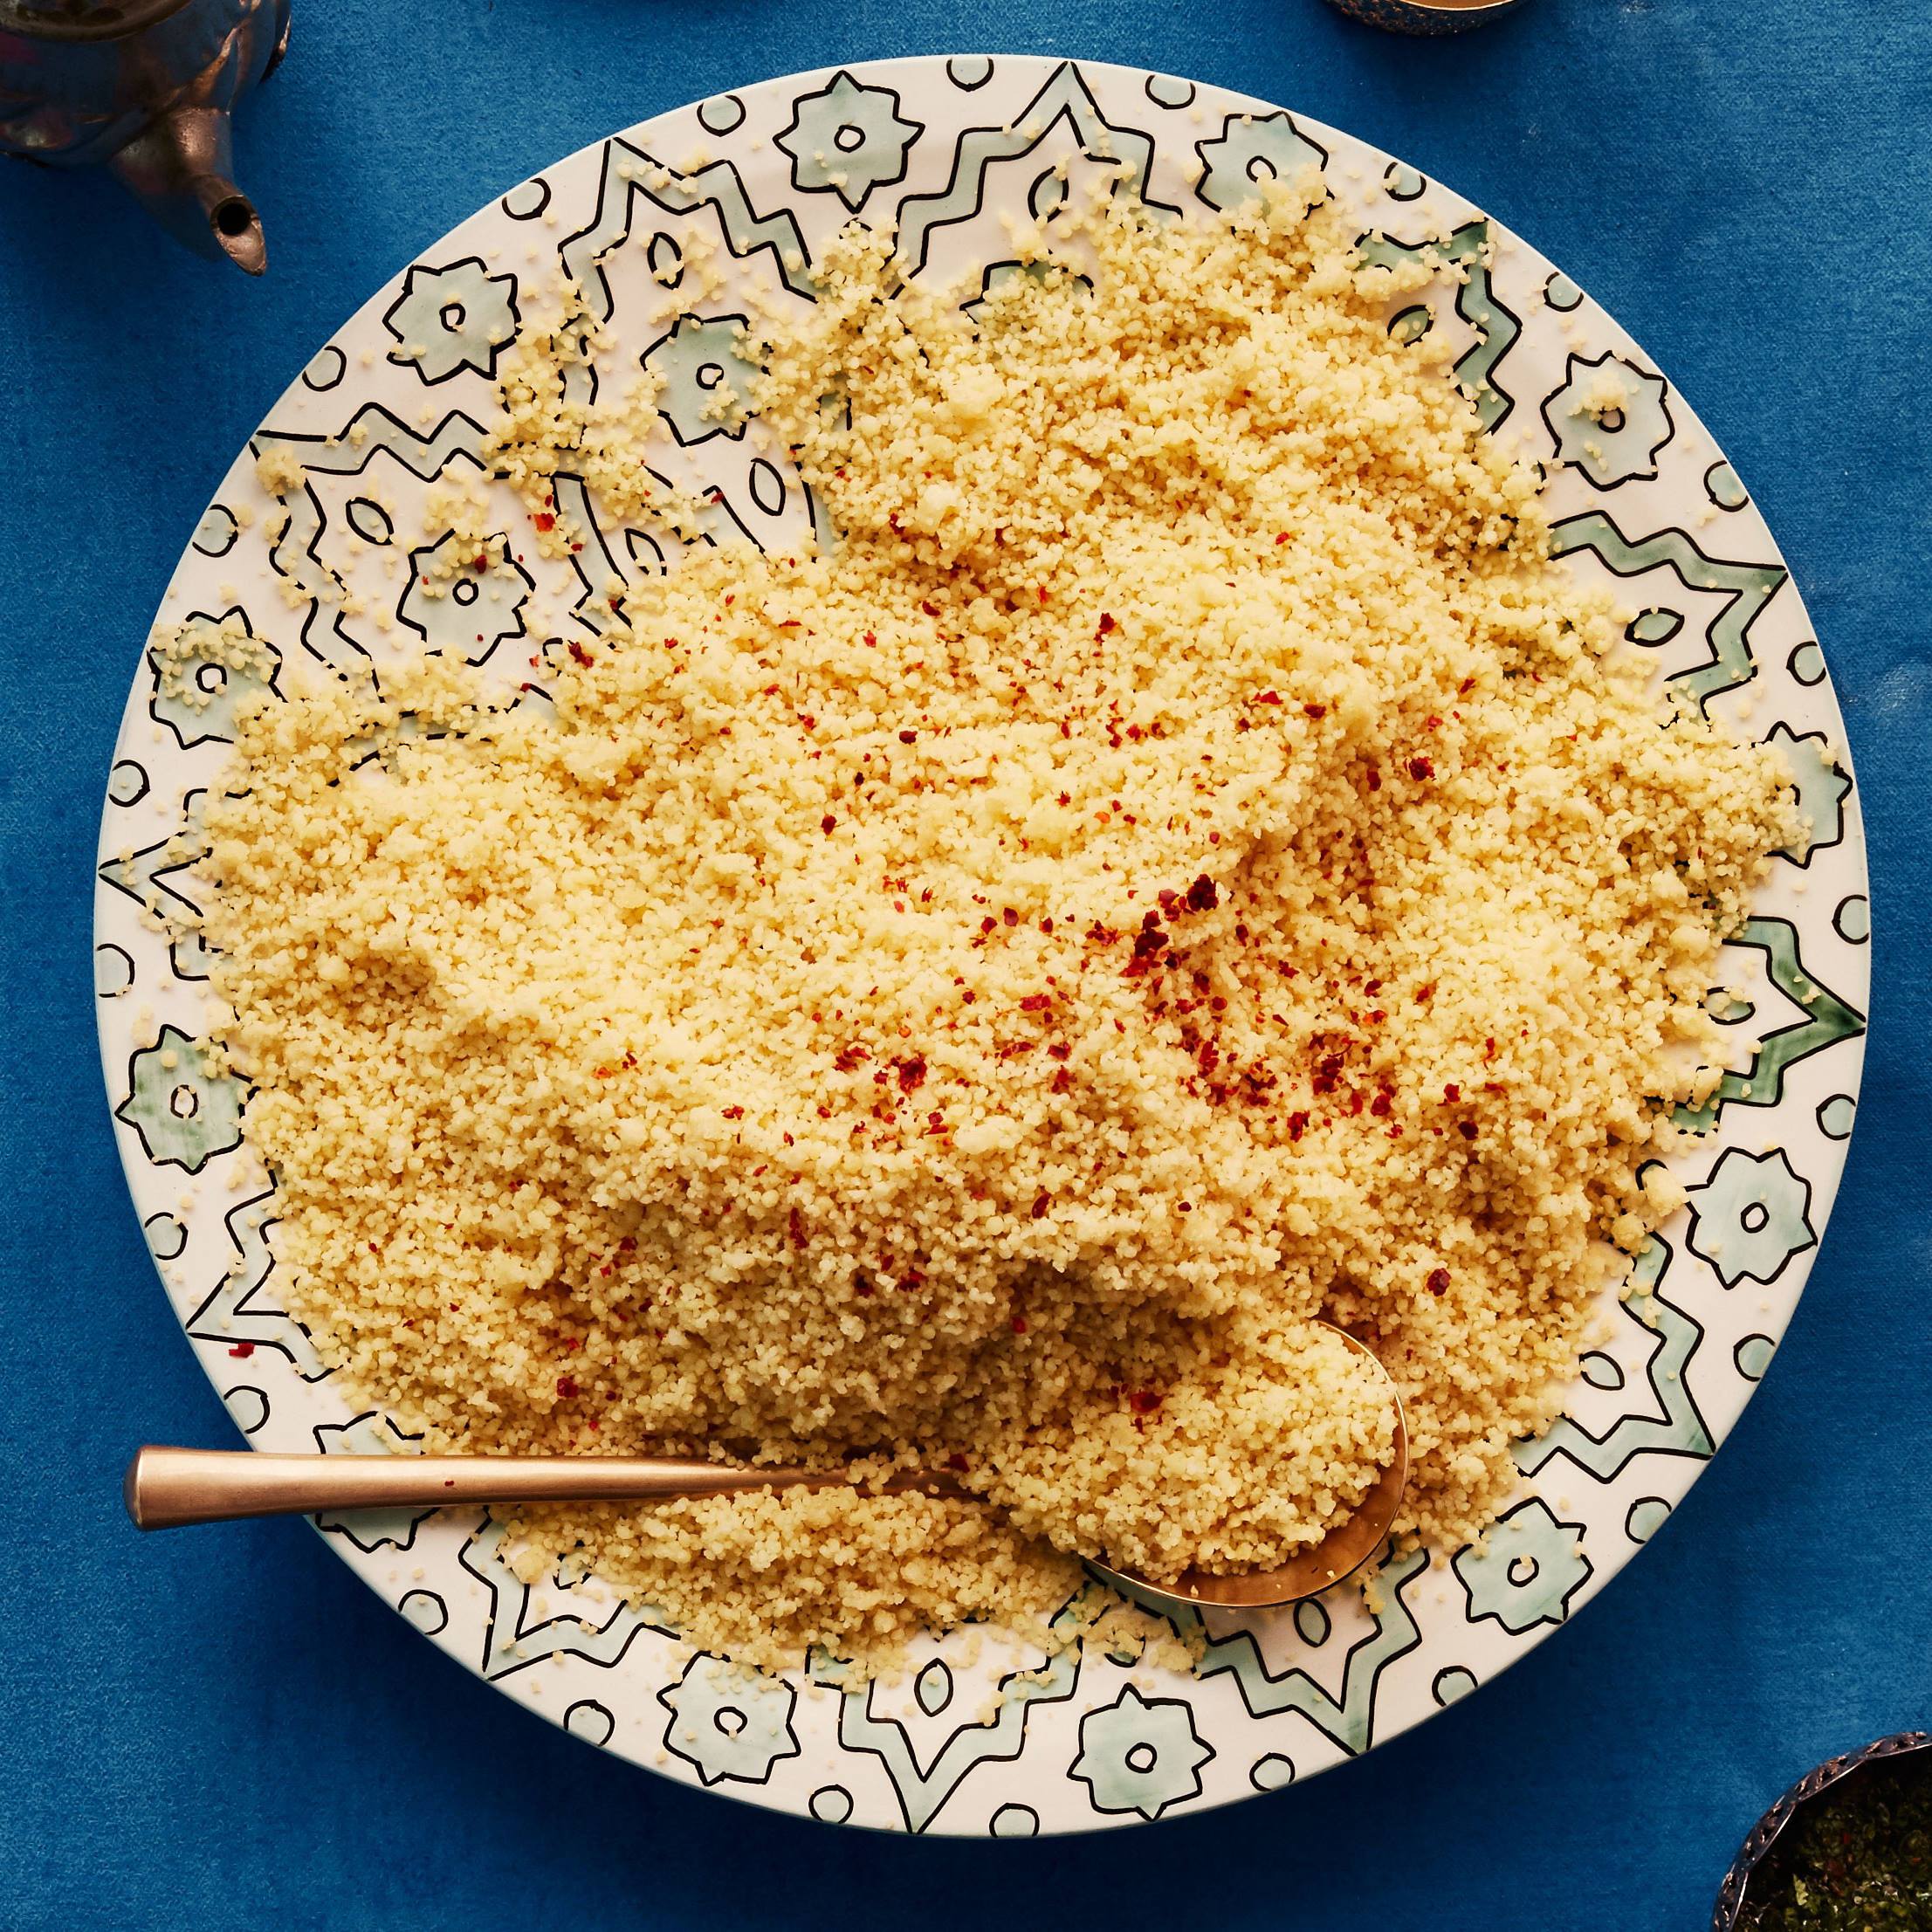
Spiced and Steamed Couscous with Brown Butter
Spiced and Steamed Couscous with Brown Butter
Steam, fluff; steam, fluff. This couscous recipe is time-consuming but worth it.
Author: The Chef
Cuisine: American
Recipe type: Main dish
Ingredients
- 3 cups medium-grind couscous (not instant)
- 2 cups chicken or vegetable stock
- 1 3-inch cinnamon stick
- 2 garlic cloves, crushed
- 2 star anise pods
- ½ teaspoon coriander seeds
- ½ teaspoon cumin seeds
- 2 teaspoons kosher salt, plus more
- 6 tablespoons unsalted butter
- Aleppo-style pepper (for serving)
Instructions
- Spread out couscous on a rimmed baking sheet. Bring stock, cinnamon stick, garlic, star anise pods, coriander seeds, cumin seeds, and 2 tsp. salt to a simmer in a small saucepan over medium heat, stirring occasionally, until salt is dissolved, about 4 minutes. Let cool. Strain stock over couscous; discard solids. Let sit, stirring occasionally, until liquid is absorbed and grains begin to swell, 10–15 minutes. Rake and rub couscous with your hands until no clumps remain.
- Pour water into a large pot to come 1" up sides. Bring to a gentle simmer. Transfer couscous to a steamer basket or a colander and set inside pot, making sure couscous is not touching water. The sides of the steamer basket should be in direct contact with the pot; this forces the steam up through the couscous instead of around the sides. (If there’s a gap between the steamer and the pot, fill it in with crumpled foil.) Steam, uncovered, gently tossing occasionally, until steam escapes through couscous, 15–20 minutes.
- Spread out couscous on a clean baking sheet, discarding any grains that may have stuck to steamer basket. Drizzle ¼ cup cold water over couscous to moisten. Let cool slightly, then rub couscous to break up any clumps.
- Pour fresh water into pot to come 1" up sides and steam couscous again, tossing occasionally, until tender and nearly tripled in size, 15–20 minutes.
- Meanwhile, melt butter in a small saucepan over medium, stirring often, and cook until it foams, then browns, 4–6 minutes.
- Transfer couscous back to rimmed baking sheet and toss with a slotted spoon to remove any remaining clumps. Drizzle with brown butter and toss to coat. Taste couscous and season with more salt if needed. Top with pepper before serving.
Do Ahead: Couscous can be steamed once 4 hours ahead. Store on baking sheet at room temperature. Steam the second time just before serving.
Watch the recipe video here:
Steam, fluff, steam, fluff. This couscous recipe is time-consuming but worth it.Recipe: http://bonap.it/yTtl7MH
Posted by Bon Appétit Magazine on Sunday, April 7, 2019